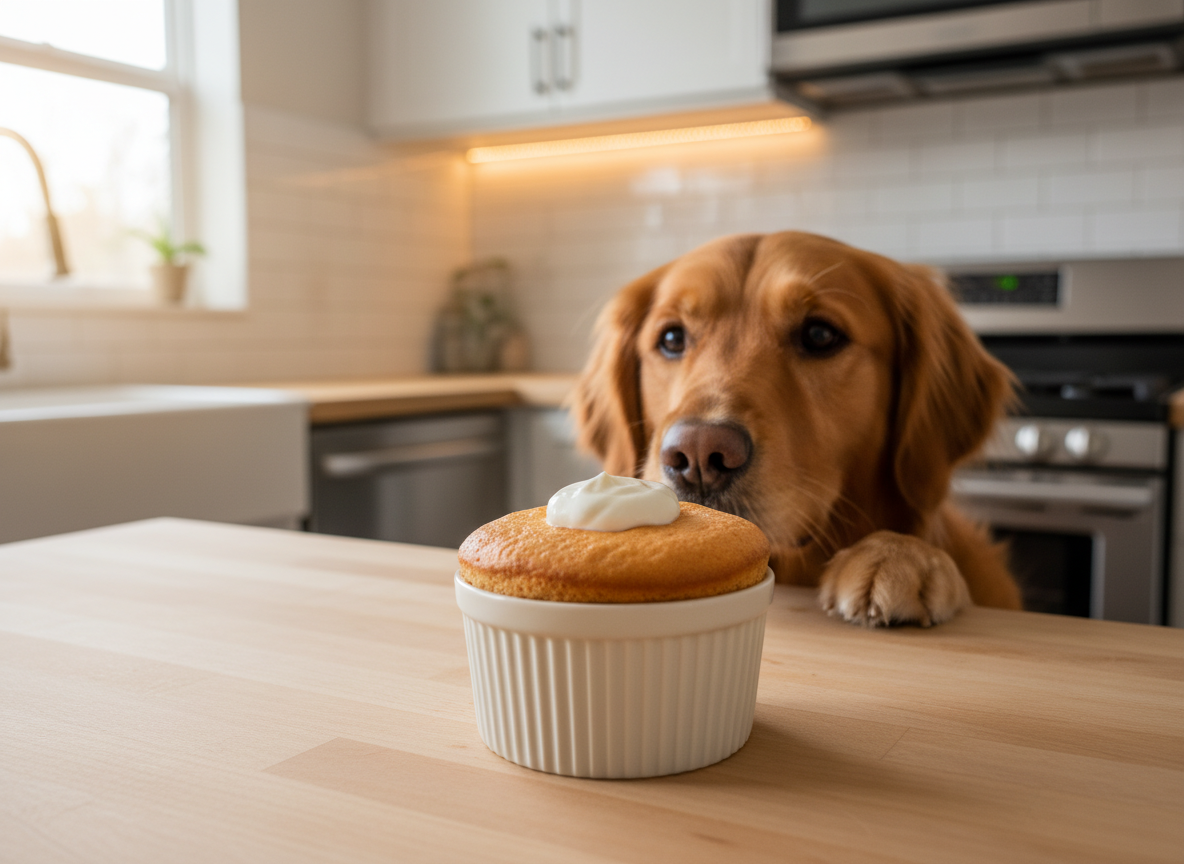
2-Minute Microwave Dog Sponge Cake (Fluffy & Safe)
Walk down any pet store aisle and you’re bombarded with brightly colored packages promising canine bliss. But turn them over, and the truth is often disappointing: a laundry list of unpronounceable chemicals, cheap fillers, and sugar. As The Canine Nutrition Hacker, my mission is to empower you to see through the marketing noise and take back control of your dog’s diet. It doesn’t require a culinary degree or hours in the kitchen. In fact, it can take as little as two minutes.
This isn’t just another cute recipe. This is your entry point into providing superior nutrition while saving money. We’re about to construct the perfect single-serving dog treat: a fluffy, moist, and utterly delicious sponge cake made right in your microwave. It’s fast, it’s foolproof, and most importantly, you control every single ingredient.
CRITICAL SAFETY DISCLAIMER
Before we begin, the professional code demands a word of caution. I am a canine nutrition analyst, not a veterinarian. This recipe is for an intermittent or supplemental treat only and should not be used as a meal replacement. It is not nutritionally complete. Always consult with your veterinarian before introducing new foods into your dog’s diet, especially if your dog has underlying health conditions, allergies, or dietary sensitivities. You are the ultimate guardian of your dog’s health; feed responsibly.
The Canine Nutrition Hacker’s Code: Why DIY Treats Beat Store-Bought
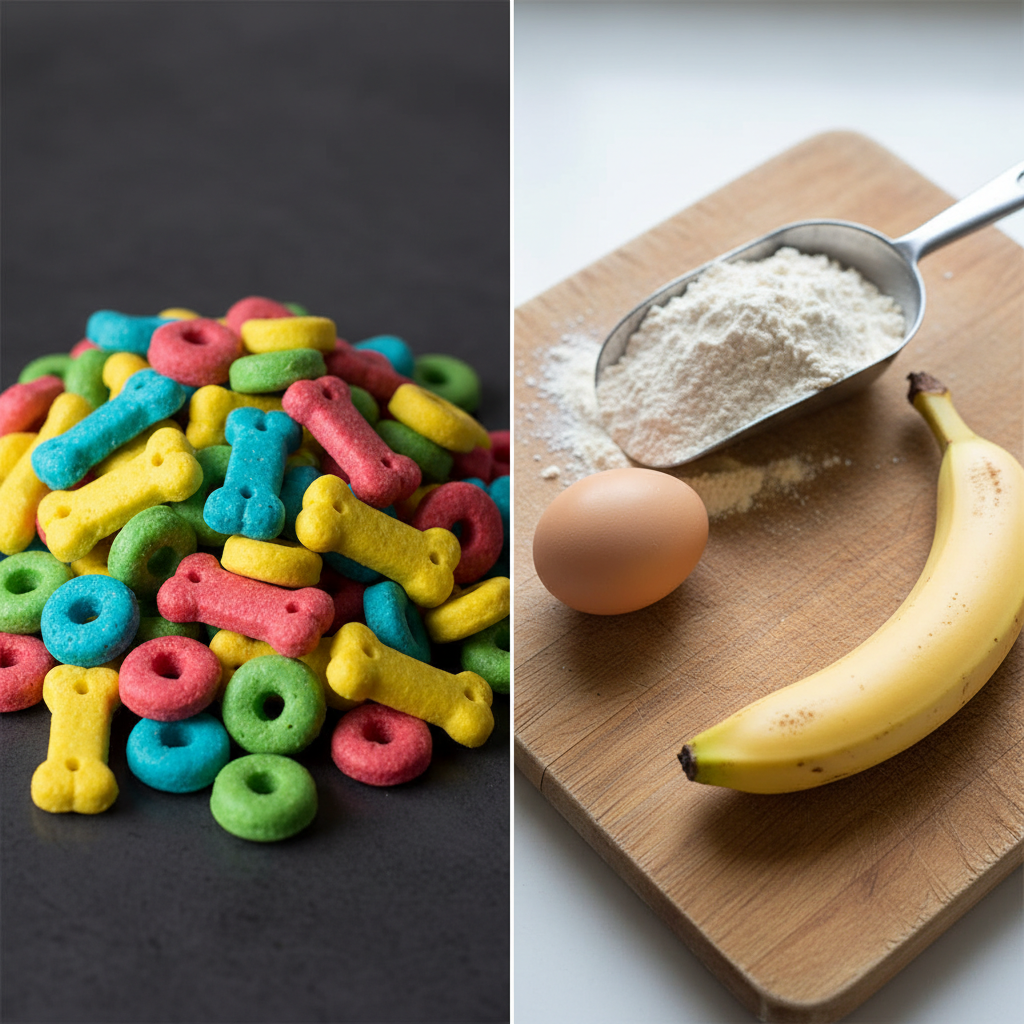
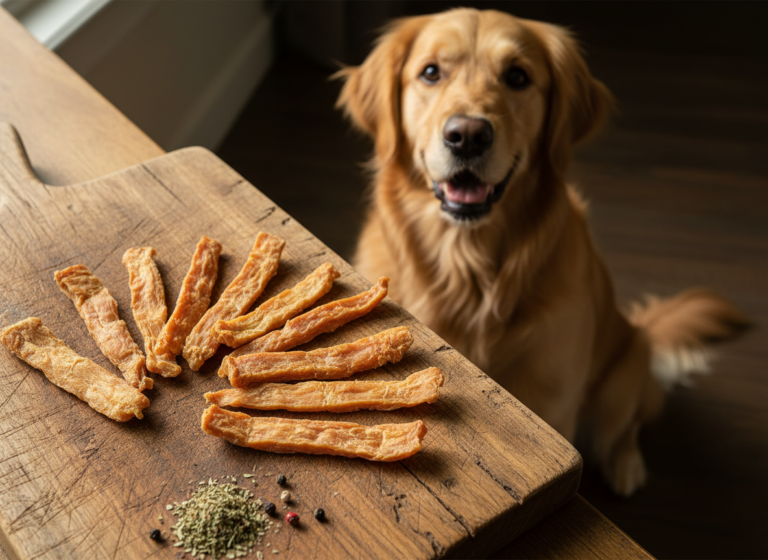
The first rule of being a Canine Nutrition Hacker is to become a forensic label investigator. Commercial dog treats are a multi-billion dollar industry built on convenience and clever marketing, often at the expense of quality. Let’s dissect a typical ‘bakery-style’ dog treat you might find at a big-box store.
The ‘First 5 Ingredients’ Truth
The first five ingredients make up the bulk of any product. In many popular treats, you’ll find a rogue’s gallery of low-value components:
- Wheat Flour: While not inherently evil, it’s a common allergen for many dogs and a cheap binder.
- Sugar/Corn Syrup: Absolutely unnecessary for dogs. It contributes to obesity, dental problems, and diabetes. It’s added to make the product more palatable, a trick for masking low-quality ingredients.
- Seed Oils (Soybean, Canola): Often used as cheap fats, these can be inflammatory and are far inferior to animal-based fats or healthier oils like coconut oil.
- Artificial Colors (e.g., Red 40, Yellow 5): These are purely for the human’s benefit to make the treat look appealing. They have been linked to hyperactivity and other health issues in both humans and animals.
- Propylene Glycol: A controversial preservative used to maintain moisture. While GRAS (Generally Recognized as Safe) by the FDA, it’s a chemical cousin to antifreeze and is banned in cat food. Why feed it to your dog?
When you make a treat at home, your ingredient list looks like this: flour, egg, a healthy fat, a dog-safe fruit. The difference is stark. You eliminate the chemical preservatives, the unnecessary sugars, and the potential allergens. You are the quality control.
Insider Secret: The term ‘natural flavors’ on an ingredient list is a black box. It can be derived from almost anything, including low-quality sources, as long as it started as something ‘natural’. It’s a way for companies to hide formulas and use cheap, hyper-palatable additives without full transparency.
Forensic Cost Analysis: The Shocking Savings of Homemade
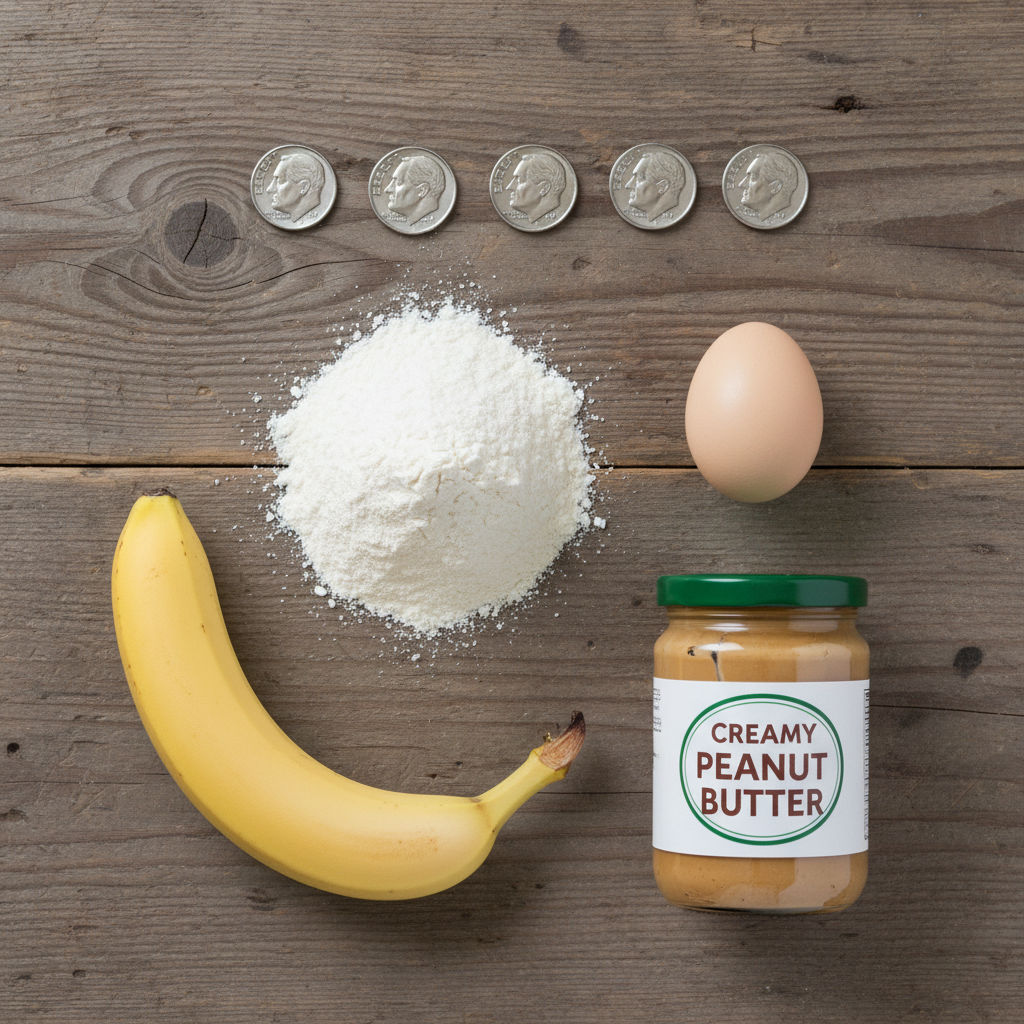
Convenience comes at a steep price. Let’s run the numbers and compare the cost of our 2-minute microwave cake to a single ‘gourmet’ cupcake or dog bakery treat. The results are not just surprising; they’re a call to action for your wallet.
We’ll base our calculations on average supermarket prices for standard ingredients. A single bakery ‘pupcake’ can easily cost between $3.00 and $5.00.
| Ingredient | Cost Per Unit (Approx.) | Amount Per Cake | Cost Per DIY Cake |
|---|---|---|---|
| Large Egg | $0.30 | 1/4 Egg | $0.08 |
| All-Purpose Flour | $0.05/tbsp | 2 tbsp | $0.10 |
| Peanut Butter (Xylitol-Free) | $0.15/tbsp | 1 tbsp | $0.15 |
| Banana | $0.25 | 1/4 Banana | $0.06 |
| TOTAL DIY COST | $0.39 |
The verdict is undeniable. You can produce a fresh, wholesome, chemical-free treat for a fraction of the price of a store-bought equivalent. For the price of one premium bakery treat, you could make about ten of these at home. Over a year, providing one of these treats a week instead of buying one could save you over $150. That’s money that can go towards high-quality food, vet care, or a new set of toys. Hacking your dog’s treats is a direct investment back into their overall well-being.
The Blueprint: Your 2-Minute Microwave Sponge Cake Recipe
This is the core schematic. Follow it precisely for a perfect result every time. The goal is a light, spongy texture, not a dense brick. The key is a wet-to-dry ingredient ratio that works with the rapid cooking of a microwave.
Approved Ingredients & Equipment
- Base: All-Purpose Flour, Whole Wheat Flour, or a gluten-free alternative like oat or coconut flour.
- Binder & Protein: One large egg.
- Moisture & Flavor: Unsweetened applesauce, mashed banana, plain pumpkin puree, or plain xylitol-free peanut butter.
- Equipment: A standard 8-12 oz microwave-safe mug or ramekin. A small bowl for mixing.
Enemy Ingredients: THE DO-NOT-USE LIST
- Xylitol: An artificial sweetener found in some peanut butters and baked goods. It is extremely toxic to dogs.
- Chocolate & Cocoa Powder: Contains theobromine, which is poisonous to dogs.
- Grapes & Raisins: Can cause acute kidney failure.
- Macadamia Nuts: Highly toxic to canines.
- Baking Powder/Soda: In large quantities, it can upset the stomach’s acid balance. This recipe is designed to be fluffy without it.
Step-by-Step Instructions
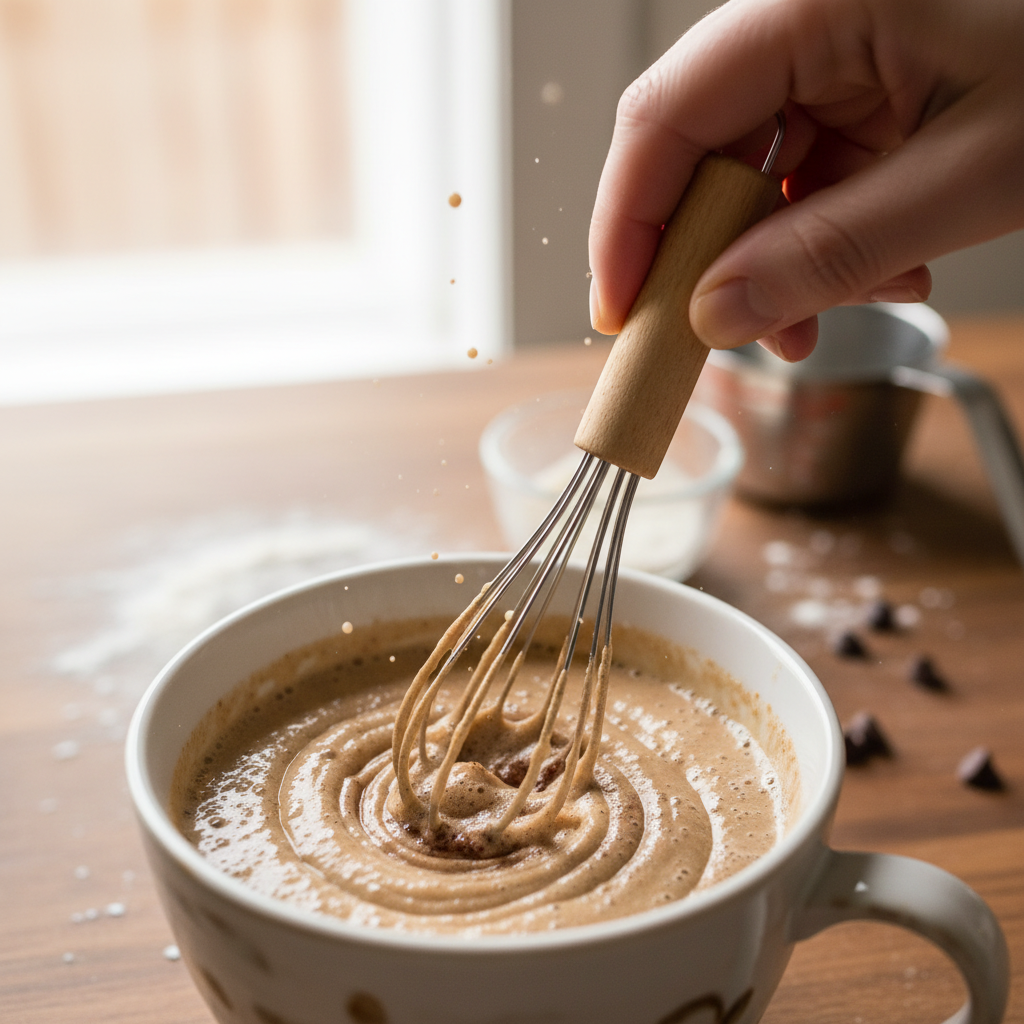
- Prepare the Wet Ingredients: In a small bowl, crack one egg and whisk it thoroughly. Add 1 tablespoon of xylitol-free peanut butter (or 2 tablespoons of mashed banana/pumpkin puree) and mix until smooth. The goal is a uniform, liquid consistency.
- Introduce the Dry Ingredients: Add 2 tablespoons of your chosen flour to the wet mixture. Stir gently until just combined. Do not overmix; a few small lumps are perfectly fine. Overmixing develops gluten and will make the cake tough.
- Prepare the Vessel: Lightly grease the inside of your microwave-safe mug or ramekin with a tiny bit of coconut oil or non-stick spray. This is crucial for preventing the cake from sticking.
- Cook: Pour the batter into the prepared mug. It should fill it about halfway. Microwave on high for 90 seconds to 2 minutes. Cooking time varies greatly depending on microwave wattage. Start checking at 90 seconds. The cake is done when the top is dry to the touch and a toothpick inserted into the center comes out clean.
- COOL DOWN – NON-NEGOTIABLE STEP: This is the most important part. The cake will be volcanically hot inside. Let it cool in the mug for at least 5-10 minutes before carefully tipping it out onto a plate to cool completely. Never serve a hot treat to your dog.
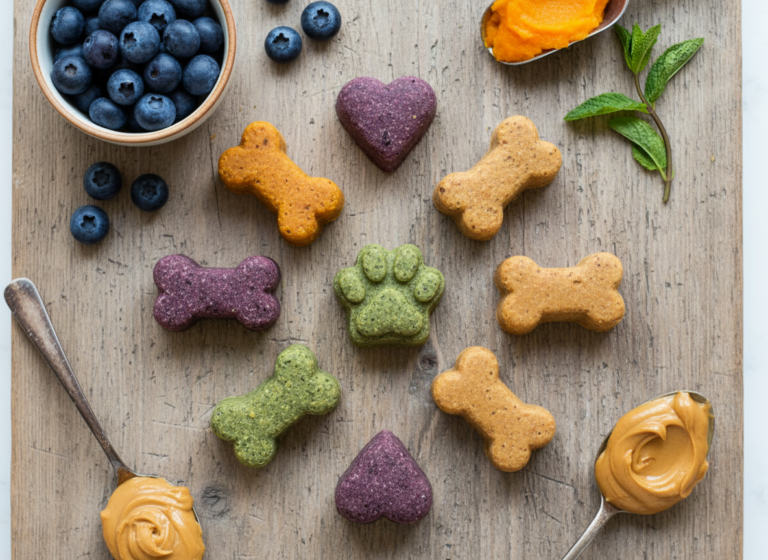
Customization & Upgrades: Hacking the Recipe for Your Dog
The basic blueprint is a launchpad for endless, safe variations tailored to your dog’s preferences and nutritional needs. Once you’ve mastered the base recipe, you can begin to innovate.
Protein Boosts
For a more substantial treat, especially for active dogs, consider adding a protein source. Fold in one of these after mixing the batter:
- One tablespoon of finely shredded, plain cooked chicken or turkey.
- One tablespoon of plain, low-fat cottage cheese.
- A teaspoon of crumbled, cooked bacon (use sparingly as a high-value reward).
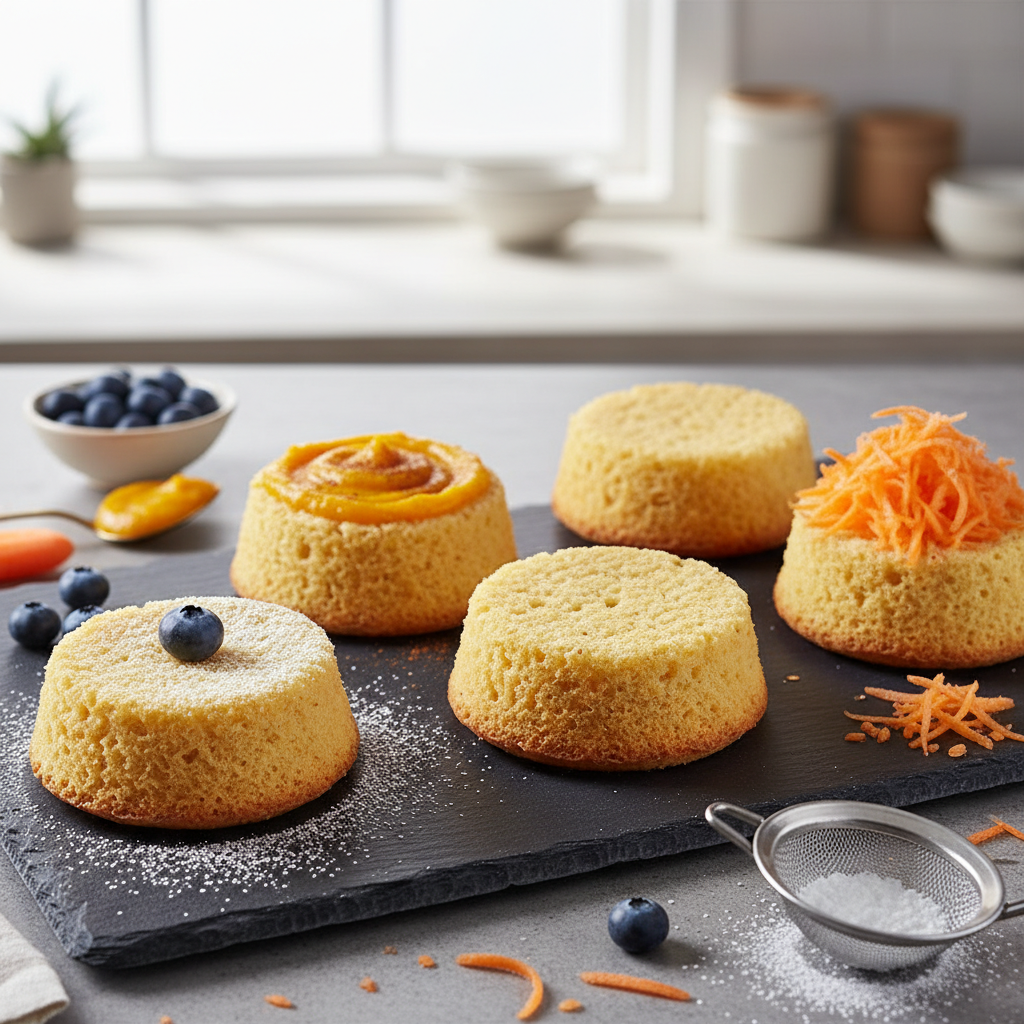
Fruit & Veggie Add-ins
Increase the vitamin and fiber content with these dog-safe options. They also add extra moisture and flavor.
- One tablespoon of finely grated carrot or zucchini (squeeze out excess water first).
- A few blueberries pushed gently into the batter once it’s in the mug.
- One tablespoon of pure pumpkin puree (great for digestive health).
Allergen-Friendly Swaps
If your dog has sensitivities, this recipe is incredibly adaptable.
- For Grain-Free: Replace the all-purpose flour with coconut flour or almond flour. Note: you may need to add a splash of water, as these flours are more absorbent.
- For Peanut Allergies: Use sunflower seed butter (ensure it’s xylitol-free) or simply use mashed banana or pumpkin as your base.
- For Egg Sensitivities: You can use 1/4 cup of unsweetened applesauce as a binder in place of the egg, though the texture will be denser.
Hacker Tip: Create a ‘frosting’ by mixing a small amount of plain Greek yogurt or cream cheese with a tiny bit of pumpkin or peanut butter. Only apply it once the cake has cooled completely. It adds a special touch for birthdays or ‘gotcha-day’ celebrations.
The Long Game: Batching and Storage Secrets
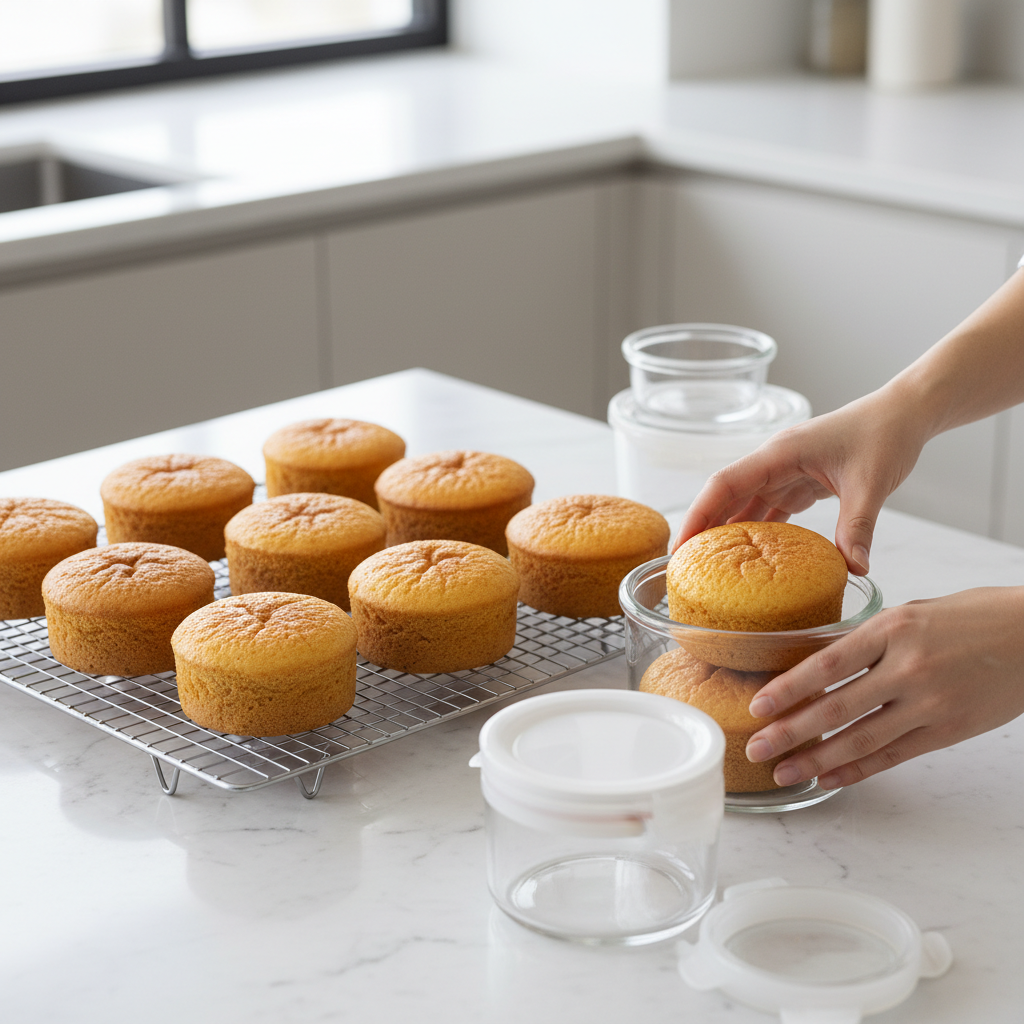
While the 2-minute promise is for a single cake, a true hacker optimizes for efficiency. Making these treats in batches saves you time in the long run, ensuring you always have a healthy option on hand when your dog gives you ‘the eyes’.
The Batching Process
The most efficient way to batch is to prepare the batter, not to microwave multiple cakes at once. Microwaving them individually ensures even cooking.
- Multiply the ingredients by the number of cakes you want to make (e.g., for 4 cakes, use 1 egg, 8 tbsp flour, etc.).
- Mix the wet ingredients in a larger bowl, then mix in the dry ingredients to create a larger volume of batter.
- Portion the batter into individual greased ramekins or mugs.
- Cook each one, one at a time, in the microwave. Allow them all to cool completely on a wire rack.
Storage Protocols
Proper storage is key to maintaining freshness and safety. Once the cakes are 100% cool to the touch, you have two primary options:
- Refrigeration: Place the cakes in an airtight container. They will stay fresh in the refrigerator for up to 3-4 days. The texture may become slightly more dense when chilled.
- Freezing: This is the ultimate hacker move for long-term storage. Wrap each individual cake tightly in plastic wrap, then place them all into a freezer-safe bag or container. They will keep in the freezer for up to 3 months.
To serve from frozen, simply unwrap a cake and let it thaw on the counter for about 20-30 minutes. You can also pop it in the microwave for 10-15 seconds to gently warm it up, but always check for hot spots before serving. This batching method transforms a 2-minute treat into a 30-second grab-and-go reward.
Conclusion
You now possess the blueprint to bypass the commercial treat industry. This 2-minute microwave sponge cake is more than a recipe; it’s a statement. It declares that you are a discerning pet owner who prioritizes health over hype and quality over convenience. You’ve seen how to analyze ingredients, calculate the real costs, and execute a perfect, safe, and delicious treat from scratch.
Embrace the Canine Nutrition Hacker mindset. Question labels. Understand ingredients. And never underestimate the power you have to improve your dog’s life, one wholesome, homemade treat at a time. You’re not just feeding your dog a cake; you’re feeding them your love and your commitment to their well-being, and there is no greater treat than that.