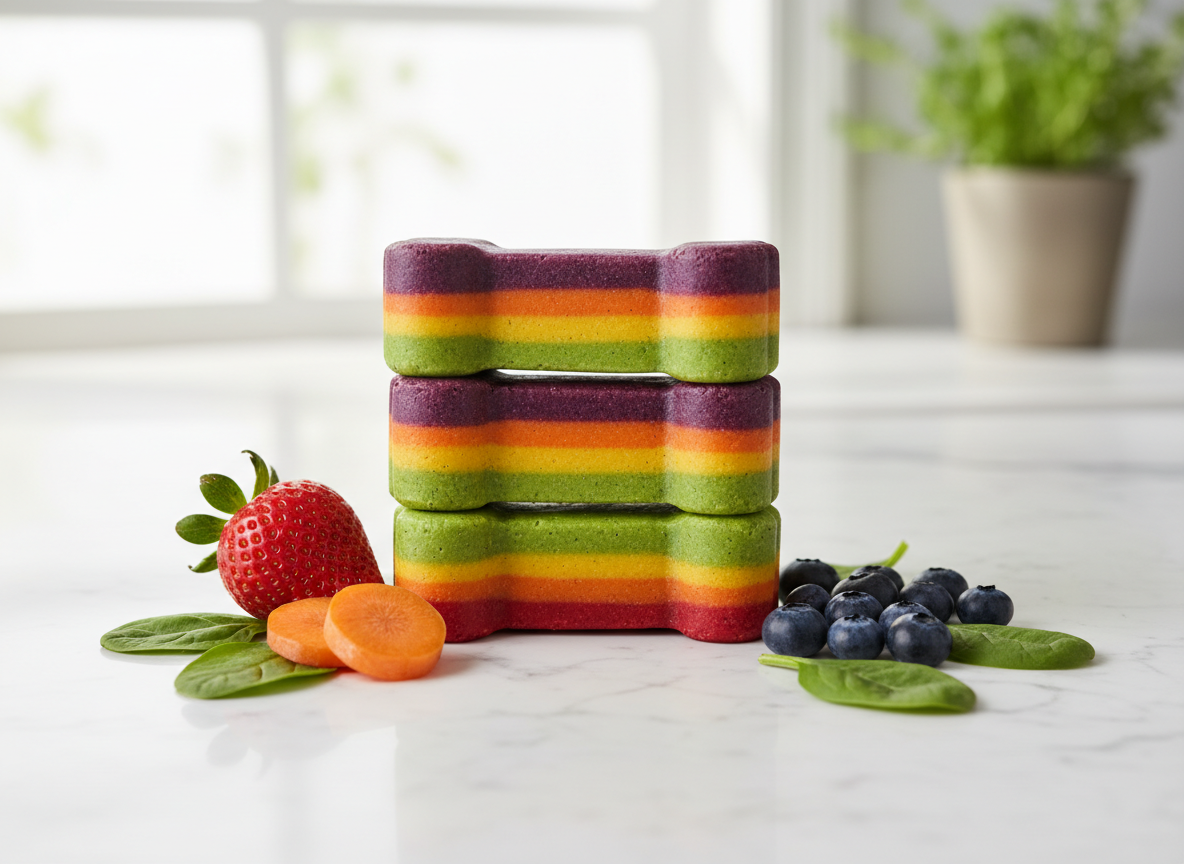
DIY Rainbow Layered Dog Treats (Natural Coloring Only)
Walk down any pet store aisle and you’ll be bombarded with brightly colored, fantastically shaped dog treats. They look fun, but flip over the package and read the ingredients. You’ll likely find a list of artificial dyes like Red 40, Yellow 5, and Blue 1, along with vague preservatives and fillers. These synthetic additives offer zero nutritional value and are linked to health issues you want nowhere near your canine companion.
The boutique bakeries aren’t much better, charging exorbitant prices for a single ‘gourmet’ cookie. The truth is, you’re paying for marketing, not superior nutrition. It’s time to hack the system. This guide will empower you to take complete control over your dog’s snacks. We are not just making treats; we are crafting high-value, nutrient-dense supplements disguised as a vibrant indulgence. Forget the lab-made colors. We will harness the power of whole foods to create a visually stunning—and genuinely healthy—rainbow layered treat that will make you the undisputed champion of your dog’s world.
Critical Safety Disclaimer: Read Before You Bake
Critical Safety Disclaimer: Read Before You Bake
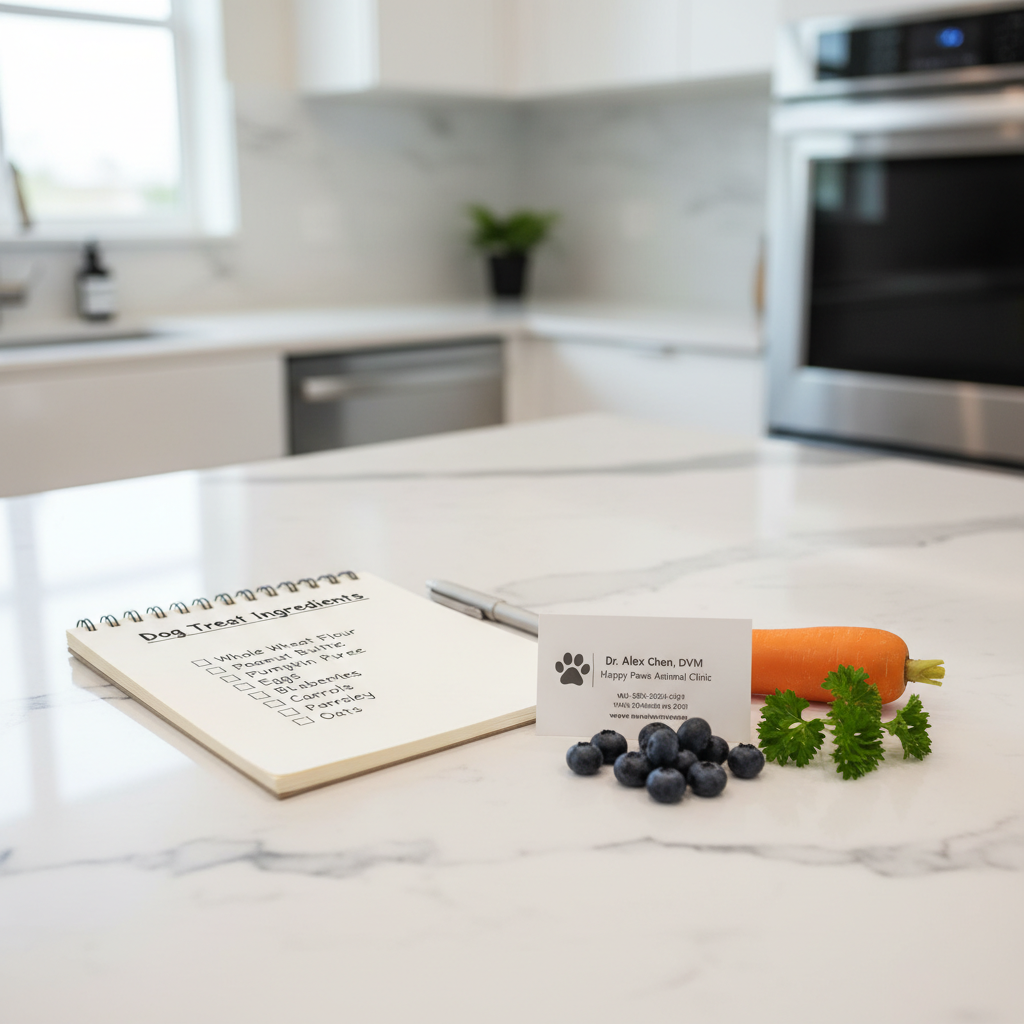
Before we proceed, let’s establish the ground rules. I am a canine nutrition analyst and a dedicated dog owner, not a veterinarian. The information provided here is for educational purposes and is not a substitute for professional veterinary advice. Every dog is an individual with unique dietary needs, sensitivities, and allergies. Always consult your veterinarian before introducing new foods into your dog’s diet.
These treats are intended as a supplemental snack and should not be used as a meal replacement. Treats should make up no more than 10% of your dog’s daily caloric intake. Furthermore, be absolutely certain that your kitchen is clear of ingredients that are toxic to dogs. A partial list of dangerous foods includes:
- Xylitol (an artificial sweetener found in many products)
- Grapes and Raisins
- Onions and Garlic
- Chocolate
- Macadamia Nuts
- Alcohol
- Cooked Bones (can splinter)
By following this recipe, you acknowledge your responsibility for ensuring the safety and suitability of these ingredients for your specific pet. Now that the critical safety protocols are clear, let’s build our arsenal.
The Natural Color Arsenal: Ditching Dyes for Whole Foods

The Natural Color Arsenal: Ditching Dyes for Whole Foods
The foundation of this recipe is replacing harmful artificial dyes with nutrient-rich, vibrant, whole-food alternatives. Each color in our rainbow will be derived from a fruit or vegetable that adds vitamins and antioxidants to your dog’s diet. This is the core principle of nutrition hacking: making every single calorie count. To create our colors, you will simply blend a small amount of the chosen food with a little water to create a smooth, concentrated puree.
Here is your go-to chart for creating a safe and healthy edible paint palette for your dog’s treats:
| Desired Color | Primary Natural Source | Key Nutritional Benefits |
|---|---|---|
| Vibrant Red | Beetroot (cooked or pureed) | Rich in Vitamin C, fiber, and manganese. |
| Bright Orange | Pumpkin or Carrot Puree | Excellent source of Vitamin A (Beta-Carotene) and fiber. |
| Sunny Yellow | Turmeric Powder (use sparingly) | Contains curcumin, a powerful anti-inflammatory compound. |
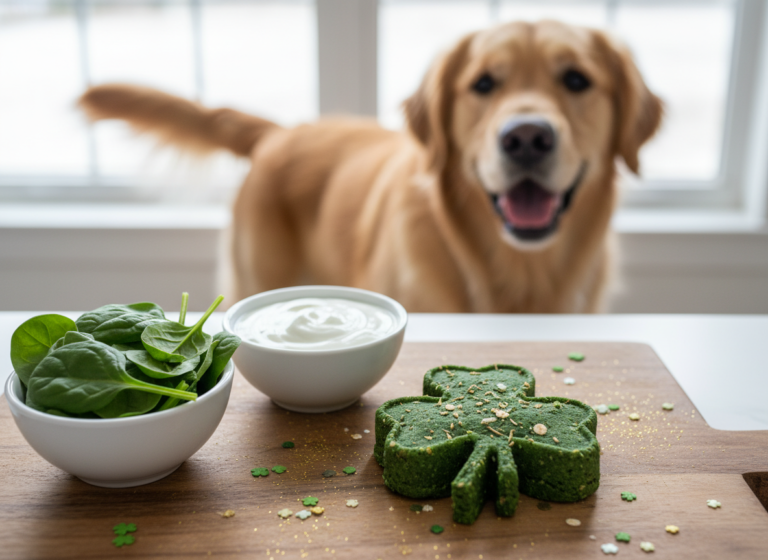
| Rich Green | Spinach or Kale (lightly steamed) | Packed with iron, Vitamin K, and antioxidants. |
| Blue / Deep Purple | Blueberries or Blackberries | Antioxidant powerhouses, great for immune and cognitive health. |
Hacker Tip: For the most vibrant blue, boil a few leaves of red cabbage. Strain the water, which will be purple. Add a tiny pinch of baking soda, and it will magically turn a brilliant blue. Use this water to mix with your base for the blue layer. It’s a simple chemistry trick that avoids using too many sugar-heavy berries.
The Blueprint: Step-by-Step Rainbow Layered Pupsicle Recipe

The Blueprint: Step-by-Step Rainbow Layered Pupsicle Recipe
This recipe uses a yogurt base for a probiotic boost and gelatin to create firm, distinct layers that don’t melt instantly. It’s designed to be a frozen treat (‘pupsicle’), which is perfect for warm days or as a soothing snack for teething puppies.
Base Ingredients
- 2 cups Plain, Unsweetened Greek Yogurt (or coconut yogurt for a dairy-free option)
- 4 tablespoons Unflavored Gelatin (or agar-agar for a vegan alternative)
- 1/2 cup Hot Water (not boiling)
- Your prepared natural color purees (approx. 1-2 tablespoons per color)
Equipment List
- Blender or food processor
- 5 small bowls
- Silicone molds (bone-shaped, paw-shaped, or a simple ice cube tray)
- Whisk
- Spoons or a small pipette for layering
Instructions
- Activate the Gelatin: In a medium bowl, dissolve the 4 tablespoons of unflavored gelatin in 1/2 cup of hot water. Whisk continuously until it is completely dissolved and smooth. This is your ‘binder’ that will give the treats structure.
- Create the Base: Add the 2 cups of plain yogurt to the gelatin mixture and whisk until fully combined. The result should be a smooth, liquid base.
- Divide and Conquer: Evenly divide the yogurt base among your 5 small bowls. Each bowl will become a different color of the rainbow.
- Infuse the Color: Add one of your natural color purees to each bowl. Start with the Purple/Blue (blueberry) in the first, Green (spinach) in the second, Yellow (turmeric) in the third, Orange (carrot) in the fourth, and Red (beet) in the fifth. Stir each bowl thoroughly until you have five distinct, vibrant colors.
- The First Layer: Start with the purple/blue mixture. Carefully spoon or pour a thin layer into the bottom of your silicone molds. Place the mold in the freezer for 15-20 minutes, or until the layer is firm to the touch. This step is critical for creating sharp, defined layers.
- Build the Rainbow: Once the first layer is firm, repeat the process with the green layer, pouring it directly on top of the purple. Freeze again for 15-20 minutes. Continue this process with the yellow, orange, and finally the red layer, freezing between each addition.
- The Final Freeze: Once all layers are complete, place the molds in the freezer for a final freeze of at least 4-6 hours, or overnight, to ensure they are completely solid.
- De-mold and Serve: Pop the frozen treats out of the silicone molds. Serve one to your dog and watch them enjoy your healthy, homemade creation.
Insider Secret: For ultra-clean lines between layers, use a small syringe or pipette (like one from a children’s medicine kit) to add each layer. This gives you precise control and prevents colors from running down the sides of the mold, resulting in a professional, bakery-quality look.
The Cost Analysis: Hacking Your Wallet vs. Boutique Brands
The Cost Analysis: Hacking Your Wallet vs. Boutique Brands
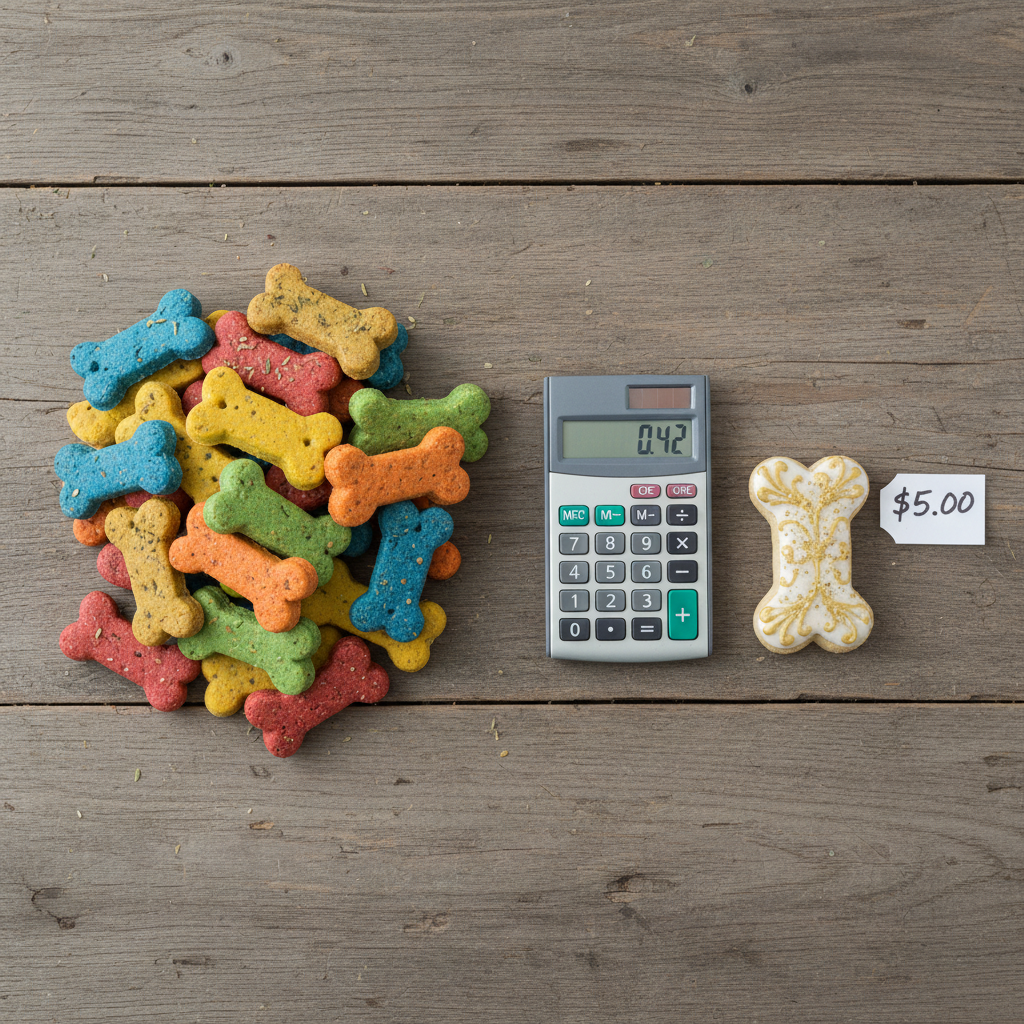
A core tenet of the Canine Nutrition Hacker is efficiency—not just in nutrients, but in cost. Let’s break down the economics of this DIY project versus buying a single, fancy, decorated treat from a high-end pet bakery. The numbers are staggering and reveal the massive markup you’re typically paying for inferior products.
This analysis is based on average supermarket prices and assumes you make a batch of approximately 24 medium-sized treats.
| Item | DIY Cost (Per Batch of 24) | Boutique Treat Cost (Per Item) |
|---|---|---|
| Plain Greek Yogurt (32oz) | $4.50 | N/A |
| Unflavored Gelatin | $1.50 | N/A |
| Organic Carrots, Beets, Spinach, Berries | $4.00 (approx. for small amounts) | N/A |
| Total Batch Cost | $10.00 | N/A |
| Cost Per Homemade Treat | $0.42 | $4.00 – $6.00 |
| Verdict & Savings | Superior ingredients, complete control, and a savings of over 90%. | Often contains wheat flour, sugar, and artificial dyes. Extreme markup. |
The conclusion is undeniable. For less than the price of three boutique treats, you can create two dozen superior, healthier, and preservative-free snacks for your dog. You’re not just saving money; you’re investing directly in your dog’s health by eliminating processed junk and artificial additives from their diet. This is the definition of a nutritional win-win.
Advanced Tactics: Batching, Storage, and Customization

Advanced Tactics: Batching, Storage, and Customization
Once you’ve mastered the basic recipe, you can optimize the process for efficiency and tailor it to your dog’s specific needs. A true nutrition hacker is always looking for ways to improve.
Batch Cooking and Storage Protocol
Your time is valuable. Don’t just make one batch; make two or three at a time. Once the treats are fully frozen and de-molded, ‘flash freeze’ them by placing them on a baking sheet in a single layer and freezing for another hour. This prevents them from sticking together. Then, transfer the hardened treats into a freezer-safe, airtight container or a vacuum-seal bag. Properly stored, these treats will last for up to 3 months in the freezer. This ensures you always have a healthy, low-cost treat on hand.
Customization & Allergy Hacks
- Protein Boost: For a more substantial treat, particularly for active dogs, blend a small amount of unseasoned, cooked, and cooled chicken, salmon, or beef into one of the layers. The orange (carrot) or yellow (turmeric) layers work well for this.
- Superfood Add-ins: Boost the nutritional profile even further by adding a teaspoon of chia seeds or flax seeds to the base mixture for an Omega-3 fatty acid kick.
- Sensitive Stomachs: If your dog is sensitive to dairy, substitute the Greek yogurt with pure canned pumpkin (not pie filling) or unsweetened applesauce. You may need to adjust the gelatin slightly to ensure it sets properly.
- Teething Soother: For puppies, these frozen treats are excellent for soothing sore gums. The cold helps numb the area, and the texture is satisfying to chew.
By customizing the recipe, you move beyond a simple treat and create a functional snack that addresses your dog’s specific dietary requirements and preferences.
Conclusion
You have now successfully bypassed the overpriced, under-performing commercial dog treat market. By investing a small amount of time, you’ve created a product that is nutritionally superior, visually impressive, and incredibly cost-effective. You are no longer a passive consumer; you are an active participant in your dog’s wellness, meticulously controlling every ingredient that goes into their body.
This recipe is more than just a fun project. It’s a gateway to understanding the power of whole-food nutrition and a testament to the fact that providing the best for your dog doesn’t have to drain your bank account. Keep questioning labels, keep prioritizing real ingredients, and continue to hack your way to a healthier, happier canine companion. They deserve nothing less.