Raw Feeder Hacks: How To Prevent Freezer Burn on Bulk Meat
SAFETY DISCLAIMER: Before we dive in, let’s be clear. I am not a veterinarian or a certified canine nutritionist. The information provided here is for educational purposes, based on extensive research and personal experience. A balanced raw diet is complex and requires careful planning to meet all of your dog’s nutritional needs. Always consult with a qualified veterinary nutritionist to formulate a diet that is safe and appropriate for your specific dog.
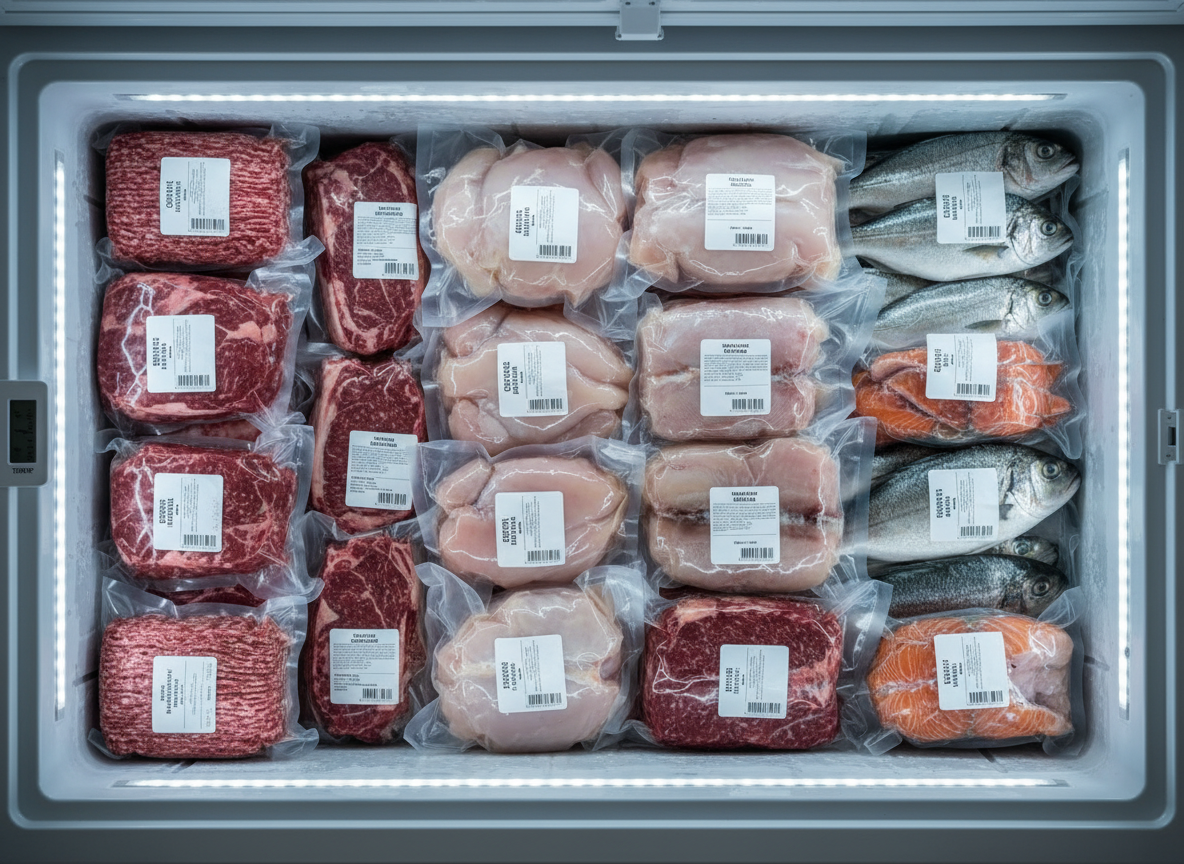
You’ve made the leap into raw feeding, aiming to provide your canine companion with the best possible nutrition. You’re sourcing high-quality meats, and to make it economical, you’re buying in bulk. You see the potential for massive savings. But then, weeks later, you pull a package from the freezer and find it covered in ugly, greyish-brown patches. That is freezer burn, the silent thief that degrades the quality of your investment and wastes your hard-earned money. Preventing it isn’t just about aesthetics; it’s about preserving the vital nutrients, texture, and taste of the food you so carefully sourced. This guide provides the no-nonsense, authoritative methods to eliminate freezer burn from your raw feeding workflow, protecting your investment and your dog’s health.
Understanding the Enemy: What Exactly Is Freezer Burn?
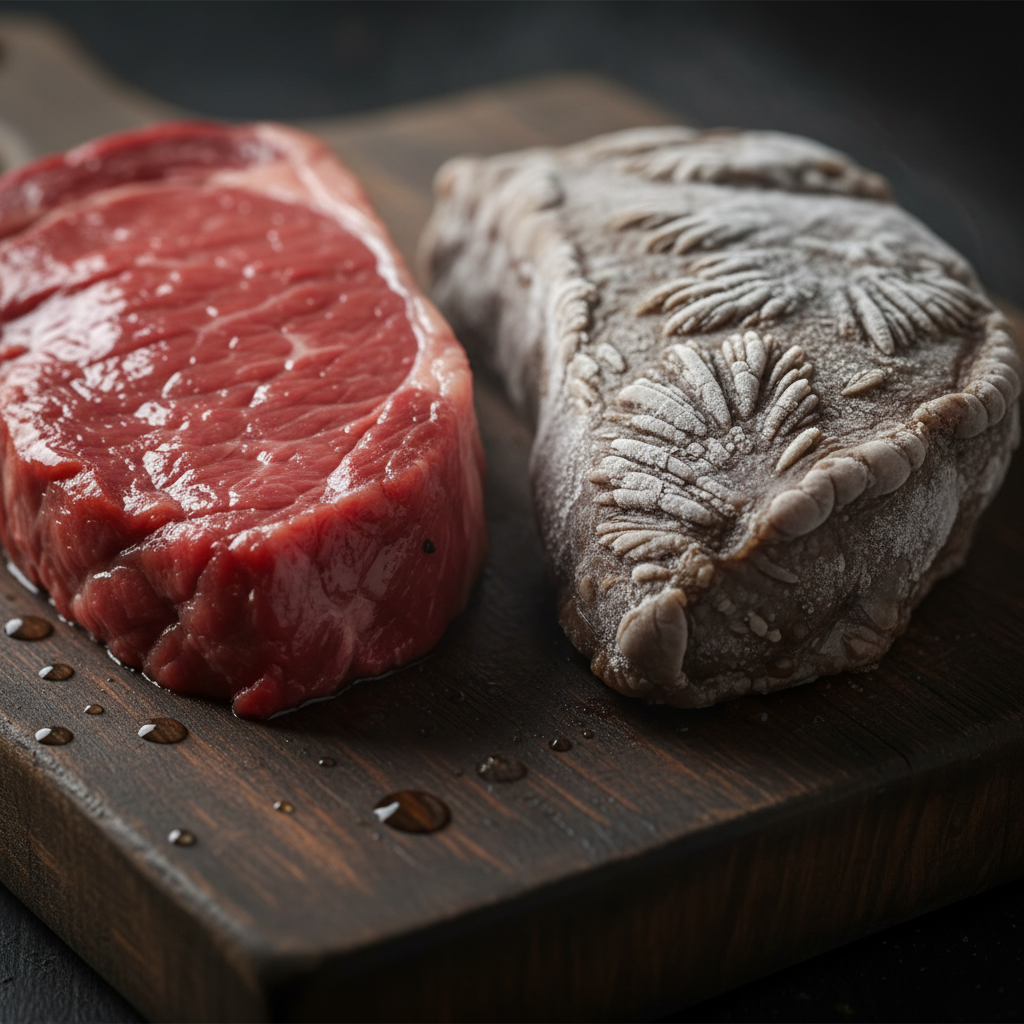
To defeat an enemy, you must first understand it. Freezer burn is not a type of rot or bacterial contamination. In scientific terms, it’s the result of sublimation. This occurs when water molecules escape from the frozen meat, turning directly from a solid (ice) into a gas (water vapor), bypassing the liquid stage entirely. This process is accelerated by air exposure.
When the ice crystals on the surface of the meat sublimate, they leave behind dehydrated pockets. The meat’s proteins and other nutrients become concentrated and exposed to oxygen, leading to changes in color, flavor, and texture. The result is that tough, discolored, and unappetizing product you’ve likely encountered. While a small amount of freezer burn won’t harm your dog, it signifies a major loss in quality:
- Nutrient Degradation: The oxidation process can degrade fats and some vitamins, reducing the overall nutritional value of the meal.
- Loss of Moisture: The primary issue is dehydration. This results in a dry, tough texture that many dogs will find unpalatable.
- Flavor Changes: Oxidation can create off-flavors, making the meat less appealing and potentially causing digestive upset in sensitive dogs.
Ultimately, freezer burn represents a financial loss. You paid for high-quality, moisture-rich meat, and freezer burn effectively turns it into a lower-quality product. The key to prevention is creating an impenetrable barrier between the meat and the air.
The Raw Feeder’s Arsenal: Essential Tools for Bulk Storage
Winning the war against freezer burn requires the right equipment. Investing in these tools upfront will save you significantly more in the long run by eliminating food waste. This is your non-negotiable toolkit for preserving bulk meat.
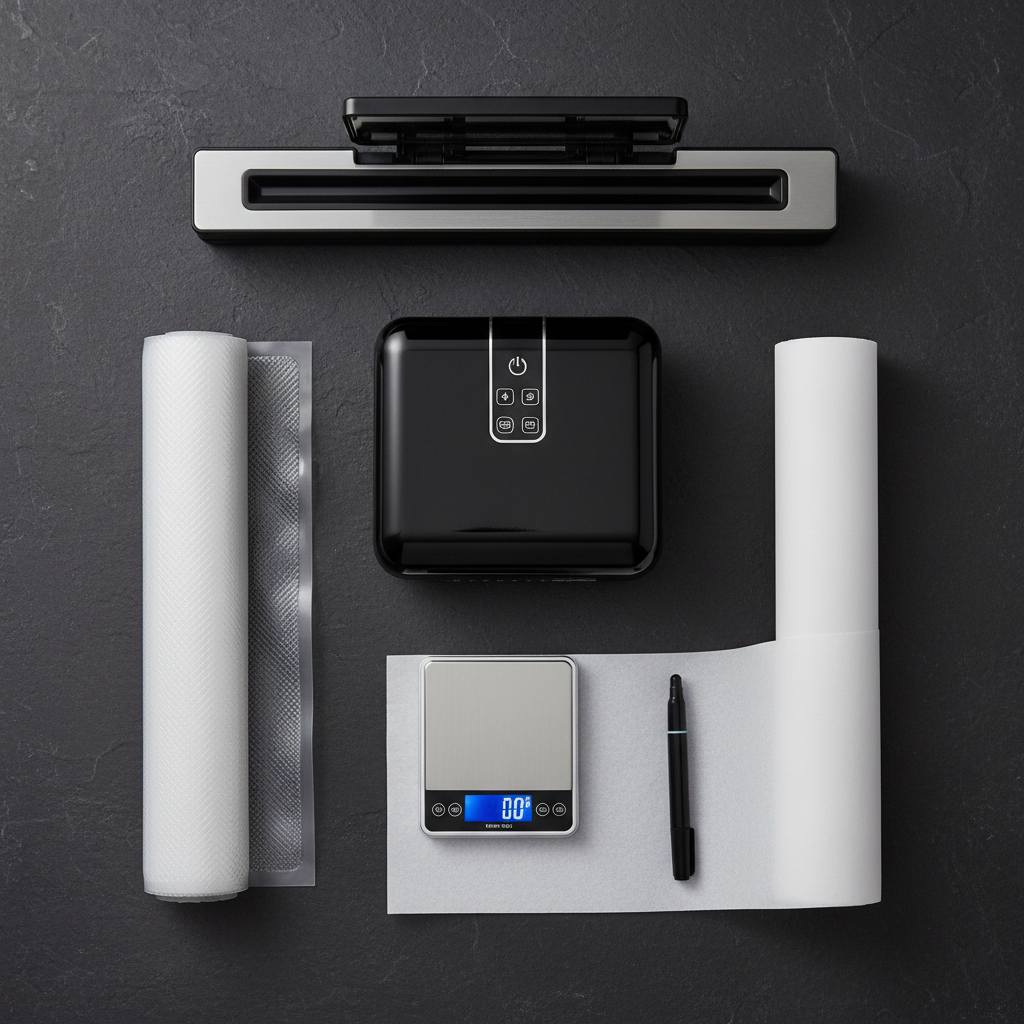
The Primary Weapon: A Vacuum Sealer
This is the single most effective tool you can own. A vacuum sealer works by removing virtually all the air from a specialized plastic bag before creating an airtight heat seal. By eliminating oxygen, you stop the process of sublimation and oxidation in its tracks. While cheap plastic bags trap air, a vacuum sealer removes it. Look for a model with a durable motor and the ability to create a wide, reliable seal. The initial cost is quickly recouped by the savings on bulk meat that would have otherwise been wasted.
Secondary Defenses: Wraps and Bags
If a vacuum sealer isn’t in the budget, you can still achieve good results with a multi-layered approach.
- Butcher Paper: This thick, wax- or plastic-coated paper is designed to resist moisture and air. It provides a durable outer layer of protection.
- Plastic Wrap: Use a high-quality, thick plastic wrap to create the initial airtight seal directly against the meat’s surface. The goal is to eliminate every possible air pocket.
- Heavy-Duty Freezer Bags: These are thicker than standard sandwich bags and are more resistant to punctures and tears. They are essential for holding your wrapped portions.
Logistical Support
- Chest Freezer: Highly recommended over your refrigerator’s freezer compartment. Chest freezers maintain a more consistent, colder temperature because the cold air doesn’t ‘fall out’ every time you open the door. They also offer more space for bulk storage. Set it to 0°F (-18°C) for optimal long-term preservation.
- Permanent Markers: An underrated but critical tool. Proper labeling prevents mystery meats and ensures you’re using older stock first.
- Digital Kitchen Scale: For accurately portioning meals before freezing, ensuring consistency in your dog’s diet.
The Pre-Freeze Protocol: Your Step-by-Step Battle Plan
Proper technique is just as important as the tools you use. Follow this precise protocol from the moment you bring your bulk meat home to ensure maximum freshness and longevity in the freezer.
Step 1: Work Cold and Fast
Bacteria thrive at room temperature. Your goal is to keep the meat as cold as possible during the entire portioning and packaging process. Work in small batches, leaving the bulk of the meat in the refrigerator until you are ready to process it. A clean, cold workspace on a stainless steel or stone counter is ideal.
Step 2: Portion Control is Key
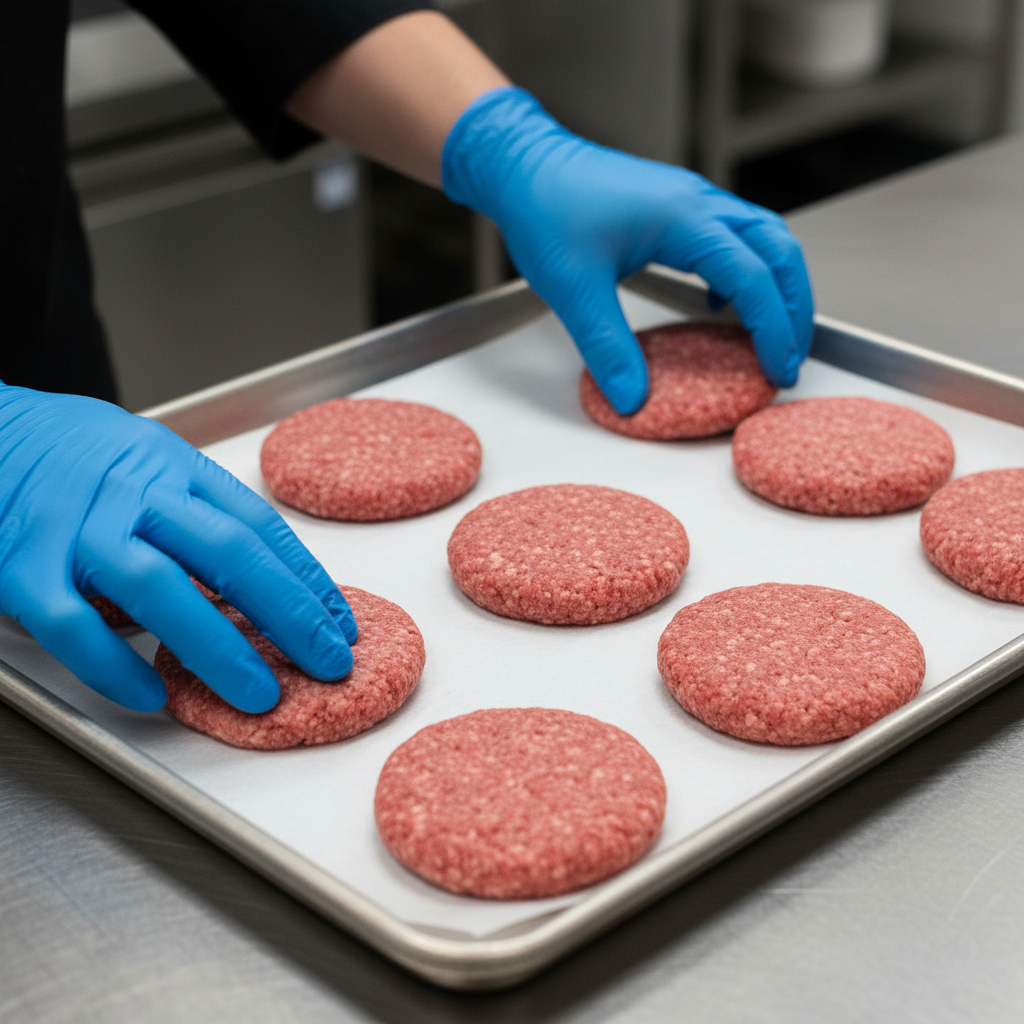
Before you freeze anything, decide on your portion sizes. Using your kitchen scale, weigh out individual meals or daily rations for your dog. It is infinitely easier to do this now than to try and chisel a single meal off a 10-pound frozen block of ground beef later. Form ground meats into patties or meatballs for easy separation.
Step 3: The Flash Freeze Technique
This is a critical step, especially for ground meats or smaller cuts like chicken wings or organ pieces. Spread your individual portions on a metal baking sheet lined with parchment paper, ensuring they don’t touch. Place the sheet in the freezer for 1-2 hours, or until the portions are frozen solid. This prevents them from sticking together inside the final package and makes vacuum sealing wet items much cleaner and more effective.
Step 4: Packaging for Preservation
Once your portions are flash-frozen, it’s time to package them for long-term storage.
- For Vacuum Sealing: Place the frozen portions into a vacuum sealer bag. Leave several inches of space at the top to ensure a good seal. For very wet items, you can place a folded paper towel inside the bag, between the meat and the seal area, to absorb any excess moisture that could compromise the seal. Follow your machine’s instructions to vacuum and seal the bag.
- For Double Wrapping: Tightly wrap each frozen portion in plastic wrap, squeezing out as much air as humanly possible. Then, wrap that package again in a layer of butcher paper, taping it securely. Place these individually wrapped portions into a large, heavy-duty freezer bag, squeezing out the remaining air before sealing.
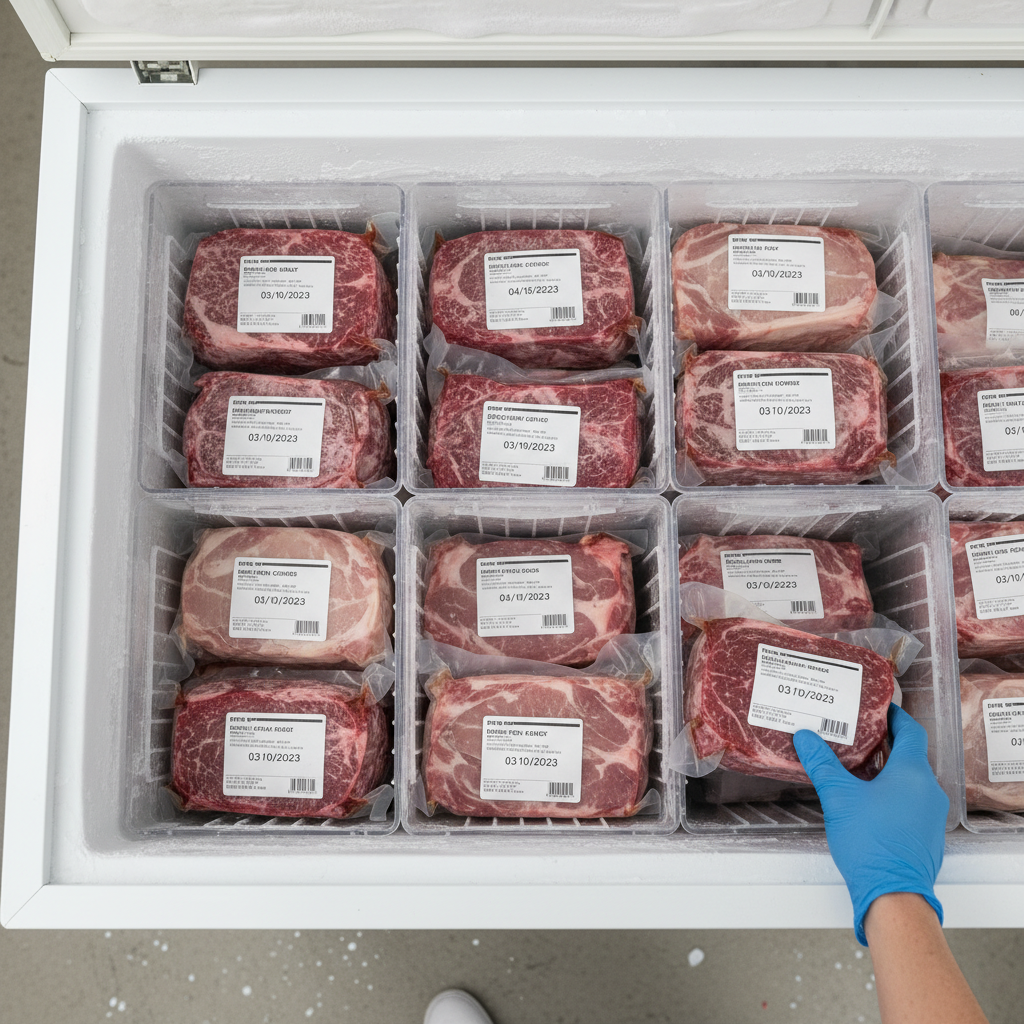
Step 5: Label Everything, No Exceptions
Use your permanent marker to label every single package before it goes into the deep freeze. Include this information at a minimum: 1. Type of Protein (e.g., ‘Ground Beef 80/20’), 2. Weight/Portion Size (e.g., ‘1 lb portions’), and 3. Date Frozen (e.g., ’10/26/23′). This allows you to practice the ‘First-In, First-Out’ method and know exactly what you’re grabbing.
The Cost-Benefit Analysis: DIY Bulk vs. Commercial Raw
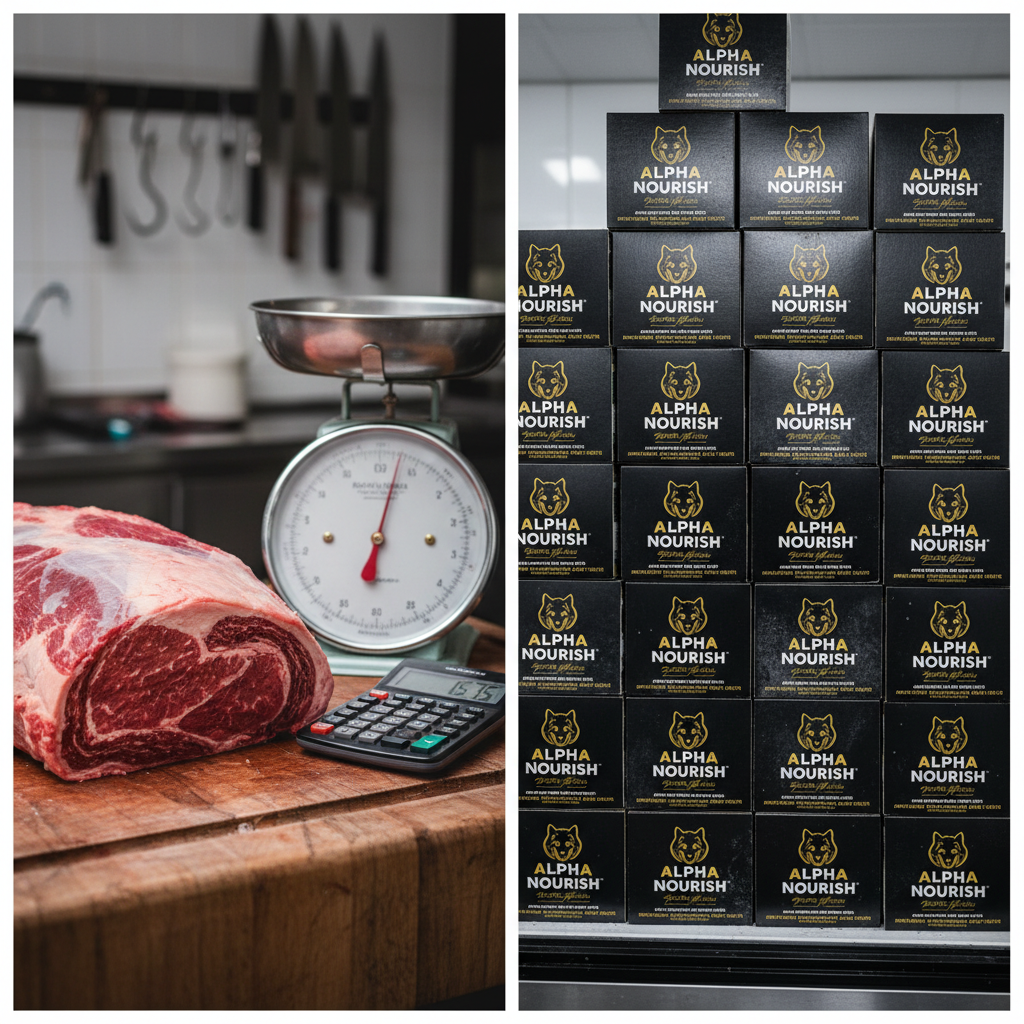
The primary driver for dealing with bulk meat is cost savings. But how significant is it? Let’s break down the real numbers. The initial investment in a vacuum sealer and chest freezer can feel substantial, but the long-term payoff is undeniable when compared to the convenience of pre-made commercial raw diets.
Hacker Tip: Don’t just look at supermarkets. Connect with local butchers, meat processors, or restaurant suppliers. Many offer significant discounts on bulk orders, trim, or organ meats that are perfect for canine consumption but less popular for humans. This is where the real savings are found.
Below is a cost comparison for feeding a hypothetical 50-pound, moderately active dog, which typically eats about 1 pound (16 oz) of food per day.
| Metric | DIY Bulk Raw (Self-Prepared) | Commercial Pre-Made Raw |
|---|---|---|
| Average Cost per Pound | $2.50 – $4.50 (Varies by protein source and supplier) | $7.00 – $12.00+ |
| Approximate Cost per Day (50lb Dog) | $2.50 – $4.50 | $7.00 – $12.00+ |
| Approximate Monthly Cost | $75 – $135 | $210 – $360 |
| Potential Monthly Savings | $135 – $225 | |
| Prep Time Investment | High (Portioning, packaging, cleaning) | Very Low (Thaw and serve) |
| Quality Control | Total control over source and ingredients | Dependent on brand reputation and transparency |
| Convenience Factor | Low | Very High |
As the table clearly illustrates, the monthly savings can easily exceed $100-$200, depending on your sourcing. Over a year, you could save over $2,000. This financial benefit makes the initial investment in storage tools and the time commitment for preparation an extremely logical and empowering choice for the dedicated raw feeder.
Freezer Management and Thawing for Maximum Quality
Your job isn’t done once the meat is in the freezer. Proper management and thawing techniques are the final steps to ensuring the meal you serve is safe, fresh, and palatable.
Practice ‘First-In, First-Out’ (FIFO)
This is a fundamental principle of inventory management that applies perfectly to your freezer. Always place new packages at the back or bottom, and move older packages to the front or top. Your clear labeling system makes this easy. This ensures that meat is used in a timely manner, well before freezer burn has any chance to set in. Generally, properly vacuum-sealed meat can last for 2-3 years, but for optimal quality in a raw diet, aim to use most items within 6-12 months.
Maintain Your Freezer
A full freezer is an efficient freezer. Empty space allows for more air circulation and temperature fluctuation when the door is opened, which can contribute to freezer burn. If your freezer is getting empty, you can fill the space with bags of ice or containers of water to help maintain a stable, cold temperature. Periodically check for frost buildup and defrost as needed, as excessive frost can hinder efficiency.
The Safe Thawing Protocol
How you thaw the meat is critical for safety. Improper thawing can allow harmful bacteria to multiply.
- The Best Method: Refrigeration. This is the safest and most recommended method. Simply move the required number of portions from the freezer to the refrigerator 24 hours before you plan to serve them. It’s slow, but it keeps the meat at a consistently safe, cold temperature.
- The Quick Method: Cold Water Bath. If you’re short on time, place the sealed package of meat in a bowl of cold water. Change the water every 30 minutes to ensure it stays cold. A one-pound package can typically thaw in about an hour this way.
- WARNING: Never Use the Microwave. Microwaving frozen meat is a terrible idea. It thaws unevenly, can begin to cook the outside while the inside is still frozen, and creates warm spots where bacteria can rapidly multiply. It also destroys the texture and can degrade nutrients. Avoid it at all costs.
Conclusion
Mastering the art of bulk meat preservation is a cornerstone of being a savvy, cost-effective raw feeder. Freezer burn is a preventable problem, not an inevitability. By investing in the right tools—with the vacuum sealer as your top priority—and adhering to a strict protocol of portioning, flash-freezing, and proper packaging, you take complete control over the quality and cost of your dog’s diet. The financial savings are substantial, but the real reward is the peace of mind that comes from knowing you are providing fresh, nutrient-rich food in every single bowl. Stop letting freezer burn steal your money and your dog’s nutrition. Implement these hacker strategies and elevate your raw feeding game.