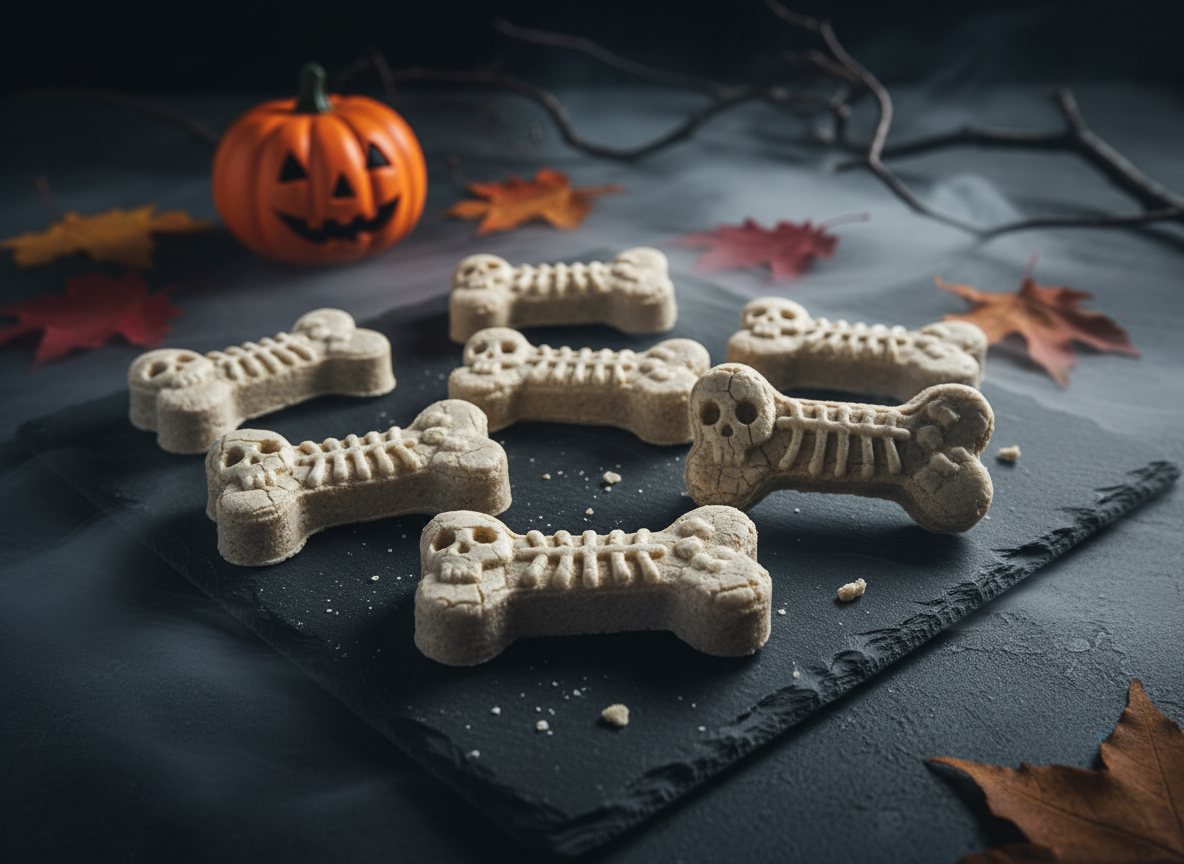
Spooky Skeleton Bone Dog Treats for a Halloween Party
Halloween is for the whole family, and that includes the four-legged members. But while you’re navigating the sea of candy and costumes, the pet aisle is also flooding with seasonal ‘treats’ that are often more trick than treat. We’re talking about overpriced bags of grain-filled, artificially colored biscuits that offer zero nutritional value. As The Canine Nutrition Hacker, I’m here to tell you there’s a better way. It’s time to take control, bypass the marketing gimmicks, and create something your dog will love that you can feel good about.
This guide will provide the complete blueprint for crafting Spooky Skeleton Bone Dog Treats from scratch. We’ll break down the ingredients, expose the cost savings, and give you a step-by-step protocol for a howling success. Your dog gets a delicious, healthy treat, and you get the satisfaction of knowing exactly what’s fueling your companion.
CRITICAL SAFETY DISCLAIMER: I am The Canine Nutrition Hacker, an expert in analyzing pet food ingredients, not a veterinarian. These treats are intended for intermittent or supplemental feeding only. They are not a replacement for a balanced diet. Always consult your veterinarian before introducing new foods to your dog’s diet, especially if they have known allergies, sensitivities, or pre-existing health conditions.
The Deception in Store-Bought Holiday Treats
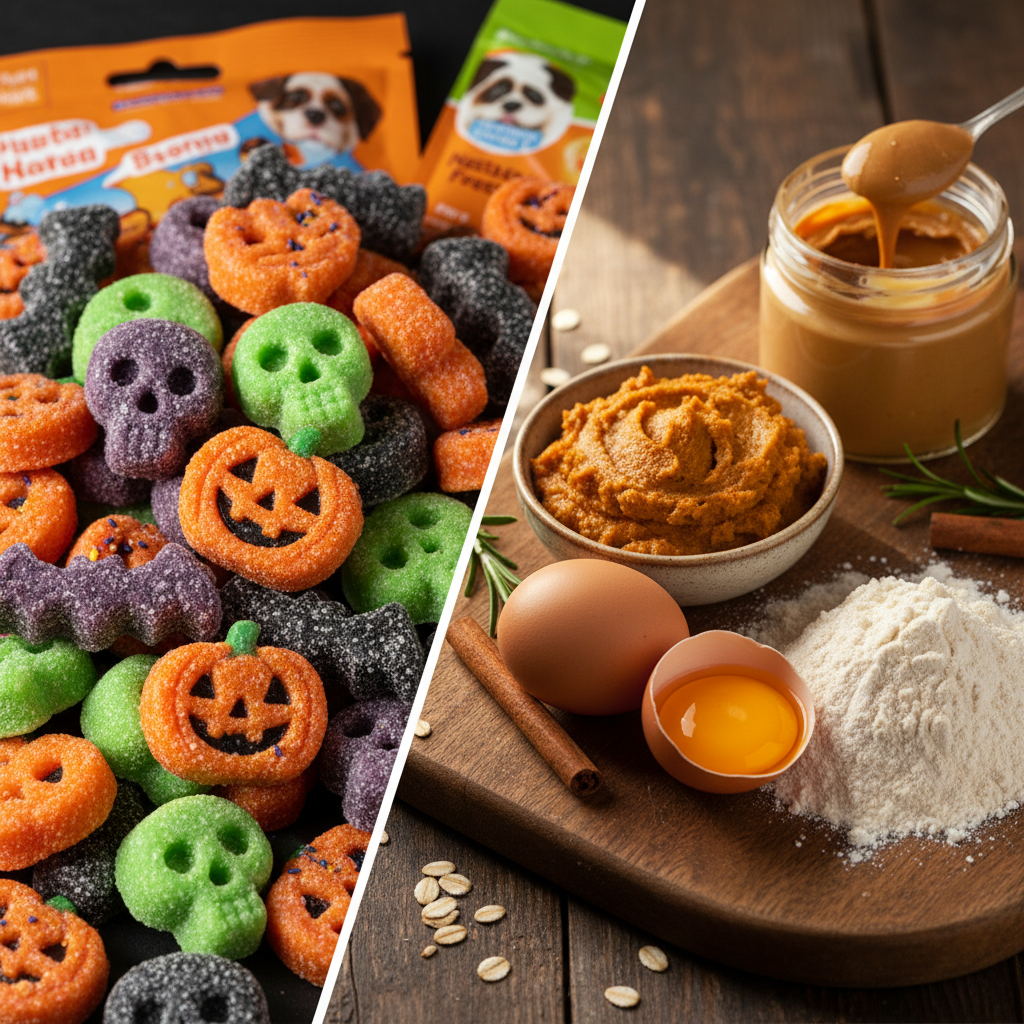
Before we build, we must first understand what we’re fighting against. Walk into any pet superstore in October, and you’ll find endcaps overflowing with festive bags of Halloween-themed treats. They’re cute, convenient, and tap right into our desire to include our pets in the fun. But turn the bag over. That’s where the horror story begins.
The Usual Suspects on the Ingredient Label:
- Fillers First: Often, the first ingredients are cheap fillers like corn, wheat, or soy. These are common allergens for many dogs and serve primarily to bulk up the product, not to provide quality nutrition.
- Sugar and Sweeteners: You might find sugar, molasses, or even corn syrup on the list. Dogs don’t need added sugar, which contributes to weight gain, dental problems, and metabolic stress.
- Artificial Colors and Flavors: That bright orange or spooky purple color isn’t from pumpkin or beets. It’s typically from synthetic dyes like Yellow 5, Red 40, or Blue 1, which have been linked to hyperactivity and other health concerns in some studies. Artificial ‘bacon’ or ‘chicken’ flavors are chemical concoctions designed to make low-quality ingredients more appealing.
- Questionable Preservatives: To ensure a long shelf life, many commercial treats use chemical preservatives like BHA, BHT, or ethoxyquin. These are controversial additives that have raised health concerns in the world of animal nutrition.
By making your own treats, you eliminate every single one of these questionable ingredients. You control the quality of the flour, the source of the protein, and the natural sweetness. It’s the ultimate nutrition hack: removing the junk and keeping only what serves your dog’s health.
Forensic Cost Analysis: DIY vs. Boutique Pet Store
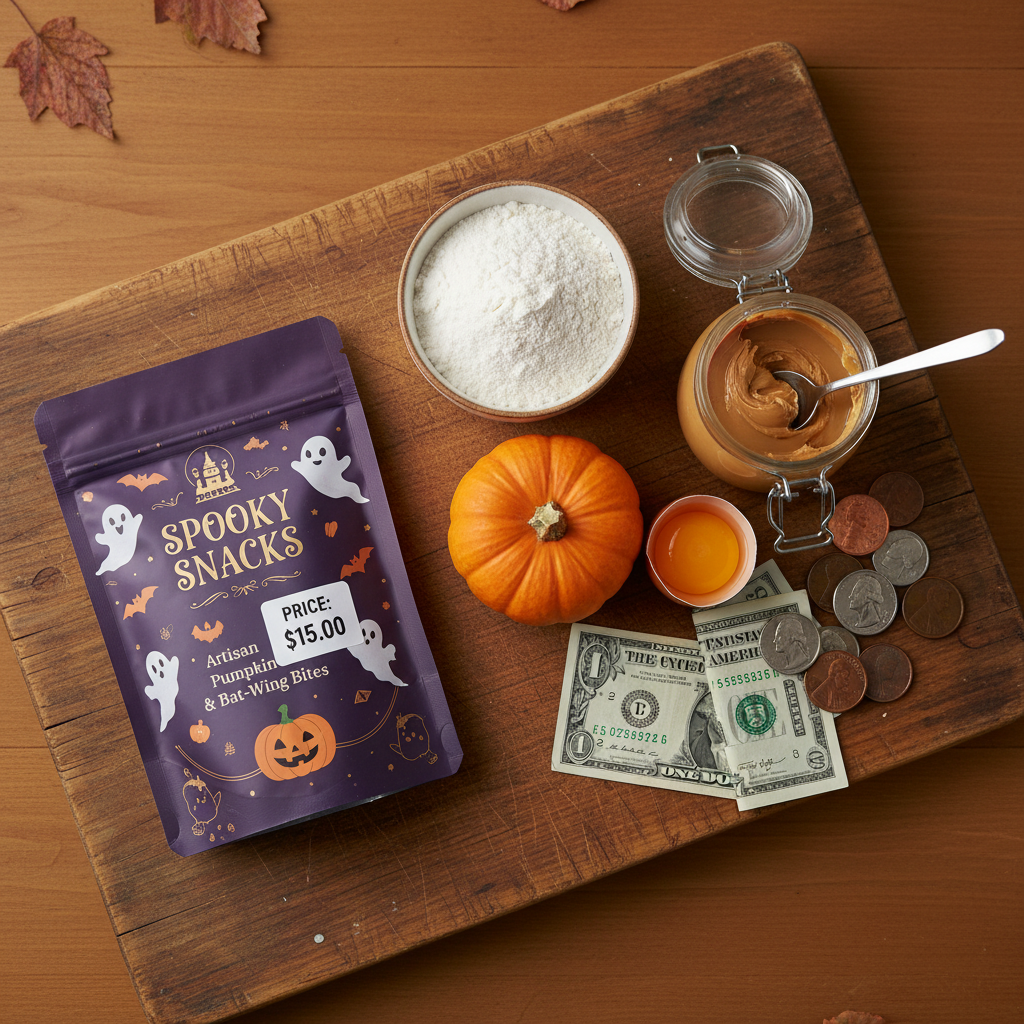
One of the biggest myths is that homemade is prohibitively expensive. Let’s run the numbers. A small, 8-ounce bag of decorated, seasonal ‘gourmet’ dog treats from a pet boutique can easily cost $15.00 or more. You’re paying for marketing, packaging, and novelty, not nutritional substance. Now, let’s break down the cost of our Spooky Skeleton Bones.
We’ll base this analysis on standard grocery store prices for good-quality, but not exclusively organic, ingredients. This recipe yields approximately 30-40 treats, far more than you’d get in that pricey boutique bag.
| Ingredient | Typical Store Price | Amount Used in Recipe | Cost Per Batch |
|---|---|---|---|
| Whole Wheat Flour | $4.00 for 5 lbs | 2.5 cups (~1.25 lbs) | ~$1.00 |
| Pumpkin Puree | $2.50 for 15 oz can | 1 cup (~7.5 oz) | ~$1.25 |
| Natural Peanut Butter | $5.00 for 16 oz jar | 1/2 cup (~4.5 oz) | ~$1.40 |
| Eggs | $4.00 per dozen | 2 large eggs | ~$0.67 |
| Yogurt Powder (for icing) | $10.00 for 8 oz bag | 1/4 cup (~1 oz) | ~$1.25 |
| Total DIY Cost | – | – | ~$5.57 |
The verdict is clear. For roughly one-third of the price, you can produce double or triple the quantity of treats, with infinitely better ingredients. You’re not just saving money; you’re investing in your dog’s health and eliminating the risk of feeding them mystery ingredients. This is the definition of a high-return investment for any savvy pet owner.
The Blueprint: A Step-by-Step Protocol for Spooky Skeleton Bones

This is where the magic happens. This recipe is simple, forgiving, and packed with ingredients that offer real benefits. Follow this protocol precisely for perfect, spooky treats.
Ingredient Deep Dive
- 2 ½ cups Whole Wheat Flour: A great source of fiber. You can substitute with oat flour or a gluten-free all-purpose blend if your dog has a wheat sensitivity.
- 1 cup Pure Pumpkin Puree: Ensure it’s 100% pure pumpkin, not pie filling which contains sugar and spices. Pumpkin is a superstar for digestive health.
- ½ cup Natural Peanut Butter: A flavor dogs love and a good source of protein and healthy fats. CRITICAL WARNING: Check the label to ensure it does NOT contain xylitol, an artificial sweetener that is extremely toxic to dogs.
- 2 Large Eggs: A fantastic source of digestible protein, selenium, and riboflavin.
- ½ teaspoon Cinnamon: This is optional, but cinnamon has anti-inflammatory properties and adds a touch of fall flavor.
Equipment Checklist
- Large mixing bowl
- Whisk and spatula
- Rolling pin
- Parchment paper
- Baking sheets
- Bone-shaped cookie cutter (around 3-4 inches is ideal)
Step-by-Step Protocol
- Preheat and Prep: Preheat your oven to 350°F (175°C). Line two large baking sheets with parchment paper to prevent sticking.
- Combine Wet Ingredients: In your large mixing bowl, whisk together the pumpkin puree, peanut butter, and eggs until smooth and well-combined. The mixture should be a uniform orange-brown color.
- Incorporate Dry Ingredients: Gradually add the whole wheat flour and cinnamon (if using) to the wet ingredients. Start by mixing with the spatula, and as the dough becomes thick, switch to using your hands.
- Knead the Dough: Turn the dough out onto a lightly floured surface. Knead for 1-2 minutes until it forms a cohesive, non-sticky ball. If it’s too sticky, add a tablespoon of flour at a time. If it’s too dry, add a tablespoon of water.
- Roll and Cut: Roll the dough out to approximately ¼-inch thickness. Use your bone-shaped cookie cutter to cut out the treats, placing them about an inch apart on your prepared baking sheets. You can re-roll the scraps to use all the dough.
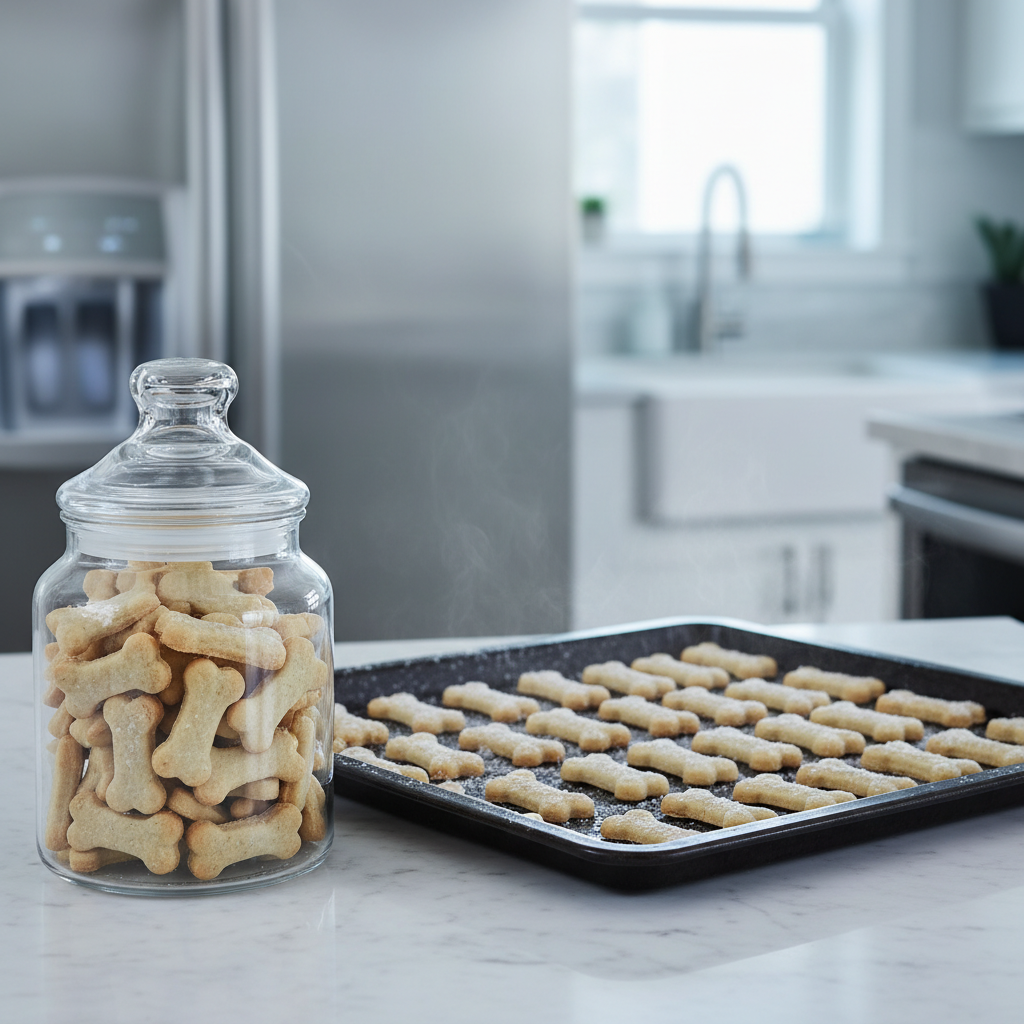
- Bake to Perfection: Bake for 20-25 minutes, until the edges are golden brown and the treats are firm to the touch. For a crunchier treat, you can turn off the oven, crack the door, and let them cool inside for another hour.
- Cool Completely: Transfer the baked bones to a wire rack to cool completely. This is a crucial step before decorating, as any warmth will cause the icing to melt and slide off.
The Hacker’s Icing: A Dog-Safe Skeleton Decoration

The decoration is what transforms a simple bone biscuit into a spooky masterpiece. Human icing is a dangerous no-go zone, loaded with powdered sugar and vanilla extract (which can contain alcohol). We will create a simple, two-ingredient, rock-hard icing that is completely safe for your dog.
Insider Tip: The key to a great dog-safe icing is using a powder that mixes with minimal water to form a thick paste. This allows it to dry hard without the need for sugar.
Icing Ingredients
- ¼ cup Yogurt Powder or Tapioca Starch: Yogurt powder is ideal as it adds a touch of beneficial probiotics. Tapioca starch (or cornstarch) is a great alternative and works just as well to create a hard, white finish.
- 1-2 tablespoons Water: You will add this very slowly.
Icing Protocol
- Mix the Icing: In a small bowl, place your chosen powder (yogurt or starch). Add one tablespoon of water to start. Mix vigorously with a small spoon or fork. The goal is a thick paste, similar in consistency to toothpaste. If it’s too thick and crumbly, add water literally a drop or two at a time until it’s smooth but not runny. If you accidentally make it too thin, simply add more powder.
- Transfer to a Piping Tool: For the best control, spoon the icing into a small plastic bag and snip off a tiny corner. You can also use a piping bag with a small round tip or a squeeze bottle.
- Decorate the Skeletons: Once the bone treats are completely cool, pipe your designs. A simple skeleton can be made with a line down the center of the bone and a few small lines branching off to the sides, resembling a spine and ribs. Let your creativity run wild!
- Allow to Dry: Place the decorated treats on a baking sheet or rack and let them air dry for several hours, or overnight, until the icing is completely hard to the touch. Do not stack them until they are fully dry.
The Long Game: Storage and Shelf-Life Secrets
You’ve put in the work, and now you have a large batch of high-quality treats. Proper storage is key to preserving their freshness and your effort. Because these treats contain no chemical preservatives, their shelf life is different from commercial products.
Short-Term Storage (Up to 1 Week)
Once the icing is completely hard and the treats are fully cooled, place them in an airtight container. A glass jar or a sealed plastic container works perfectly. Store them in the refrigerator. The moisture from the pumpkin makes them susceptible to mold if left at room temperature for more than a day or two.
Long-Term Storage (Up to 3 Months)
This recipe is perfect for batching and freezing. To freeze:
- Arrange the completely cooled and decorated treats in a single layer on a baking sheet.
- Place the baking sheet in the freezer for 1-2 hours, or until the treats are frozen solid. This is called ‘flash freezing’ and prevents them from sticking together.
- Once frozen, transfer the treats to a freezer-safe zip-top bag or container. Be sure to label it with the date.
- They will keep in the freezer for up to 3 months. You can pull out a few at a time to thaw at room temperature for about 20-30 minutes before serving.
By using your freezer, you can make one large batch that will last you through the entire fall season, saving you time and ensuring you always have a healthy treat on hand.
Conclusion
You’ve now successfully hacked the Halloween pet treat market. You’ve bypassed the overpriced, low-quality commercial options and created a superior product for a fraction of the cost. These Spooky Skeleton Bone treats are more than just a fun activity; they are a statement. They declare that you are an informed pet owner who prioritizes health, quality, and smart spending. You’ve provided your dog with a delicious, safe, and festive snack without compromising on their nutrition.
Remember, being The Canine Nutrition Hacker is about looking past the clever packaging and demanding better for our dogs. Whether it’s for a holiday or just a regular Tuesday, applying this mindset of analysis and action is the key to a healthier, happier life for your companion. Now, go share these spooky delights with your furry best friend and have a happy, healthy Howl-o-ween.