DIY Charcoal Dog Biscuits: The Ultimate Gas Buster Recipe
That silent, creeping cloud of odor that clears a room in seconds. We’ve all been there. Your beloved canine companion, capable of immense love and loyalty, is also a master of biological warfare. While occasional gas is normal, chronic, pungent flatulence can signal digestive distress. The commercial market is flooded with so-called ‘gas relief’ chews, often packed with questionable fillers and a premium price tag. It’s time to stop guessing and start hacking your dog’s gut health.
This is not a recipe for cute, bone-shaped cookies. This is a protocol for creating a functional, effective digestive aid. We will leverage the powerful properties of activated charcoal to create a potent, gas-busting biscuit that puts expensive store-bought options to shame. Here, you’ll get the science, the exact recipe, the cost breakdown, and the critical safety protocols to do it right.
IMPORTANT SAFETY DISCLAIMER
I am not a veterinarian. The information provided here is for educational purposes only and is based on extensive research and personal experience. Activated charcoal is a potent substance. It can interfere with the absorption of medications, vitamins, and minerals. ALWAYS consult with your trusted veterinarian before introducing any new supplement or treat into your dog’s diet, especially if your dog has underlying health conditions or is on any medication. These biscuits are intended for occasional, symptomatic relief, not as a daily dietary staple.
The Science of Stink: Why Activated Charcoal is Your Secret Weapon

To effectively combat canine flatulence, you must first understand the enemy. Gas, or flatus, is primarily a byproduct of bacterial fermentation in the large intestine. When your dog eats, undigested food particles—particularly certain carbohydrates and fibers—become a feast for gut bacteria. The result of this feast is the production of gases like hydrogen, methane, and the notoriously smelly hydrogen sulfide.
Enter our hero ingredient: activated charcoal. It’s crucial to understand this is not the same charcoal you use in your barbecue grill. That stuff is loaded with chemicals and is toxic. We are using food-grade, activated charcoal, which is created by heating carbon-rich materials (like coconut shells or wood) to very high temperatures and ‘activating’ it with steam or hot air. This process creates a vast network of microscopic pores on the surface of the charcoal.
This porous structure is the key to its power. Activated charcoal works through a process called adsorption—not absorption. Think of it like a molecular magnet or a high-tech sponge. As the charcoal travels through the digestive tract, toxins, impurities, and gas-causing compounds are chemically bound to its massive surface area. A single gram of activated charcoal can have a surface area of over 3,000 square meters. These trapped compounds are then safely passed out of the body in the stool, never getting the chance to ferment and produce that room-clearing odor.
Hacker Tip: The principle of adsorption is why activated charcoal is a staple in human emergency rooms for treating certain types of poisoning and drug overdoses. We’re simply applying that same powerful principle on a smaller, safer scale to neutralize the source of digestive gas before it becomes a problem.
By incorporating activated charcoal into a biscuit, we create a delivery system that can directly target the source of the problem within the gastrointestinal tract. It’s a tactical approach to neutralizing odor from the inside out.
Deconstructing the Recipe: A Forensic Ingredient Analysis

A recipe is only as good as its components. We’re not throwing things in a bowl for fun; every ingredient here serves a specific, functional purpose. There are no fillers, no artificial flavors, and no unnecessary additives. This is a clean, targeted formula.
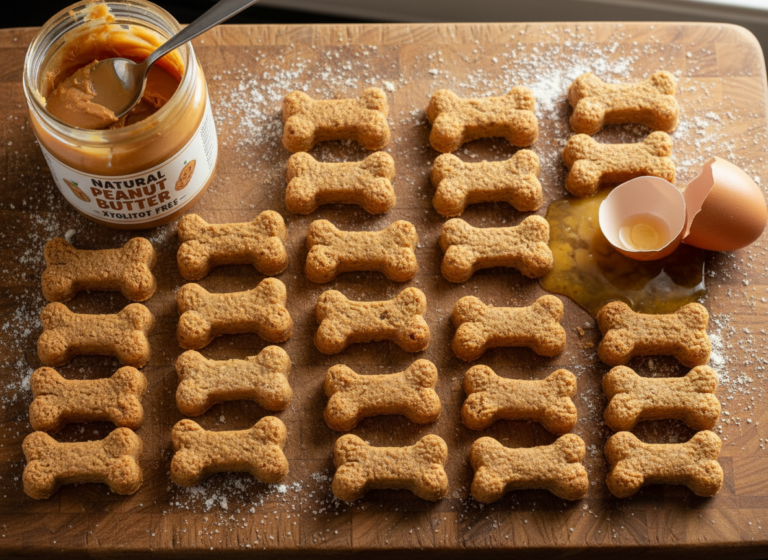
Hero Ingredient: Food-Grade Activated Charcoal
This is the workhorse of the recipe. Its primary function is to adsorb and neutralize gas-producing compounds in the gut. Sourcing is critical. You must use a product explicitly labeled as ‘food-grade’ or ‘USP-grade,’ typically derived from coconut shells. This ensures it’s free from contaminants and safe for ingestion.
Functional Binder: Oat Flour
We need a flour to bind the biscuits, but we’re not using cheap wheat flour, a common allergen for many dogs. Oat flour is our choice for several reasons. It’s a gluten-free option that’s gentle on the digestive system. Furthermore, it contains soluble fiber, which can help regulate bowel movements and support a healthy gut microbiome. You can buy it pre-made or simply grind whole rolled oats in a blender until fine.
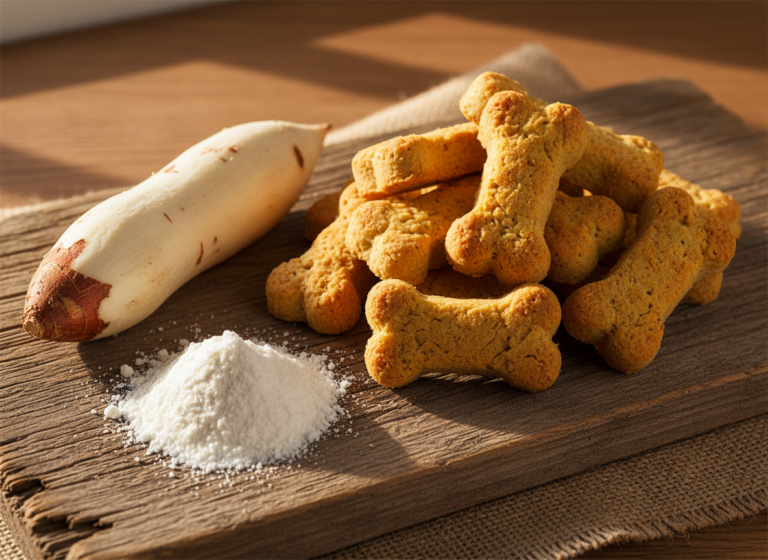
Moisture & Flavor: Unsweetened Pumpkin Purée
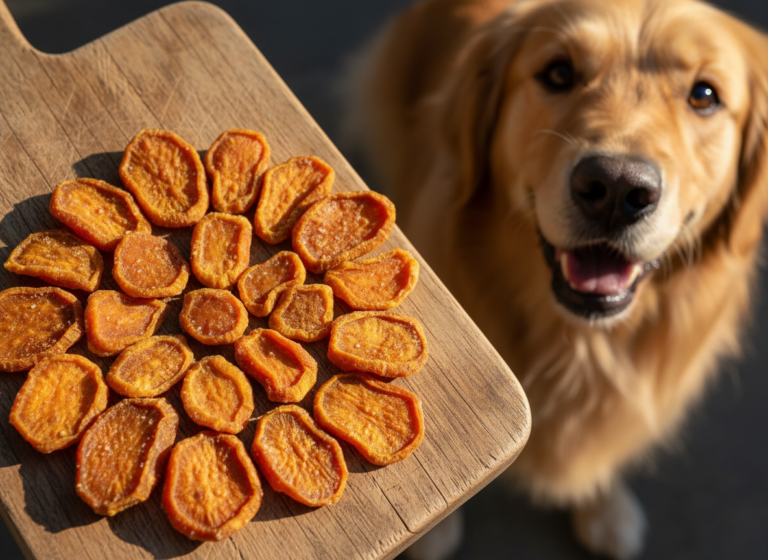
Instead of just water, we use unsweetened pumpkin purée. Ensure it is 100% pure pumpkin and NOT pumpkin pie filling, which contains sugar and spices that are harmful to dogs. Pumpkin is a well-known digestive aid for canines, rich in fiber that can help with both constipation and diarrhea. It provides natural moisture to the dough and a subtle flavor dogs enjoy.
The Bonus Ingredient: Fresh Parsley
While the charcoal tackles gas from the inside, parsley works on another common issue: bad breath. Parsley contains chlorophyll, which is known to have deodorizing properties. Finely chopping it and adding it to the mix provides a secondary benefit, making these biscuits a dual-action weapon against canine odors.
Healthy Fat: Coconut Oil
A small amount of coconut oil helps bind the dough, makes it easier to roll, and adds a dose of healthy fats. Specifically, it contains medium-chain triglycerides (MCTs), which can provide a source of energy and have been shown to support skin and coat health. Use unrefined, virgin coconut oil for the best quality.
The Ultimate Gas Buster Recipe: Step-by-Step Protocol
Follow these instructions precisely for consistent, effective results. Precision is key when creating a functional treat.
Ingredient Dossier
- 1 ½ cups Oat Flour (plus extra for dusting)
- 2 tablespoons Food-Grade Activated Charcoal Powder
- ¼ cup Fresh Parsley, finely chopped
- 1 cup 100% Pure Pumpkin Purée (not pie filling)
- 2 tablespoons Melted Coconut Oil
- ¼ to ½ cup Water, as needed
Execution Protocol
- Preparation: Preheat your oven to 350°F (175°C). Line a large baking sheet with parchment paper to prevent sticking and for easy cleanup. The charcoal can stain, so parchment is your friend.
- Combine Dry Ingredients: In a large mixing bowl, whisk together the oat flour and activated charcoal powder. Ensure the charcoal is evenly distributed throughout the flour. This is critical for consistent dosage in each biscuit. Stir in the finely chopped parsley.
- Combine Wet Ingredients: In a separate, smaller bowl, mix the pumpkin purée and the melted coconut oil until well combined.
- Form the Dough: Pour the wet ingredient mixture into the bowl of dry ingredients. Begin mixing with a spatula or wooden spoon. The dough will be thick and somewhat crumbly.
- Hydrate and Knead: Add water, one tablespoon at a time, and begin to knead the dough with your hands. Add just enough water until the dough comes together into a firm, non-sticky ball. The amount of water needed can vary based on the humidity and the exact texture of your pumpkin purée.
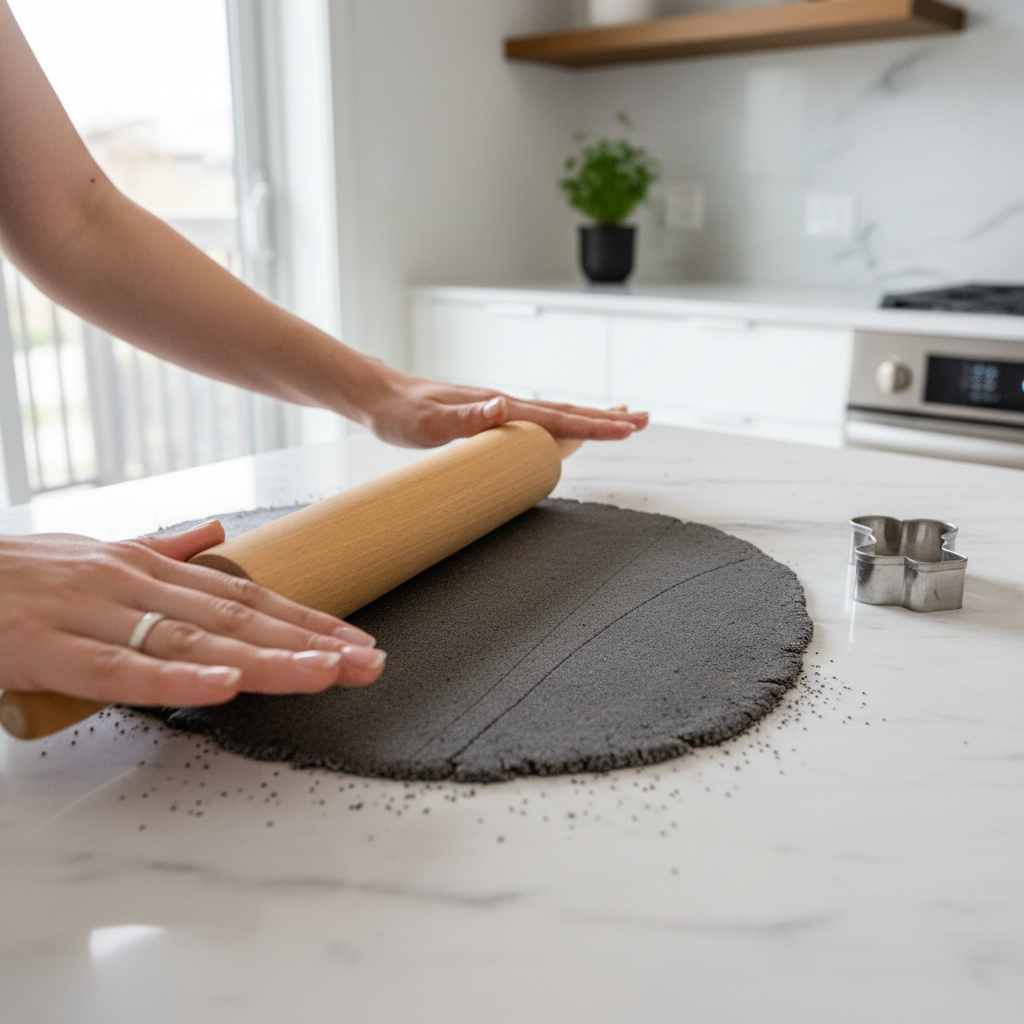
- Roll and Cut: Lightly dust a clean work surface with oat flour. Roll the dough out to approximately ¼-inch thickness. Use a small, bone-shaped cookie cutter (or simply a knife or pizza cutter to make small squares) to cut out the biscuits.
- Bake: Carefully place the cut biscuits onto the prepared baking sheet. They won’t spread much, so they can be placed relatively close together. Bake for 20-25 minutes, or until the biscuits are firm and dry to the touch.
- Cool Completely: Turn off the oven and let the biscuits cool inside the oven with the door ajar for another 30-40 minutes. This helps them get extra crunchy. Once cooled slightly, transfer them to a wire rack to cool completely to room temperature. This final step is crucial to prevent mold growth during storage.
Cost Analysis: DIY vs. Store-Bought Gas Relief Chews
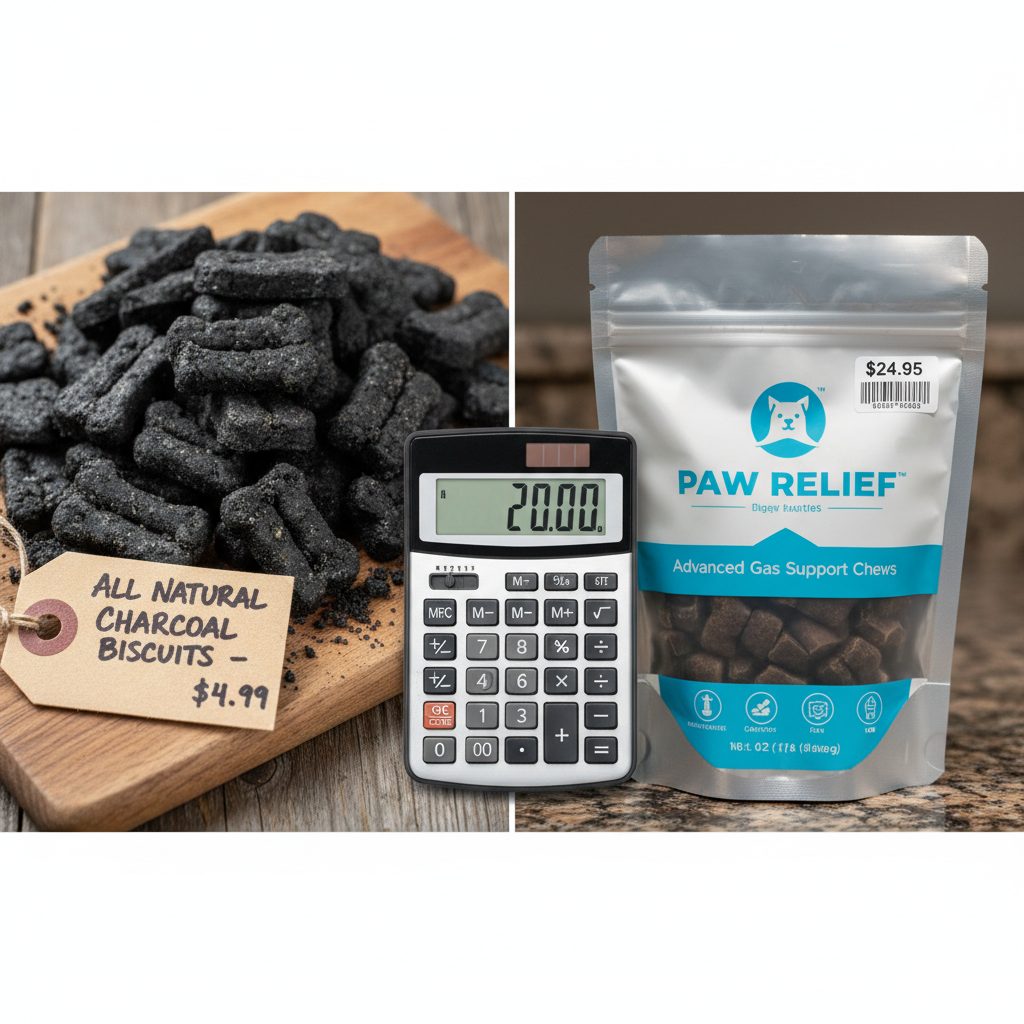
One of the core tenets of the Canine Nutrition Hacker is to achieve superior results for less money. Let’s run the numbers on this recipe versus a popular commercial brand of gas relief soft chews. Prices are approximate and will vary based on your location and where you shop.
| Item | Typical Retail Cost | Cost Per Batch (Approx.) |
|---|---|---|
| Oat Flour (32 oz bag) | $4.00 | $0.75 (for 1.5 cups) |
| Activated Charcoal (5 oz jar) | $10.00 | $1.20 (for 2 tbsp) |
| Pumpkin Purée (15 oz can) | $2.00 | $1.33 (for 1 cup) |
| Fresh Parsley (1 bunch) | $1.50 | $0.25 (for 1/4 cup) |
| Coconut Oil (14 oz jar) | $7.00 | $0.50 (for 2 tbsp) |
| Total DIY Batch Cost | – | $4.03 |
This recipe yields approximately 40 small biscuits. This puts the cost at roughly $0.10 per biscuit.
Now let’s compare that to a common store-bought option:
| Metric | DIY Charcoal Biscuit | Brand-Name Gas Relief Chews |
|---|---|---|
| Form | Crunchy Biscuit | Soft Chew |
| Active Ingredients | Activated Charcoal, Pumpkin, Parsley | Often proprietary blends (Yucca, Ginger, Enzymes) |
| Typical Price | $4.03 per batch of ~40 | $15.00 per jar of 60 chews |
| Cost Per Serving | $0.10 | $0.25 |
| Verdict | Superior Control, 60% Cheaper | Convenient but Costly |
Insider Secret: The markup on commercial ‘functional’ dog treats is astronomical. Brands spend millions on packaging and marketing, and you, the consumer, foot that bill. By making your own, you’re not just saving money; you’re paying for pure, high-quality ingredients without the marketing fluff. You control every single component that goes into your dog. That control is priceless.
Dosage and Safety Protocols: The Hacker’s Guide to Administration
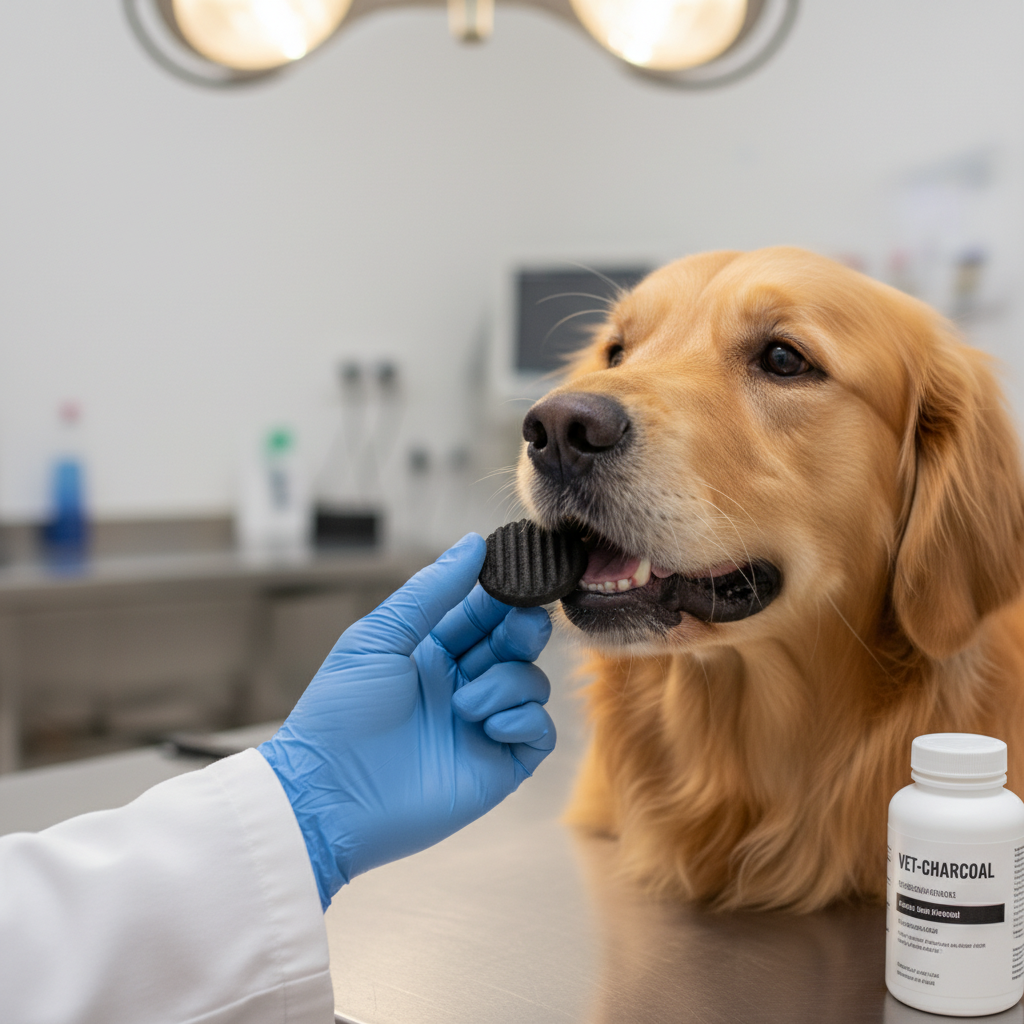
Power requires responsibility. Activated charcoal is a potent tool, and you must use it correctly to ensure it is both safe and effective. Do not treat these like regular dog treats.
The Cardinal Rule of Charcoal
WARNING: Activated charcoal is indiscriminate. It adsorbs whatever it can bind to. This means it can and will interfere with the absorption of essential nutrients from food and, most critically, any oral medications your dog is taking. This includes prescription drugs, flea/tick preventatives, and even vitamins. To prevent this, you must follow a strict timing protocol.
Administer these biscuits at least 2 hours before or 2 hours after any meal or medication. This creates a window where the charcoal can pass through the system without interfering with crucial absorption. Failure to do so can render medications ineffective.
Dosage Guidelines
These are general guidelines. Your veterinarian can provide a more precise recommendation based on your dog’s specific health profile. This is based on the small, ¼-inch thick biscuits made with this recipe.
- Small Dogs (Under 25 lbs): ½ biscuit per day, only as needed.
- Medium Dogs (25-60 lbs): 1 biscuit per day, only as needed.
- Large Dogs (Over 60 lbs): 1 to 2 biscuits per day, only as needed.
Do not exceed the recommended amount. These are for occasional, symptomatic use for bouts of gas, not for daily prevention. If your dog has chronic, severe gas, it is a symptom of a larger issue that needs to be diagnosed by a veterinarian.
Expected Side Effects
Don’t be alarmed: activated charcoal will turn your dog’s stool black. This is completely normal and expected. It is simply the inert charcoal passing through the digestive system. However, if you notice any signs of constipation, discontinue use and provide plenty of fresh water. If constipation persists, contact your vet.
Long-Term Storage: Batch Cooking & Freezing Strategy

Since these biscuits are for occasional use, proper storage is essential to maintain their potency and prevent spoilage. You’ve invested the time to make them; now protect that investment.
Short-Term Storage (Up to 2 Weeks)
The most critical step for storage is ensuring the biscuits are completely dry and cool. Any residual moisture is an invitation for mold. After cooling fully on a wire rack for several hours, store the biscuits in an airtight container. A glass jar with a tight-fitting lid or a high-quality food storage container works best. Keep them in a cool, dark place like a pantry. Do not refrigerate them, as this can introduce moisture and condensation.
Long-Term Storage (Up to 3 Months)
For long-term storage, the freezer is your best option. This locks in freshness and prevents the oils in the biscuit from going rancid over time.
- Flash Freeze: Arrange the completely cooled biscuits in a single layer on a baking sheet. Place the sheet in the freezer for 1-2 hours, or until the biscuits are frozen solid. This prevents them from sticking together in a giant clump.
- Package for Storage: Transfer the frozen biscuits into a freezer-safe zip-top bag or a vacuum-seal bag. If using a zip-top bag, press out as much air as possible before sealing.
- Label and Date: Always label the bag with the contents (‘Charcoal Gas Busters’) and the date they were made. They will keep well in the freezer for up to 3 months.
Hacker Tip: For perfect, uniform biscuits that are easy to store, use a silicone mold instead of rolling and cutting. Small, square, or circular candy molds work perfectly. Simply press the dough firmly into the molds, level the top, and bake. The bake time may need to be adjusted slightly, so keep a close eye on them. They pop out easily once cooled.
To use from frozen, simply take out the required number of biscuits and let them thaw at room temperature for about 15-20 minutes. There is no need to reheat them.
Conclusion
You now possess a powerful, cost-effective, and safe protocol for managing your dog’s occasional digestive gas. By taking a hands-on approach, you’ve bypassed the expensive, filler-laden commercial options and created a purely functional treat. You have control over the ingredients, the quality, and your budget. This is the essence of being a Canine Nutrition Hacker: using knowledge to provide the best for your pet without breaking the bank. Remember to use these biscuits responsibly, adhere to the safety protocols, and always consult your vet for any persistent health concerns. You’ve just taken one more step toward mastering your dog’s nutritional well-being.