How to Make Dehydrated Salmon Skin Dog Treats (Zero Waste)
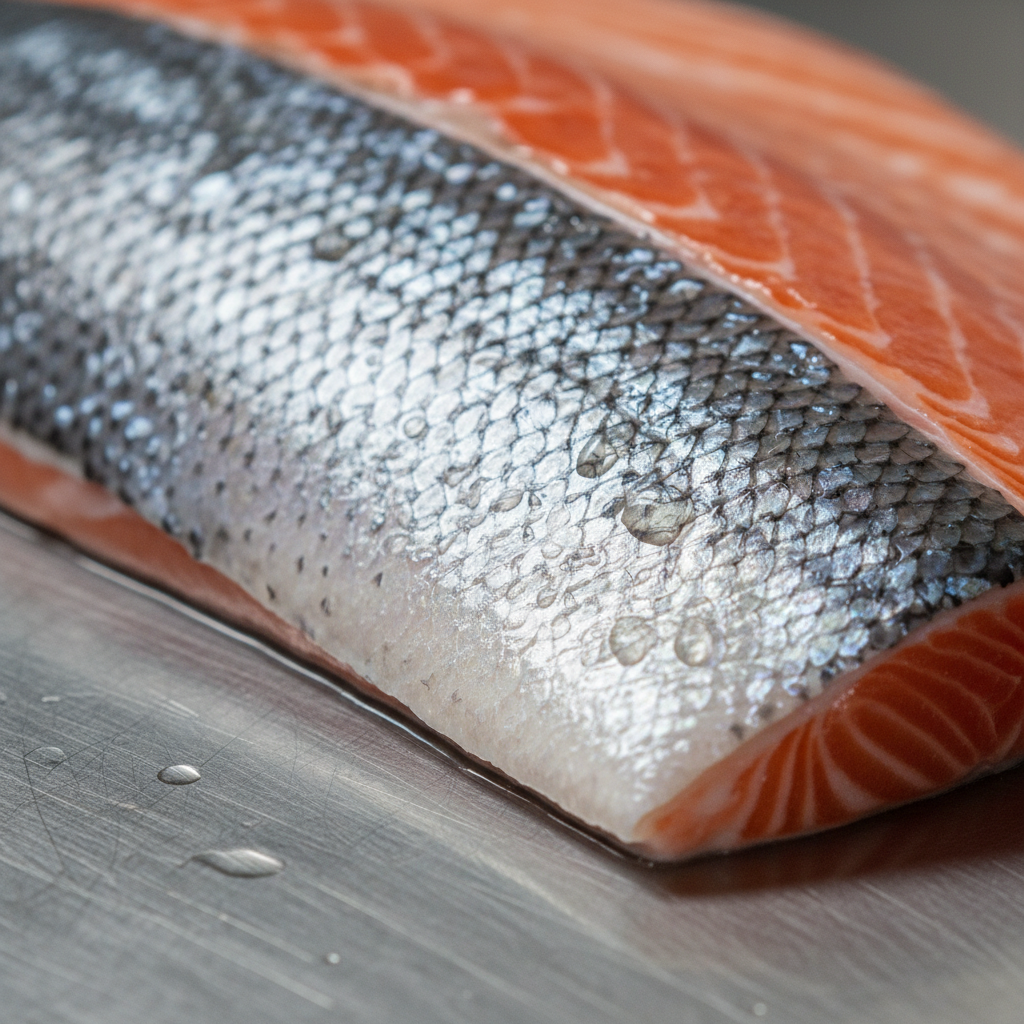
Let’s talk about trash. Specifically, the ‘trash’ you create after preparing a beautiful salmon fillet for dinner. That glistening, silver skin? Most people discard it without a second thought. The pet food industry, however, knows its value. They purchase these scraps, dehydrate them, package them in fancy bags, and sell them back to you for an outrageous markup. It’s time to hack the system.
As The Canine Nutrition Hacker, my job is to expose these industry secrets and empower you to provide elite nutrition without emptying your wallet. Those salmon skins are not waste; they are a potent source of pure, unadulterated Omega-3 fatty acids that can supercharge your dog’s health. Turning them into premium, single-ingredient dog treats is one of the easiest and most cost-effective nutritional upgrades you can make.
This guide will provide the exact blueprint for safely turning kitchen scraps into a canine superfood. We will cover the nutritional science, the critical safety protocols, a forensic cost breakdown, and the step-by-step process for creating perfect, crispy salmon skin chews.
SAFETY DISCLAIMER: READ BEFORE YOU PROCEED
I am a canine nutrition analyst, not a veterinarian. The information provided here is for educational purposes based on extensive research and experience. It is not a substitute for professional veterinary advice. Always consult with your veterinarian before introducing new foods into your dog’s diet, especially if they have pre-existing health conditions, allergies, or sensitivities. These treats are intended for supplemental feeding only and should not replace a balanced diet. You are solely responsible for the safety and quality of the ingredients you choose and the treats you prepare.
The Nutritional Payoff: Why Salmon Skins Are a Superfood, Not Scraps
Before we step into the kitchen, you need to understand why you’re doing this. It’s not just about saving a few bucks; it’s about delivering a concentrated dose of powerful nutrients that are often degraded or missing in commercial kibble. The skin of a salmon is a biological treasure chest.
The Omega-3 Powerhouse: EPA & DHA
The primary value of salmon skin lies in its incredibly high concentration of Omega-3 fatty acids, specifically Eicosapentaenoic Acid (EPA) and Docosahexaenoic Acid (DHA). These long-chain fatty acids are not just ‘good fats’; they are essential building blocks for your dog’s body. While some dog foods add flaxseed for Omega-3s, dogs are notoriously inefficient at converting its plant-based form (ALA) into the readily usable EPA and DHA found in fish oil.
- Anti-Inflammatory Action: EPA is a natural anti-inflammatory. It can help manage conditions like arthritis by reducing joint pain and stiffness, and it can soothe itchy, irritated skin caused by allergies.
- Cognitive and Visual Health: DHA is a major structural component of the brain and the retina. It is crucial for puppy brain development and for maintaining cognitive function in senior dogs, potentially staving off canine cognitive dysfunction.
- Skin & Coat Armor: These oils are the secret to a glossy, lustrous coat and healthy skin. They strengthen the skin barrier, reducing dryness and dander, and locking in moisture.
More Than Just Omegas: Collagen and Protein
Beyond the famous fats, salmon skin is also rich in marine collagen. Collagen is vital for maintaining the health of your dog’s joints, bones, tendons, and ligaments. As dogs age, their natural collagen production declines. Supplementing with a natural source like salmon skin can support mobility and resilience. Furthermore, the skin provides a clean, high-quality source of digestible protein, essential for muscle maintenance and overall energy.
Insider Secret: The fat layer directly beneath the skin is where a significant portion of the fish’s Omega-3s are stored. By using the whole skin, you are capturing this nutrient-dense layer that is often trimmed away.
The Cost Analysis: Hacking Your Treat Budget
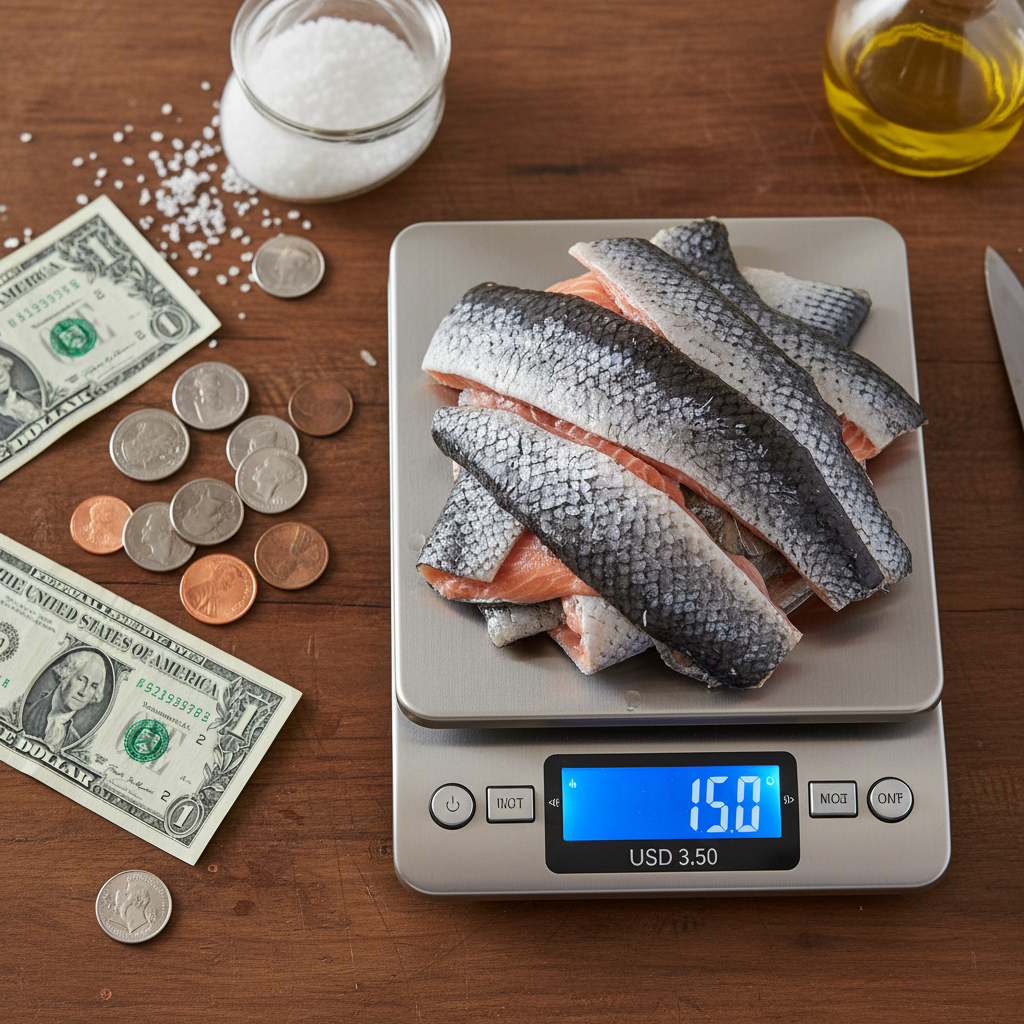
The boutique pet store sells a 3-ounce bag of ‘Artisanal Salmon Skin Chews’ for $15. That’s $5 per ounce for something you were about to throw in the compost. This is not just a markup; it’s a financial fleecing. Let’s run the numbers and expose the truth. We’ll compare the cost of making your own versus buying a popular premium brand.
Assumptions for our Analysis:
- You purchase 2 lbs of wild-caught salmon fillets at $15/lb. Total cost: $30.00.
- The skins from these fillets weigh approximately 4 ounces (0.25 lbs).
- The ‘cost’ of the skins is technically zero, as you already paid for the fillets for your own consumption. We are hacking waste streams.
- Dehydration reduces the weight by about 75%. Your 4 oz of raw skins will yield approximately 1 oz of finished, dehydrated treats.
- Store-bought premium salmon skin treats cost an average of $5.00 per ounce.
| Metric | DIY Salmon Skin Treats | Premium Store-Bought Treats |
|---|---|---|
| Source Material | Skin from 2 lbs of salmon fillets | 1 oz package |
| Initial Cost | $0.00 (byproduct of your dinner) | $5.00 |
| Yield | Approx. 1 ounce | 1 ounce |
| Cost Per Ounce | $0.00 (plus minimal electricity) | $5.00 |
| Savings Per Ounce | You save $5.00 for every ounce you make! | |
| Verdict | An undeniable financial and nutritional win. You control the quality and pocket 100% of the savings. | Convenient but outrageously expensive. You pay a massive premium for processing and packaging. |
The conclusion is irrefutable. By simply intercepting the salmon skin before it hits the trash, you are saving 100% of the retail cost. If you make one batch per week, you are saving over $250 per year on this one treat alone, all while providing a fresher, higher-quality product with no preservatives or additives.
The Forensic Prep: Sourcing and Safety Protocols
Success in the kitchen starts with sourcing and safety. You cannot create a high-value nutritional supplement from a low-quality or contaminated ingredient. Treat this step with the seriousness of a forensic investigator.
Ingredient Sourcing
- Your Own Fillets: The best source is the skin from salmon you are preparing for yourself. This gives you full control over the quality.
- The Fishmonger: Don’t be shy. Your local fishmonger or the seafood counter at your grocery store often trims skins from fillets for other customers. Ask them. Many will give them to you for free or for a very low price. This is a top-tier hacker move.
Critical Protocol: Wild-Caught vs. Farmed
This is non-negotiable. Always use skins from wild-caught salmon. Farmed salmon can have higher levels of PCBs, dioxins, and other contaminants. They are also often treated with antibiotics and fed a diet that results in a less favorable fatty acid profile (lower Omega-3s, higher Omega-6s). Look for Sockeye, Coho, or King salmon from Alaska for the best quality.
The Cleaning and De-scaling Process
Cleanliness is paramount to prevent bacterial growth and ensure a quality final product.
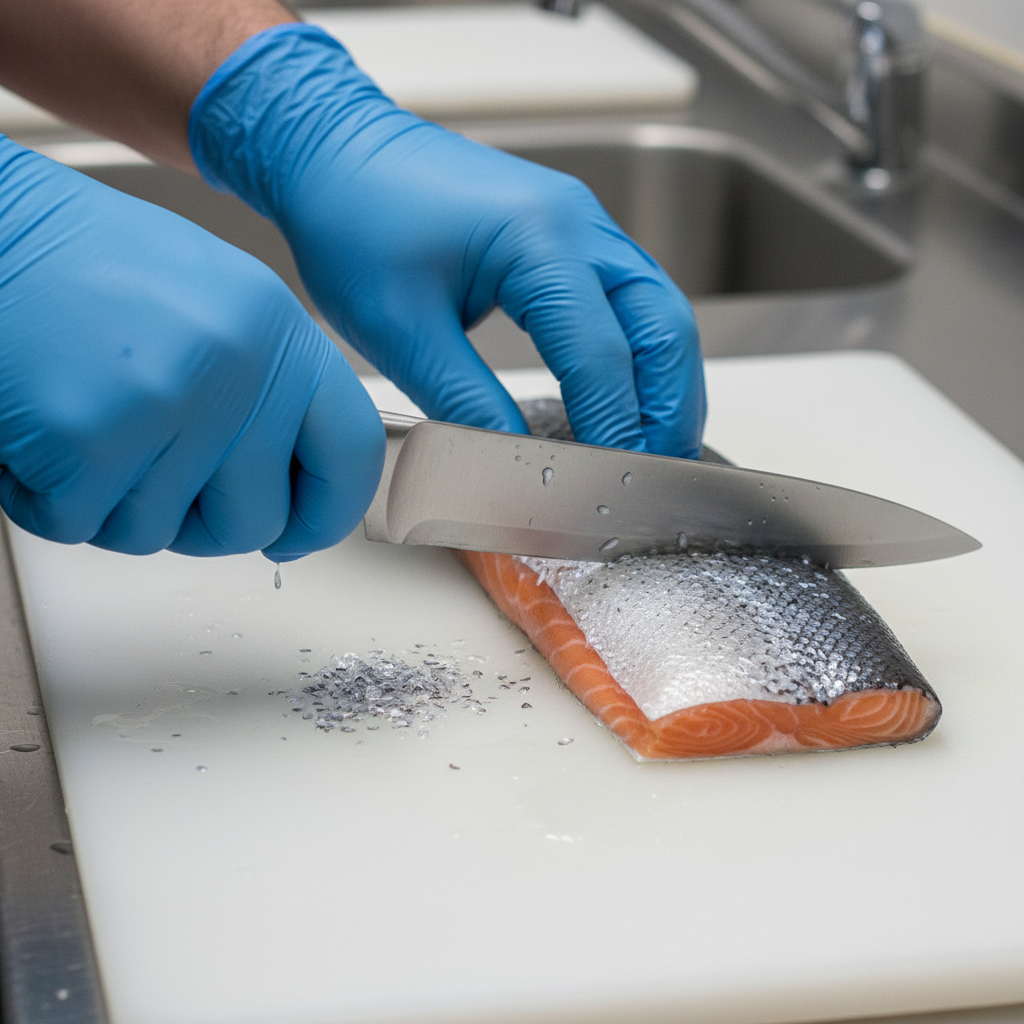
- Rinse Thoroughly: Rinse the skins under cold running water to remove any surface slime or leftover blood.
- De-scale (Optional but Recommended): While the scales are edible and won’t harm your dog, removing them results in a less messy treat and a more appealing ‘jerky’ or ‘chip’ texture. To de-scale, lay the skin flat on a cutting board, scale-side up. Hold the tail end firmly and use the back of a chef’s knife or a fish scaler, scraping from tail to head. The scales will flake off. It’s a messy job; consider doing it in the sink.
- Pat Dry: Use paper towels to pat the skins until they are as dry as possible. This is a crucial step for achieving a crispy texture and reducing dehydration time.
EXTREME WARNING: SALMON POISONING DISEASE
You must be aware of Salmon Poisoning Disease (SPD). This is a potentially fatal condition for dogs caused by a parasite found in raw salmon from the Pacific Northwest (from San Francisco to the Alaskan coast). The parasite itself isn’t the problem; it’s the rickettsial organism that infects the parasite. NEVER feed your dog raw salmon or raw salmon skin from this region. The good news is that the cooking process—including thorough dehydration as outlined in this guide—kills the organism, rendering the fish safe. Freezing does NOT reliably kill it. This is why we dehydrate.
The Zero-Waste Recipe: Dehydrating Salmon Skins Step-by-Step
This is the execution phase. The process is simple, but precision matters. We’ll cover methods for both a food dehydrator and a standard oven. The dehydrator is superior as it uses low, consistent heat to preserve the delicate fatty acids, but an oven works perfectly well if you’re careful.
Preparation:
After the skins are cleaned, de-scaled, and patted completely dry, lay them flat on a cutting board. You have two main options for form factor:
- Crispy Chips: Use a sharp knife or kitchen shears to cut the skins into 1-inch by 2-inch squares, like little crackers.
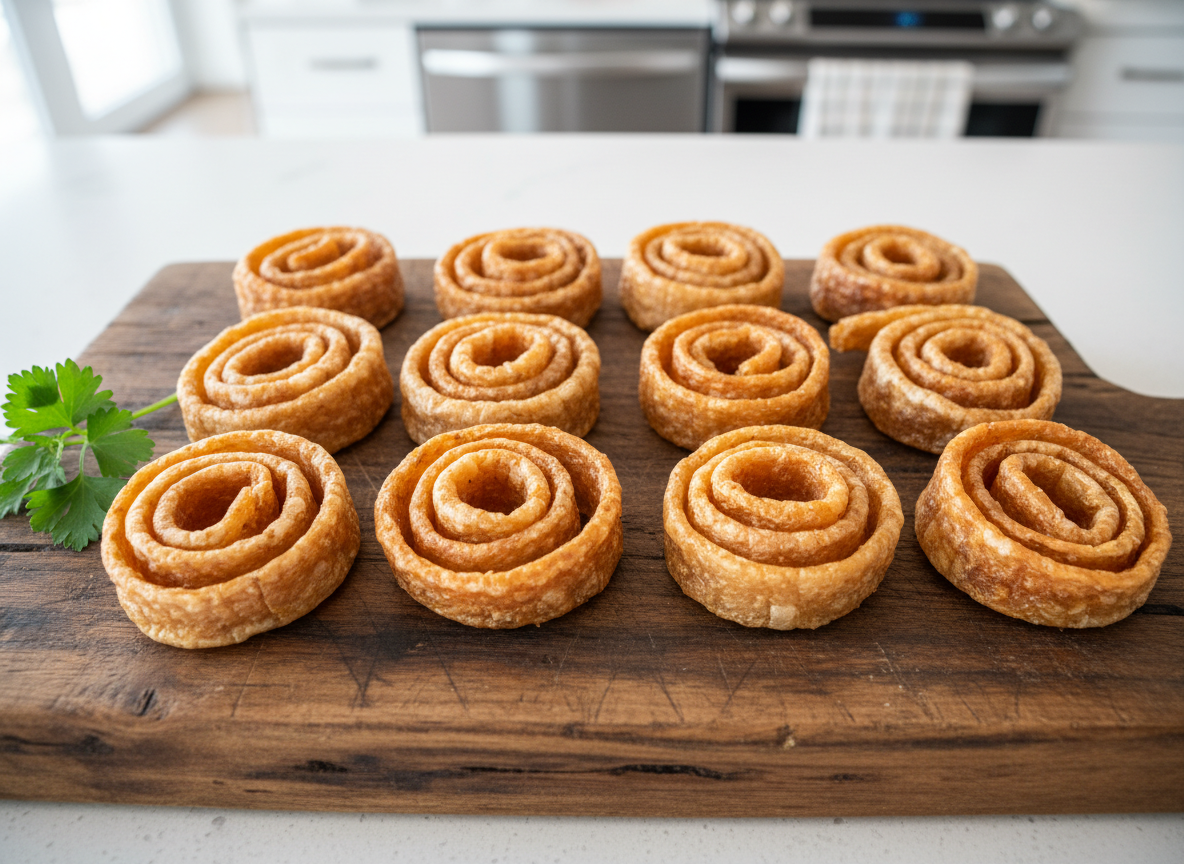
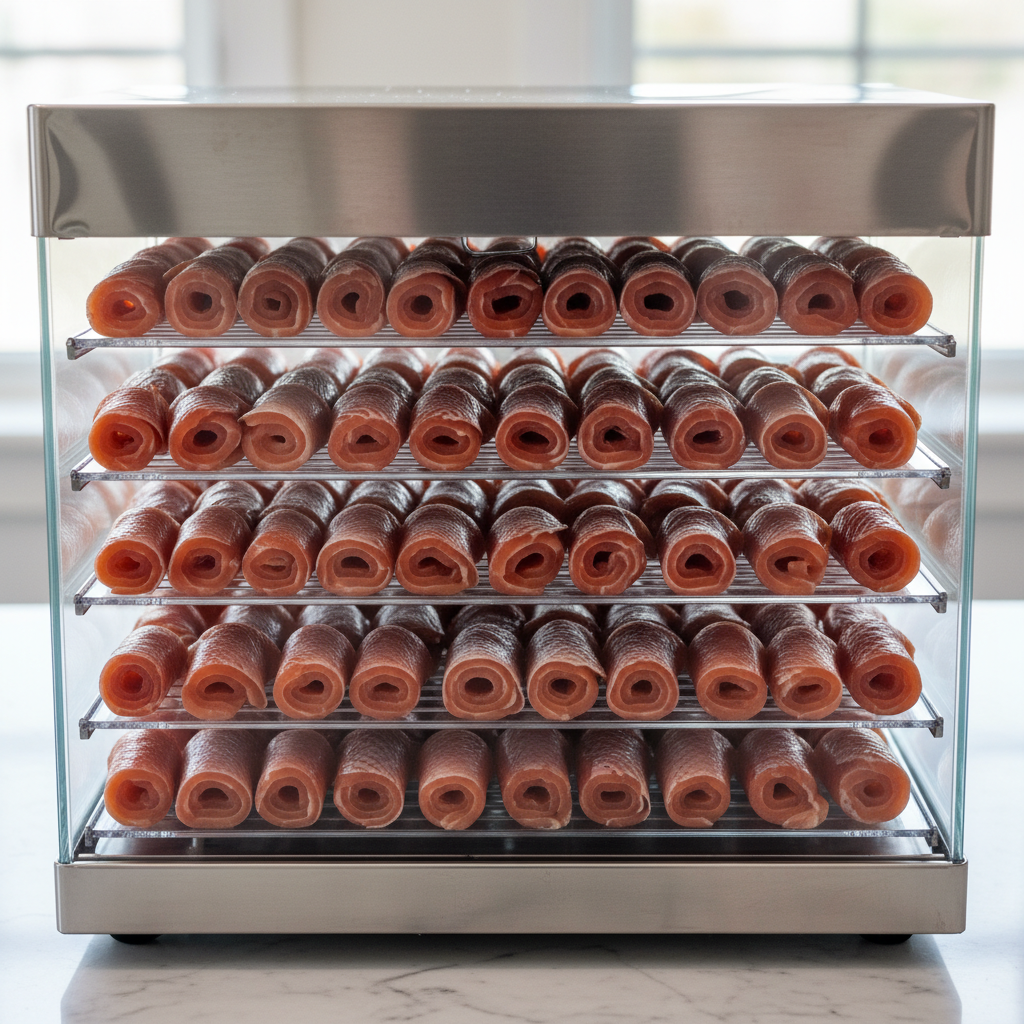
- Rolled Chews: For a longer-lasting chew, cut the skins into long, 1-inch wide strips. Roll each strip up tightly, like a fruit roll-up. This is my preferred method as it creates a more satisfying, crunchy chew for the dog.
Method 1: Using a Food Dehydrator (Recommended)
- Arrange the salmon skin pieces or rolls on the dehydrator trays, ensuring there is space between each piece for air to circulate. Do not let them touch.
- Set your dehydrator to its highest setting, typically around 160-165°F (71-74°C). This temperature is high enough to eliminate pathogens safely.
- Dehydrate for 6 to 10 hours. The exact time will depend on the thickness of the skins, the humidity in your home, and your specific dehydrator model.
- The treats are done when they are completely dry, brittle, and snap easily. If they are bendy or feel greasy, they need more time. There should be no moisture left.
Method 2: Using a Conventional Oven
- Preheat your oven to the lowest possible temperature setting, ideally between 170-200°F (77-93°C). If your oven doesn’t go this low, you can prop the door open slightly with a wooden spoon to allow heat and moisture to escape, but monitor it closely.
- Place the salmon skin pieces or rolls on a wire cooling rack set inside a baking sheet. This is essential. Placing them directly on the pan will cause them to fry in their own oil. The wire rack allows for 360-degree air circulation.
- Bake for 4 to 6 hours. Oven times can vary more than dehydrators. Start checking at the 4-hour mark.
- Just like with the dehydrator, the treats are finished when they are hard, brittle, and snap cleanly. They should not be flexible.
The Long-Term Stockpile: Storage and Shelf-Life Secrets
You’ve successfully created a batch of high-value nutritional gold. Now you must protect your investment. The very thing that makes these treats so healthy—the high concentration of Omega-3 fatty acids—also makes them susceptible to going rancid if stored improperly. Oxidized (rancid) fats are pro-inflammatory and should be avoided at all costs.
The Cardinal Rule: Cool, Dark, and Airtight
Heat, light, and oxygen are the enemies of fragile fats. Your storage strategy must mitigate all three.
- Ensure They Are 100% Dry: Before you even think about storage, double-check your treats. Any residual moisture is a breeding ground for mold and bacteria. If in doubt, put them back in the dehydrator or oven for another hour.
- Cool Completely: Never store warm treats. Allow them to cool to room temperature for several hours on a wire rack after dehydrating. Storing them while warm will create condensation inside the container, leading to spoilage.
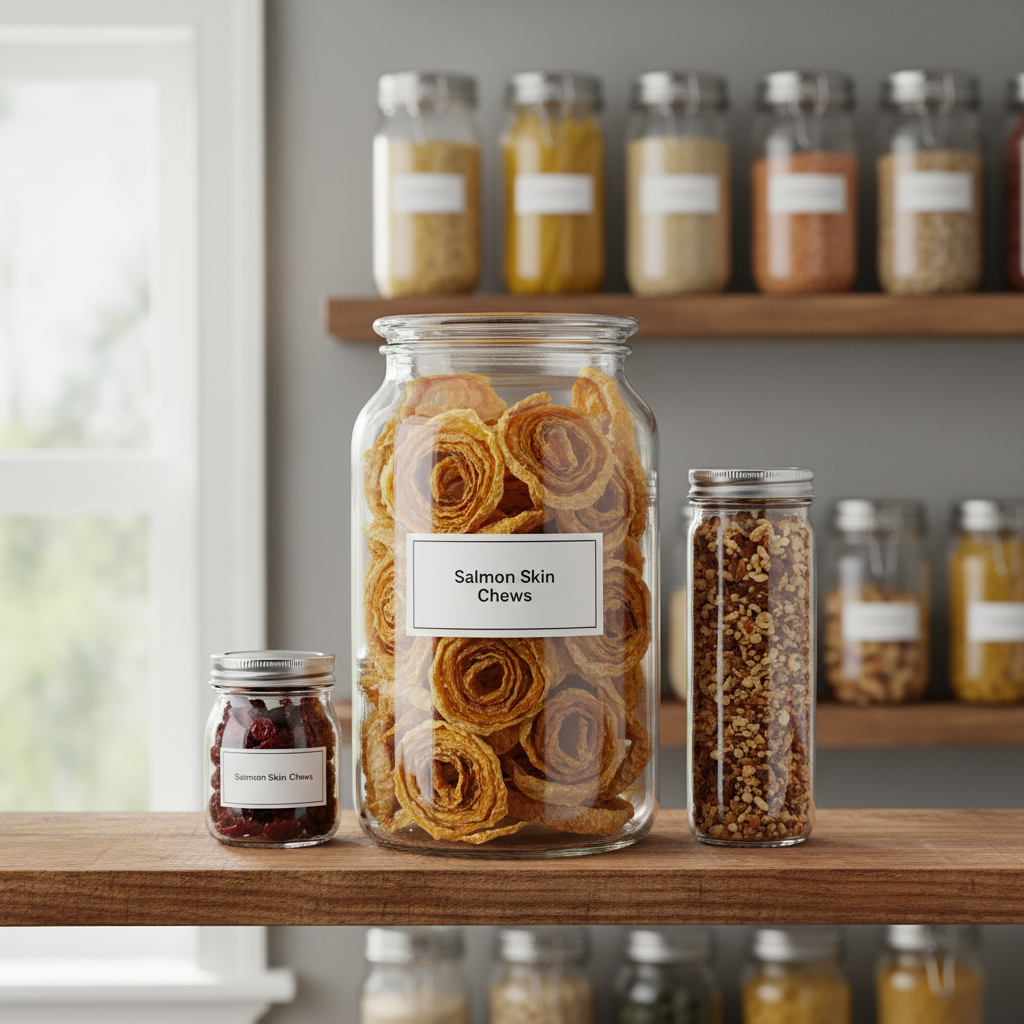
- Use Glass Jars: Your best defense is an airtight glass jar, like a mason jar. Glass is non-porous and won’t leach chemicals or odors like plastic can.
Storage Timelines and Locations
Where you store the jar is just as important as the jar itself.
- Pantry (Short-Term): If you plan to use the treats within 1-2 weeks, a cool, dark pantry is acceptable. Keep the jar away from the stove or any sunny spots.
- Refrigerator (Mid-Term): For storage up to 1-2 months, the refrigerator is your best bet. The cold temperature significantly slows down the oxidation process of the fats.
- Freezer (Long-Term): For the ultimate long-term stockpile, the freezer is the answer. Properly dried salmon skins will last for 6 months or more in the freezer without any degradation in quality.
Hacker Tip: For maximum shelf life, use a vacuum sealer. Vacuum-sealing portions of the treats in bags before freezing removes virtually all oxygen, stopping rancidity in its tracks. You can then pull out one small bag at a time to keep in a jar in the fridge for daily use. This is the professional method for preserving high-fat treats.
Conclusion
You now possess the knowledge to divert a valuable nutrient source from the waste bin directly into your dog’s bowl. You’ve seen the irrefutable math on the cost savings, you understand the powerful nutritional science of Omega-3s, and you have the precise, safe method for production. This is more than a recipe; it’s a new mindset. It’s about looking at the resources around you with a critical eye and refusing to pay the exorbitant ‘convenience tax’ the pet food industry levies on caring owners.
By investing a small amount of time, you are not only saving hundreds of dollars but also providing a pure, preservative-free, and potent health supplement that supports everything from your dog’s shiny coat to their sharp mind. Welcome to the world of the Canine Nutrition Hacker. Now go rescue those skins.