How to Make Dehydrated Beef Lips: A Long-Lasting Chew
Tired of shelling out a small fortune for ‘premium’ dog chews that vanish in minutes and contain a laundry list of ingredients you can’t pronounce? You’re not alone. The commercial pet treat industry thrives on fancy packaging and marketing buzzwords, often hiding low-quality fillers and artificial additives. As the Canine Nutrition Hacker, my mission is to cut through the noise and empower you with the knowledge to provide the best for your dog without emptying your bank account. The solution is often simpler and cheaper than you think.
Enter the dehydrated beef lip: one of the most underrated, cost-effective, and satisfying chews you can give your dog. This single-ingredient powerhouse is a game-changer. It’s a long-lasting chew that promotes dental health through mechanical abrasion, satisfies your dog’s instinct to gnaw, and contains zero fillers, grains, or artificial junk. This guide is your complete blueprint for safely making these top-tier chews in your own kitchen for a fraction of the retail cost.
Critical Safety Protocol: Before You Begin
Critical Safety Protocol: Before You Begin
Before we dive into the process, we need to establish the ground rules. My approach is about being smart and safe, not reckless. Making your own dog treats is incredibly rewarding, but it requires diligence. Read these points carefully.
- Disclaimer: I am a dedicated canine nutrition analyst, not a veterinarian. The information provided here is for educational purposes. These chews are intended as a supplementary treat and are NOT A MEAL REPLACEMENT. Always consult with your veterinarian before introducing new, rich foods into your dog’s diet, especially if they have pre-existing health conditions like pancreatitis or sensitive digestion.
- Supervision is Mandatory: ALWAYS SUPERVISE YOUR DOG when they are enjoying any chew, homemade or store-bought. No chew is 100% risk-free. Watch for any signs of choking or distress, and ensure your dog is chewing appropriately rather than trying to swallow large pieces. Remove the chew if it becomes small enough to be a choking hazard.
- Introduce Slowly: Beef lips are rich in collagen and protein. If your dog isn’t accustomed to such treats, introduce them slowly. A 15-20 minute chew session is plenty for the first time. Monitor your dog for any signs of digestive upset, such as loose stools.
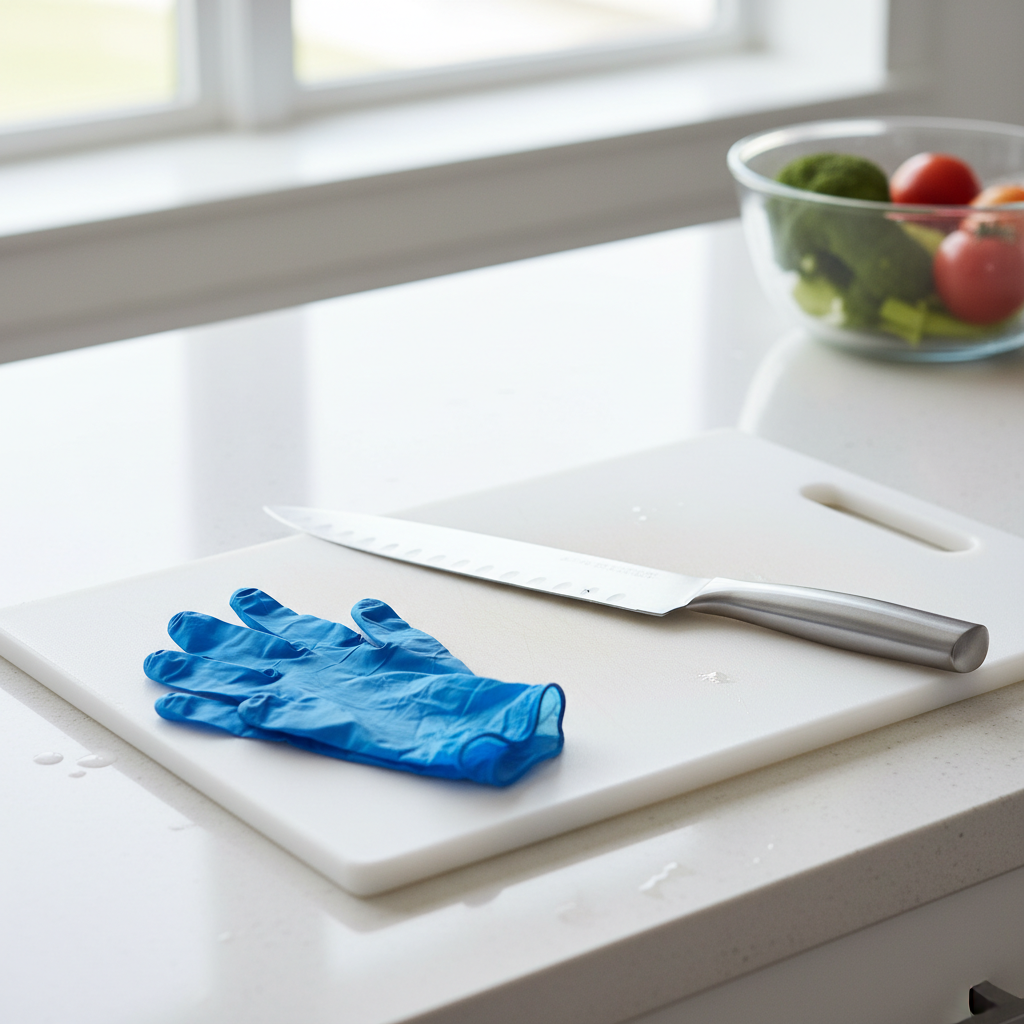
- Sanitation is Key: You are handling raw meat. Treat your kitchen surfaces, knives, and hands with the same level of sanitation you would when preparing your own food. Thoroughly wash all equipment and surfaces with hot, soapy water after you are finished.
Deconstructing the Cost: Why DIY Dominates
Deconstructing the Cost: Why DIY Dominates
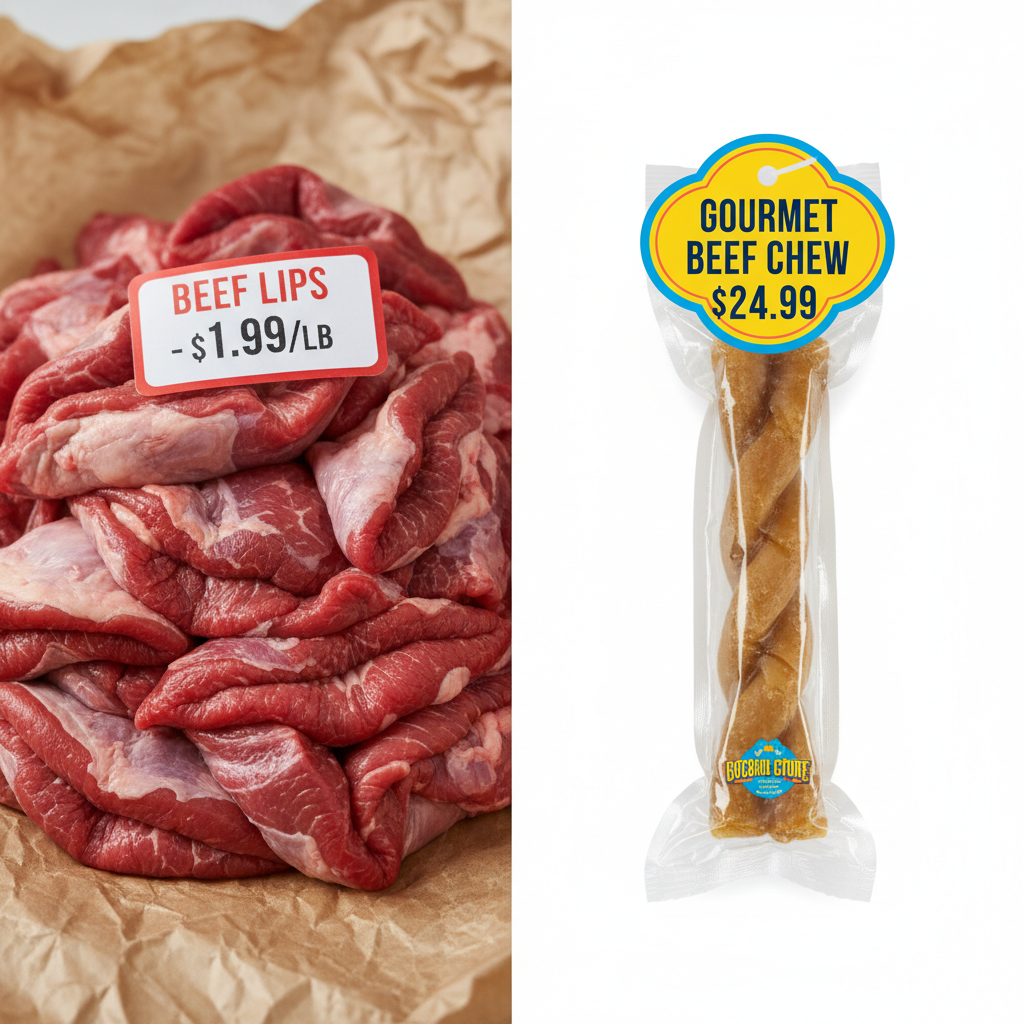
Let’s run the numbers. The primary reason the pet food industry can charge exorbitant prices is for convenience and marketing. By taking on the simple labor yourself, you bypass all of that markup. The savings are not just significant; they are staggering. Here is a realistic breakdown comparing DIY beef lip chews to a comparable commercial product for a 50lb dog.
| Item | Source | Cost Analysis | Final Cost Per Chew |
|---|---|---|---|
| DIY Dehydrated Beef Lips | Local Butcher / Meat Supplier | Average cost of raw beef lips: $2.00 – $3.50 per pound. One pound yields approx. 4-6 large chews after dehydration. | ~$0.58 per chew |
| Commercial ‘Natural’ Beef Chew | Big Box Pet Store / Online Retailer | A single, similarly sized ‘beef cheek’ or ‘beef muscle’ chew often costs $7.00 – $12.00. | ~$9.50 per chew |
Insider Secret: Don’t just go to your supermarket. Find a local, independent butcher or a meat processing plant. They often consider beef lips a byproduct and will sell them to you for an extremely low price, especially if you buy in bulk. You’re not just a customer; you’re helping them reduce waste. It’s a win-win.
The Dehydration Blueprint: From Raw to Chew

The Dehydration Blueprint: From Raw to Chew
This is where the magic happens. The process is straightforward and requires patience more than skill. Follow this blueprint precisely for safe, perfectly dried, and long-lasting chews.
Equipment Required
- A food dehydrator (recommended for best results) or an oven
- A very sharp knife (a boning or fillet knife works well)
- A large, stable cutting board (preferably one dedicated to raw meat)
- Kitchen shears (optional, but helpful for trimming)
- Large bowl for rinsing
Step 1: Preparation Phase
- Rinse Thoroughly: Place the raw beef lips in a large bowl in your sink. Rinse them under cold running water to remove any surface debris.
- Trim Excess Fat: While some fat is fine, large, thick chunks will not dehydrate well and can go rancid more quickly. Use your sharp knife or kitchen shears to trim away any excessive fat deposits. You don’t need to remove all of it, just the thickest parts.
- Slice to Size: This is the most crucial step for determining the final product. Lay the beef lip flat on your cutting board. For a long-lasting chew, slice the lips into long strips, about 1 to 2 inches wide. For smaller dogs or a quicker chew, you can cut them into smaller, 4×4 inch squares. Remember that the pieces will shrink by at least 40-50% during dehydration. Cut them larger than you think you need.
Step 2: The Dehydration Process
- Arrange on Trays: Place the prepared beef lip strips onto your dehydrator trays. Ensure there is at least a little space between each piece to allow for adequate air circulation. Do not let the pieces overlap.
- Set Temperature and Time: Set your dehydrator to a temperature between 155-160°F (70-75°C). This temperature is high enough to safely kill potential bacteria like Salmonella while slowly removing moisture. The total dehydration time will vary based on the thickness of your cuts and your machine’s efficiency, but plan for 10 to 18 hours.
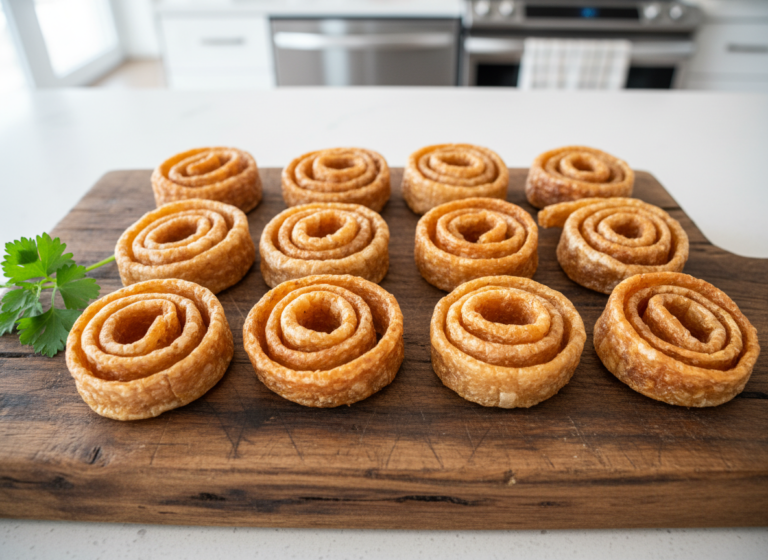
- Check for Doneness: The chews are done when they are hard and rigid. They should not be pliable or squishy in the center. To test, remove one of the thickest pieces (after it has cooled for 10 minutes) and try to bend it. It should snap or crack, not bend. If it bends, it needs more time. It is always better to over-dry than under-dry.
Oven Alternative
If you don’t have a dehydrator, you can use an oven. Set it to the lowest possible temperature (ideally 160-170°F). Place the strips directly on the oven racks and put a baking sheet on the bottom rack to catch drips. Prop the oven door open slightly with a wooden spoon to allow moisture to escape. The drying time will be similar, but you must monitor them more closely to prevent cooking or burning.
Long-Term Storage: The Batch Cooking Hack

Long-Term Storage: The Batch Cooking Hack
You’ve invested the time to create a batch of high-quality chews; now you need to protect that investment. The enemy of any dehydrated product is moisture, as it leads to mold and spoilage. Proper storage is non-negotiable.
- The Cooling Period: Once the chews are fully dehydrated, turn off the machine and let them cool completely to room temperature on the trays for at least 2-3 hours. Do not store them while they are still warm, as this will create condensation inside the storage container.
- Conditioning (Optional but Recommended): Place the cooled chews in a sealed, transparent container like a large glass jar. Leave them on the counter for 2-3 days. This allows any residual moisture to distribute evenly among the pieces. If you see any condensation forming on the inside of the jar, the chews are not dry enough and must go back into the dehydrator immediately.
- Short-Term Storage (1-3 weeks): For chews you plan to use within a few weeks, an airtight container (glass jar, Ziploc bag) stored in a cool, dark place like a pantry is sufficient.
- Long-Term Storage (Up to 6 months): For maximum shelf life, vacuum sealing is the gold standard. Place the completely dry chews into vacuum-seal bags and remove all the air. Store these sealed bags in the freezer. This preserves their freshness and prevents any risk of rancidity from the small amount of remaining fat.
Conclusion
You have now successfully hacked the dog chew market. You’ve bypassed the marketing gimmicks, eliminated the questionable ingredients, and produced a superior product for pennies on the dollar. Making your own dehydrated beef lips isn’t just about saving money; it’s about taking absolute control over what goes into your dog’s body. It’s about understanding that the best nutrition is often the simplest. By investing a small amount of time, you’ve created a high-value, engaging, and healthy outlet for your dog’s natural chewing instincts. Welcome to the smarter way of thinking about canine nutrition.