How to Make Dog Fortune Cookies (Edible Messages!)
Walk down any pet store aisle and you’re bombarded with brightly colored packages promising health, happiness, and flavor. But turn them over, and the truth is often a list of unpronounceable chemicals, cheap fillers, and sugar. The Canine Nutrition Hacker philosophy is simple: you, the owner, are the most powerful advocate for your dog’s health. It’s time to take control back from corporate pet food giants. This isn’t just about a cute treat; it’s about a fundamental shift in how you approach your dog’s nutrition and enrichment.
These homemade dog fortune cookies are more than a snack. They are an enrichment tool, a training reward, and a testament to your commitment to providing the best. We will break down the science of safe ingredients, provide a foolproof recipe, and run a cost analysis that will make you rethink every commercial treat you’ve ever purchased. Prepare to become your dog’s personal five-star chef.
Critical Safety Protocol: Before You Bake
Critical Safety Protocol: Before You Bake
Before we even touch a bag of flour, we must establish the ground rules. Your kitchen is now a canine nutrition lab, and safety is the non-negotiable first principle.
The Mandatory Disclaimer
I am a canine nutrition analyst, not a veterinarian. The information provided here is for educational purposes and is not a substitute for professional veterinary advice. Always consult your veterinarian before introducing new foods into your dog’s diet, especially if your dog has pre-existing health conditions, allergies, or dietary sensitivities. Every dog is an individual, and what works for one may not be suitable for another.
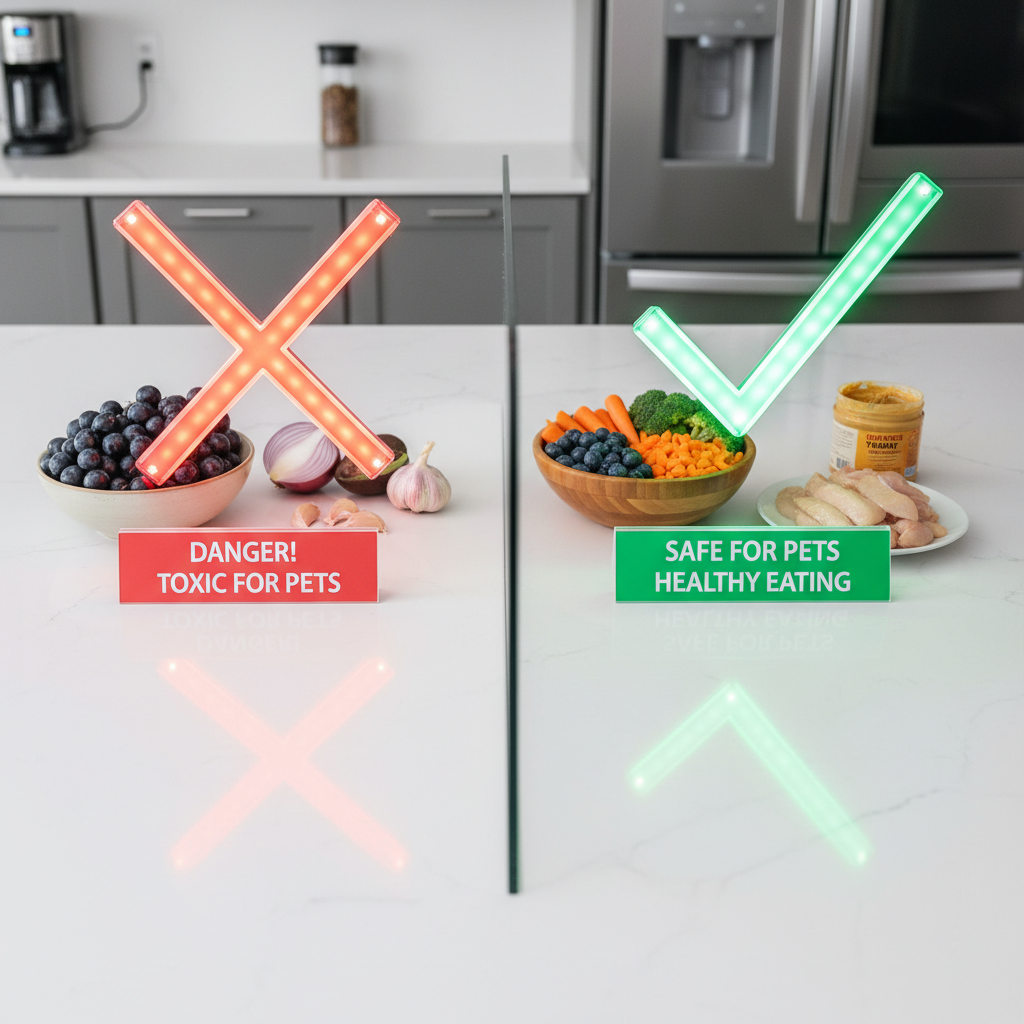
Toxic Territory: A Hacker’s Guide to Kitchen Dangers
A shocking number of common human foods are toxic to dogs. Keep your baking station secure and free of these common culprits:
- Xylitol: This artificial sweetener is extremely toxic to dogs and is often hidden in peanut butter, yogurt, and other ‘sugar-free’ products. Read every label.
- Chocolate, Coffee, & Caffeine: These contain methylxanthines, which are highly dangerous for pets.
- Onions, Garlic, Chives: These can cause gastrointestinal irritation and lead to red blood cell damage.
- Grapes & Raisins: These can cause acute kidney failure.
- Macadamia Nuts: Highly toxic, causing weakness, vomiting, and tremors.
- Alcohol: Should be common sense, but never leave alcoholic beverages or foods containing alcohol accessible.
The ‘Message’ Medium: Paper & Ink Safety
The charm of these treats lies in the message, but it’s a potential hazard. Use only non-toxic, pet-safe materials. This means small strips of plain paper with messages written in a non-toxic, food-grade pen. Better yet, use edible rice paper and edible ink markers designed for cake decorating. The goal is for your dog to ignore the paper and eat the cookie, but you must plan for the possibility of ingestion.
Ingredient Forensics: Building the Perfect Dog-Safe Fortune Cookie
Ingredient Forensics: Building the Perfect Dog-Safe Fortune Cookie
A recipe is only as good as its components. We don’t just throw ingredients in a bowl; we analyze their purpose and nutritional impact. This is how you build a superior treat from the ground up.
The Flour Base: Beyond Basic Wheat
The base of your cookie determines its texture and a large part of its nutritional profile. While all-purpose white flour is acceptable in a pinch, we can do better.
- Whole Wheat Flour: A solid, inexpensive choice that provides fiber. However, be aware of potential wheat allergies or sensitivities in some dogs.
- Oat Flour: An excellent grain-inclusive option. Oats are gentle on the digestive system and contain beneficial nutrients like linoleic acid. You can make your own by simply blending rolled oats into a fine powder.
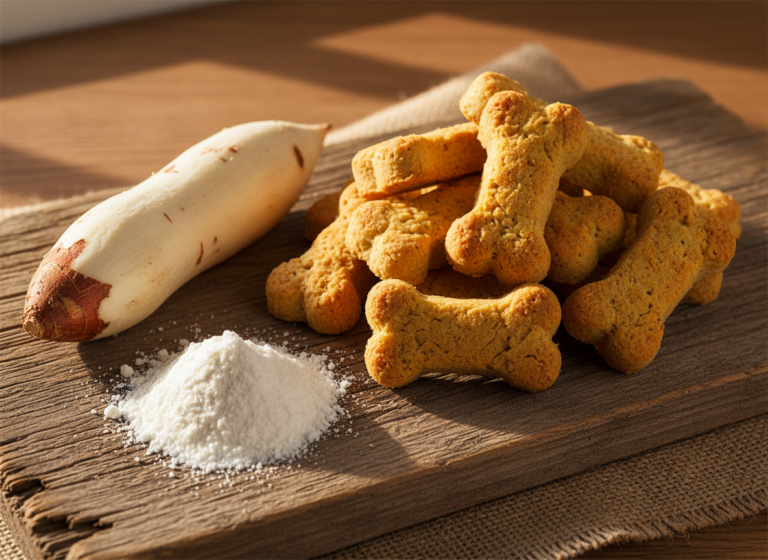
- Chickpea or Coconut Flour: Top-tier grain-free alternatives. Chickpea flour is high in protein and fiber, while coconut flour is high in fiber but also higher in fat. Use them for dogs with known grain sensitivities.
The Binder & Flavor Matrix
This is where we add moisture, structure, and taste. The key is to add flavor without adding harmful sugars or fats.
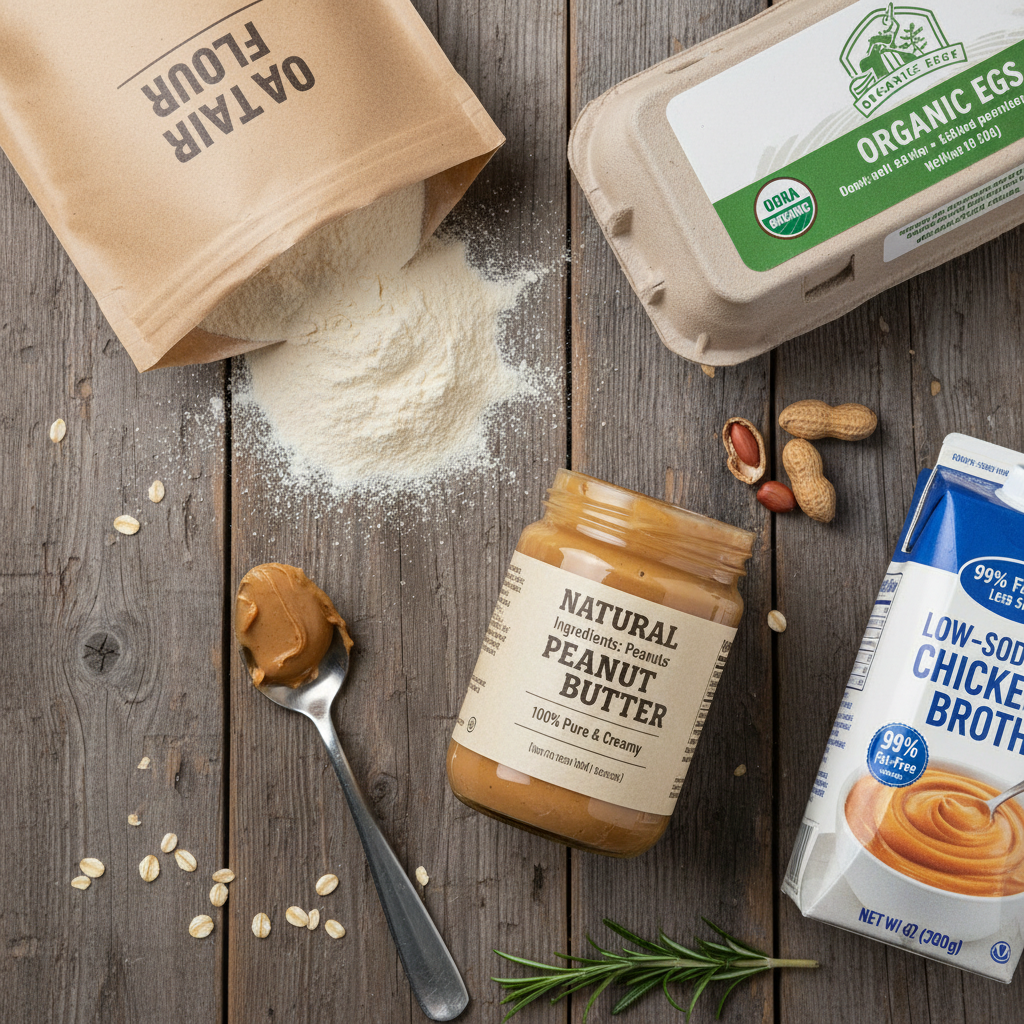
- The Binder: A single large egg is the perfect binder, adding protein and healthy fats. For dogs with egg allergies, unsweetened applesauce or pumpkin puree can serve a similar purpose, though the texture may be slightly different.
- The Liquid: Water is fine, but low-sodium chicken, beef, or vegetable broth is better. It adds significant flavor without the salt and preservatives found in regular broths. Always choose the ‘low-sodium’ or ‘no salt added’ version.
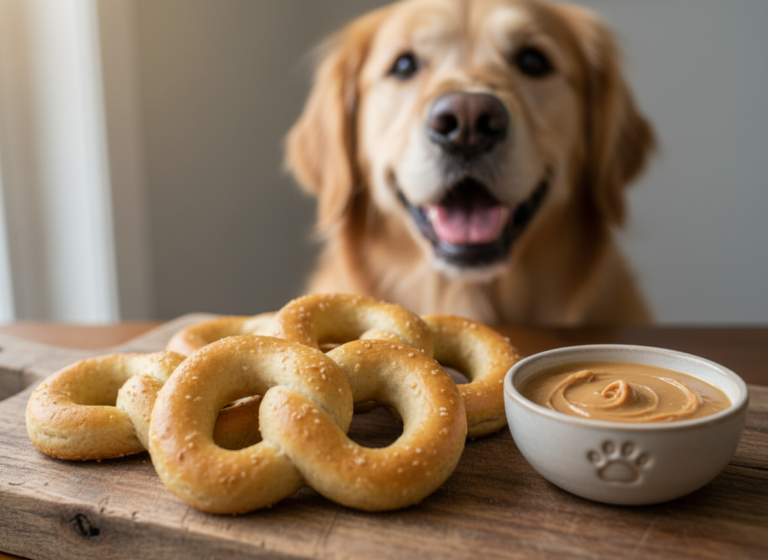
- The Flavor Powerhouse: A small amount of natural, unsalted peanut butter is a canine favorite.
Hacker Tip: When buying peanut butter, the ingredient list should have one item: peanuts. If you see ‘xylitol’ or ‘birch sugar’ on the label, DO NOT BUY IT. It is a poison.
The Blueprint: Your Step-by-Step Fortune Cookie Protocol

The Blueprint: Your Step-by-Step Fortune Cookie Protocol
Follow these instructions precisely for consistent, perfectly formed cookies. Precision is key to a successful operation.
Phase 1: Asset Acquisition (Ingredients & Equipment)
- Dry Team: 2 cups of your chosen flour (oat or whole wheat recommended)
- Wet Team: 1 large egg, 2-4 tablespoons of low-sodium broth or water
- Flavor Unit (Optional): 2 tablespoons of xylitol-free, natural peanut butter
- Equipment: Mixing bowls, whisk, rolling pin, 3-inch round cookie cutter (or a glass rim), parchment paper, baking sheets, pet-safe pen and paper for fortunes.
Phase 2: Execution (Instructions)
- Prepare Fortunes: Write your messages on small strips of paper (approx. 2 inches long by 1/2 inch wide). Set aside.
- Preheat & Prep: Preheat your oven to 350°F (175°C). Line two baking sheets with parchment paper.
- Combine Dry Ingredients: In a large bowl, whisk together the flour to ensure it’s aerated.
- Combine Wet Ingredients: In a separate, smaller bowl, whisk the egg, 2 tablespoons of broth, and the optional peanut butter until smooth.
- Form Dough: Pour the wet mixture into the dry ingredients. Mix with a spatula or your hands until a stiff, crumbly dough forms. If it’s too dry, add more broth, one teaspoon at a time, until it comes together. Do not over-mix.
- Roll & Cut: On a lightly floured surface, roll the dough out to about 1/8-inch thickness. Use your 3-inch round cutter to cut out circles. Gather and re-roll the scraps.
- The First Bake: Place the circles on your prepared baking sheets. Bake for 5 minutes. They should be firm enough to handle but still pale and pliable.
- The Fold: This step is time-sensitive. Working quickly while the cookies are warm, place a fortune in the center of a circle. Fold it in half to form a semi-circle, pinching the edges to seal. Then, gently bend the semi-circle over the rim of a glass or the edge of a muffin tin to create the classic fortune cookie shape. Place the folded cookie into a muffin tin cup to help it hold its shape as it cools.
- The Final Bake: Return the shaped cookies (now in the muffin tin) to the oven and bake for another 10-15 minutes, or until they are golden brown and hard to the touch.
- Cool Down: This is a critical step. Let the cookies cool completely on a wire rack. They will continue to harden as they cool. Do not serve a warm treat to your dog.
Insider Secret: The speed of the fold is everything. If the cookies cool too much, they’ll crack. Work in small batches, leaving the other circles in the warm oven while you fold a few at a time.
The Bottom Line: Cost Analysis of Homemade vs. Store-Bought
The Bottom Line: Cost Analysis of Homemade vs. Store-Bought
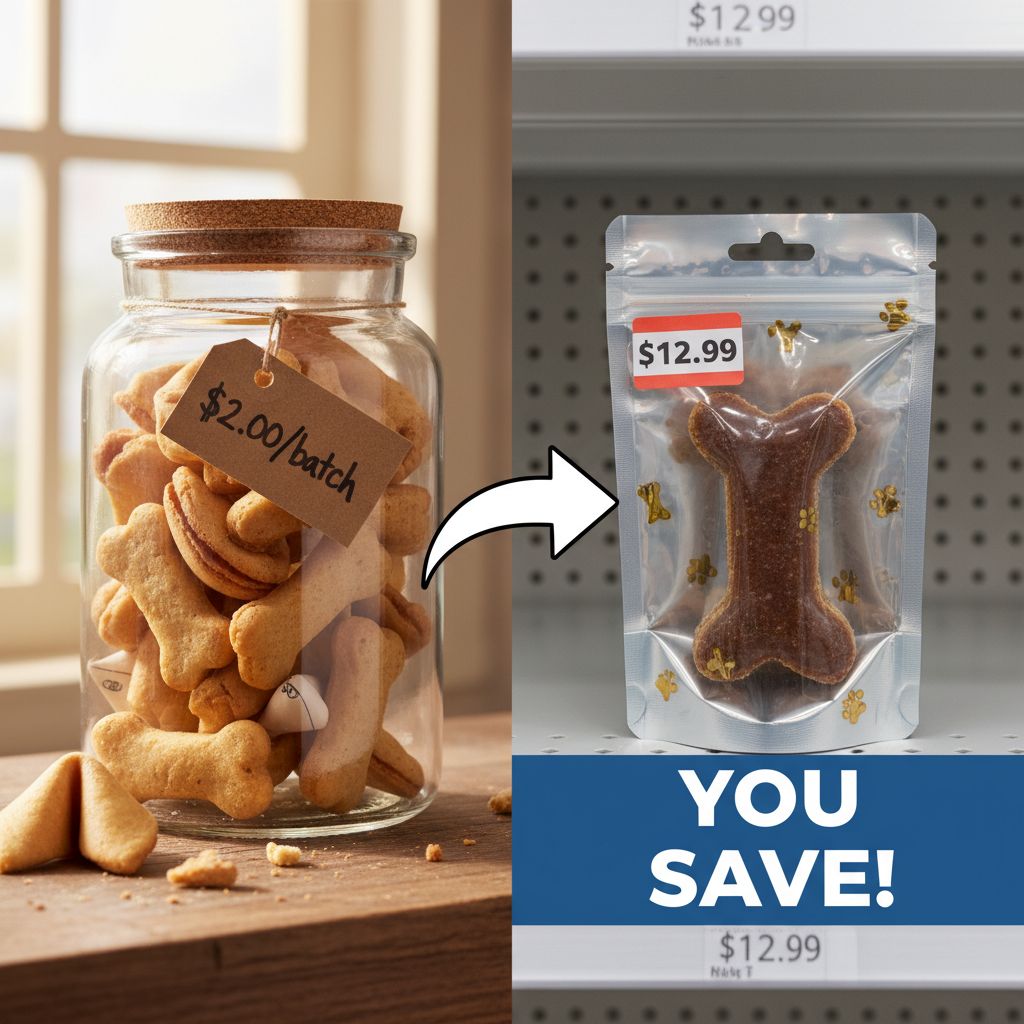
Many pet owners believe making homemade treats is a luxury. This is a myth perpetuated by the marketing departments of billion-dollar pet food corporations. The data tells a different story. Let’s break down the cost of one batch (approximately 30 cookies) versus buying a ‘premium’ commercial novelty treat.
| Ingredient/Item | Approximate DIY Cost (Per Batch) | Equivalent Premium Store-Bought Treat | The Hacker’s Verdict |
|---|---|---|---|
| Oat Flour (2 cups) | $0.75 | Single Bag of ‘Gourmet’ Novelty Treats (approx. 30 treats) – $12.99 | Total DIY Cost: ~$2.00 Cost Per Cookie: ~$0.07 Store-Bought Cost Per Cookie: ~$0.43 Total Savings: Over 600% |
| Large Egg (1) | $0.30 | ||
| Natural Peanut Butter (2 tbsp) | $0.45 | ||
| Low-Sodium Broth (4 tbsp) | $0.50 |
The numbers don’t lie. For less than the cost of a cup of coffee, you can produce a batch of high-quality, human-grade treats. The store-bought equivalent costs significantly more and often contains inferior ingredients like sugar, salt, and artificial preservatives to ensure shelf stability. Your ‘investment’ here isn’t just financial; it’s an investment in quality control and your dog’s long-term health. You save money while simultaneously providing a vastly superior product. That’s the core of the Canine Nutrition Hacker ethos.
The Efficiency Protocol: Batching and Storage Secrets
The Efficiency Protocol: Batching and Storage Secrets
Your time is valuable. Making treats should be an efficient process, not a daily chore. Proper batching and storage are key to integrating this into your routine seamlessly.
Short-Term Storage (1-2 Weeks)
Once the cookies are 100% cooled and hard, they can be stored in an airtight container at room temperature. The key is ensuring they are completely dry; any residual moisture will lead to mold. If you live in a humid climate, storing them in the refrigerator is a safer bet. They should last for up to two weeks.
Long-Term Deployment (Up to 3 Months)
Freezing is your best friend for long-term storage. This allows you to make several batches at once, saving significant time.
- Flash Freeze: Arrange the completely cooled cookies in a single layer on a baking sheet. Place the sheet in the freezer for 1-2 hours, or until the cookies are frozen solid. This prevents them from sticking together.
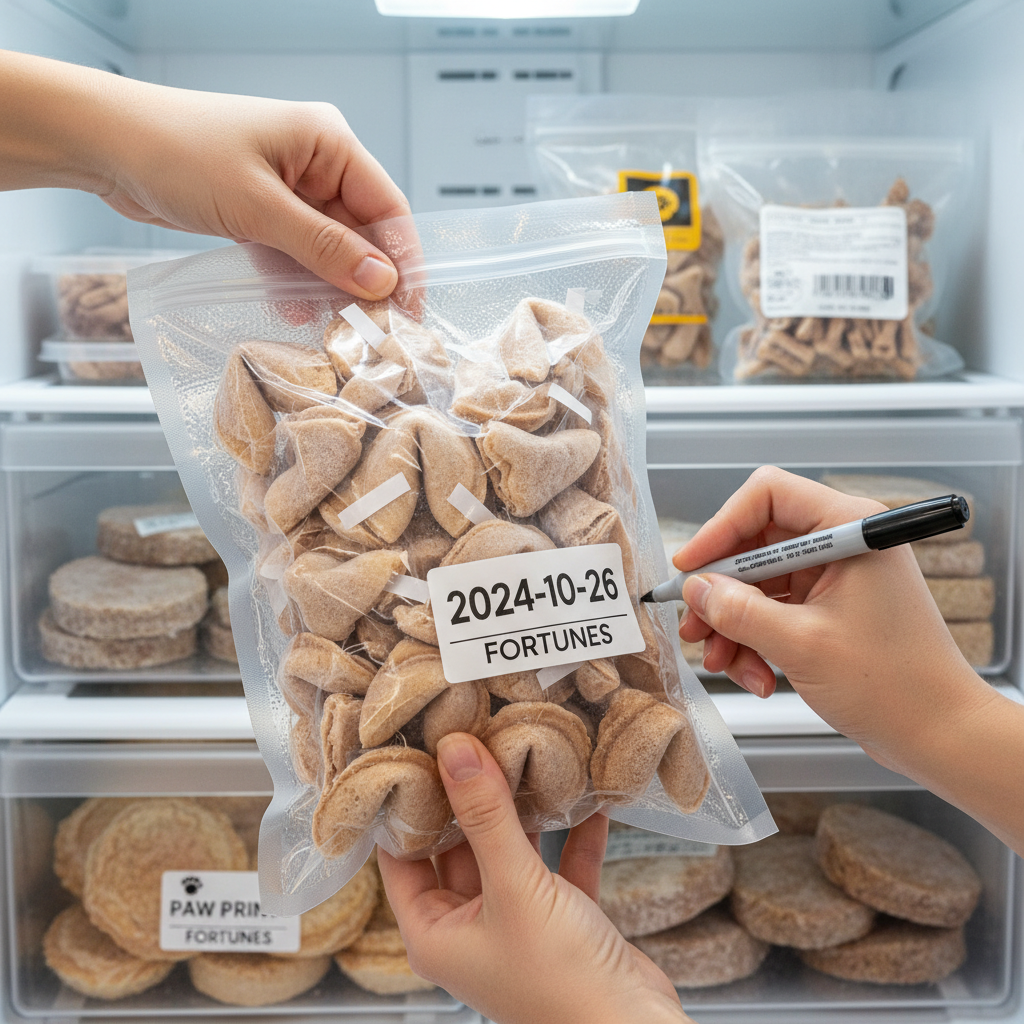
- Package for Storage: Transfer the frozen cookies into a labeled, freezer-safe bag or container. Remove as much air as possible to prevent freezer burn.
- Thawing: Simply take out a few cookies as needed and let them thaw at room temperature for about 15-20 minutes. Do not microwave them, as this can create hot spots and make them soggy.
Hacker Tip: You can also freeze the raw, un-rolled dough. Tightly wrap the dough ball in plastic wrap, then place it in a freezer bag. It can be stored for up to 3 months. Thaw it in the refrigerator overnight before rolling, cutting, and baking as usual. This is a game-changer for having ‘fresh’ treats on demand.
Conclusion
You’ve now moved beyond the role of a mere pet owner to that of a proactive canine guardian. By creating these fortune cookies, you’ve done more than just bake a treat. You’ve audited ingredients, controlled the quality, enhanced your dog’s enrichment, and made a fiscally sound decision. This is the essence of being a Canine Nutrition Hacker: rejecting passive consumption and embracing active, informed participation in your dog’s well-being.
This recipe is a blueprint. Modify it, experiment with dog-safe flavors, and tailor it to your dog’s preferences. The power is now in your hands, right where it belongs. Go forth and bake with the confidence that you are providing the absolute best for your loyal companion.