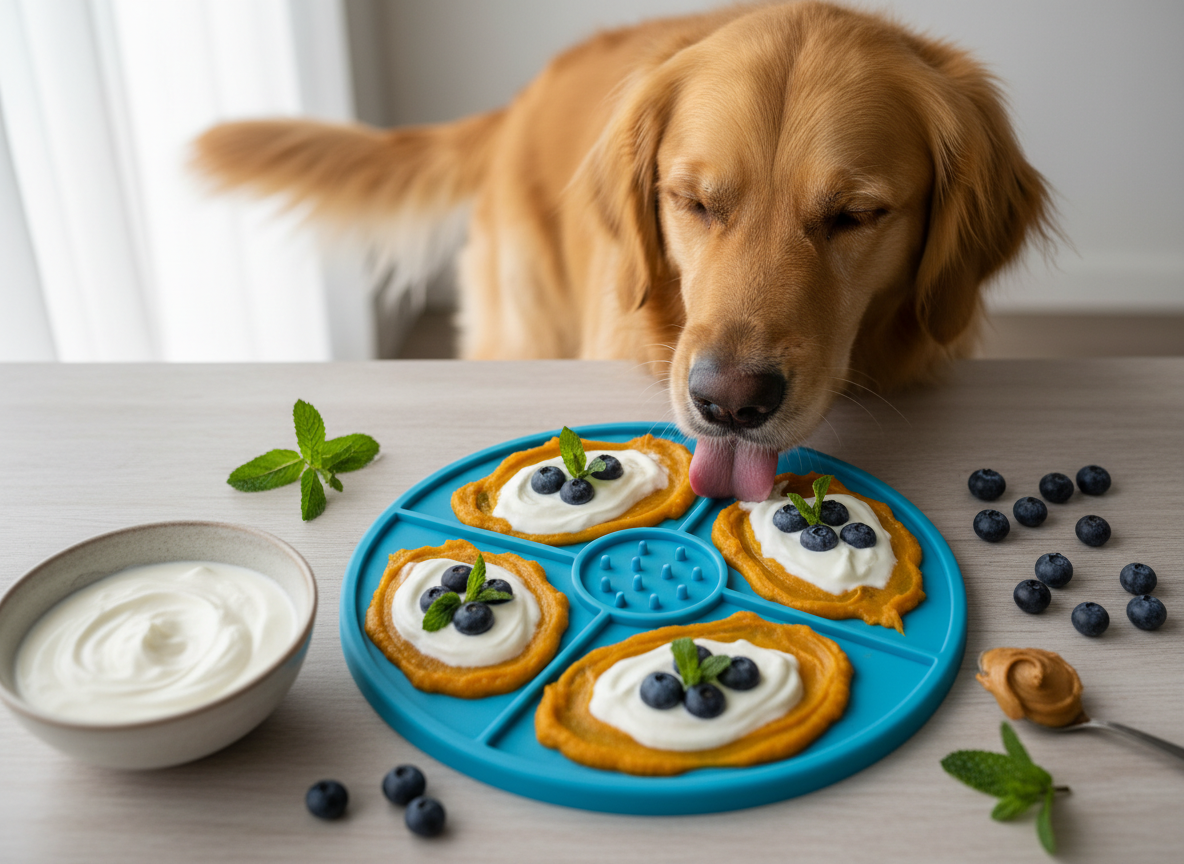
20 Calming Lick Mat Recipes to Soothe Anxious Pups
Let’s cut to the chase. You’re here because your dog is struggling with anxiety—separation, thunderstorms, car rides—and you’re looking for a real solution. You’ve seen lick mats advertised as a miracle tool, and you’ve probably seen the ‘calming’ treats in pet stores, with their fancy packaging and high price tags. Here’s the insider secret they don’t want you to know: most of those commercial treats are overpriced junk food, packed with fillers, sugars, and mystery ‘proprietary blends’ that do little more than drain your bank account.
I’m The Canine Nutrition Hacker. I don’t fall for marketing gimmicks. I analyze ingredient labels like a forensic scientist, and I’m here to empower you to do the same. A lick mat is more than a toy; it’s a powerful bio-hacking tool for your dog’s brain. The repetitive act of licking releases calming endorphins, turning a simple snack into a therapeutic session. But the real power comes from what you put on the mat. By using specific, whole-food ingredients, you can create potent, calming concoctions that actually work—for a fraction of the cost of store-bought alternatives. This guide will arm you with 20 simple, effective recipes to soothe your anxious pup and reclaim control over their nutrition and your budget.
The Lick Mat Advantage: Deconstructing the Hype
Before we dive into the recipes, it’s critical to understand why this method is so effective. This isn’t just about distracting your dog with food. We’re leveraging their natural biology to create a state of calm. The power of the lick mat is a two-pronged attack against anxiety.
Prong 1: The Mechanical Action of Licking
When a dog licks repeatedly, their brain releases endorphins, which are natural hormones that act as pain relievers and mood elevators. It’s a self-soothing behavior. This simple, repetitive action has several proven benefits:
- Anxiety & Stress Reduction: The endorphin release directly counteracts the stress hormone, cortisol. This is invaluable during stressful events like fireworks, vet visits, or when you’re leaving the house.
- Boredom Busting: A frozen lick mat can keep a dog engaged and mentally stimulated for 20-40 minutes, preventing a bored dog from turning into a destructive one.
- Improved Dental Health: The textured surface of the mat scrapes the tongue, removing odor-causing bacteria and stimulating saliva production, which helps clean the teeth and gums.
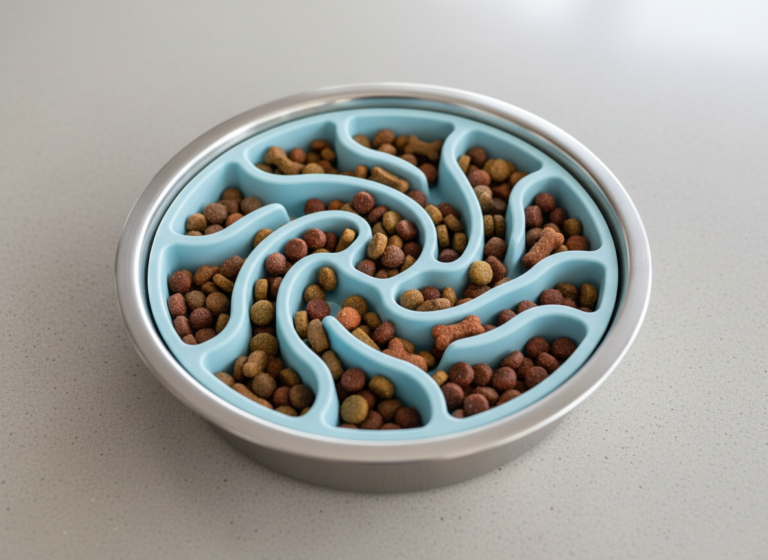
- Slower Eating: For dogs that inhale their food, smearing their meal on a lick mat forces them to eat more slowly, improving digestion and preventing dangerous bloat.
Prong 2: The Nutritional Payoff
This is where we, as Canine Nutrition Hackers, have the upper hand. Instead of relying on a commercial treat with questionable ingredients, we control the payload. We can load the mat with ingredients specifically chosen for their calming properties, gut health benefits, and nutritional value. You know exactly what your dog is consuming—no fillers, no artificial colors, no hidden sugars.
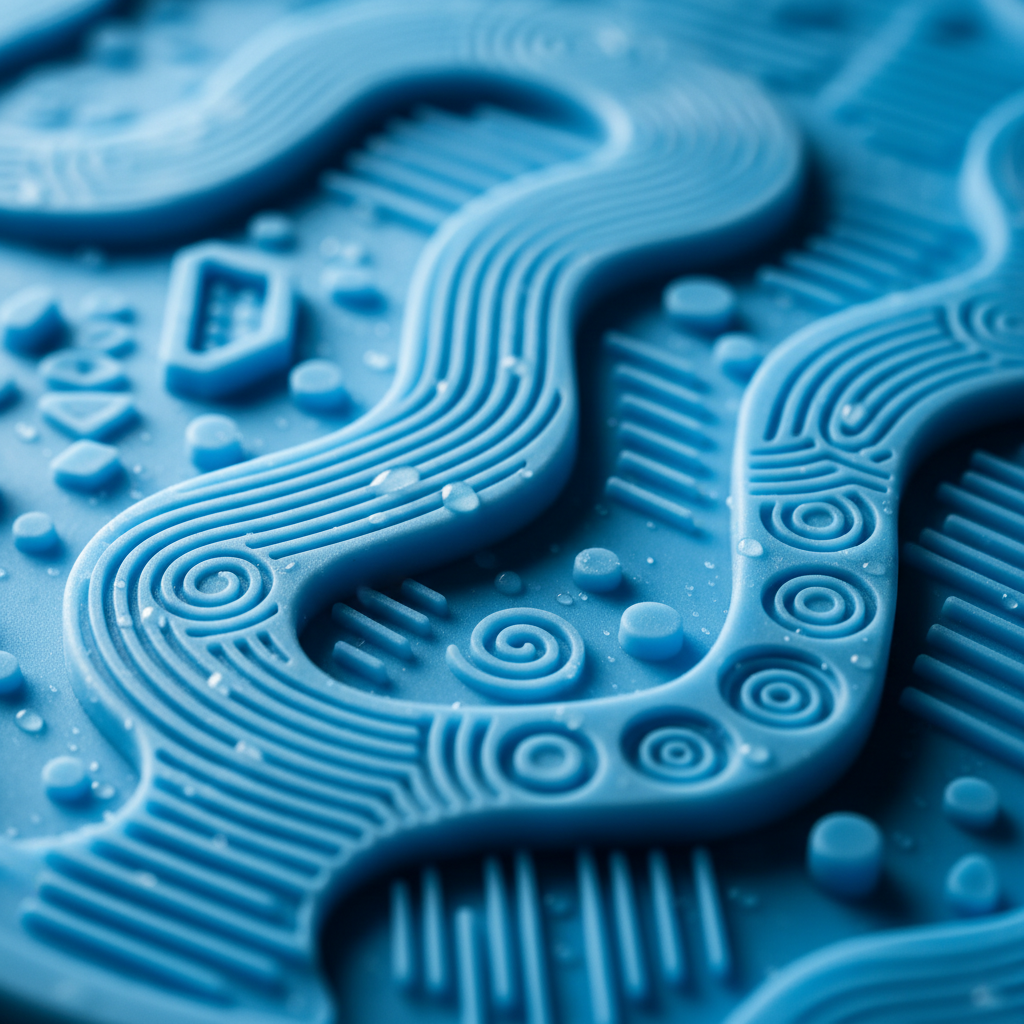
Hacker Tip: The texture of the lick mat matters. Look for mats with multiple patterns. The more complex the design, the longer the licking session and the greater the mental enrichment. Silicone is best as it’s durable and easy to clean (top-rack dishwasher safe).
Mandatory Safety Briefing: Read Before You Mix
WARNING: Your Dog’s Safety Is Non-Negotiable.
As The Canine Nutrition Hacker, my first priority is your dog’s health. These recipes are powerful tools, but they must be used responsibly. Read this section carefully.
- I Am Not A Veterinarian: The information provided here is for educational purposes and is based on extensive research into canine nutrition. It is not a substitute for professional veterinary advice. Always consult with your veterinarian before introducing new foods into your dog’s diet, especially if your dog has underlying health conditions, allergies, or is on medication.
- Treats, Not Meals: These recipes are for supplemental feeding only. They are not a complete and balanced meal. Treats should not make up more than 10% of your dog’s daily caloric intake.
- Know Your Dog: Pay attention to your dog’s individual sensitivities. Introduce new ingredients one at a time in small amounts to monitor for any adverse reactions like gas, upset stomach, or skin issues.
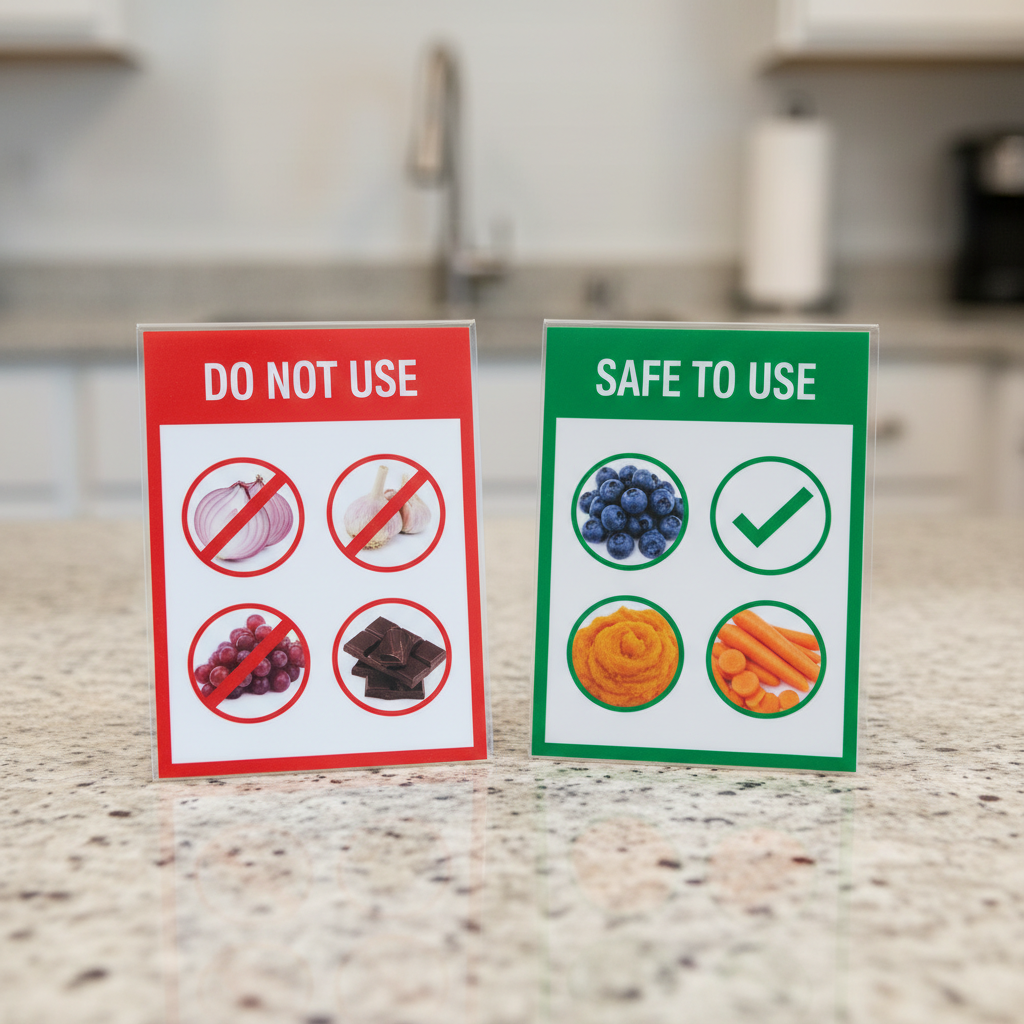
- The Poison List: Many human foods are toxic to dogs. Never use any of the following: Xylitol (artificial sweetener found in some peanut butters), chocolate, grapes, raisins, onions, garlic, macadamia nuts, or alcohol. Always double-check ingredient lists.
Insider Secret: When choosing a peanut butter, the ingredient list should have one thing: peanuts. Maybe a little salt. If you see ‘xylitol’ or ‘birch sugar,’ put it back on the shelf immediately. It is extremely toxic to dogs.
The Recipes: 20 Calming Concoctions for Your Canine
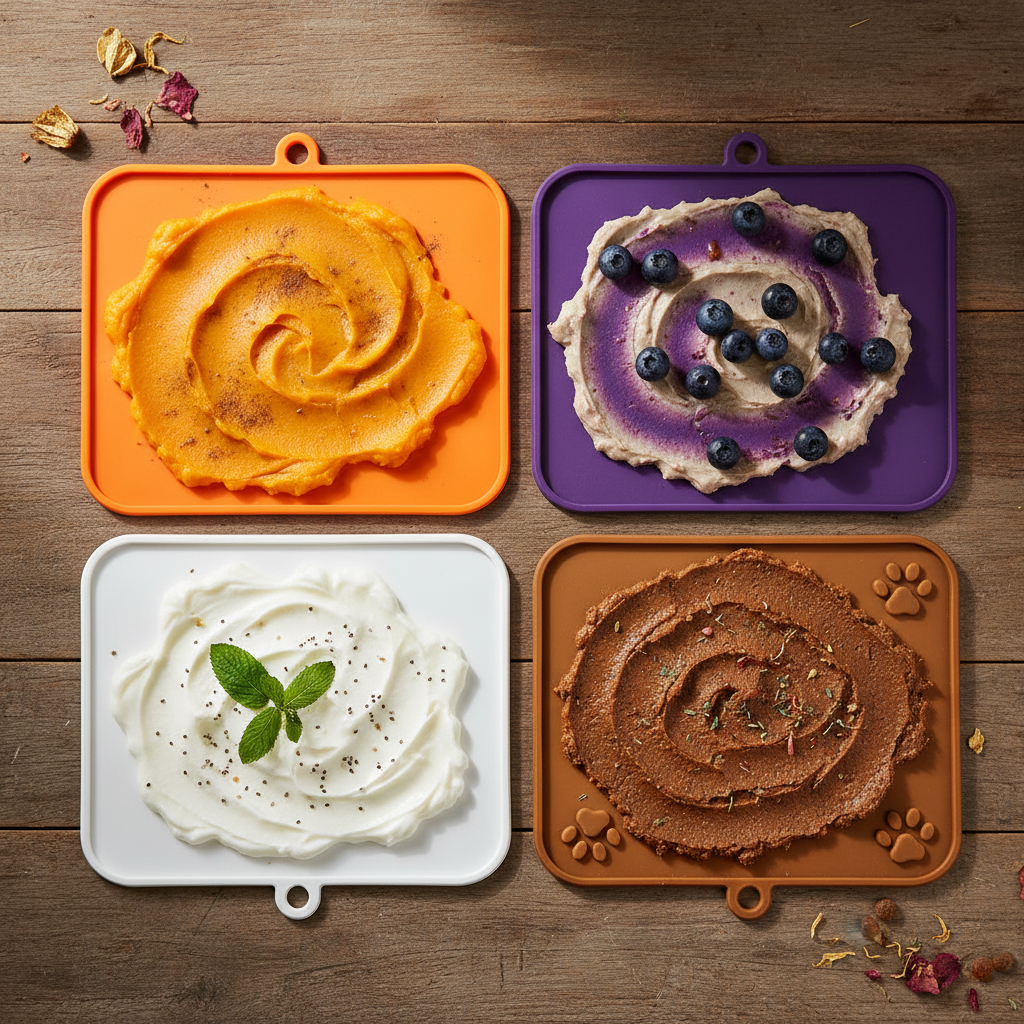
Here is your arsenal against anxiety. These recipes are grouped by their primary functional ingredients. Mix, match, and find your dog’s favorites. The base for many of these can be plain Greek yogurt, kefir, or pumpkin puree due to their ideal consistency and health benefits.
Category 1: Probiotic Powerhouses (For the Gut-Brain Axis)
A healthy gut is directly linked to a calmer mind. These recipes support digestive health, which in turn can reduce anxiety.
- 1. The Classic Pumpkin Swirl: 1/4 cup plain pumpkin puree (not pie filling) + 2 tbsp plain Greek yogurt.
- 2. Kefir & Berry Blend: 1/4 cup plain kefir + handful of mashed blueberries.
- 3. Gut Soother: 2 tbsp pumpkin puree + 2 tbsp plain yogurt + 1 tsp ginger powder (aids digestion).
- 4. The Green Machine: 1/4 cup plain yogurt + 1 tbsp finely chopped parsley (freshens breath) + 1 tbsp mashed kale.
- 5. Fermented Fun: 2 tbsp plain kefir + 1 tbsp pureed sauerkraut (probiotics!) + 1 tbsp mashed sweet potato.
Category 2: Calming Herb & Fruit Infusions
Leveraging natural compounds in fruits and herbs known for their soothing properties.
- 6. Chamomile & Honey Dream: 1/4 cup plain yogurt + 1 tsp strongly brewed (and cooled) chamomile tea + 1/2 tsp raw honey (local is best).
- 7. Banana & Basil Bliss: 1/2 mashed ripe banana + 2 tbsp coconut oil + 2-3 finely chopped fresh basil leaves.
- 8. Blueberry Brain Boost: Handful of mashed blueberries (antioxidants) + 2 tbsp Greek yogurt + 1 tsp chia seeds (soaked).
- 9. Watermelon Mint Cooler: 1/4 cup pureed seedless watermelon + 2-3 finely chopped mint leaves. Perfect for freezing.
- 10. Strawberry & Rosemary Mash: 3-4 mashed strawberries + 2 tbsp cottage cheese + a tiny pinch of dried rosemary.
Category 3: Savory & Satisfying Spreads
For the dog that prefers a meaty, savory treat over a sweet one.
- 11. Bone Broth Glaze: 2-3 tbsp of low-sodium, high-quality bone broth (can be gelled) spread thinly. Simple and effective.
- 12. Sardine Surprise: One or two sardines packed in water (no salt added), mashed into a paste. (Use sparingly – it’s potent!)
- 13. Liver Paste Power-Up: 2 tbsp of pureed cooked chicken or beef liver + 2 tbsp mashed sweet potato.
- 14. Shredded Chicken & Carrot: Finely shredded boiled chicken + 2 tbsp pureed cooked carrots.
- 15. Cream Cheese & Salmon: 1 tbsp plain cream cheese (or goat cheese) + 1 tbsp flaked, cooked salmon.
Category 4: Frozen Delights for Lasting Engagement
These are designed to be frozen, maximizing the time it takes for your dog to finish and extending the calming effect.
- 16. The ‘Pupsicle’ Mat: The Watermelon Mint Cooler recipe (from above), frozen solid.
- 17. Frozen Bone Broth Block: Pour bone broth directly onto the mat and freeze.
- 18. Peanut Butter Yogurt Pop: 1/4 cup plain yogurt + 1 tbsp xylitol-free peanut butter. Mix well, spread, and freeze.
- 19. Coconut Berry Freeze: 3 tbsp coconut oil (melted) + handful of mixed berries. Mix, pour onto the mat, and freeze.
- 20. The Ultimate Frozen Kong Filler: A layered mix of mashed banana, peanut butter, and yogurt. Freeze between each layer for a real challenge.
Cost Analysis: Hacking Your Treat Budget
Let’s run the numbers. The marketing for commercial ‘calming chews’ is compelling, but the cost is outrageous when you break it down. They rely on you not doing the math. We’re going to do the math.
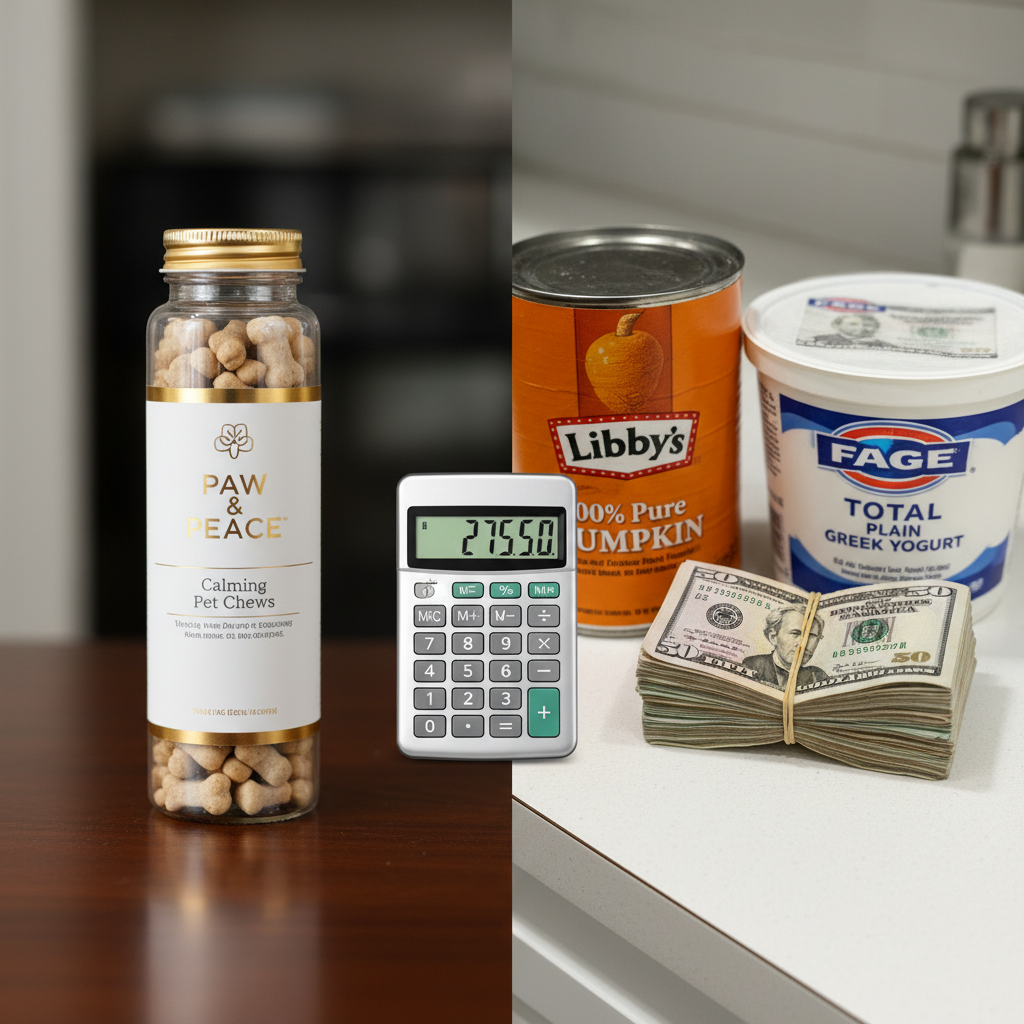
Consider a popular brand of calming chew, which costs approximately $30 for a jar of 60 chews. For a medium-sized dog, the recommendation is often 2 chews per day.
- Cost per day (Commercial): $1.00
- Cost per month (Commercial): $30.00
Now, let’s analyze the cost of one of our most common recipes: The Classic Pumpkin Swirl.
| Ingredient | Average Cost (Bulk) | Cost Per Serving (approx. 1/4 cup) |
|---|---|---|
| 15oz Can Pumpkin Puree | $2.00 (makes ~7 servings) | $0.28 |
| 32oz Tub Plain Greek Yogurt | $5.00 (makes ~16 servings) | $0.31 |
| Total DIY Serving Cost | – | $0.59 |
The results are undeniable. By making your own lick mat treats, your cost per serving is nearly half that of the commercial alternative. And, more importantly, you are using 100% whole-food ingredients with zero fillers, binders, or artificial preservatives.
- Cost per day (DIY): $0.59
- Cost per month (DIY): $17.70
- Total Monthly Savings: $12.30
That’s nearly $150 in savings per year, and you’re providing a nutritionally superior product. This is the essence of being a Canine Nutrition Hacker: better results for less money.
Insider Secret: Buy ingredients like pumpkin and yogurt in the largest containers available to drive down the per-serving cost even further. You can freeze pumpkin puree in ice cube trays for long-term storage and perfect portioning.
The Batch Cooking Blueprint: Prep, Freeze, and Deploy
The key to consistency is convenience. You won’t stick with this routine if it’s a hassle. That’s why batch prepping is a non-negotiable part of this system. Here is the blueprint for making a week’s worth of calming treats in under 15 minutes.
Step 1: Choose Your Recipes
Pick 2-3 recipes your dog loves. Variety will keep them more engaged. For example, you could make a batch of the Pumpkin Swirl and the Peanut Butter Yogurt Pop.
Step 2: Mix in Bulk
In separate bowls, mix larger quantities of your chosen recipes. For a week’s worth, you might mix 1 cup of pumpkin with 1/2 cup of yogurt in one bowl, and 1 cup of yogurt with 1/4 cup of peanut butter in another.
Step 3: The Ice Cube Tray Hack
This is the most critical step. Spoon your mixtures into a standard ice cube tray or a silicone mold. Each cube will be a perfect single serving for your lick mat. This allows for perfect portion control and eliminates daily prep work.
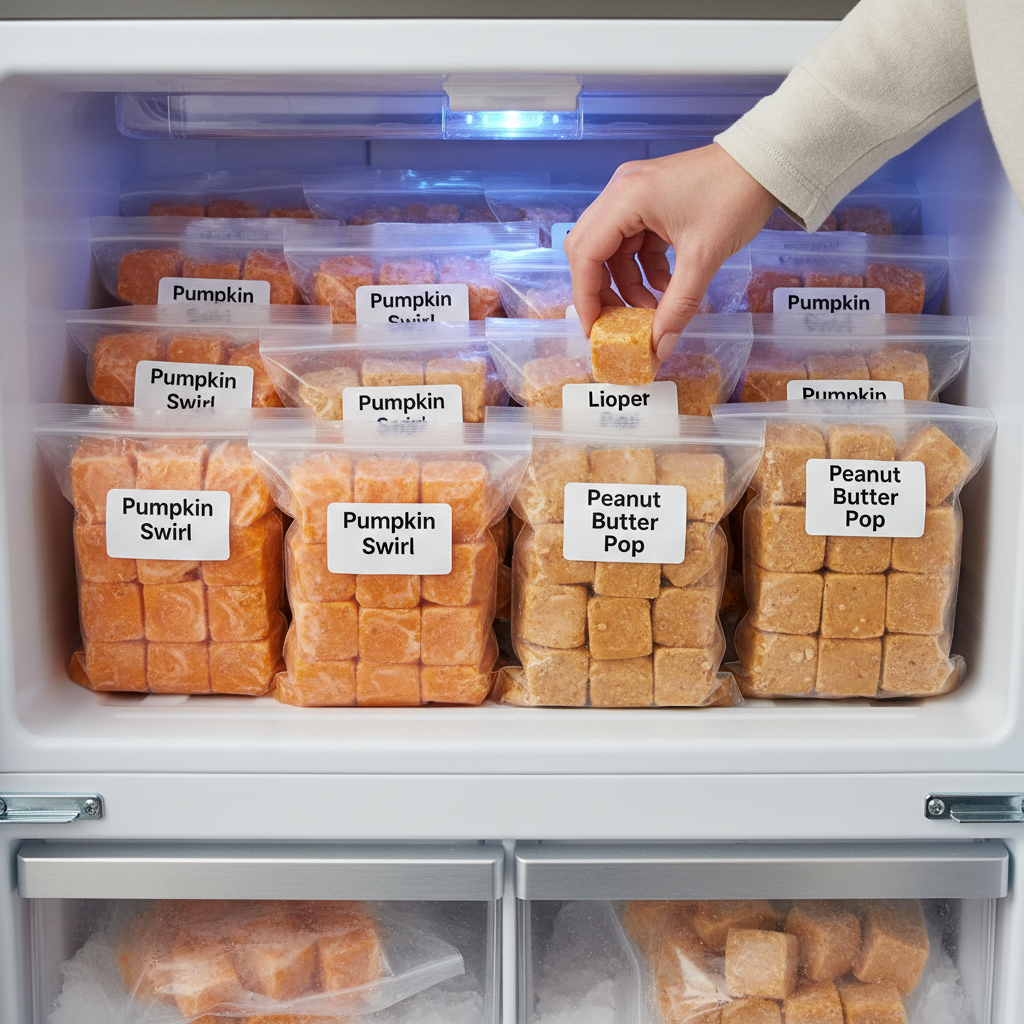
Step 4: Freeze Solid
Place the trays in the freezer for at least 4 hours, or until completely solid. Once frozen, you can pop the cubes out and store them in a labeled freezer bag. This frees up your ice cube trays for the next batch.
- Fridge Life: Prepared mixtures (unfrozen) will last 3-4 days in an airtight container in the refrigerator.
- Freezer Life: Frozen lick mat cubes will last for up to 3 months in a sealed freezer bag.
Step 5: Deploy as Needed
When a storm is rolling in or you’re preparing to leave the house, simply grab a cube from the freezer, pop it onto the lick mat, and let it thaw for a minute or two. You have a powerful, calming tool ready to go in seconds.
Conclusion
You are now equipped with the knowledge and the recipes to transform a simple piece of silicone into a powerful therapeutic tool for your dog. You’ve moved beyond the realm of a passive pet owner into the role of a proactive Canine Nutrition Hacker. You understand the science behind why lick mats work, you have an arsenal of 20 potent recipes, and you’ve seen the hard data on how much money you can save by ditching overpriced commercial treats.
The power is now in your hands. You control the ingredients, the quality, and the cost. Start with one recipe, observe the calming effect on your dog, and take pride in providing them with the very best. You are not just giving them a treat; you are actively investing in their mental health and well-being, one lick at a time.