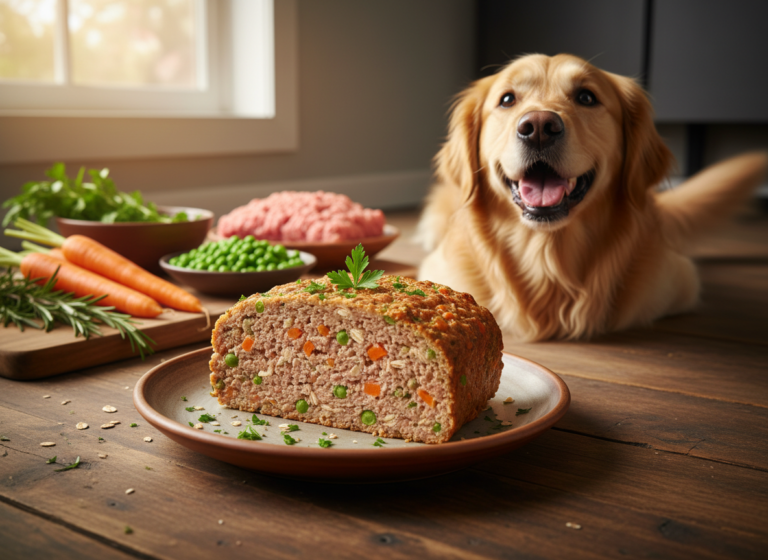
DIY Meat Jelly: How to Make Hydrating Bone Broth Aspic for Dogs
Walk down any pet food aisle, and you’ll be bombarded with pouches of ‘hydration toppers’ and ‘savory broths,’ all promising to entice your picky eater while delivering a moisture boost. The truth? You’re mostly paying for water, salt, and a host of mysterious ‘natural flavors.’ As the Canine Nutrition Hacker, I’m here to tell you there’s a better way—a way that puts you in complete control of the ingredients and saves you a significant amount of money. Enter the world of DIY Meat Jelly, also known as bone broth aspic.
This isn’t just a wiggly treat; it’s a nutritional powerhouse. Many dogs, especially those on a dry kibble diet, live in a state of chronic low-level dehydration. This puts a strain on their kidneys and overall systemic function. Meat jelly is the ultimate hack: it delivers intense hydration in a form most dogs find irresistible. It’s packed with collagen, gelatin, and amino acids that support joint health, gut integrity, and skin and coat vitality. This guide will provide you with the no-nonsense, step-by-step blueprint to creating this superfood in your own kitchen.
The Canine Nutrition Hacker’s Case for Meat Jelly

The ‘Why’ Behind Meat Jelly: More Than Just a Wiggly Treat
Before we get into the kitchen, you need to understand the science. Why is this gelatinous cube superior to just adding water to your dog’s kibble? The magic lies in the long, slow simmering of bones and connective tissues, which extracts compounds that are fundamental building blocks for your dog’s body.
The Core Benefits Deconstructed:
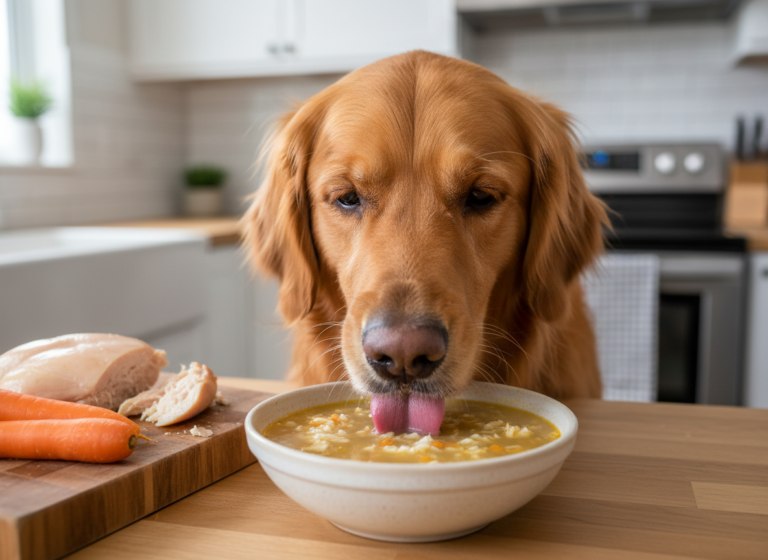
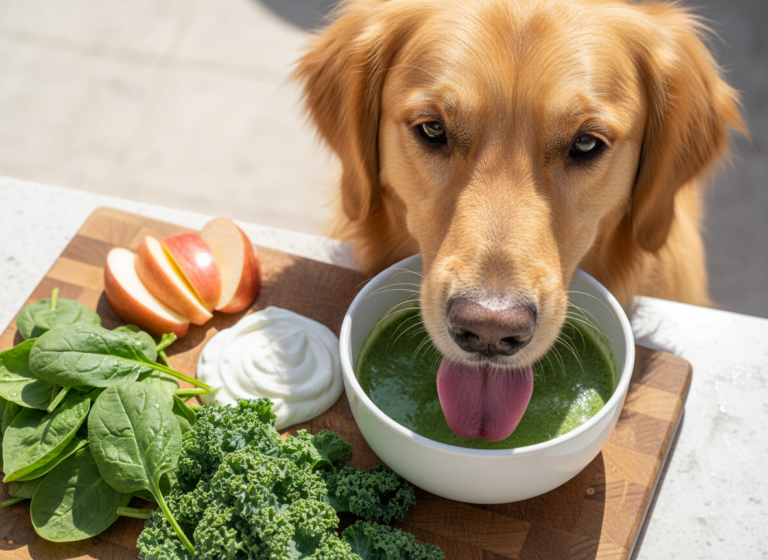
- Super-Hydration: While water is hydrating, meat jelly is hydration supercharged with flavor. The rich, meaty taste encourages even the most reluctant drinkers to consume more fluids, which is critical for flushing toxins, aiding digestion, and supporting kidney function.
- Joint & Connective Tissue Support: This is the big one. The simmering process breaks down cartilage and bones, releasing collagen, glucosamine, and chondroitin. These are the exact compounds sold in expensive joint supplements. Gelatin, the cooked form of collagen, provides the amino acids (like glycine and proline) necessary for the body to build and repair cartilage, tendons, and ligaments. It’s a direct deposit into your dog’s structural health account.
- Gut Health Guardian: The gut lining is a critical barrier, and modern canine diets can compromise it. The amino acid glycine, abundant in bone broth gelatin, is known to help seal and heal the gut lining. A healthier gut improves nutrient absorption and can reduce inflammatory responses, making it a powerful tool for dogs with sensitive stomachs.
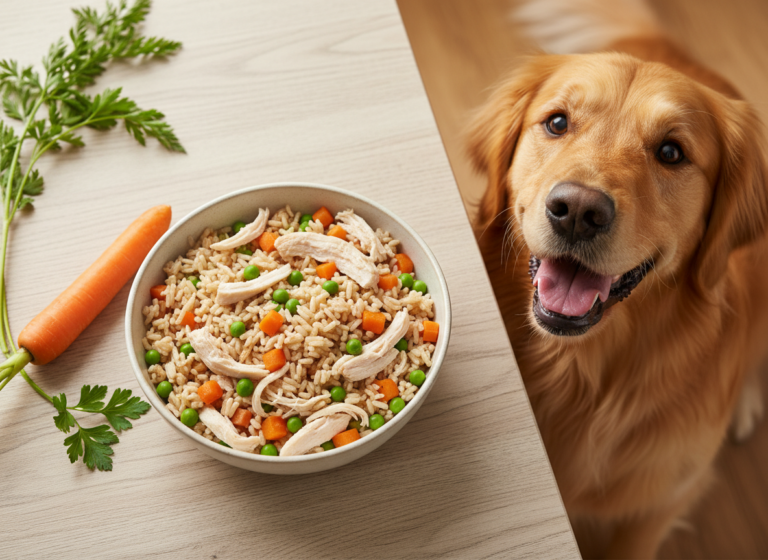
- Picky Eater Solution: The texture and concentrated flavor of meat jelly are a game-changer. A small cube mixed into a regular meal can transform a boring bowl of kibble into a delicacy, ensuring your dog gets the complete nutrition they need without the use of artificial flavor enhancers found in commercial products.
Deconstructing the Cost: DIY vs. Big Pet Food

The Forensic Cost Analysis: DIY Jelly vs. Store-Bought Toppers
The pet food industry thrives on convenience, but that convenience comes at a steep price, both in dollars and in nutritional quality. Let’s peel back the label and run the numbers. You’ll be shocked at what you’re actually paying for.
Insider Secret: Many commercial ‘broths’ use powdered gelatin or ‘animal flavor’ derived from questionable sources instead of a true, slow-simmered bone broth. They sell you marketing and flavored water, while you can make a superior product for pennies on the dollar.
We’ll compare the cost of making a 32oz batch of our DIY Meat Jelly with leading commercial toppers. For this analysis, we’ll assume a 50lb dog gets 2oz of topper per day.
| Metric | DIY Meat Jelly | Premium Broth Topper | Budget Gravy Pouch |
|---|---|---|---|
| Primary Ingredients | Chicken Frames/Feet, Water, Apple Cider Vinegar | Water, Chicken Broth, Natural Flavor, Xanthan Gum, Salt | Water, Meat By-Products, Modified Corn Starch, Artificial Flavor |
| Approx. Cost (32oz) | $3.00 (for 2 lbs of chicken frames) | $20.00 (based on $2.50 per 4oz pouch) | $12.00 (based on $1.50 per 4oz pouch) |
| Cost Per Day (2oz) | $0.19 | $1.25 | $0.75 |
| Monthly Cost | $5.70 | $37.50 | $22.50 |
| The Hacker’s Verdict | Nutritionally superior, packed with natural collagen, and offers a staggering 85-95% cost savings. Full control over ingredients. | Extremely overpriced for what is essentially flavored broth with thickeners. You’re paying for packaging and marketing. | Cheaper than premium, but often contains the lowest quality ingredients, fillers, and artificial additives. Poor nutritional value. |
The Official Canine Nutrition Hacker Meat Jelly Recipe
The Safe Chef’s Blueprint: A Step-by-Step Guide
CRITICAL SAFETY DISCLAIMER:
I am a canine nutrition analyst, not a veterinarian. This recipe is intended as a supplemental treat or food topper and is not a complete and balanced meal. It lacks certain essential vitamins and minerals that a dog needs for a full diet. Always consult with your veterinarian or a board-certified veterinary nutritionist before making significant changes to your dog’s diet, especially if your dog has any underlying health conditions.
Ingredients & Equipment
- Collagen Source: 2-3 pounds of collagen-rich bones. The best options are chicken feet, pork trotters, beef knuckles, and oxtail. You can often get these very cheaply from a local butcher.
- Liquid: Enough filtered water to cover the bones by about 2 inches.
- Acid (Crucial for Extraction): 2 tablespoons of raw, unfiltered apple cider vinegar. The acid helps pull the minerals and collagen from the bones into the water.
- Optional Add-ins (Post-Simmer): 1 cup of finely shredded, cooked meat (chicken, turkey, beef); 2 tablespoons of chopped fresh parsley (for breath).
- Equipment: A large stockpot or, preferably, a slow cooker (6-quart or larger); a fine-mesh sieve or cheesecloth; a large bowl; a fat separator or wide spoon; glass storage containers or silicone molds (paw-print molds are a great option).
The Method: Step-by-Step Instructions
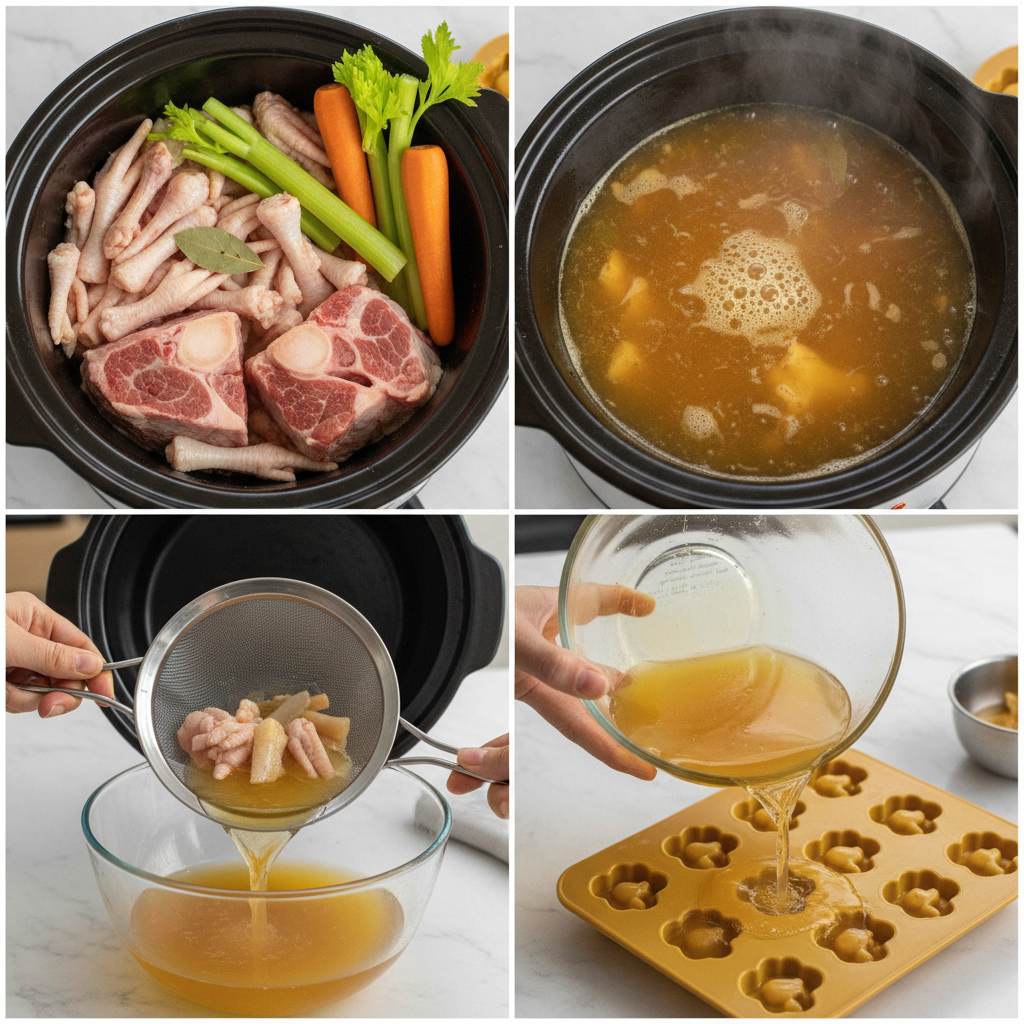
- Prepare the Bones: Rinse the bones under cold water. If you have time, roasting them on a baking sheet at 400°F (200°C) for 30 minutes beforehand will create a much richer, deeper flavor, but this step is optional.
- The Long Simmer: Place the bones in your slow cooker or stockpot. Add the apple cider vinegar and cover with filtered water. In a slow cooker, set to low for 20-24 hours. On a stovetop, bring to a boil and immediately reduce to the lowest possible simmer, partially covered, for at least 12 hours (you will need to top up the water periodically). The goal is ‘low and slow’ to gently extract the nutrients without boiling them away.
- Strain for Purity: Once the simmer is complete, let the broth cool slightly. Remove the large bones with tongs (they should be soft and may fall apart). Pour the remaining broth through a fine-mesh sieve into a large bowl to remove all small bone fragments and sediment. Never feed cooked bones to your dog.
- De-Fatting the Broth: Place the strained broth in the refrigerator for several hours until the fat rises to the top and solidifies into a hard cap. Skim this fat layer off and discard it. What remains is the pure, protein-rich broth.
- Create the Jelly: Gently warm the de-fatted broth on the stove until it is liquid again. If you’re adding shredded meat or parsley, stir it in now. Pour the final mixture into your glass containers or silicone molds.
- Set and Serve: Refrigerate for at least 6 hours, or until the liquid has set into a firm, jiggly jelly. You can now pop the cubes out of the molds or scoop the jelly from the container to serve.
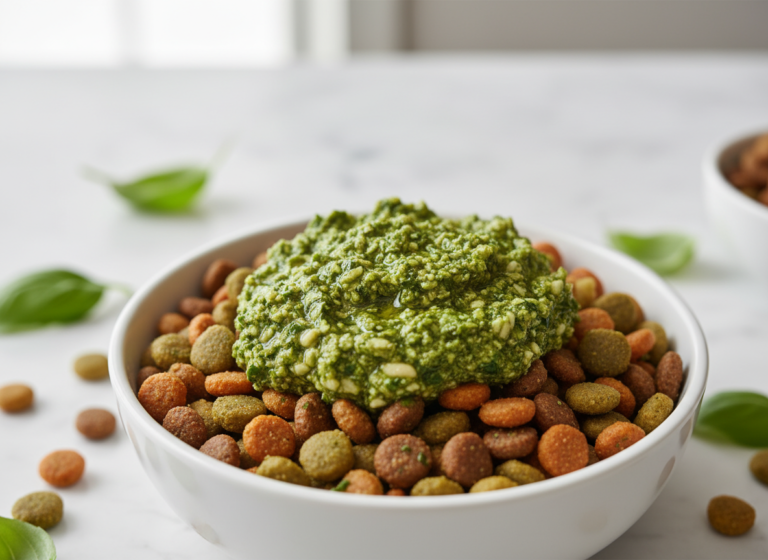
Hacker Tip: For an extra anti-inflammatory boost, you can whisk in a teaspoon of golden paste (a mix of turmeric powder, coconut oil, and a pinch of black pepper) into the warmed broth just before pouring it into the molds.
Level Up Your Jelly: Customization and Storage Protocol
Advanced Tactics: Customization and Storage
Once you’ve mastered the basic recipe, you can begin customizing it to target specific health needs or simply to add variety for your dog. Think of the base jelly as your canvas.
The Customization Matrix
- For Enhanced Joint Support: Stir in a sprinkle of green-lipped mussel powder into the warm broth before setting. This is a potent, natural anti-inflammatory.
- For Digestive Health: Before it sets, swirl in a tablespoon of pure pumpkin puree (not pie filling) or a probiotic powder recommended by your vet.
- For Skin & Coat Health: A small amount of kelp powder can be added for its trace minerals, or a tiny drizzle of phytoplankton oil.
- For Picky Eaters: The easiest customization is to simply use different bones. A beef bone broth will have a much different flavor profile than a chicken broth.
WARNING: Never add ingredients that are toxic to dogs. This includes, but is not limited to: onions, garlic, xylitol (a sweetener), grapes, raisins, macadamia nuts, and excessive salt.
Batch Cooking & Storage Protocol
Your time is valuable. The key to making this sustainable is to cook in large batches.
- Refrigeration: In an airtight container, your meat jelly will stay fresh in the refrigerator for up to 7 days. The high gelatin content helps preserve it.
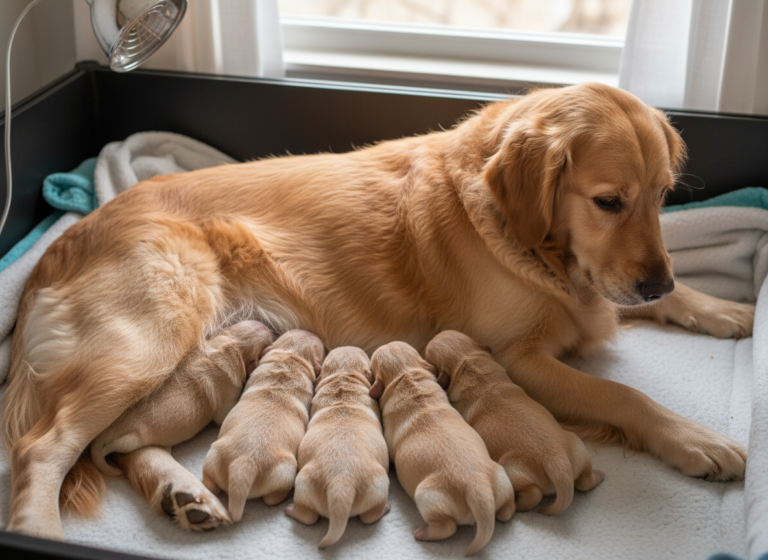
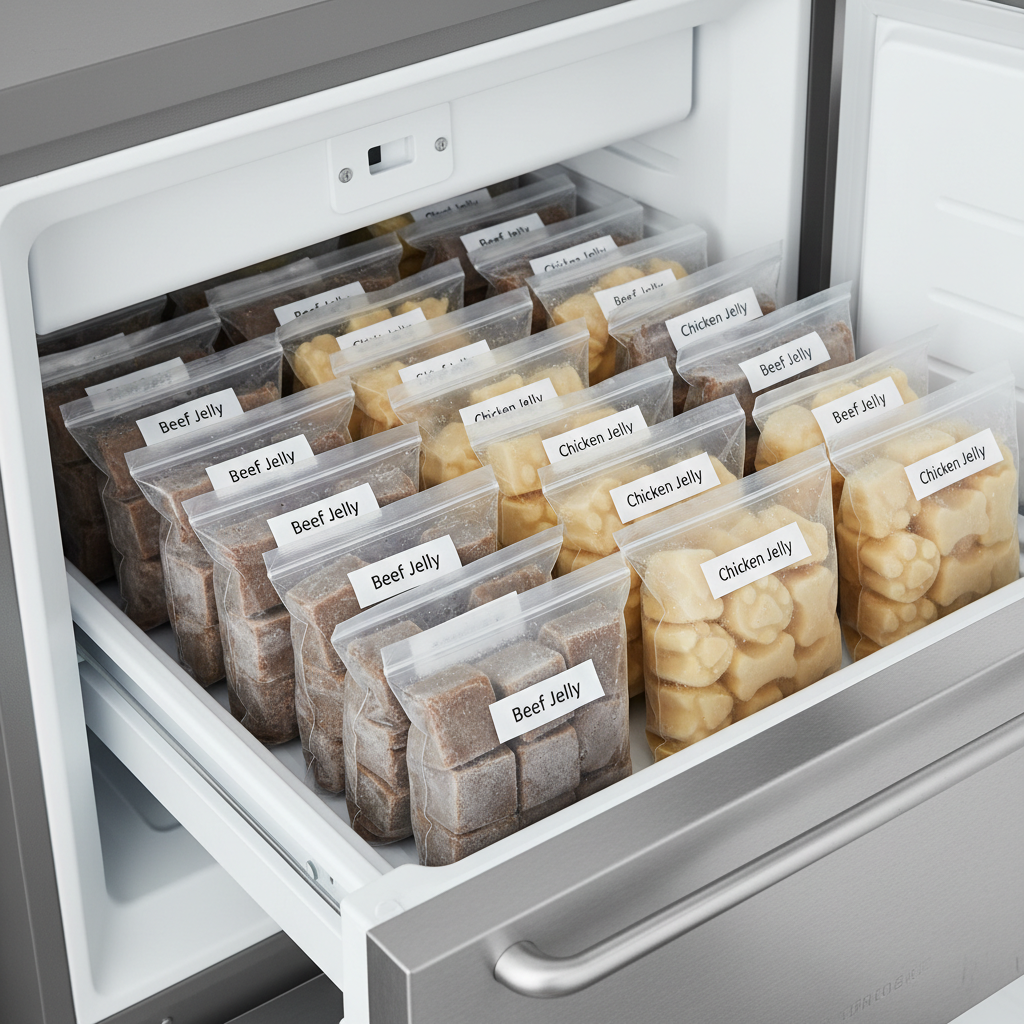
- Freezing: This is the ultimate hacker method. Portion the jelly into ice cube trays or the silicone molds. Once frozen solid, pop the cubes out and store them in a labeled freezer bag. They will last for at least 6 months. This allows you to thaw a few days’ worth at a time, ensuring maximum freshness and zero waste. A frozen cube is also a wonderful, hydrating, and soothing treat on a hot day or for teething puppies.
Conclusion
You’ve now moved beyond the role of a standard pet owner and into the realm of a proactive canine nutritionist. By mastering the art of DIY Meat Jelly, you’ve unlocked a powerful tool to enhance your dog’s hydration, support their long-term joint health, and improve their gut function. You’ve also taken a definitive step away from expensive, low-quality commercial products, saving a significant amount of money in the process.
This isn’t just about making a treat; it’s about taking full control over your dog’s well-being. You know every single ingredient that goes into their bowl. You’ve hacked the system, turning butcher’s scraps into a nutritional powerhouse. Welcome to the world of the Canine Nutrition Hacker.