Dog-Safe ‘Chocolate’ Chip Cookies: A Carob Recipe They’ll Love
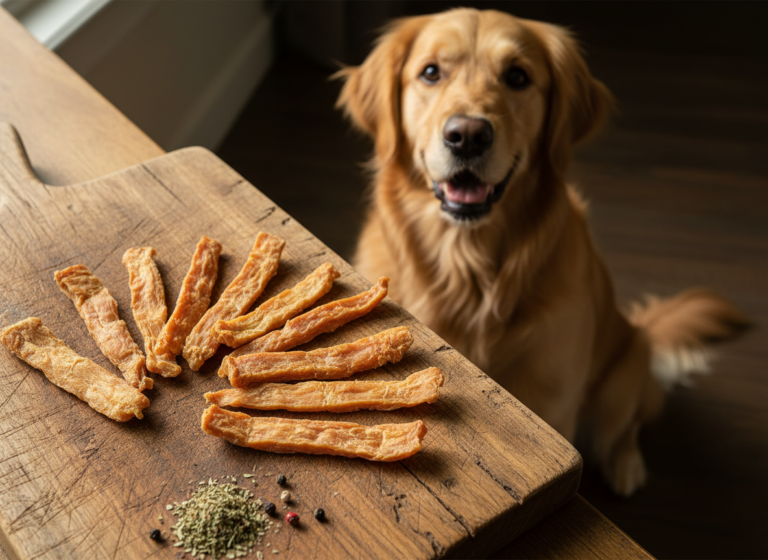
As The Canine Nutrition Hacker, I see pet owners get duped every day by fancy packaging and marketing buzzwords. You’re paying a premium for so-called ‘gourmet’ treats that are often packed with cheap fillers, sugar, and chemical preservatives. It’s time to take back control. The most dangerous deception revolves around human foods, especially chocolate. You already know chocolate is toxic to dogs, but the desire to share a special treat is strong. The solution isn’t a risky gamble; it’s a strategic ingredient swap.
This guide isn’t just a recipe. It’s a complete blueprint for creating a superior, safer, and more cost-effective ‘chocolate’ chip cookie for your dog using carob—nature’s perfect chocolate impersonator. We’ll break down the science, the costs, and the exact steps to make a treat you can feel good about giving.
SAFETY DISCLAIMER: I am a canine nutrition analyst, not a veterinarian. The recipe provided is for intermittent or supplemental feeding only. These treats are not a replacement for a balanced diet. Always consult with your veterinarian about your dog’s specific dietary needs, especially if they have allergies or underlying health conditions. Ensure all ingredients, especially any substitutions, are 100% dog-safe (e.g., no xylitol in peanut butter).
The Forensic Ingredient Breakdown: Why Carob, Not Chocolate
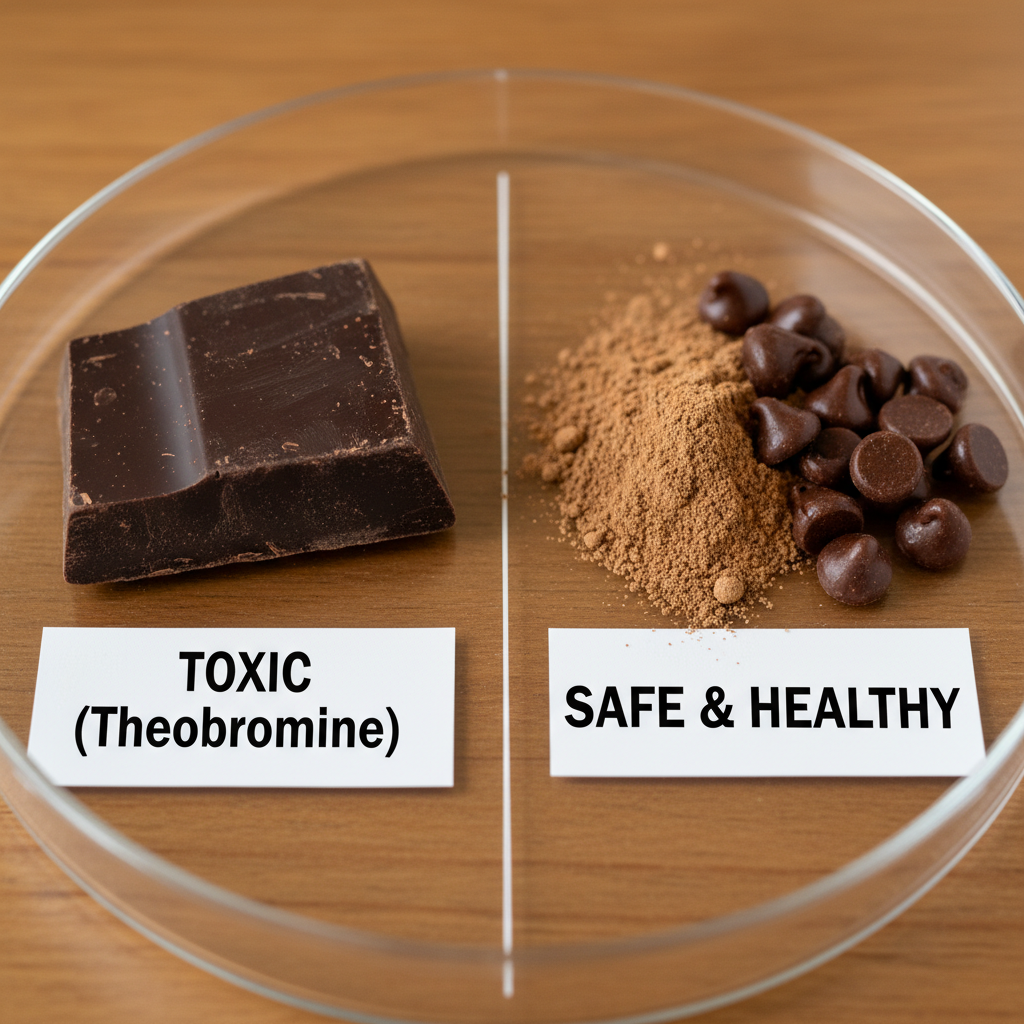
To outsmart the pet food industry, you have to think like a forensic scientist. Let’s analyze the evidence. The primary culprit in chocolate’s toxicity is theobromine, a bitter alkaloid that dogs cannot metabolize effectively. Even small amounts can lead to severe poisoning, causing vomiting, diarrhea, rapid heart rate, seizures, and even death. There is no ‘safe’ amount of real chocolate for a dog.
Enter our hero ingredient: Carob. Derived from the pod of the carob tree, it is a nutritional powerhouse that is 100% free of theobromine and caffeine. Here’s the molecular truth:
- Naturally Sweet: Carob has a natural sweetness, meaning we don’t need to add harmful sugars like corn syrup or molasses, which are common in commercial treats and contribute to canine obesity and diabetes.
- Rich in Nutrients: It contains a wealth of vitamins (A, B, and D) and minerals like calcium, magnesium, and potassium. Calcium is crucial for bone health, something often overlooked in treats.
- High in Fiber: The fiber in carob aids in digestion and can help regulate bowel movements, promoting a healthy gut microbiome.
- Low in Fat: Unlike cocoa, carob is naturally low in fat, making it a leaner choice for your dog’s treats.
Now, compare that clean profile to the first five ingredients of a popular, ‘bakery-style’ commercial dog cookie: Wheat Flour, Sugar, Vegetable Oil, Dried Skimmed Milk, Salt. You’re paying for sugar and cheap oil before you even get to any meaningful nutrition. By making your own, you control the entire supply chain, ensuring every single ingredient serves a beneficial purpose.
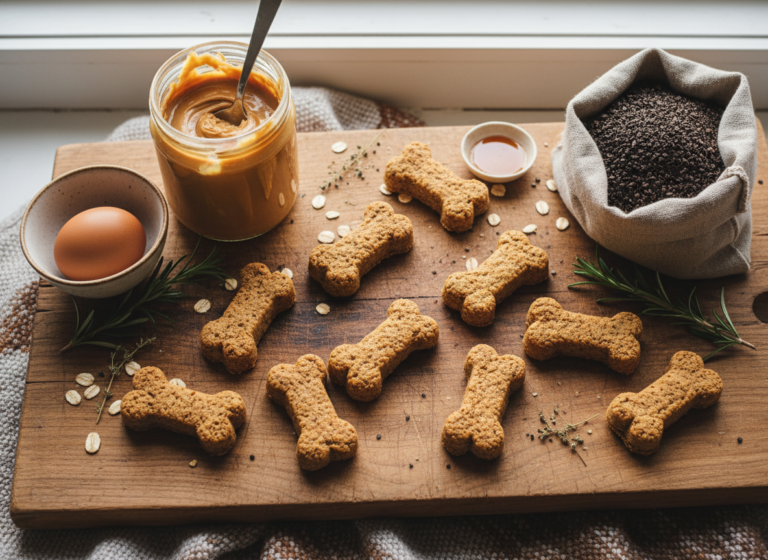
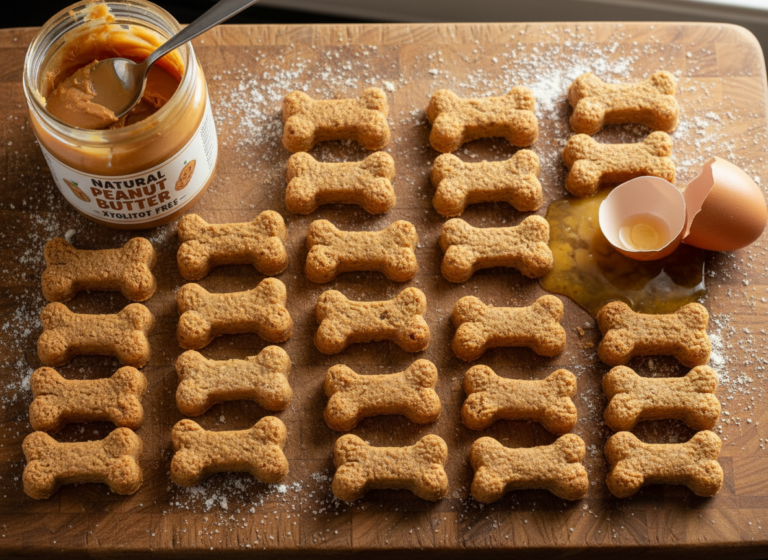
The Ultimate Dog-Safe ‘Chocolate’ Chip Cookie Recipe

This recipe is engineered for both nutritional value and simplicity. It avoids common allergens and cheap fillers, focusing on whole-food ingredients. Follow these instructions precisely for optimal results.
Ingredients List
- 1 1/2 cups Whole Wheat Flour (or a grain-free alternative like oat or chickpea flour)
- 1/2 cup Unsweetened Applesauce
- 1/4 cup Coconut Oil, melted
- 1 Large Egg
- 1 teaspoon Baking Powder
- 1/2 cup Unsweetened Carob Chips
Step-by-Step Instructions
- Pre-analysis and Setup: Preheat your oven to 350°F (175°C). Line a baking sheet with parchment paper. This prevents sticking without adding extra oils.
- Dry Ingredient Synthesis: In a medium bowl, whisk together the whole wheat flour and baking powder. Proper mixing at this stage ensures an even rise and consistent texture.
- Wet Ingredient Emulsion: In a separate, larger bowl, combine the melted coconut oil, unsweetened applesauce, and the egg. Whisk vigorously until the mixture is smooth and fully emulsified. This is key to a well-structured cookie.
- Combine and Form Dough: Gradually add the dry ingredient mixture to the wet ingredients. Mix with a spatula until just combined. The dough will be thick. Do not overmix, as this can develop the gluten too much and result in a tough cookie.
- Incorporate Carob: Gently fold in the carob chips until they are evenly distributed throughout the dough.
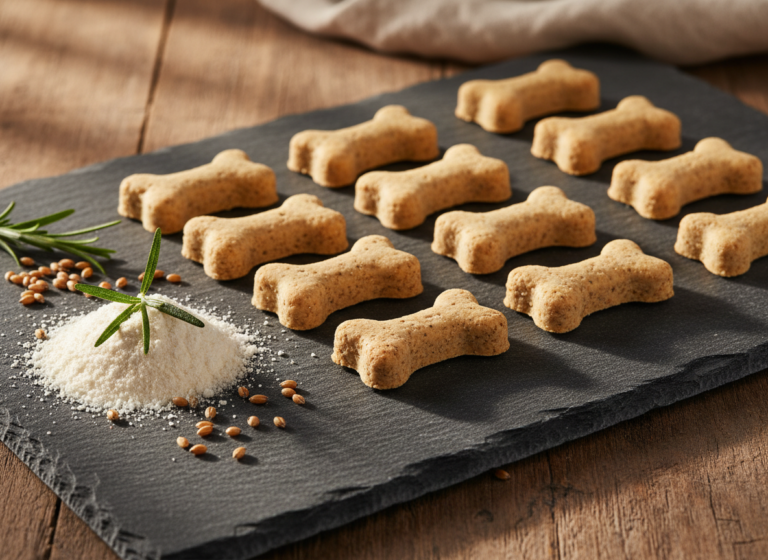
- Rolling and Cutting: Lightly flour a clean surface. Roll the dough out to approximately 1/4-inch thickness. Use a cookie cutter (a small bone shape is a classic choice) to cut out the cookies. Re-roll the scraps until all dough is used.
- Baking Phase: Place the cookies on the prepared baking sheet, about an inch apart. Bake for 15-20 minutes, or until the edges are golden brown.
- Cooling and Curing: Let the cookies cool on the baking sheet for 5 minutes before transferring them to a wire rack to cool completely. This ‘curing’ step is critical for achieving the perfect crunch.
Hacker Tip:
For a protein boost and enhanced flavor, add one tablespoon of all-natural, xylitol-free peanut butter to the wet ingredients in Step 3. Xylitol is an artificial sweetener that is extremely toxic to dogs, so you must verify your peanut butter’s ingredient list. The added healthy fats also contribute to a shinier coat.
Cost Analysis: DIY vs. Store-Bought ‘Premium’ Treats
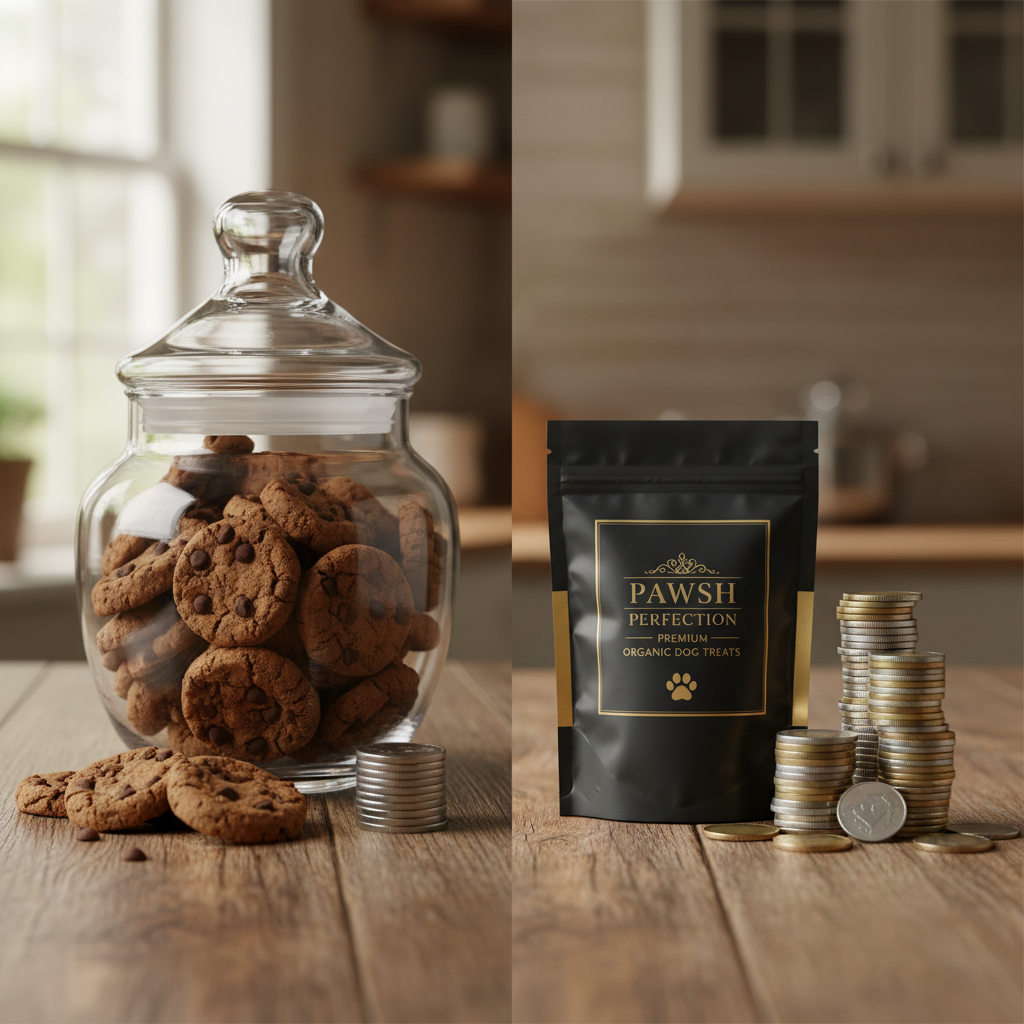
The term ‘premium’ in the pet food world often just means ‘premium price.’ Let’s run the numbers and expose the true cost of convenience. For this analysis, we’ll assume standard grocery store prices for our DIY ingredients and compare them to a popular brand of ‘gourmet’ bakery-style dog treats.
The financial data is clear. By investing a small amount of time, you are not only upgrading the nutritional quality of your dog’s treats but also achieving a significant cost savings of over 80% per treat. This is a classic case where the industry charges a massive markup for a product that is often nutritionally inferior to what you can produce in your own kitchen.
| Metric | DIY Carob Cookies | Store-Bought ‘Premium’ Treats |
|---|---|---|
| Estimated Cost per Batch | ~$4.50 | ~$12.00 (for a 12 oz bag) |
| Approximate Treats per Batch | 40 cookies (using a 2-inch cutter) | ~20 cookies |
| Cost per Treat | $0.11 | $0.60 |
| Control Over Ingredients | 100% | 0% (Trust in the manufacturer) |
| Preservatives/Fillers | None | Often contains chemical preservatives, sugar, salt |
Batching & Storage: The Pro’s Guide to Freshness
One of the primary advantages of homemade treats is the absence of chemical preservatives. This means proper storage is non-negotiable to maintain freshness and prevent spoilage. Follow this professional protocol for extending the life of your investment.
Short-Term Storage (Up to 1 Week)
Once the cookies are 100% cool (any residual warmth will create condensation and lead to mold), place them in an airtight container. A glass jar with a seal or a quality plastic container will suffice. Store them at room temperature, away from direct sunlight or heat sources like a stove.
Medium-Term Storage (Up to 2 Weeks)
For slightly longer storage, the refrigerator is your best option. The cooler temperature will inhibit the growth of bacteria and mold. Use the same airtight container. Note that refrigeration may slightly alter the texture, making them a bit chewier.
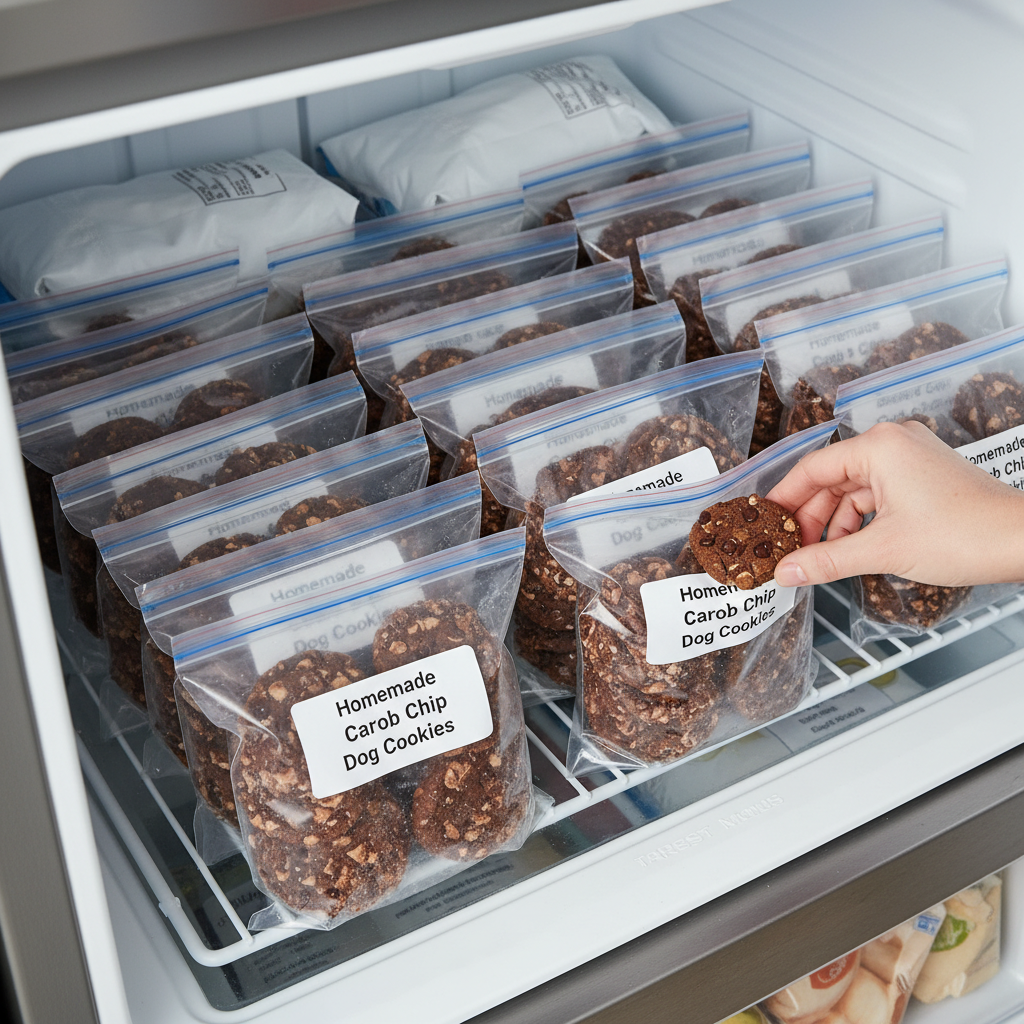
Long-Term Strategic Freezing (Up to 3 Months)
Freezing is the ultimate method for batch production. This is how you maximize the return on your time investment.
- Flash Freeze: Arrange the cooled cookies in a single layer on a baking sheet. Do not let them touch. Place the sheet in the freezer for 1-2 hours, or until the cookies are frozen solid.
- Package for Storage: Once frozen, transfer the cookies into a heavy-duty freezer bag or a vacuum-seal bag. Remove as much air as possible before sealing. This flash-freezing step is critical—it prevents the cookies from freezing into a single, giant clump, allowing you to retrieve individual treats as needed.
- Labeling: Always label the bag with the contents and the date of baking. This ensures you are practicing proper food rotation.
To serve from frozen, simply take out the desired number of cookies and let them thaw at room temperature for about 15-20 minutes. There is no need to reheat them.
Customizing the Recipe for Your Dog’s Needs
This base recipe is a solid foundation, but you can strategically modify it to cater to your dog’s specific health profile or preferences. Always introduce new ingredients slowly and in small quantities to monitor for any adverse reactions.
For the Grain-Free Dog
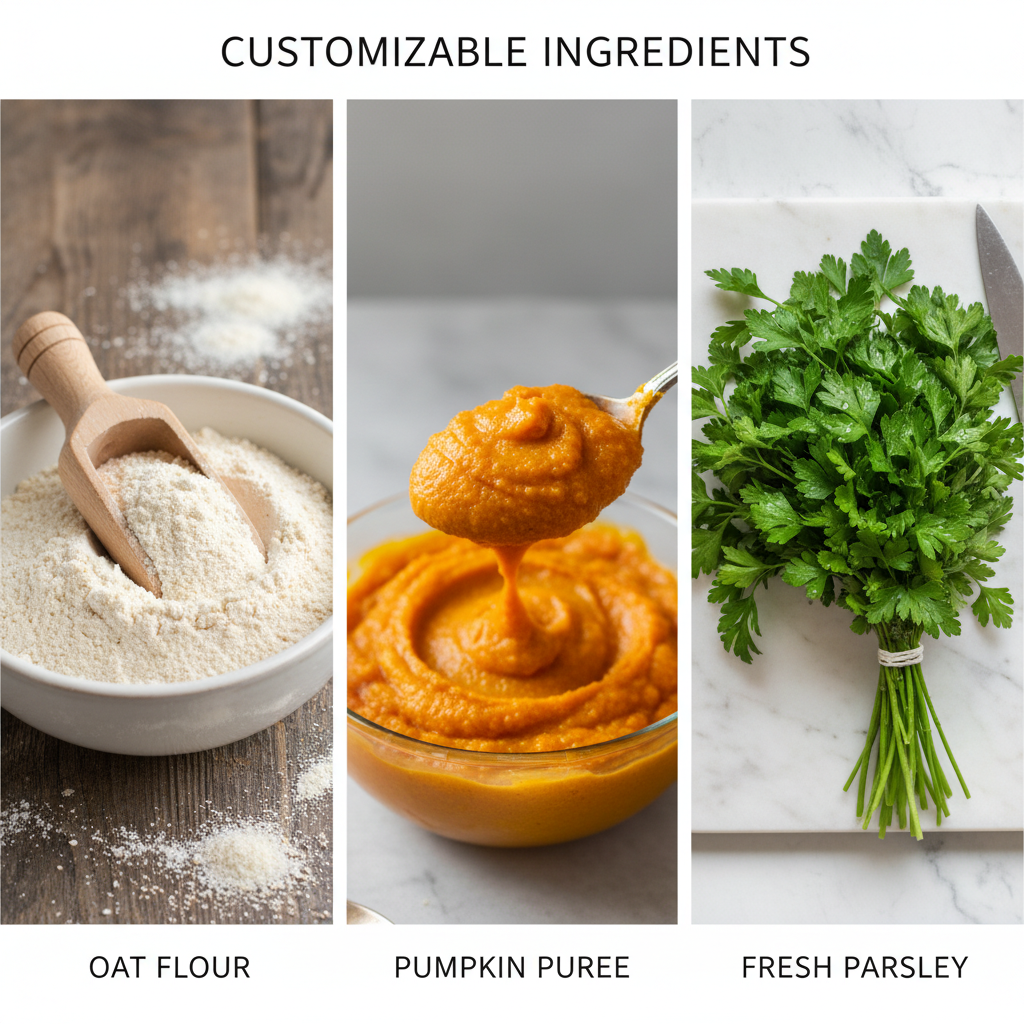
If your dog has a sensitivity to wheat, you can substitute the whole wheat flour with a 1:1 ratio of a grain-free alternative. Excellent options include:
- Oat Flour: Easily made by grinding rolled oats in a blender.
- Chickpea Flour: High in protein and fiber.
- Almond Flour: A good low-carb option, but higher in fat.
For Added Nutritional Benefits
You can enhance the recipe with small amounts of other dog-safe superfoods:
- Pumpkin Purée: Add 2 tablespoons of 100% pure pumpkin purée (not pie filling) for a boost of fiber and Vitamin A, which is excellent for digestive health.
- Fresh Parsley: Add 1 tablespoon of finely chopped fresh parsley to help naturally freshen your dog’s breath.
- Ground Flaxseed: Add 1 tablespoon for a dose of Omega-3 fatty acids, which support healthy skin and coat.
IMPORTANT WARNING: Ingredients to ALWAYS Avoid
While customizing, you must be hyper-vigilant about toxic ingredients. The following should NEVER be added to your dog’s treats:
- Xylitol: An artificial sweetener found in some peanut butters, candies, and baked goods. It is extremely poisonous to dogs.
- Macadamia Nuts: Highly toxic, causing weakness, vomiting, and hyperthermia.
- Grapes & Raisins: Can cause acute kidney failure.
- Onion & Garlic Powder: Can damage red blood cells and lead to anemia.
Always double-check the ingredient list of any product you add. Your kitchen must be a safe zone for your dog.
Conclusion
You now possess the knowledge and the blueprint to bypass the commercial treat industry’s high markups and questionable ingredients. By creating these dog-safe carob chip cookies, you are doing more than just baking; you are taking an active, powerful role in your dog’s nutrition and well-being. You control the quality, the cost, and the outcome. This is the core philosophy of the Canine Nutrition Hacker: empower yourself with information, question the labels, and invest your resources wisely—whether it’s time or money—to provide the absolute best for your dog. Stop being a passive consumer and start being a proactive guardian of your dog’s health. One batch of these cookies is the first step.