Grain-Free Gingerbread Dog Cookies: A Safe Holiday Treat
The holiday season is filled with tantalizing aromas, and the spicy-sweet scent of gingerbread is a classic. It’s natural to want to share these festive joys with our dogs, but reaching for a human-grade gingerbread man could be a catastrophic mistake. Commercial and homemade gingerbread for humans is a minefield of ingredients that are toxic to canines. But that doesn’t mean your dog has to miss out.
As the Canine Nutrition Hacker, my mission is to empower you to see past the marketing and understand what you’re actually feeding your dog. Today, we’re hacking the holidays. We’ll break down the precise dangers lurking in your gingerbread house and build a new, superior recipe from the ground up—one that’s not just safe, but actively beneficial for your dog.
CRITICAL SAFETY DISCLAIMER: I am a canine nutrition analyst, not a veterinarian. This recipe is intended as a treat and should not replace your dog’s balanced daily diet. All treats should be given in moderation. Always consult with your veterinarian before introducing new foods into your dog’s diet, especially if your dog has pre-existing health conditions, allergies, or dietary sensitivities. The safety of your dog is your number one priority.
Deconstructing the Dangers: Why Human Gingerbread is a Canine Toxin Trap

Before we build our safe recipe, we must first understand the enemy. A typical gingerbread cookie is a cocktail of ingredients that range from mildly irritating to lethally toxic for a dog. Let’s put on our forensic hats and analyze the primary culprits.
Nutmeg: The Silent Threat
This quintessential holiday spice contains a compound called myristicin. While harmless to humans in small amounts, it is toxic to dogs. Ingesting a significant quantity can lead to disorientation, increased heart rate, high blood pressure, abdominal pain, and even seizures. While a tiny crumb of a cookie is unlikely to cause a major issue, the risk is simply not worth it, especially for smaller dogs where the toxic dose is much lower.
Xylitol: The Hidden Killer
This is the big one. Xylitol is an artificial sweetener found in countless ‘sugar-free’ products, including baking mixes and frostings. To dogs, it is an extremely potent poison. It causes a rapid, massive release of insulin, leading to a life-threatening drop in blood sugar (hypoglycemia). Even a very small amount can cause disorientation, collapse, seizures, and liver failure. Always assume any sugar-free human product contains xylitol and is off-limits.
Sugar, Molasses & Fats: The Pancreatitis Problem
Even if a gingerbread recipe uses regular sugar, it’s a problem. High-sugar, high-fat foods can wreak havoc on a dog’s digestive system, leading to vomiting and diarrhea. More seriously, a sudden influx of rich, fatty food can trigger a painful and potentially fatal condition called pancreatitis—an inflammation of the pancreas that requires immediate veterinary intervention.
Other Problematic Spices and Ingredients
While ginger and cinnamon are generally safe in moderation, other common baking spices are not. Cloves and allspice can cause digestive upset and, in larger quantities, more severe issues. Add in the dairy, wheat flour, and other potential allergens, and you have a treat that’s fundamentally incompatible with canine physiology.
The Canine Nutrition Hacker’s Approved Ingredient Arsenal
Now that we’ve identified the threats, we can build our defense. Crafting the perfect dog-safe treat is about intelligent substitution—swapping harmful ingredients for beneficial, functional ones. This is our approved arsenal.
Flour Power: The Grain-Free Foundation
We’re ditching processed wheat flour, a common allergen and inflammatory ingredient. Instead, we’ll use a base of chickpea flour (garbanzo bean flour) or coconut flour. Chickpea flour is packed with protein and fiber, while coconut flour is low-carb and excellent for dogs with sensitive stomachs. Both are gluten-free and provide structural integrity without the empty calories of white flour.
The Sweetener Swap: Blackstrap Molasses
While we avoid processed sugar, a hint of sweetness makes it a treat. We turn to unsulphured blackstrap molasses. Unlike refined sugar, it’s a source of calcium, magnesium, iron, and potassium. We’ll use it sparingly to get that classic gingerbread color and flavor without overloading the system. A small amount of raw honey is another option, known for its natural antibacterial properties.
Spice is Nice (When It’s Safe): Ginger & Cinnamon
Here, we keep the stars of the show, but we’re strategic about it. Ginger is a fantastic anti-inflammatory, great for joint health and soothing upset stomachs. Ceylon cinnamon (not the more common Cassia cinnamon) is a powerful antioxidant that can help regulate blood sugar. The key is moderation; too much can cause irritation, but the right amount provides tangible health benefits.
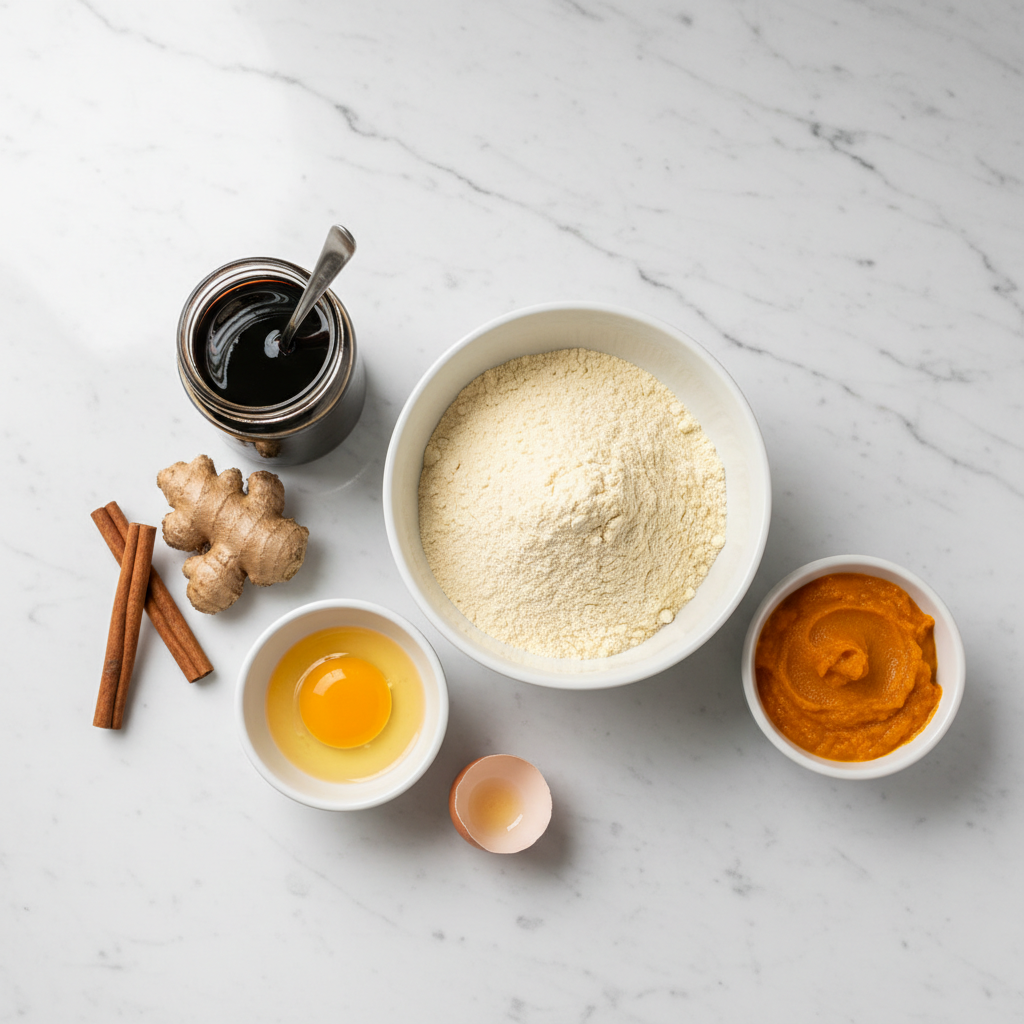
The Binders: Pumpkin Purée & Egg
To hold it all together, we use nutritional powerhouses. 100% pure pumpkin purée (not pie filling!) is a fiber-rich ingredient that aids digestive health. A whole egg provides high-quality protein, amino acids, and essential fatty acids, acting as a perfect natural binder.
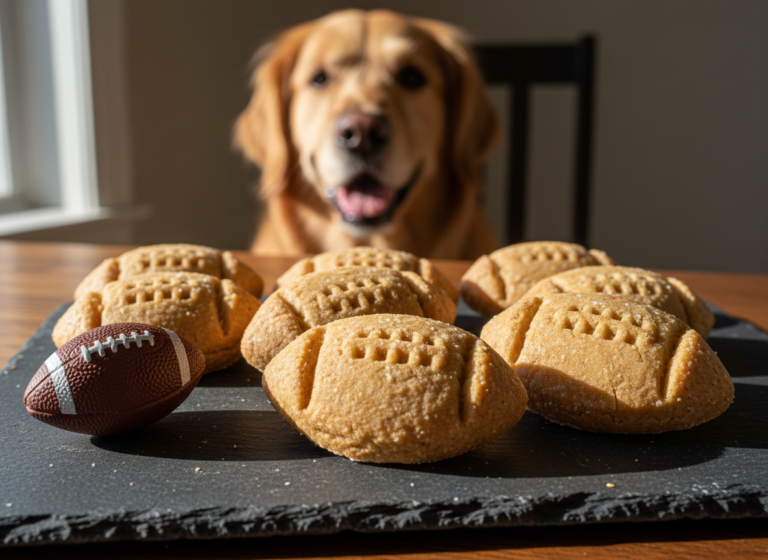
The Ultimate Grain-Free Gingerbread Dog Cookie Recipe

This is the blueprint. Follow these instructions precisely for a safe, delicious, and healthy holiday treat your dog will love. This recipe is formulated for maximum nutritional benefit and canine palate appeal.
Ingredients:
- 2 ½ cups Chickpea Flour (or Almond or Coconut Flour)
- ½ cup 100% Pure Pumpkin Purée
- ¼ cup water or bone broth, as needed
- 1 large Egg
- 2 tablespoons Blackstrap Molasses (unsulphured)
- 1 teaspoon ground Ginger
- 1 teaspoon ground Ceylon Cinnamon
- Optional Icing: 2 tablespoons plain Greek yogurt or coconut cream mixed with 1 teaspoon tapioca starch.
Instructions:
- Preheat & Prep: Preheat your oven to 350°F (175°C). Line a large baking sheet with parchment paper.
- Combine Wet Ingredients: In a large bowl, whisk together the pumpkin purée, egg, and blackstrap molasses until smooth and well-combined.
- Combine Dry Ingredients: In a separate bowl, stir together the chickpea flour, ground ginger, and Ceylon cinnamon.
- Mix Dough: Gradually add the dry ingredient mixture to the wet ingredients, stirring until a stiff dough forms. If the dough is too crumbly, add water or bone broth one tablespoon at a time until it comes together. Do not over-mix.
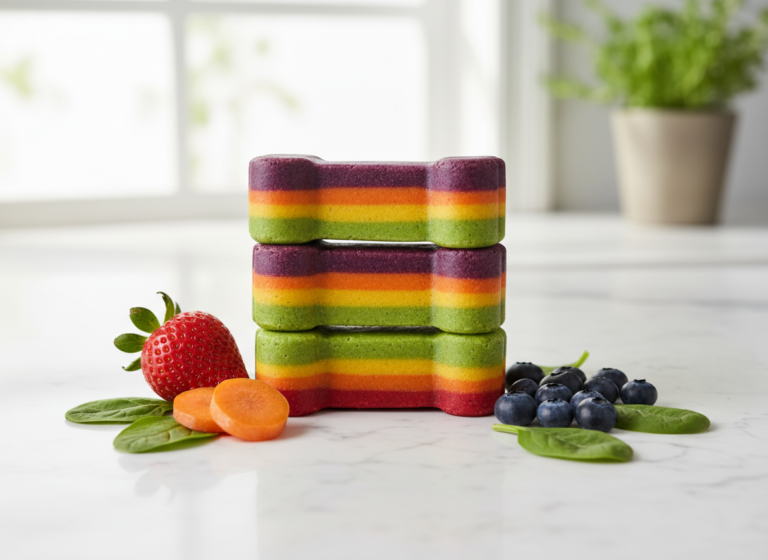
- Roll & Cut: Lightly flour a clean surface with a bit more chickpea flour. Roll the dough out to approximately ¼-inch thickness. Use your favorite holiday-themed cookie cutters (bones, paws, trees) to cut out shapes.
- Bake: Place the cookies on the prepared baking sheet, leaving a small space between them. Bake for 15-20 minutes, or until the edges are golden brown and the cookies are firm to the touch. For a crunchier treat, turn off the oven and let the cookies cool inside with the door cracked open.
- Cool & Decorate: Let the cookies cool completely on a wire rack before serving or decorating. If using the optional icing, mix the ingredients until smooth and pipe or spread a small amount onto the cooled cookies. The icing will harden as it dries.
The Cost Breakdown: DIY Hacker vs. Boutique Brand
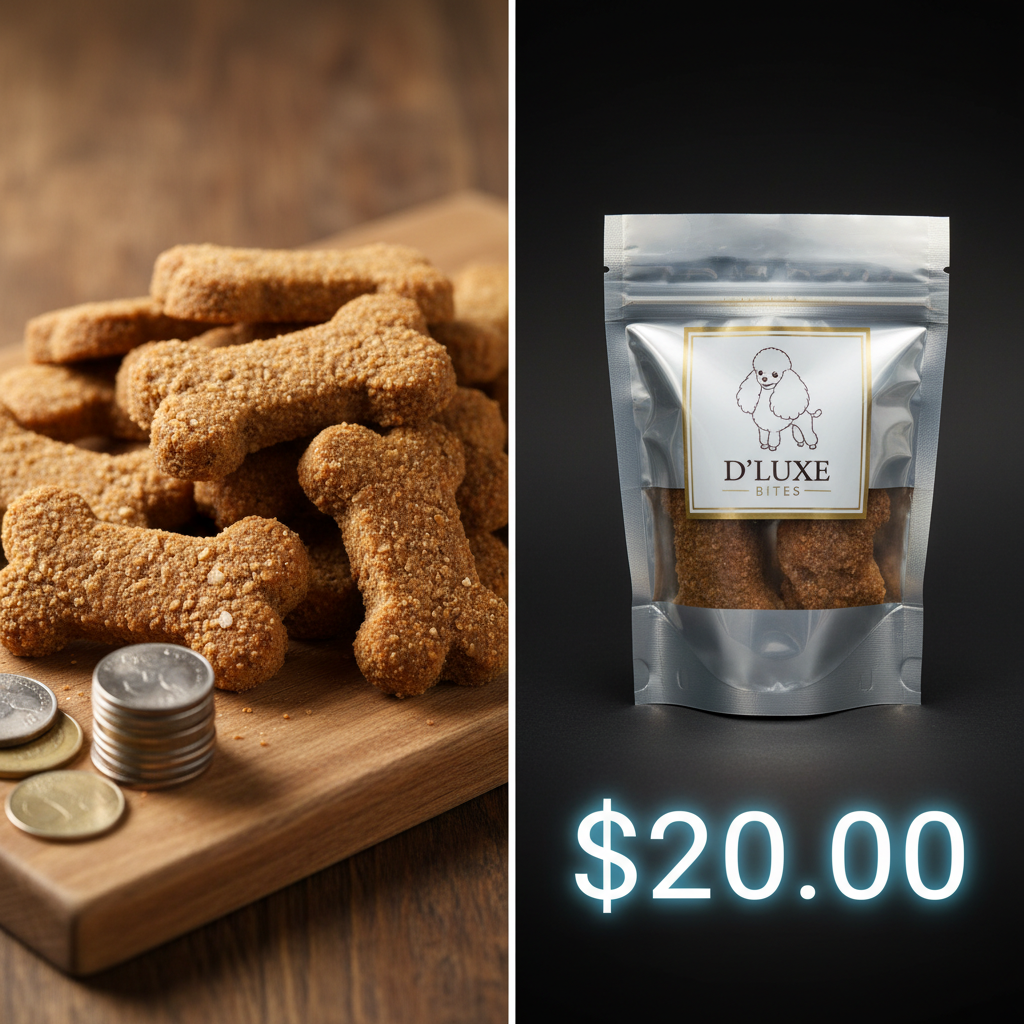
A core tenet of the Canine Nutrition Hacker philosophy is financial savvy. Why pay a premium for marketing and fancy packaging when you can create a superior product for a fraction of the cost? Let’s break down the numbers.
Boutique, grain-free holiday dog treats can easily cost $15-$20 for a small 8-ounce bag. The ingredients are often good, but you’re paying for branding, shipping, and retail markup. Let’s compare that to our homemade batch.
Insider Secret: The biggest cost in commercial pet treats is rarely the ingredients. It’s the marketing. A ‘gourmet’ label allows for a 300-500% markup on products that you can often make better and cheaper at home.
| Metric | DIY Gingerbread Cookies | Boutique-Brand Cookies |
|---|---|---|
| Primary Flour | Chickpea Flour (High Protein/Fiber) | Often Oat or Rice Flour |
| Ingredient Control | 100% Control (You choose every item) | Contains preservatives for shelf life |
| Approx. Cost per Batch (~1 lb) | ~$4.50 | N/A (Sold in small bags) |
| Approx. Cost per Ounce | ~$0.28 / oz | ~$2.25 / oz |
| Verdict | Vastly superior cost, total ingredient transparency, and fresher product. The clear winner. | Convenient but extremely expensive for the quantity and quality provided. |
The math is undeniable. By investing a small amount of time, you save a significant amount of money—over 85% savings in this case—while providing your dog with a treat free from preservatives and questionable fillers. That’s hacking your dog’s nutrition.
Batching & Storage: The Smart Pet Parent’s Guide
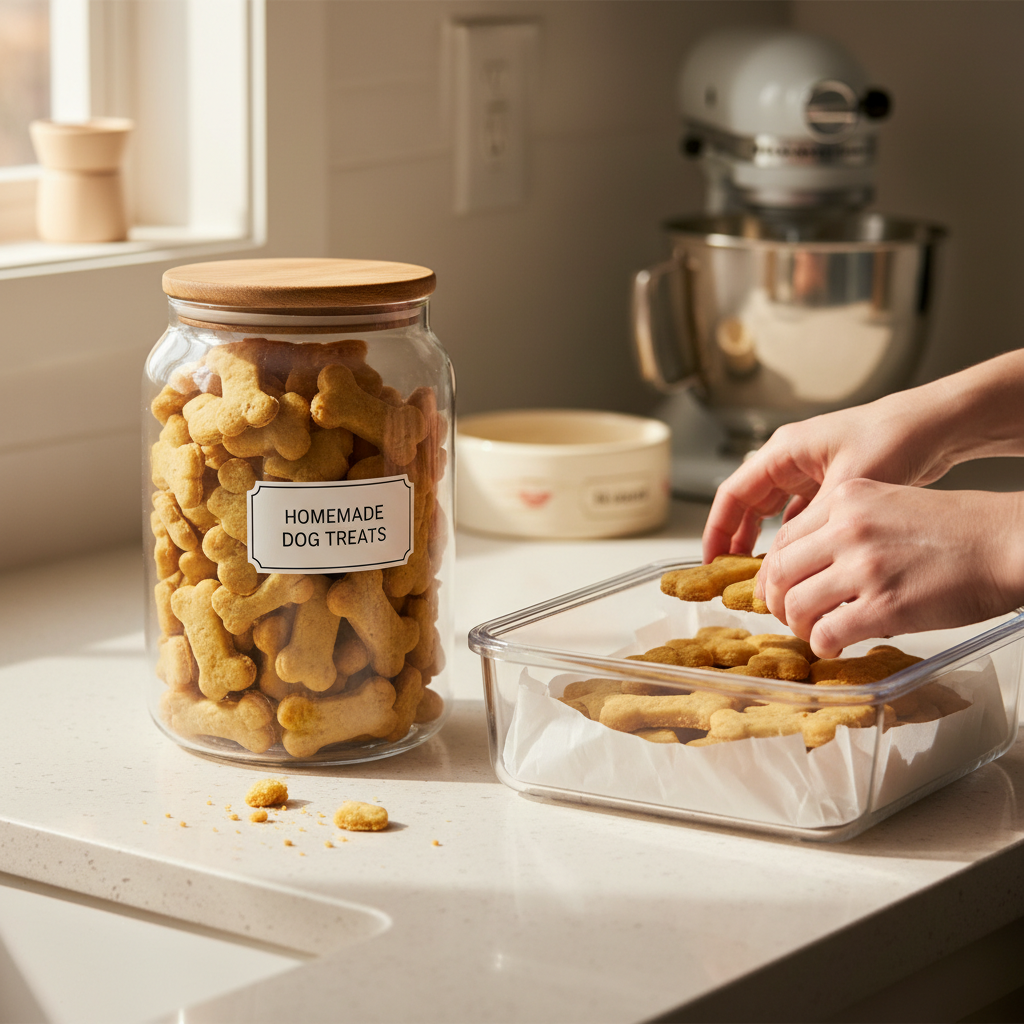
Your time is valuable. The best way to leverage your baking effort is to make a large batch and store it properly. These cookies, being free of chemical preservatives, require proper storage to maintain freshness and safety.
Short-Term (Up to 1 Week)
Once the cookies are completely cool (this is critical to prevent moisture buildup and mold), place them in an airtight container. A glass jar or a sealed container works perfectly. Store them at room temperature in a cool, dark place like a pantry. Do not refrigerate decorated cookies, as the icing may become sticky.
Medium-Term (Up to 3 Weeks)
For a slightly longer shelf life, you can store the undecorated cookies in an airtight container in the refrigerator. The cooler temperature will inhibit any potential bacterial growth and keep them fresh.
Long-Term (Up to 3 Months)
Freezing is the ultimate hack for long-term storage. You have two options:
- Freeze Baked Cookies: Arrange the completely cooled, undecorated cookies in a single layer on a baking sheet and place them in the freezer until solid (about 1-2 hours). Once frozen, transfer them to a freezer-safe bag or container. This ‘flash freezing’ step prevents them from sticking together. They will thaw at room temperature in about 20 minutes.
- Freeze Raw Dough: You can also freeze the raw dough. Form it into a flat disc, wrap it tightly in plastic wrap, and then place it in a freezer bag. It can be stored for up to 3 months. Thaw it in the refrigerator overnight before rolling, cutting, and baking as usual.
By using these storage methods, you can have healthy, homemade treats on hand throughout the holiday season with just one baking session.
Conclusion
The holiday season is about sharing joy, and with this Canine Nutrition Hacker recipe, you can do so safely and intelligently. You’ve moved beyond being a passive consumer and become an informed creator of your dog’s nutrition. You’ve dodged the toxic traps of human treats, harnessed the power of functional ingredients, and created a delicious, healthy reward that reinforces the bond with your pet.
Remember, taking control of what goes into your dog’s bowl—or treat jar—is the most powerful tool you have to ensure their long-term health and happiness. Don’t just feed your dog; fuel them with knowledge and quality. Happy, healthy holidays to you and your pack.