How to Make Sustainable Dog Treats from Leftover Brewer’s Grains
Let’s talk about waste. Not the kind in your yard, but the kind generated by industries that we can intercept for our dogs’ benefit. I’m The Canine Nutrition Hacker, and my mission is to look past the marketing on the front of the bag and analyze what’s really going into our dogs. Today, we’re targeting a powerhouse ingredient that most people throw away: Brewer’s Spent Grain (BSG).
This byproduct of the beer-making process is a nutritional goldmine, packed with protein and fiber. Instead of letting it go to a landfill, you can upcycle it into premium, artisanal-quality dog treats for pennies. It’s the ultimate hack for the cost-conscious, health-focused, and eco-aware pet owner. We’re not just making treats; we’re making a statement about smart, sustainable pet ownership.
SAFETY DISCLAIMER: READ THIS BEFORE YOU PROCEED
Before we dive in, let’s establish the ground rules. I am a canine nutrition analyst, not a veterinarian. The information provided here is for educational purposes to create supplemental treats, not a complete and balanced diet. Every dog is an individual with unique dietary needs. Always consult with your veterinarian before introducing new foods into your dog’s diet, especially if they have pre-existing health conditions, allergies, or sensitivities. The most critical safety warning for this specific recipe is regarding hops: Hops are extremely toxic to dogs. You must ensure the spent grain you acquire is from a pre-hopped stage of the brewing process. Any reputable brewer will be able to confirm this for you. Do not take chances.
The Forensic Analysis: What Exactly is Brewer’s Spent Grain?
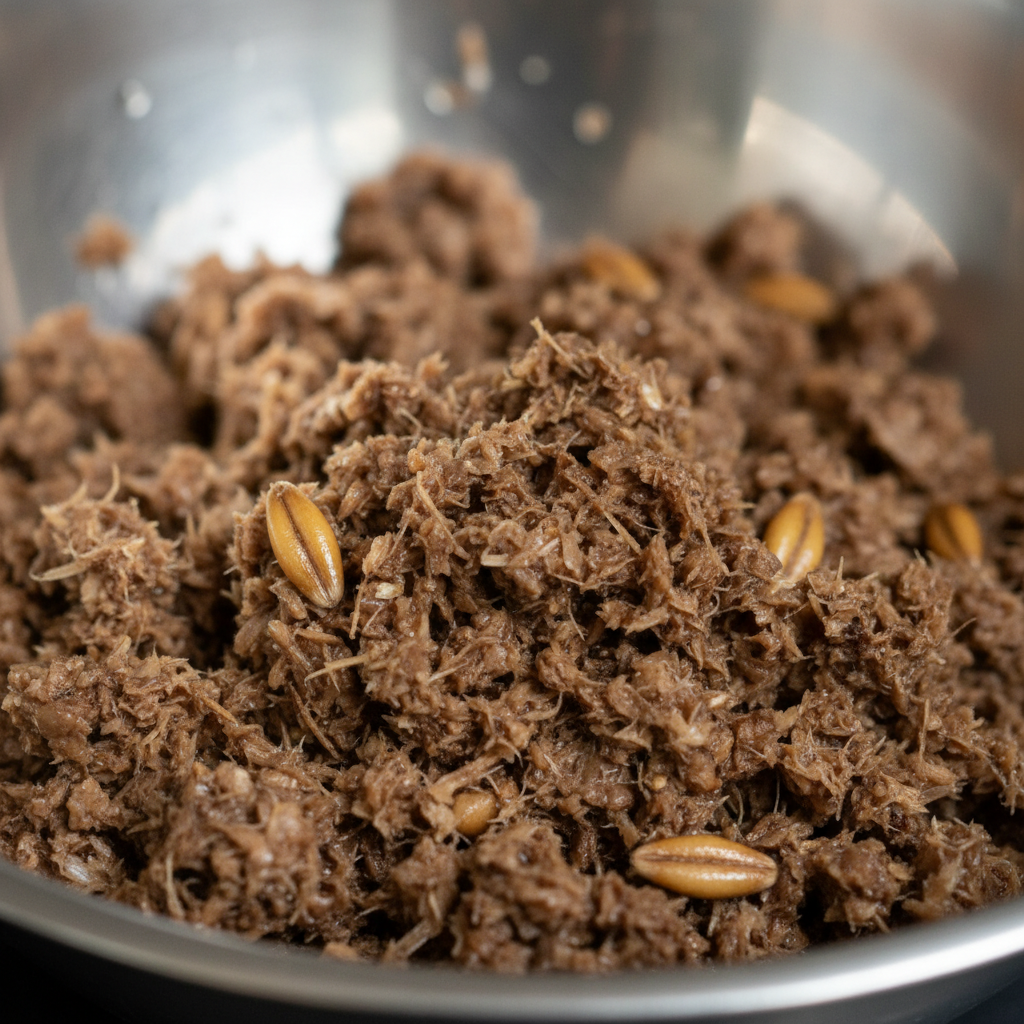
To the untrained eye, Brewer’s Spent Grain (BSG) looks like wet, unappetizing mush. But to a nutrition hacker, it’s a treasure trove. BSG is the primary solid byproduct of the brewing industry, consisting of the barley malt husks and residue left after the ‘mashing’ process. During mashing, brewers steep the malted barley in hot water to extract the sugars, which are then fermented to create beer. What’s left behind isn’t ‘waste’—it’s a fiber-and-protein-packed ingredient stripped of most of its sugars and starches.
Nutritional Profile Breakdown
Let’s look at the numbers. While the exact composition varies depending on the specific barley and brewing process, BSG generally contains:
- Protein: On a dry matter basis, BSG can contain up to 25% protein. This is a significant amount, providing essential amino acids for muscle maintenance and overall health.
- Fiber: This is where BSG truly shines. It boasts a massive fiber content, often over 50% dietary fiber. This includes both soluble and insoluble fiber, which is fantastic for digestive health, promoting regular bowel movements and feeding beneficial gut bacteria.
- Low Sugar: The brewing process efficiently removes the sugars, leaving a low-glycemic ingredient that won’t spike your dog’s blood sugar levels.
- Minerals: It also contains valuable minerals like phosphorus, magnesium, and selenium.
The bottom line is that you are getting a high-protein, high-fiber, low-sugar flour alternative for next to nothing. This is the kind of ingredient boutique pet food companies would charge a premium for and market as an ‘ancient grain’ or ‘upcycled superfood’.
Insider Secret: Forge a relationship with your local craft brewery. Many small-scale breweries have an excess of BSG and are often happy to give it away for free to someone who will put it to good use. Call ahead, explain you’re making dog treats, and bring your own food-safe bucket. You’re helping them reduce waste while acquiring a premium ingredient.
The Critical Hops Warning
I cannot stress this enough. The plant Humulus lupulus, or hops, is added later in the brewing process to provide bitterness and aroma to beer. Hops are toxic to dogs and can cause a dangerous condition called malignant hyperthermia, leading to a rapid increase in body temperature, seizures, and can be fatal. You MUST acquire spent grain that has been removed from the mash tun *before* the boiling stage where hops are introduced. When you contact a brewery, specifically ask for ‘pre-boil spent grain’ or ‘un-hopped mash’. Do not use any grain if you cannot confirm it is 100% hop-free.
The Real Cost Breakdown: DIY vs. Store-Bought ‘Artisanal’ Treats

The term ‘artisanal’ in the pet food aisle is often code for ‘expensive’. Companies charge a fortune for treats with novel ingredients like BSG. But by hacking the system and making them yourself, you can provide the same, if not better, quality for a fraction of the cost. Let’s run a forensic cost analysis on a single batch of our recipe, which yields approximately 40-50 treats.
| Ingredient | Source / Assumption | Cost Per Batch | Verdict |
|---|---|---|---|
| Wet Brewer’s Grain (2 cups) | Sourced free from local brewery | $0.00 | The ultimate hack. Reduces food waste and costs nothing. |
| Whole Wheat Flour (1 cup) | Standard grocery store price | ~$0.25 | A basic binding agent. Can be swapped for oat or rice flour. |
| Natural Peanut Butter (1/2 cup) | Store brand, xylitol-free | ~$0.75 | Ensure it contains only peanuts and salt. Xylitol is toxic. |
| Large Egg (1) | Standard grocery store price | ~$0.30 | Acts as a binder and adds protein and healthy fats. |
| Total DIY Cost Per Batch | – | ~$1.30 | An astonishingly low cost for ~4 dozen premium treats. |
| Store-Bought ‘Brewery’ Treats | 8 oz bag from boutique pet store | ~$12.00 | Often contains similar ingredients but with a massive retail markup. |
The numbers don’t lie. For roughly $1.30 and a little bit of your time, you can produce a batch of treats that would easily cost you ten times that amount at a specialty pet store. This translates to a cost of about $0.03 per treat. Compare that to the commercial equivalent, which often exceeds $0.50 or even $1.00 per biscuit. By taking control of the ingredients, you’re not just saving money; you’re ensuring there are no hidden preservatives, artificial flavors, or low-quality fillers in your dog’s snacks.
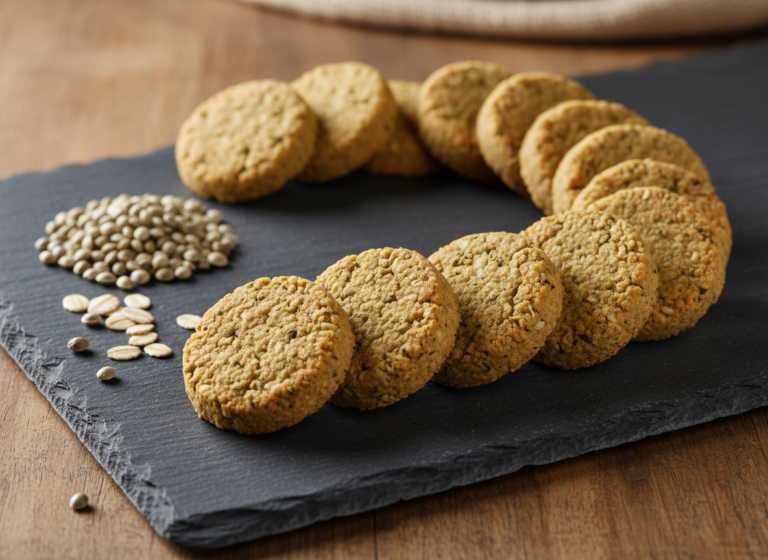
The Foolproof Recipe: Canine Nutrition Hacker’s BSG Biscuits
This recipe is a robust, tested, and easily adaptable template. It’s designed for simplicity and nutritional impact. Remember to use wet, fresh BSG. If you get a large amount, you can freeze it in recipe-sized portions.
Core Ingredients:
- 2 cups Wet Brewer’s Spent Grain (hop-free)
- 1 cup Whole Wheat Flour (plus more for rolling)
- 1/2 cup Natural Peanut Butter (check label to ensure it is XYLITOL-FREE)
- 1 large Egg
Optional ‘Hero Ingredient’ Boosts:
- 1/4 cup Pumpkin Purée (not pie filling) for extra fiber and digestive support.
- 2 tablespoons Ground Flaxseed for Omega-3 fatty acids.
- 1/4 cup grated carrot for beta-carotene.
Step-by-Step Protocol:
- Preheat and Prepare: Preheat your oven to 350°F (175°C). Line a large baking sheet with parchment paper for easy cleanup.
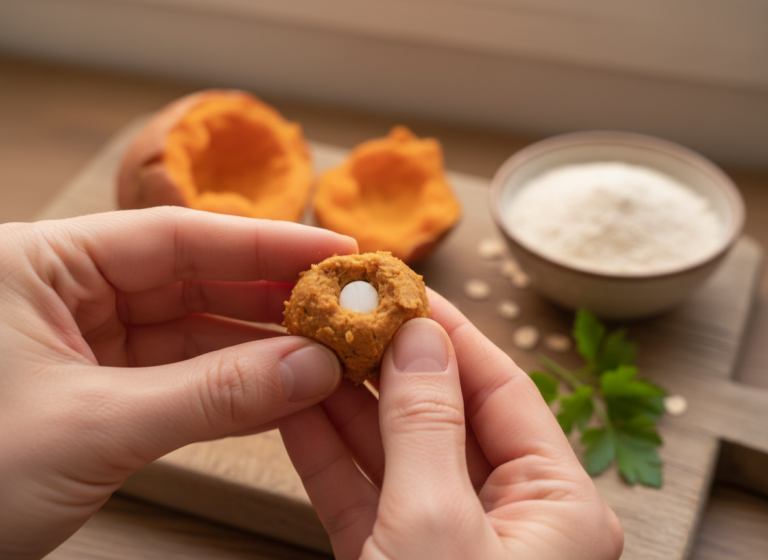
- Combine Ingredients: In a large mixing bowl, combine the wet brewer’s grain, peanut butter, and egg. If you’re using any optional hero ingredients, add them now. Mix thoroughly until the wet ingredients are fully incorporated. The mixture will be thick and textured.
- Incorporate Flour: Gradually add the whole wheat flour to the wet mixture, mixing until a stiff, cohesive dough forms. The dough should be tacky but not overly sticky. If it feels too wet to handle, add a tablespoon of flour at a time until it’s workable. Don’t over-mix.
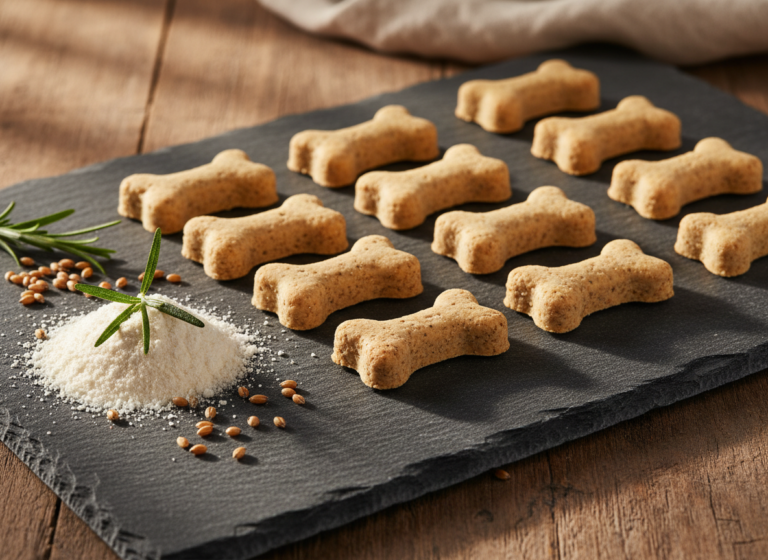
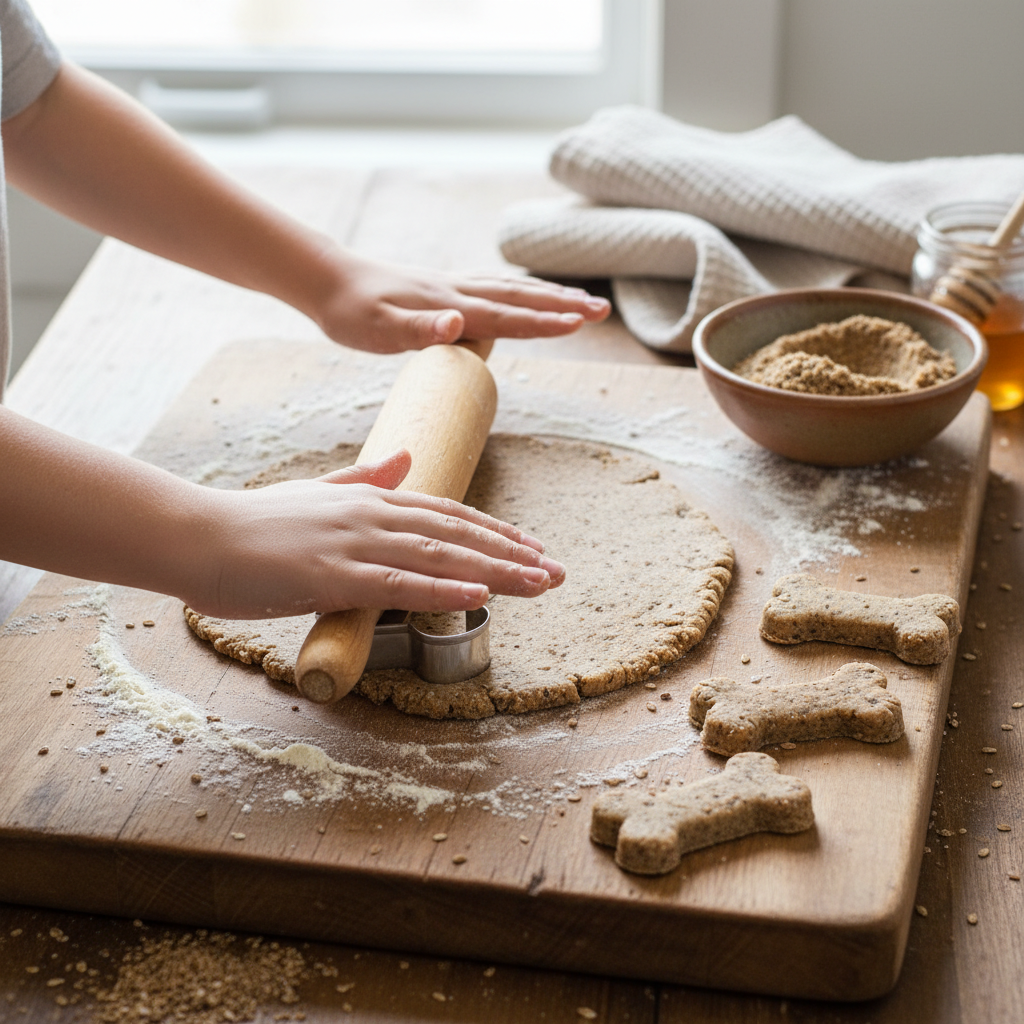
- Roll and Cut: Lightly flour a clean work surface and your rolling pin. Turn the dough out onto the surface and roll it to your desired thickness, typically about 1/4 inch. Thicker treats will be chewier; thinner treats will be crunchier. Use a cookie cutter to cut out your desired shapes and place them on the prepared baking sheet.
- Bake: Bake for 25-30 minutes, or until the edges are golden brown and the treats feel firm to the touch.
- Cool and Dehydrate: For maximum crunch and shelf life, the next step is crucial. Once the initial baking is complete, turn the oven off, crack the door open slightly, and leave the treats inside the cooling oven for several hours or even overnight. This will fully dehydrate them, preventing mold and creating a satisfyingly hard biscuit.
Advanced Protocols: Dehydration and Long-Term Storage

The high moisture content of fresh BSG is what makes proper drying the most critical step for shelf stability. A treat that is still moist on the inside is a breeding ground for mold. Your goal is to create a hard, dry biscuit that ‘snaps’ when you break it. We’ve already covered the oven-dehydration method, which is highly effective.
Alternative Method: Food Dehydrator
If you own a food dehydrator, you have a precision tool at your disposal. This method offers more control and is more energy-efficient for long drying times.
- Follow the recipe to bake the treats at 350°F for about 20-25 minutes. This initial baking sets the structure and cooks the egg.
- Transfer the baked treats to your dehydrator trays, ensuring there is space between them for air to circulate.
- Set the dehydrator to 145°F (63°C) or the ‘meat/jerky’ setting.
- Dehydrate for 6-10 hours, depending on the thickness of your treats. They are done when they are completely hard and brittle all the way through. Break one in half to check for any signs of moisture.
Storage Directives
Proper storage maintains freshness and prevents spoilage. Your storage method depends entirely on how well you’ve dried the treats.
- For Fully Dehydrated Treats: Once the treats are completely cool and bone-dry, they can be stored in an airtight container (a glass jar or cookie tin works well) at room temperature. They should last for at least 2-3 weeks. Do not seal them in a container if they are even slightly warm, as condensation will create moisture.
- For Chewier Treats (Not Fully Dehydrated): If you prefer a slightly softer treat and skip the full dehydration step, you must store them in the refrigerator. In an airtight container, they will last for up to one week.
- For Long-Term Storage (Batch Cooking): These treats freeze exceptionally well. Lay the completely cooled treats on a baking sheet in a single layer and place them in the freezer. Once frozen solid, transfer them to a freezer-safe bag or container. This prevents them from sticking together. They will maintain their quality for up to 6 months.
Hacker Tip: Make a massive batch and freeze it. Pull out a week’s worth of treats at a time and store them in a cookie jar on the counter. This minimizes your effort and maximizes your efficiency, ensuring you always have healthy, homemade treats on hand.
Conclusion
You now have the complete protocol to transform an industrial byproduct into a high-value nutritional supplement for your dog. By making these Brewer’s Grain Biscuits, you’re accomplishing several missions at once: you’re reducing food waste, saving a significant amount of money, and providing your dog with a healthy, high-fiber treat free from the questionable fillers found in many commercial products. This is the core philosophy of the Canine Nutrition Hacker: being smarter than the marketers, more resourceful than the average consumer, and taking full control of your dog’s nutrition. Reach out to a local brewery, get your hands on some free ingredients, and start hacking your dog’s treat jar.
Remember to always monitor your dog when introducing any new food and consult your vet with any concerns. Happy baking.