How To Use Tapioca Starch As A Binder In Dog Treats
Stop reading the back of that dog treat bag and start understanding it. As The Canine Nutrition Hacker, I’ve spent years decoding labels designed to confuse you. They’re packed with cheap fillers, ambiguous ‘meat meals,’ and binders like wheat and corn that serve the manufacturer’s bottom line, not your dog’s health. Today, we’re taking back control. We’re going to master one of the cleanest, most effective, and budget-friendly tools in the DIY arsenal: tapioca starch.
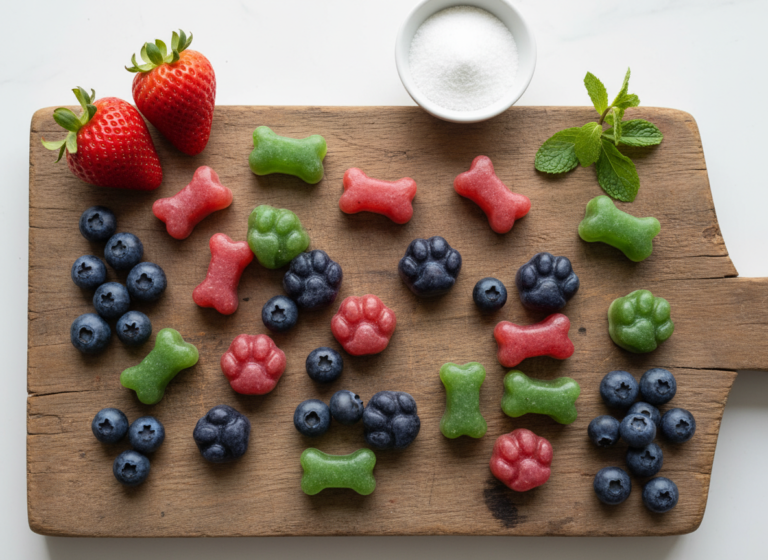
Forget dense, crumbly homemade hockey pucks. Tapioca starch is the secret to creating professional-quality, grain-free treats with the perfect ‘snap’ and chew. It’s a game-changer for dogs with sensitivities and for owners who demand transparency in every single ingredient. This guide isn’t just a recipe; it’s a complete blueprint for mastering this powerhouse ingredient.
SAFETY DISCLAIMER: I am a canine nutrition analyst, not a veterinarian. The information and recipes provided here are for supplemental feeding and enrichment only. Treats should not constitute more than 10% of your dog’s daily caloric intake. Always consult with your veterinarian to ensure any new ingredients are appropriate for your dog’s specific health needs, especially if they have pre-existing conditions.
Deconstructing the Binder: A Forensic Look at Tapioca Starch
Before we use an ingredient, we must interrogate it. What is it, where does it come from, and why does it deserve a place in your dog’s diet? Commercial brands hope you won’t ask these questions.
What is Tapioca Starch?
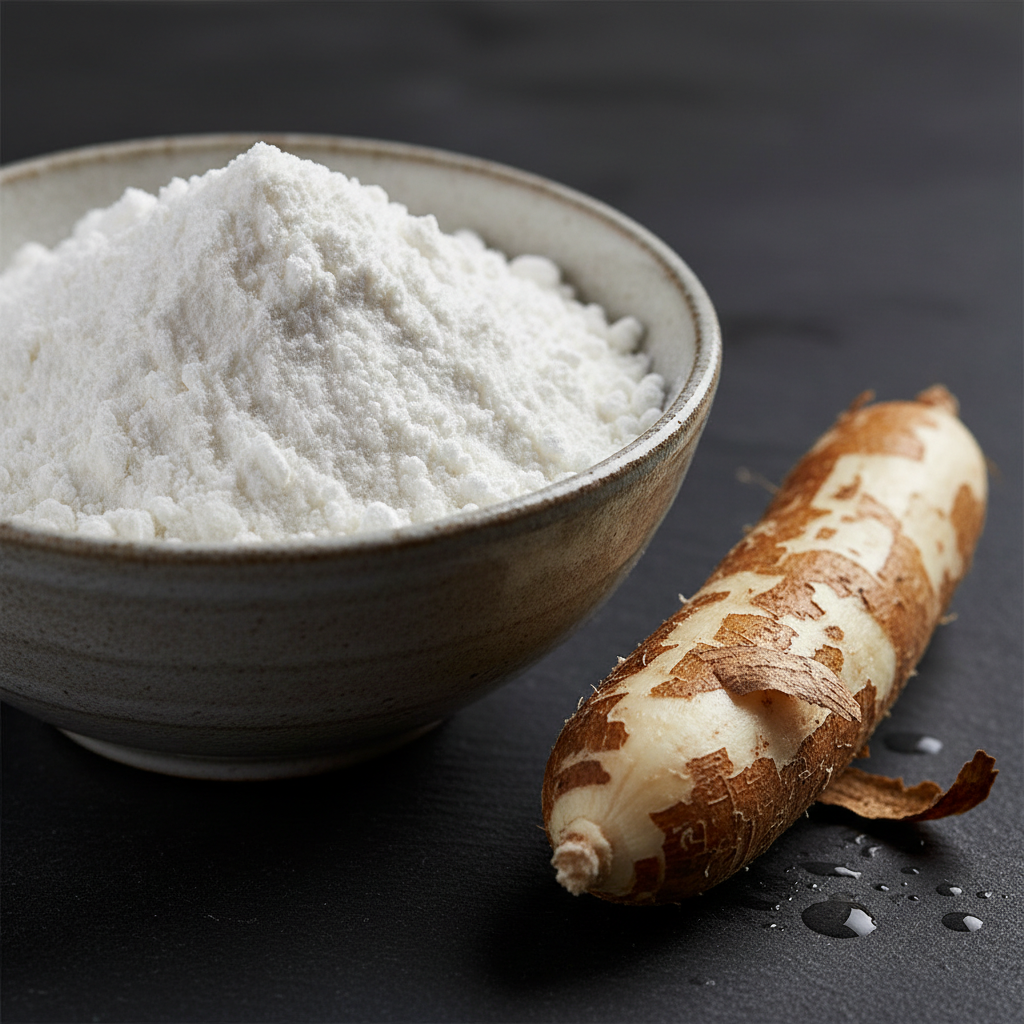
Tapioca starch, sometimes labeled as tapioca flour, is a purified starch extracted from the root of the cassava plant (Manihot esculenta). It’s not a grain; it’s a tuber. This is a critical distinction for dogs with grain allergies or sensitivities. The extraction process results in a fine, bright white powder that is almost pure carbohydrate. Nutritionally, it offers little beyond calories, but its power isn’t in nutrition—it’s in function.
The Science of the ‘Snap’
The magic of tapioca starch lies in its molecular structure, specifically its high amylopectin content. When mixed with liquid and heated, the starch granules swell and burst in a process called gelatinization. This creates a viscous, gel-like matrix that traps other ingredients, binding them together. As the treat bakes and cools, this matrix sets, resulting in a cohesive structure. Unlike dense wheat flours that can make treats heavy, tapioca creates a lighter, crispier texture that dogs often prefer. It’s the secret behind the satisfying ‘snap’ of many premium, grain-free commercial treats.
Why It Outperforms Common Fillers
Let’s look at the usual suspects on an ingredient panel:
- Wheat Flour: A common allergen for dogs, containing gluten which can trigger digestive upset and skin issues in sensitive pets. It’s a cheap, heavy binder.
- Corn Starch/Meal: Another low-cost filler and a known allergen for some dogs. Its primary purpose is to add bulk and structure cheaply, not to add nutritional value.
- Soy Flour: A controversial ingredient often linked to hormonal and digestive issues in canines. It’s a cheap way for manufacturers to bump up protein percentages on the label without using high-quality animal protein.
Tapioca starch, by contrast, is a clean, single-ingredient binder. It is gluten-free, grain-free, and soy-free, making it a much safer and more hypoallergenic choice for the vast majority of dogs. It allows the flavor and nutrition of your primary ingredients—the meat, the pumpkin, the peanut butter—to be the star of the show, rather than being diluted by cheap fillers.
The Binder Showdown: Tapioca Starch vs. Common Competitors
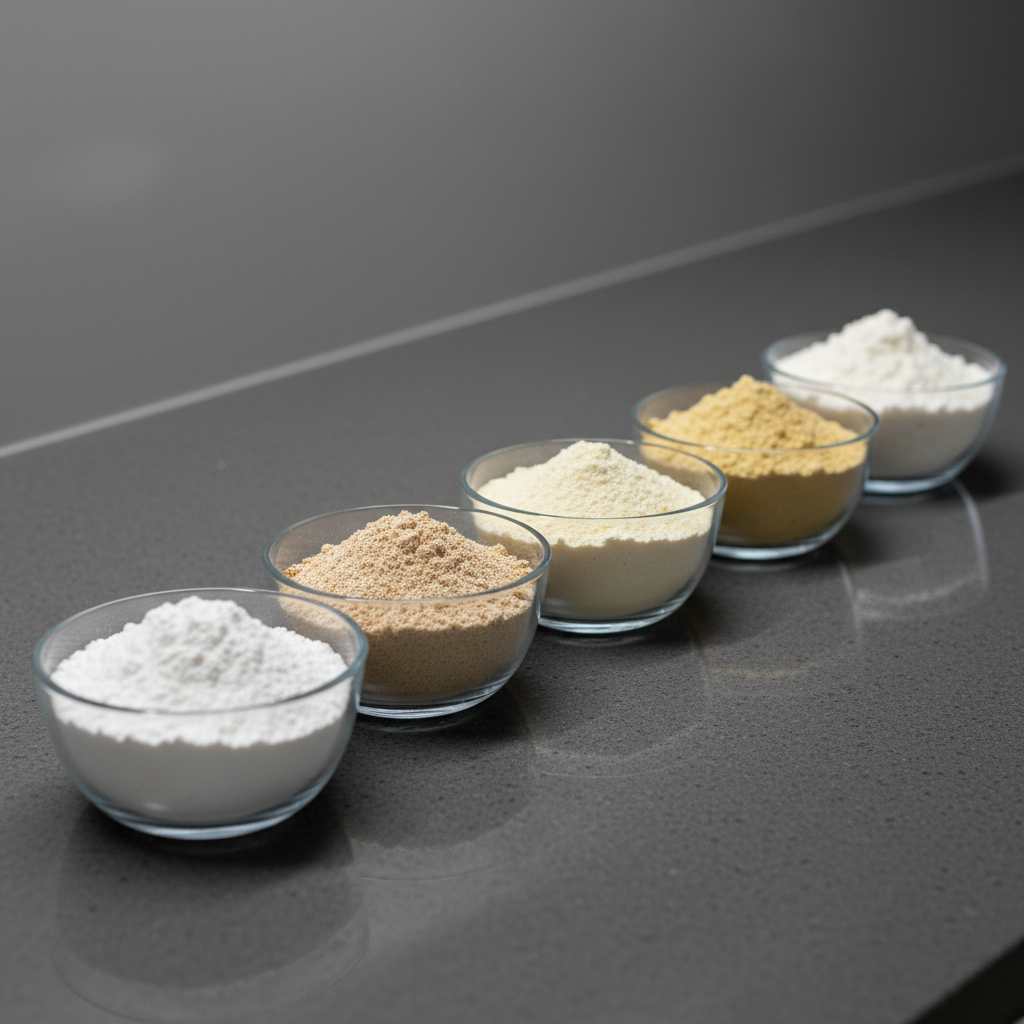
Knowledge is power. To truly understand why tapioca starch is a superior choice, we need to put it head-to-head with the alternatives. This isn’t just about what’s good; it’s about what’s best for a specific purpose. The following table breaks down the key attributes of common binders you’ll encounter, both in commercial treats and DIY recipes.
| Binder | Grain-Free Status | Binding Power | Common Allergens | Verdict |
|---|---|---|---|---|
| Tapioca Starch | Yes | Excellent (Crispy/Chewy) | Very Rare | The Hacker’s Choice. Superior binding for a clean, grain-free, and hypoallergenic treat. Creates a desirable crispy texture. |
| Whole Wheat Flour | No | Good (Dense/Crumbly) | Gluten, Wheat | A cheap filler. Creates a dense, heavy treat and is a common trigger for allergies and digestive upset. Avoid for sensitive dogs. |
| Corn Starch | Yes | Moderate (Thickener) | Corn | Technically grain-free (it’s a vegetable starch), but corn is a frequent allergen. Better as a gravy thickener than a primary dough binder. |
| Chickpea Flour | Yes | Good (Dense/Hearty) | Legumes (Rare) | A solid grain-free option that adds protein and fiber. Creates a much denser, heartier treat than tapioca. Can cause gas in some dogs. |
| Coconut Flour | Yes | Poor (Highly Absorbent) | Very Rare | Not a true binder. It’s extremely absorbent and will make dough dry and crumbly unless used in very small amounts with extra liquid. Better for fiber content than structure. |
Insider Secret: When you see a long list of flours and starches on a commercial treat label, it’s often a cost-saving strategy. A manufacturer might use a base of cheap wheat flour for bulk, then add a small amount of a ‘premium’ ingredient like pea flour to improve the label’s appeal. By using a single, effective binder like tapioca starch at home, you achieve a cleaner, more honest product.
The Blueprint: A No-Fail Recipe for Tapioca-Bound Dog Treats
Theory is useless without application. It’s time to get our hands dirty. This recipe is designed to be a foundational blueprint. Once you master the ratios and technique, you can easily substitute the core ingredients to create your own custom flavors. The key is the ratio of tapioca starch to wet ingredients—this is what ensures a perfect dough consistency.
The Core Ratio
The golden rule for working with tapioca starch is approximately 1 part tapioca starch to 2 parts wet puree/ingredients. This can vary slightly based on the moisture content of your puree (e.g., applesauce is wetter than pumpkin puree), but it’s the perfect starting point.
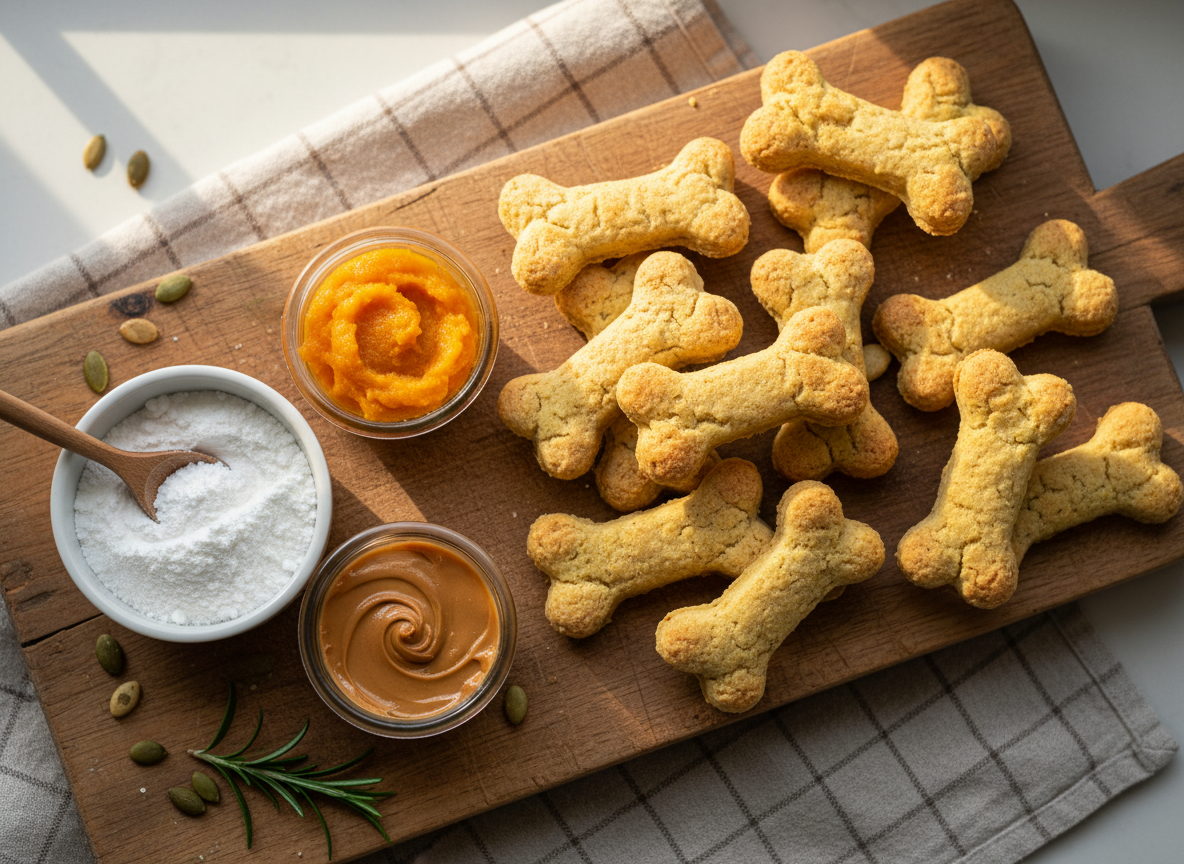
Pumpkin & Peanut Butter Power Bites
Ingredients:
- 1 cup pure pumpkin puree (ensure it is 100% pure pumpkin, NOT pumpkin pie filling)
- 1/2 cup natural, unsweetened peanut butter (CRITICAL: check the label to ensure it does NOT contain xylitol, which is toxic to dogs)
- 1 large egg
- 3/4 cup tapioca starch
- 1/4 cup almond flour or oat flour (for added texture and nutrients)
- 1 teaspoon ground cinnamon (optional)
Instructions:
- Preheat and Prep: Preheat your oven to 350°F (175°C). Line a large baking sheet with parchment paper for easy cleanup.
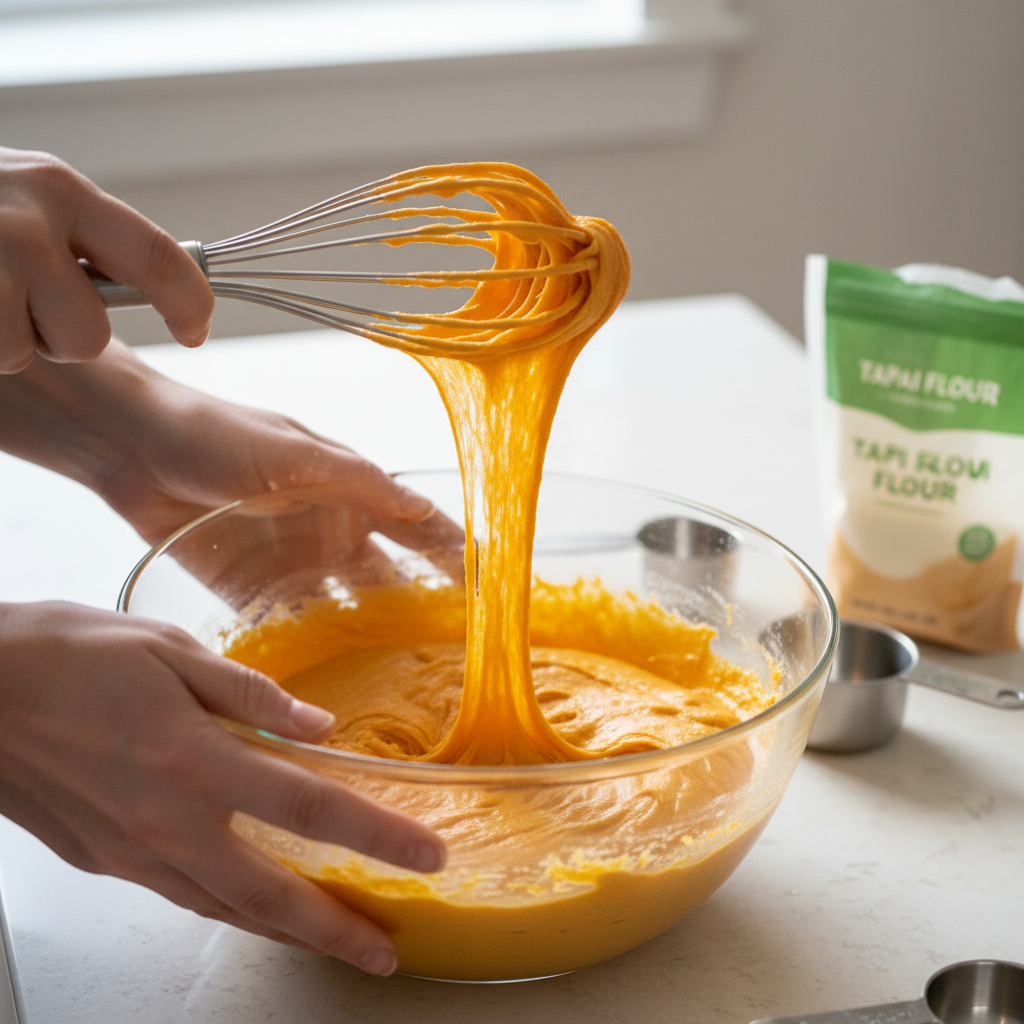
- Combine Wet Ingredients: In a large bowl, whisk together the pumpkin puree, peanut butter, and egg until smooth and fully combined. This step is crucial for ensuring the fat and moisture are evenly distributed before adding the dry ingredients.
- Introduce the Binders: Add the tapioca starch, almond/oat flour, and cinnamon (if using) to the wet mixture.
- Mix the Dough: Using a sturdy spatula or your hands, mix until a thick, slightly sticky dough forms. It should pull away from the sides of the bowl. If the dough feels overly wet, add more tapioca starch one tablespoon at a time. If it feels too dry and crumbly, add a tablespoon of water.
- Roll and Cut: Lightly dust your work surface and rolling pin with a little extra tapioca starch to prevent sticking. Roll the dough out to about 1/4-inch thickness. Use cookie cutters to cut out your desired shapes and place them on the prepared baking sheet.
- Bake to Perfection: Bake for 20-25 minutes, or until the edges are golden brown and the treats feel firm to the touch. The baking time will vary depending on the size and thickness of your treats.
- The Final Crisp: For an extra crunchy treat that lasts longer, turn off the oven, crack the door open, and let the treats cool down and dry out in the oven for another hour or two. This dehydration step is key to preventing mold.
Hacker Tip: The moisture content of ‘natural’ peanut butter can vary wildly. If your dough seems greasy or too soft, it’s likely due to excess oil. You can either add a bit more tapioca starch to compensate or drain some of the separated oil from the top of the peanut butter jar before measuring it.
The Economic Edge: DIY Cost vs. Premium Store-Bought

Making your own treats isn’t just about ingredient control; it’s a savvy financial move. Premium, grain-free commercial treats that use clean binders like tapioca starch come with a premium price tag. Let’s break down the numbers to see exactly how much you’re saving by investing 30 minutes in your kitchen.
| Item | Homemade Cost (Per Batch) | Premium Store-Bought Cost (Equivalent Amount) |
|---|---|---|
| Core Ingredients (Pumpkin, PB, Egg) | ~$3.50 | N/A |
| Binders (Tapioca/Almond Flour) | ~$1.00 | N/A |
| Total Cost (yields ~40 treats) | ~$4.50 | ~$15.00 |
| Cost Per Treat | ~$0.11 | ~$0.38 |
| Savings Per Batch | Over 70% Saved | |
The numbers don’t lie. By taking control of the manufacturing process, you cut out the costs of marketing, packaging, shipping, and retailer markup. You are paying for pure ingredients, not brand overhead. Over the course of a year, these savings can add up to hundreds of dollars.
Batch Cooking & Storage Strategy
To maximize your time and cost savings, always think in batches. This recipe can easily be doubled or tripled.
- Short-Term Storage: Once the treats are completely cool and dry, store them in an airtight container or cookie jar at room temperature. Because they contain no chemical preservatives, they are best consumed within 5-7 days.
- Medium-Term Storage: For a longer shelf life of 2-3 weeks, store the airtight container in the refrigerator.
- Long-Term Storage (The Pro Move): For maximum efficiency, freeze your treats. First, place the cooled treats in a single layer on a baking sheet and ‘flash freeze’ them for an hour. This prevents them from sticking together. Once frozen solid, transfer them to a labeled freezer-safe bag or container. They will keep perfectly for up to 4 months. You can thaw them at room temperature or give them to your dog as a cool, crunchy snack.
Troubleshooting & Advanced Tactics: Mastering Tapioca Starch

Even the best recipes can present challenges. Here’s how to troubleshoot common issues and elevate your treat-making skills from amateur to expert.
Why are my treats crumbly?
This is the most common issue and almost always points to a moisture imbalance. Either there wasn’t enough liquid in your wet ingredients to properly activate the starch, or you added too much dry flour. The Fix: Next time, try adding an extra tablespoon of water or pumpkin puree to your dough. The ideal dough should be pliable and slightly tacky, not dry and shaggy.
Why are my treats too gummy or soft in the center?
This indicates the opposite problem: either too much starch/liquid relative to the other ingredients, or, more likely, they were under-baked. The gelatinized starch needs sufficient time to set and dry out. The Fix: Bake them for 5-10 minutes longer. Don’t skip the final step of letting them cool and dry in the turned-off oven. This dehydration process is critical for achieving a crunchy, stable texture.
Can I substitute tapioca flour for tapioca starch?
In most cases, yes. The terms are often used interchangeably in retail. Both are derived from the cassava root. However, always check the label. You want a product that is 100% pure starch. Avoid any ‘cassava flour’ products that may contain more of the root’s fiber, as this will alter the texture and binding properties of your treats.
Can I use tapioca starch in no-bake treats?
While you can use it as a thickener in no-bake recipes, it’s not its primary strength. The powerful binding properties of tapioca starch are activated by heat. Without the gelatinization process, it won’t create a firm, solid structure. For no-bake treats, binders like rolled oats or coconut flour (used sparingly) are often more effective.
Advanced Tactic: Create a savory ‘kibble gravy’ for picky eaters. Whisk one tablespoon of tapioca starch into 1/2 cup of cold, low-sodium chicken or beef broth until there are no lumps. Gently heat the mixture in a small saucepan, whisking constantly, until it thickens into a gravy. Let it cool completely before pouring a small amount over your dog’s kibble. This adds enticing flavor and aroma with minimal calories.
Conclusion
You now possess the knowledge to wield tapioca starch not just as an ingredient, but as a strategic tool. You can see past the marketing on commercial packages and understand the functional science of what makes a great dog treat. By choosing a clean, effective binder like tapioca starch, you are actively removing common allergens and cheap fillers from your dog’s diet. You are elevating their nutrition while simultaneously cutting your costs.
This is the core philosophy of The Canine Nutrition Hacker: empower yourself with information, take control of the ingredient list, and refuse to be misled by clever marketing. Your dog trusts you completely with their well-being. It’s our responsibility to honor that trust by making the most informed, intelligent choices we can. Now, go preheat your oven.