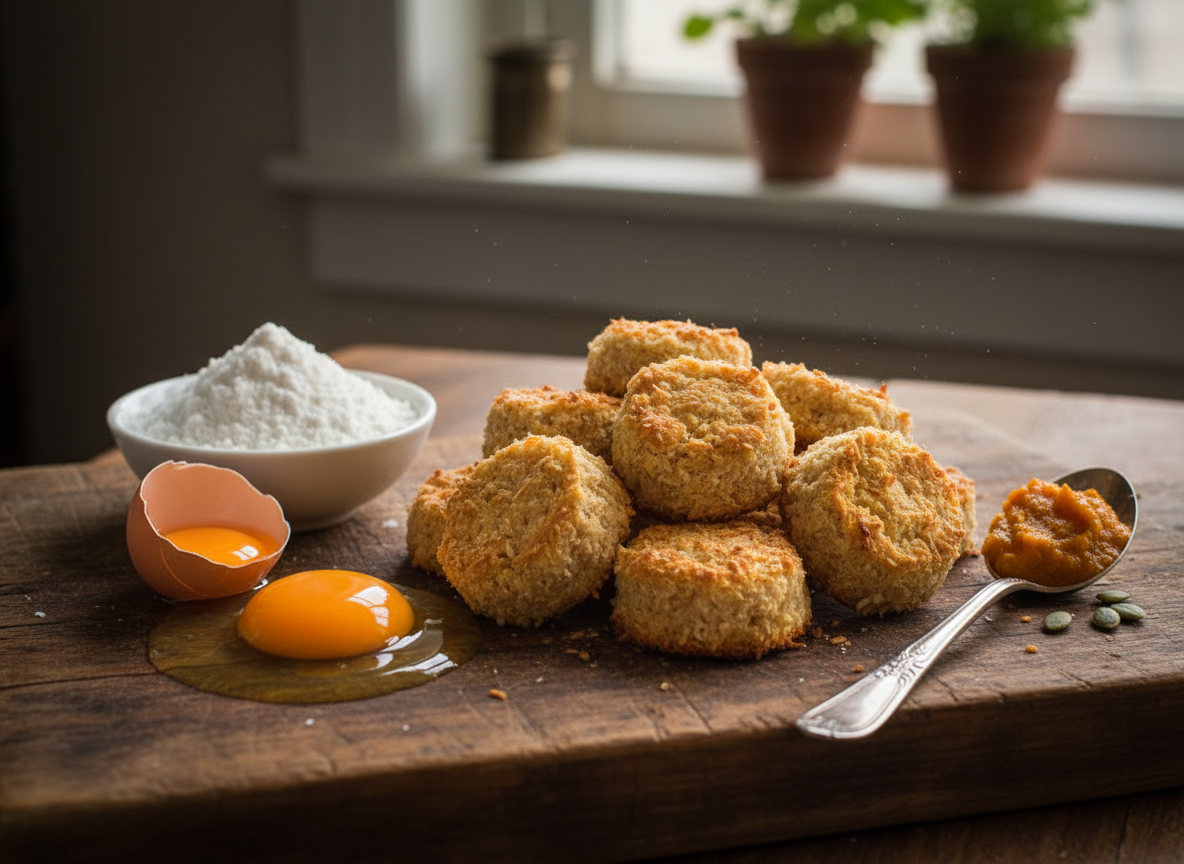
Soft-Baked Coconut Flour Dog Treats (Gluten-Free)
Walk down any pet store aisle and you’re bombarded with slick marketing. Bags printed with images of happy dogs, words like ‘natural,’ ‘premium,’ and ‘gourmet.’ But turn that bag over and the truth is often disappointing: a long list of fillers, artificial preservatives, and low-grade ingredients designed to maximize profit, not your dog’s health. As The Canine Nutrition Hacker, my mission is to cut through that noise. We’re going to bypass the overpriced, underperforming commercial options and create something superior in our own kitchens.
This isn’t about being a gourmet chef. It’s about being a smart, informed pet owner. We’re leveraging a powerhouse ingredient—coconut flour—to create a gluten-free, high-fiber, soft-baked treat that’s perfect for dogs with sensitive stomachs or grain allergies. Forget the mystery meat meals and chemical cocktails. Today, you learn how to make a treat that’s not only healthier but significantly cheaper. Let’s get started.
Before You Bake: The Canine Nutrition Hacker’s Safety Disclaimer

Let’s be clear: I am not a veterinarian. I am a dedicated canine nutrition analyst who believes in empowering owners. The recipe and information provided here are for supplemental feeding only. These treats are not a substitute for a complete and balanced diet.
Before introducing any new food into your dog’s diet, including these treats, it is critical to consult with your veterinarian. This is especially true if your dog has any pre-existing health conditions, such as diabetes, pancreatitis, or specific food allergies. Your vet can provide guidance tailored to your dog’s individual health needs.
Furthermore, while this recipe is safe, always be aware of ingredients that are toxic to dogs. This kitchen should be a safe zone. Never include ingredients like:
- Xylitol (an artificial sweetener found in many ‘sugar-free’ products)
- Chocolate, coffee, or caffeine
- Onions, garlic, chives
- Grapes and raisins
- Macadamia nuts
Always double-check your ingredient labels. For example, ensure your pumpkin puree is 100% pure pumpkin and not a sugary pie filling, and that any nut butters you might consider adding in the future do not contain xylitol. Your diligence is your dog’s best defense.
The Cost Breakdown: Why Your Wallet Will Thank You
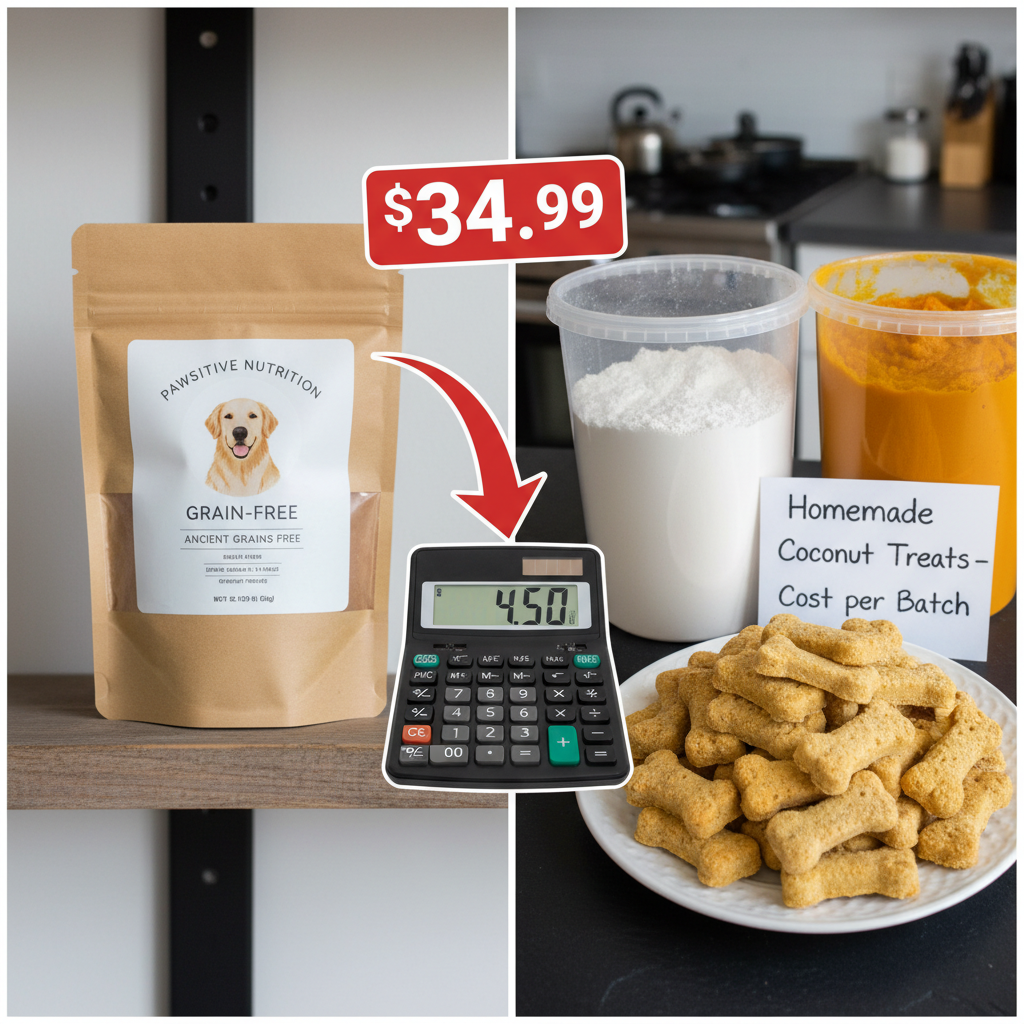
The ‘premium’ label on dog treats often just means a premium price tag. The actual cost of the high-quality ingredients is a fraction of what you pay. By making your own, you’re not just upgrading the nutrition; you’re executing a brilliant financial move. Let’s run the numbers on a typical batch of our coconut flour treats versus a popular high-end, grain-free commercial brand.
| Item | DIY Homemade Treats (Approx. Cost) | Premium Store-Bought Treats (Approx. Cost) |
|---|---|---|
| Primary Flour | Coconut Flour (approx. $0.70 per batch) | Proprietary Grain-Free Flour Blend (Cost built-in) |
| Binder & Protein | 2 Large Eggs (approx. $0.50 per batch) | Varies (egg product, meals) |
| Moisture & Fiber | Pumpkin Puree (approx. $0.60 per batch) | Vegetable Glycerin, Molasses |
| Healthy Fat | Coconut Oil (approx. $0.25 per batch) | Canola Oil, Sunflower Oil |
| Total Cost per Batch (approx. 40 treats) | $2.05 | N/A |
| Cost per Treat | ~$0.05 | ~$0.35 |
| Verdict | Massive savings for superior, whole-food ingredients. Full control. | High cost for convenience, often with cheaper fillers and preservatives. |
The analysis is stark. You can produce a higher quality treat for roughly one-seventh of the cost of the store-bought equivalent. The savings become astronomical over the course of a year, freeing up your budget for other essentials like vet care or high-quality primary dog food.
Hacker Tip: Buy your core ingredients like coconut flour and coconut oil in bulk online or at warehouse clubs. The per-unit cost plummets, driving your per-treat cost down even further. An initial investment saves you hundreds in the long run.
The Blueprint: Forensic-Level Ingredient Analysis
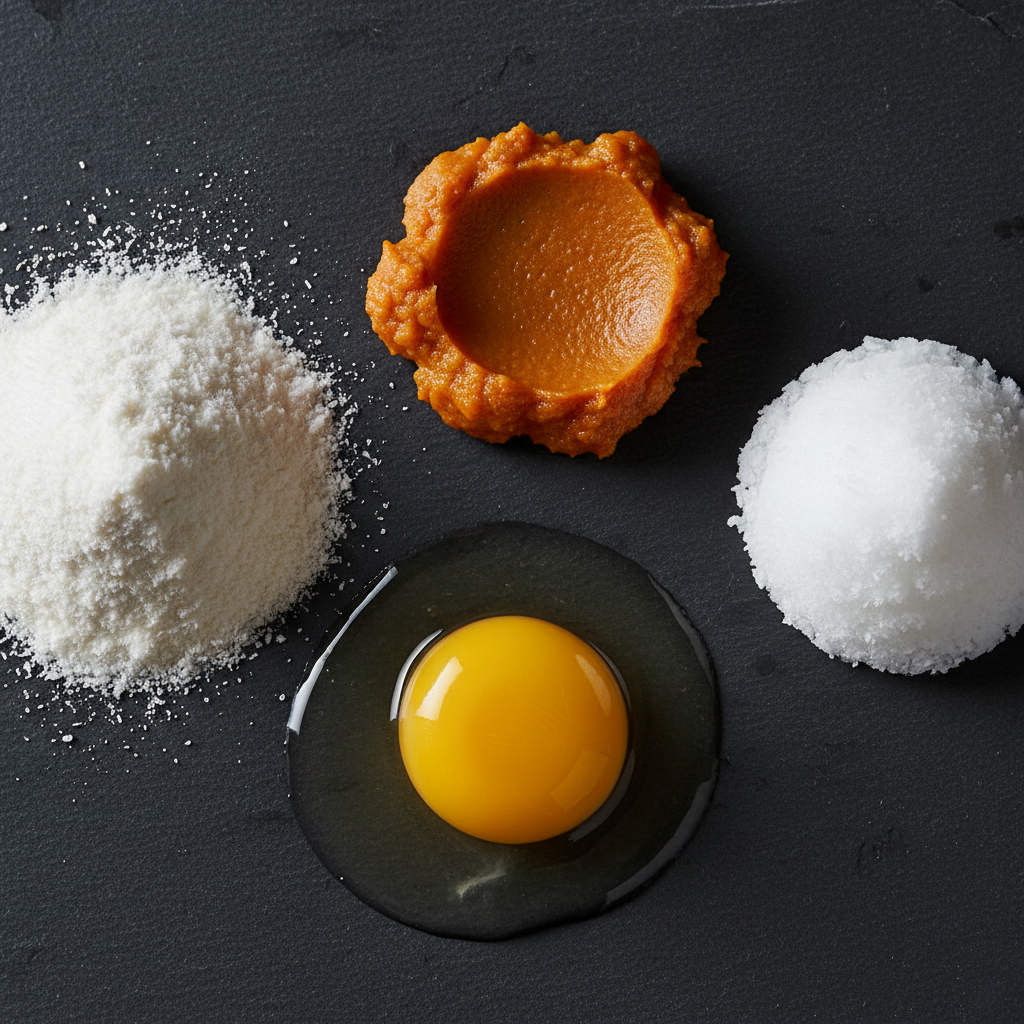
A recipe is only as good as its components. We don’t just throw things in a bowl; we choose each ingredient for a specific nutritional purpose. Here’s the forensic breakdown of our four-ingredient powerhouse.
Coconut Flour
This is our base and the star of the show. Unlike wheat or corn flour, which are common allergens and offer little nutritional value, coconut flour is a functional food. It is extremely high in fiber, which aids in digestive health and promotes healthy bowel movements. It’s also gluten-free, making it an ideal choice for dogs with grain sensitivities. Its unique absorbency is what gives these treats their signature soft, cake-like texture.
Pumpkin Purée
A true superfood for canines. Pumpkin is rich in soluble fiber, which can help with both diarrhea and constipation by absorbing excess water or adding bulk to stool. It’s a low-calorie way to add moisture and flavor, and it’s packed with Vitamin A and potassium. CRITICAL: You must use 100% pure pumpkin purée, not pumpkin pie filling, which is loaded with sugar and spices that can be harmful to dogs.
Eggs
Nature’s perfect protein package. Eggs are a highly bioavailable source of protein, essential for muscle maintenance and repair. They also provide key amino acids, vitamins, and healthy fats like omega-6. They act as the primary binder in this recipe, holding everything together without the need for processed starches.
Coconut Oil
We’re using unrefined, cold-pressed coconut oil for its healthy fats. It contains Medium-Chain Triglycerides (MCTs) which are easily digestible and can provide a quick source of energy. Coconut oil is also renowned for its benefits to skin and coat health, helping to create a lustrous shine from the inside out.
Execution: The Step-by-Step Baking Protocol
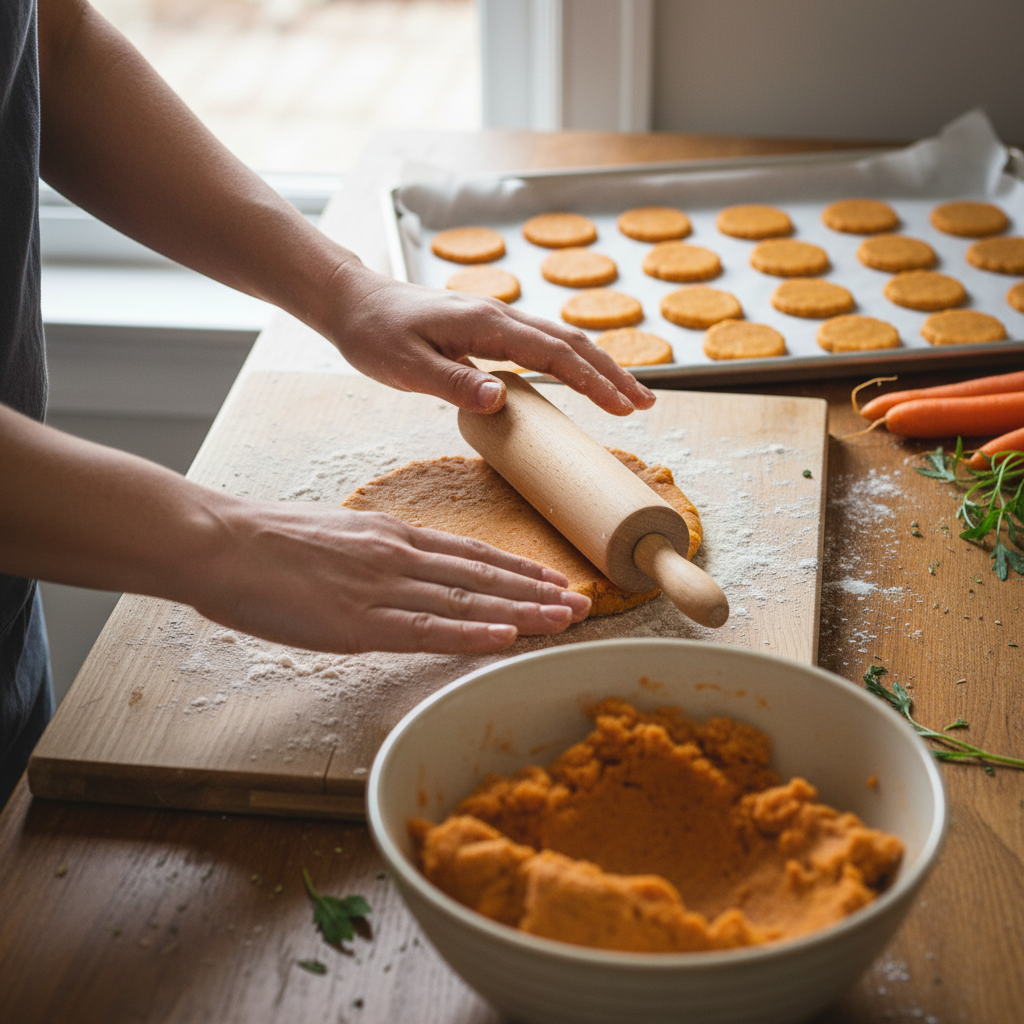
This is the easy part. The process is simple, quick, and nearly impossible to mess up. Follow these steps precisely for perfect soft-baked treats every time.
- Preparation: Preheat your oven to 350°F (175°C). Line a large baking sheet with parchment paper to prevent sticking. This also makes cleanup instantaneous.
- Combine Wet Ingredients: In a medium-sized bowl, whisk together 1/2 cup of pumpkin purée, 2 large eggs, and 2 tablespoons of melted coconut oil until smooth and fully combined.
- Introduce the Dry Ingredient: Add 1/2 cup of coconut flour to the wet mixture. Stir with a spatula until a thick, slightly sticky dough forms. Coconut flour is very absorbent, so the mixture will thicken quickly. Let it sit for 2-3 minutes to fully hydrate.
- Form the Treats: Take about a teaspoon of dough and roll it into a small ball between your palms. Place it on the prepared baking sheet and gently press down with a fork to flatten slightly. Repeat with the remaining dough, placing the treats about an inch apart.
- Bake: Place the baking sheet in the preheated oven and bake for 18-22 minutes. The treats should be firm to the touch and dry on the outside. They won’t brown much, so don’t wait for a color change.
- Cool Completely: Remove the baking sheet from the oven and let the treats cool on the sheet for 10 minutes before transferring them to a wire rack to cool completely. This step is crucial for their final texture.
Preservation & Storage: The Batch Cooking Playbook
Because these treats are made with real, whole-food ingredients and contain no artificial preservatives, proper storage is key to maintaining their freshness and safety. Your strategy will depend on how quickly your dog will consume them.
Short-Term Storage (Up to 1 Week)
Once the treats are 100% cool, place them in an airtight container. Store them in the refrigerator. The moisture from the pumpkin and egg means they will spoil at room temperature. They will remain fresh in the fridge for up to 7 days.
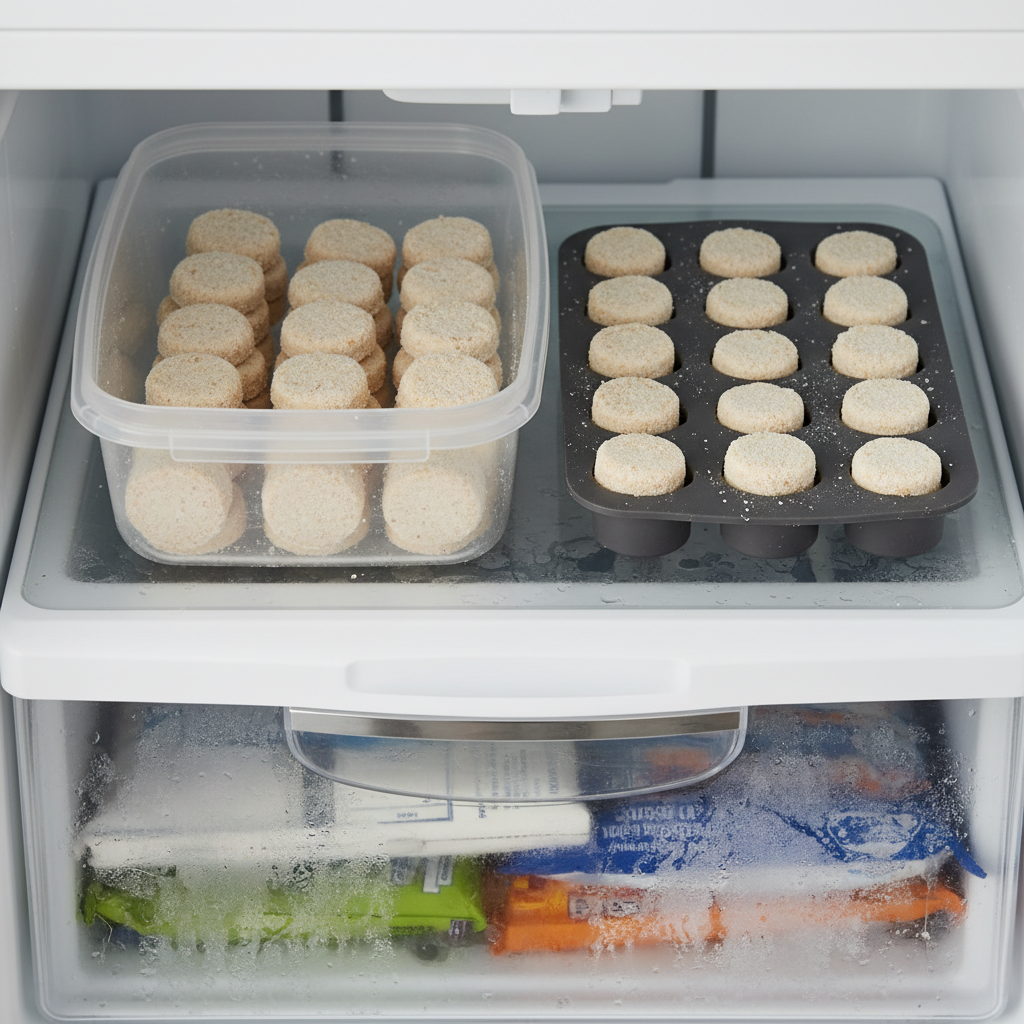
Long-Term Storage (Up to 3 Months)
This recipe is perfect for batching. To freeze, you have two options:
- Method 1 (Flash Freeze): Arrange the cooled treats in a single layer on a baking sheet and place them in the freezer for 1-2 hours, or until solid. Once frozen solid, transfer them to a freezer-safe bag or airtight container. This prevents them from sticking together.
- Method 2 (Layering): If you don’t have time to flash freeze, you can stack the treats in an airtight container, placing a small piece of parchment paper between each layer to prevent sticking.
To serve, simply thaw the desired number of treats at room temperature for about 20-30 minutes or in the refrigerator. Do not microwave them, as it can create hot spots and alter the texture.
Insider Secret: Use bone-shaped silicone molds. Press the dough into the molds before baking. Once cooled, the entire mold can be placed in a freezer bag. This not only creates fun shapes but also perfectly portions the treats and makes storage incredibly efficient.
Conclusion
You’ve now done what millions of dog owners haven’t: you’ve taken complete control over a part of your dog’s nutrition. You’ve bypassed the marketing hype and the hidden junk ingredients and created a treat that is fundamentally better and monumentally cheaper. This recipe is more than just a baked good; it’s a new mindset. It’s proof that you don’t need to spend a fortune to provide your dog with high-quality, delicious, and healthy options. Apply this ‘hacker’ mentality to everything you buy for your pet. Read the labels. Question the price. And when you can, make it yourself. Your dog’s health and your bank account will reap the rewards.