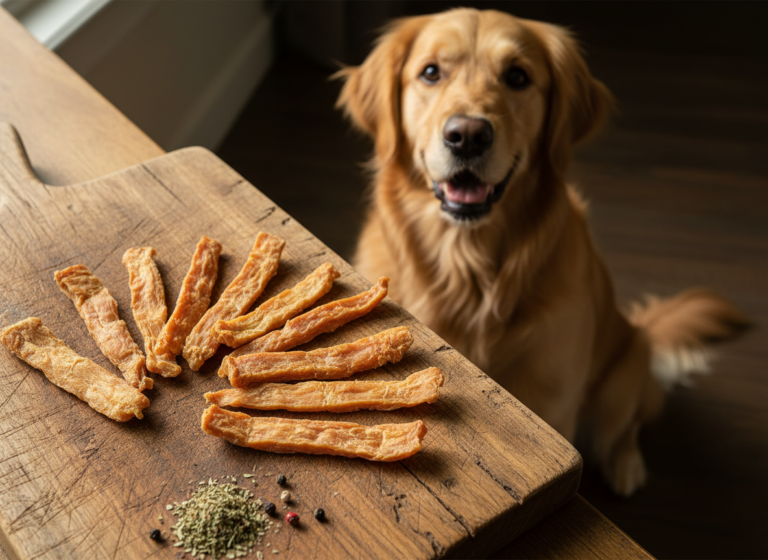
Easy 3-Ingredient Peanut Butter Dog Treats Your Pup Will Beg For
Walk down any pet store aisle and you’re bombarded with brightly colored bags promising ‘gourmet,’ ‘natural,’ and ‘premium’ treats. But turn that bag over, and the truth is often disappointing. You’ll find a laundry list of unpronounceable chemicals, cheap fillers like corn syrup, and preservatives designed for shelf life, not your dog’s health. You’re paying a premium price for marketing, not nutrition. This ends today.
As the Canine Nutrition Hacker, my mission is to empower you to see through the industry’s tricks. The single most effective way to control what goes into your dog’s body—and save a significant amount of money—is to take over the manufacturing process yourself. This isn’t about slaving away in the kitchen for hours. It’s about a simple, powerful hack: a 3-ingredient recipe that is healthier, cheaper, and far more delicious to your dog than almost anything you can buy in a store. Prepare to transform your dog’s treat jar from a source of questionable ingredients into a bastion of pure, wholesome goodness.
Why Most Store-Bought Treats Are a Scam: A Forensic Analysis
Before we build, we must deconstruct. To understand why homemade is superior, you need to learn how to read an ingredient label like a forensic scientist. The front of the bag is advertising; the back is evidence. Let’s dissect a typical ‘popular’ peanut butter flavored treat you might find at a big-box store.
The ‘First 5 Ingredients’ Lie
The first five ingredients make up the bulk of any product. Here’s what you often find:
- Wheat Flour: Not inherently bad, but it’s often the cheapest flour available and a common allergen for some dogs.
- Glycerin: A sweetener and humectant (it keeps treats soft). While generally safe, it adds unnecessary sugar and calories with zero nutritional benefit.
- Wheat Gluten: A cheap, plant-based protein booster used to inflate the ‘protein percentage’ on the label. It’s far less bioavailable for dogs than animal-based protein.
- Sugar/Corn Syrup: Pure, addictive, empty calories. Sugar contributes to obesity, dental problems, and diabetes in dogs. It has absolutely no place in a healthy treat.
- Peanut Butter ‘Flavor’: Notice the word ‘flavor.’ This often means it’s not real peanut butter, but a chemical concoction designed to mimic the taste. It’s a classic bait-and-switch.
You are paying for sugar and cheap fillers. The ‘peanut butter’ part is often an afterthought. This is unacceptable. Furthermore, many of these products contain dangerous preservatives like BHA, BHT, or ethoxyquin—chemicals linked to organ damage and other serious health issues. They are included to ensure a product can sit on a shelf for two years, not for the well-being of your pet.
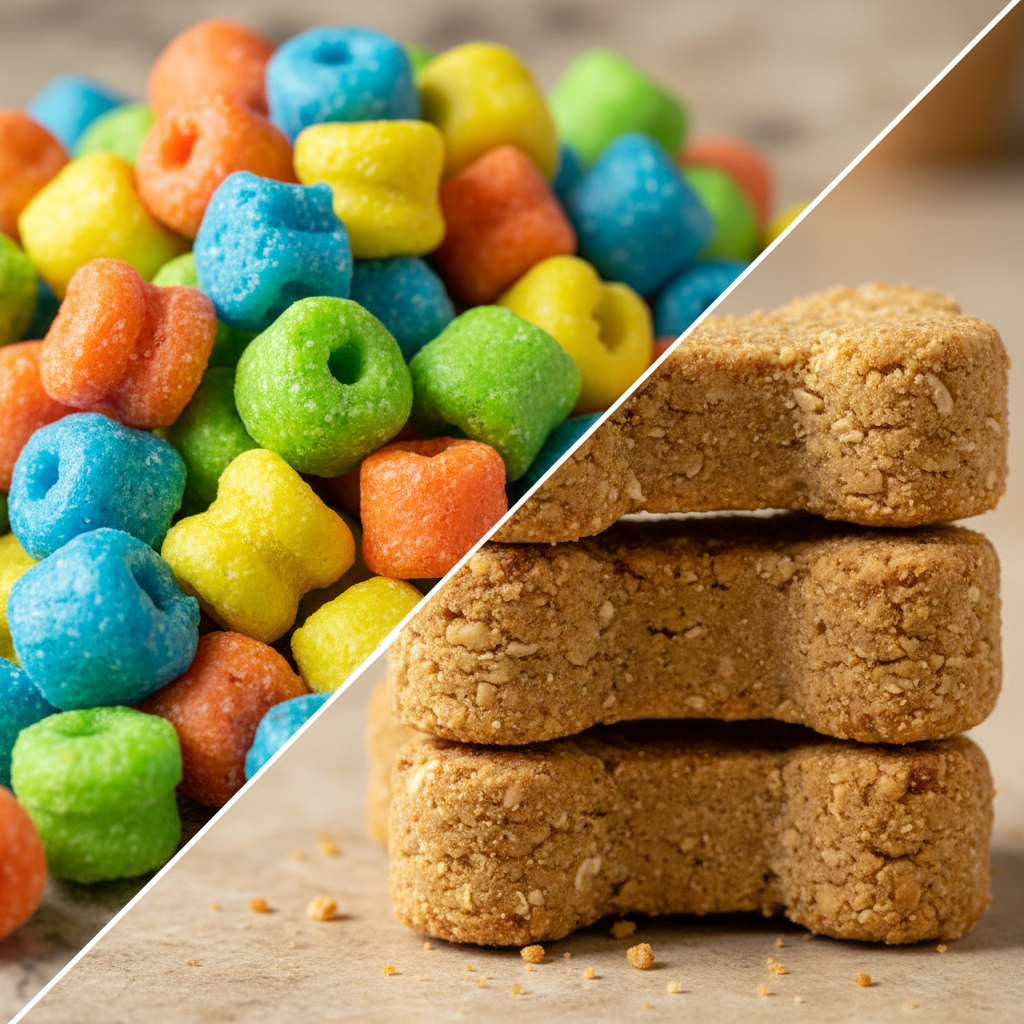
Insider Secret: If a treat is brightly colored (red, green, yellow), it contains artificial dyes. These dyes, like Red 40, are linked to hyperactivity and allergic reactions in some dogs and serve no purpose other than to appeal to the human buyer. Your dog doesn’t care what color the treat is.
The Only 3-Ingredient Peanut Butter Dog Treat Recipe You’ll Ever Need
DISCLAIMER: I am a canine nutrition analyst, not a veterinarian. These treats are for supplemental feeding only and are not a replacement for a complete and balanced diet. Always consult your veterinarian before introducing new foods to your dog’s diet, especially if they have known allergies or pre-existing health conditions.
The ‘Hero’ Ingredient Breakdown
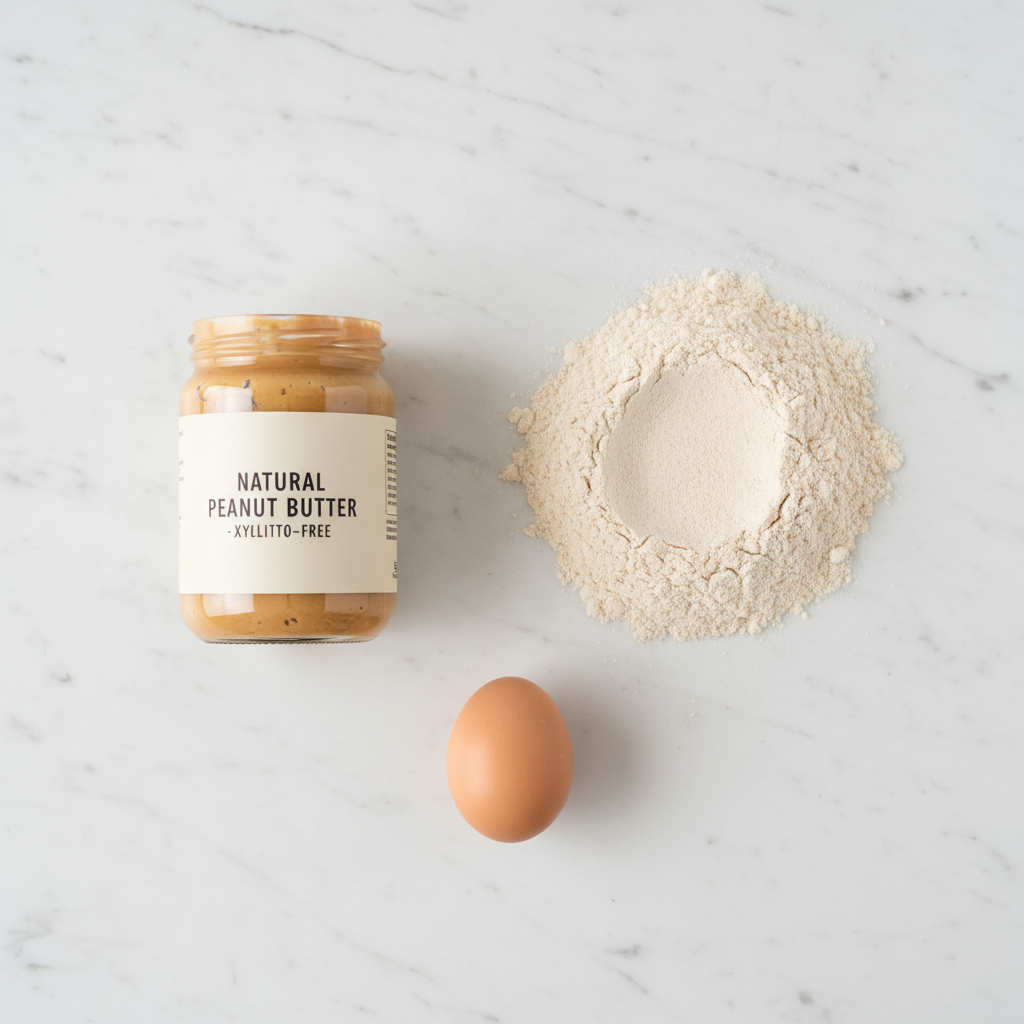
Simplicity is power. Each of our three ingredients is a nutritional heavyweight, chosen for a specific purpose.
- The Peanut Butter: This is the most critical component to get right. You MUST use a natural peanut butter where the only ingredients are peanuts and maybe salt. Check the label obsessively for one ingredient: XYLITOL. It is an artificial sweetener that is EXTREMELY TOXIC to dogs, even in small amounts. Avoid ‘light’ or ‘sugar-free’ peanut butters, as they are the most likely to contain it. Proper peanut butter provides healthy fats, protein, and niacin.
- The Flour: We’re starting with whole wheat flour for its fiber and protein content. However, if your dog has a known grain sensitivity, you have options. You can easily substitute this with oat flour (simply blend rolled oats in a blender), chickpea flour, or coconut flour. Note that alternative flours may require a slight adjustment in water quantity.
- The Egg: The perfect natural binder. An egg holds the dough together and adds a boost of high-quality protein, selenium, and riboflavin. It’s a nutritional powerhouse hiding in plain sight.
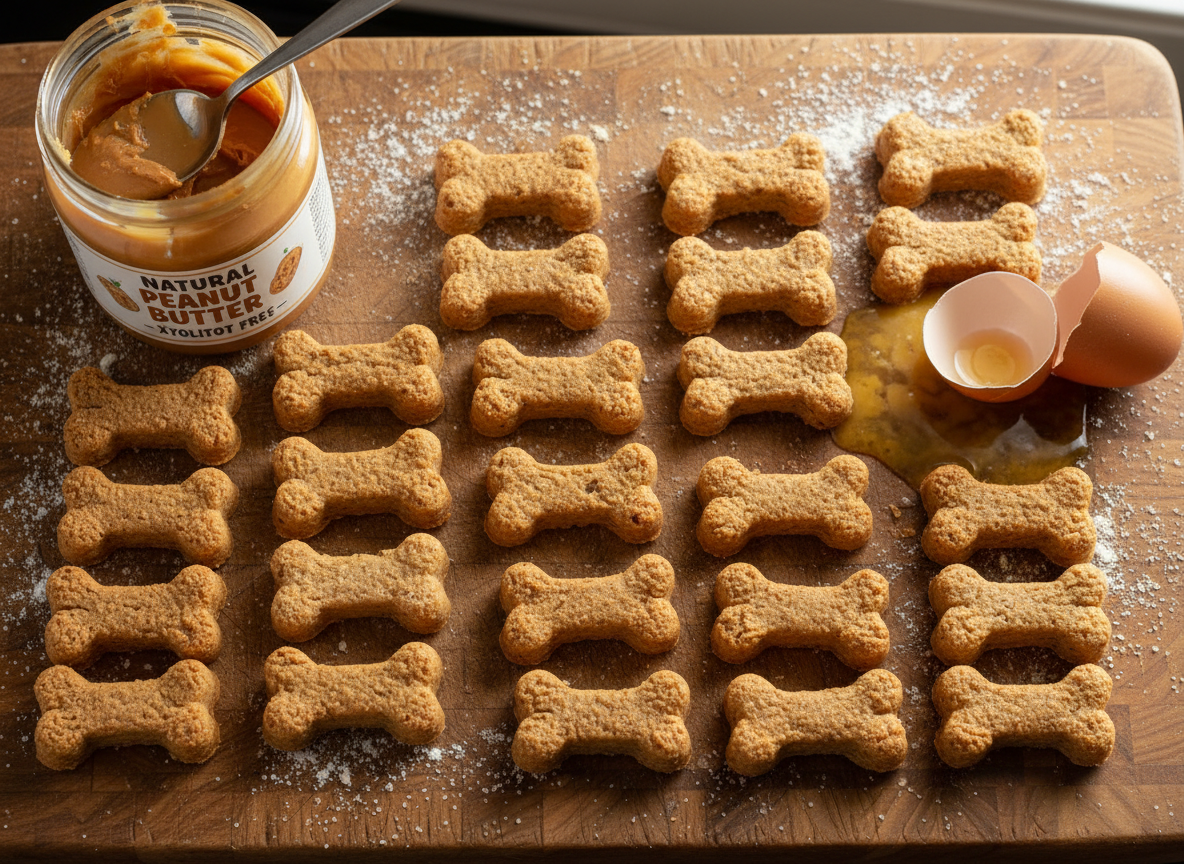
The Recipe Protocol
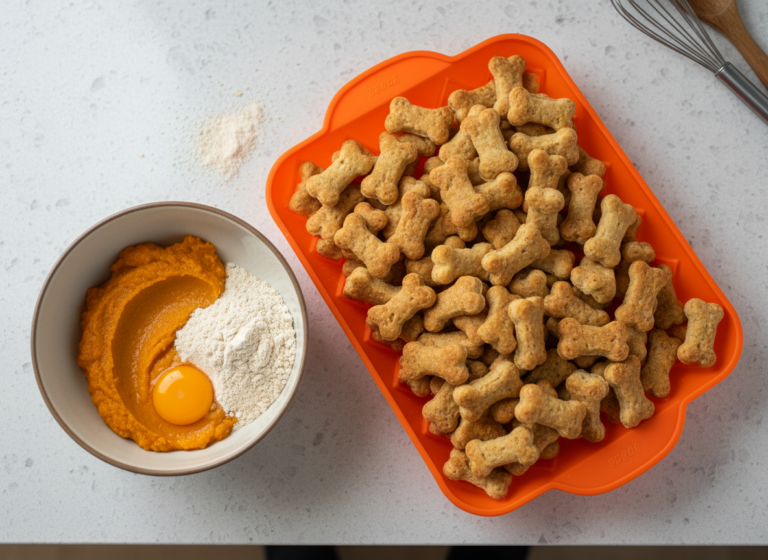
- Prep: Preheat your oven to 350°F (175°C). Line a baking sheet with parchment paper.
- Combine: In a large bowl, mix 1 cup of whole wheat flour, 1/2 cup of xylitol-free peanut butter, and 1 large egg.
- Mix: Stir until the ingredients are well combined. The dough will be stiff. Add 1-2 tablespoons of water if the dough is too dry and crumbly to come together.
- Roll: Lightly flour your work surface. Roll the dough out to about 1/4-inch thickness.
- Cut: Use cookie cutters to cut out shapes. Place them on the prepared baking sheet.
- Bake: Bake for 15-20 minutes, or until the edges are golden brown. The baking time will vary based on the size and thickness of your treats.
- Cool: Let the treats cool completely on a wire rack. They will harden as they cool.
The Financial Hack: DIY vs. Premium Store-Bought
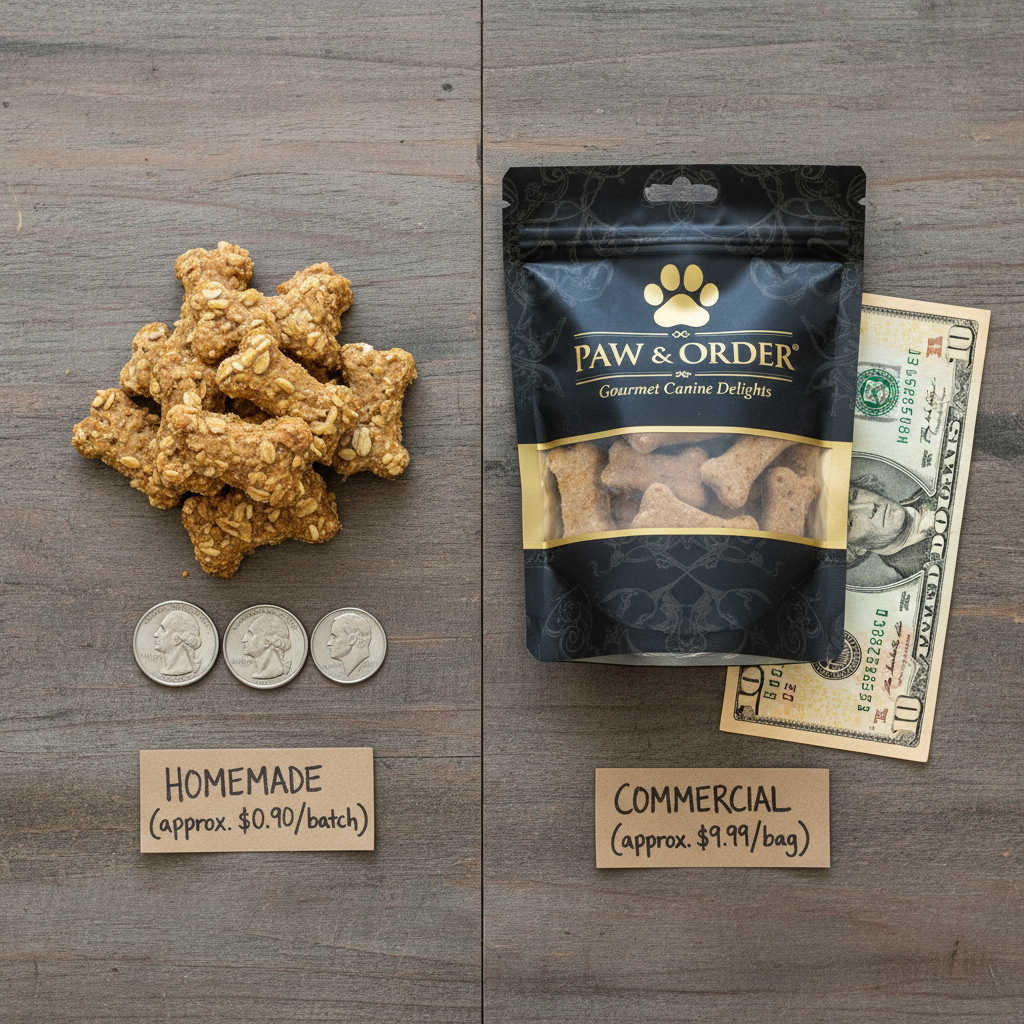
Making your own treats isn’t just about health; it’s a significant financial win. Let’s break down the real cost per treat, comparing our homemade recipe to a popular ‘premium’ brand from a pet superstore. Prices are approximate and will vary by location.
| Metric | DIY Hacker Treats | Premium Store-Bought Brand |
|---|---|---|
| Core Ingredients Cost | Natural PB (~$4/16oz), Flour (~$3/5lb), Eggs (~$4/dozen) | N/A |
| Yield Per Batch/Bag | Approx. 30 medium treats | Approx. 30 medium treats (10oz bag) |
| Cost Per Batch/Bag | ~$1.25 (using fractions of bulk ingredients) | ~$9.99 |
| Cost Per Treat | ~$0.04 per treat | ~$0.33 per treat |
| Verdict | Superior ingredients at a fraction of the cost. Total control. | Over 8 times more expensive for often inferior ingredients. |
The numbers don’t lie. By investing a few minutes of your time, you are saving over 80% on treats. If you give your dog one treat per day, that’s a yearly cost of about $15 for homemade versus $120 for the premium store-bought version. That’s over $100 in savings per year on treats alone, money that can be put toward higher-quality food, vet care, or enrichment toys.
Level Up: Optional Add-ins & Pro Techniques

The 3-ingredient recipe is your solid foundation. Now, let’s customize it for your dog’s specific needs and preferences. Think of these as nutritional upgrades.
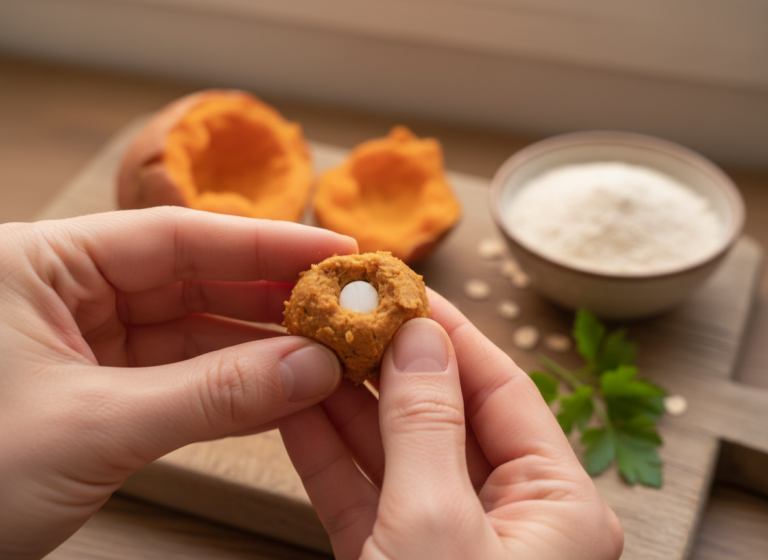
Hacker Tip: The Digestion Boost. Add 2 tablespoons of 100% pure canned pumpkin puree (NOT pumpkin pie filling) to the dough. Pumpkin is a fantastic source of soluble fiber, which is excellent for regulating your dog’s digestive system. It can help with both constipation and diarrhea.
Nutritional Fortification
Want to add more power to each bite? Consider these mix-ins:
- Ground Flaxseed: Add 1 tablespoon for a boost of Omega-3 fatty acids, which are fantastic for skin and coat health.
- Unsweetened Shredded Coconut: A teaspoon or two can add lauric acid, which has anti-inflammatory properties.
- Parsley: A small amount of finely chopped fresh parsley can help freshen your dog’s breath.
Texture Customization
Does your dog prefer a satisfying crunch or a softer chew?
- For a Harder, Crunchier Treat: After the initial baking time, turn off the oven, crack the door open, and leave the treats inside as the oven cools down. This will dehydrate them further, creating a biscotti-like crunch that’s great for dental health.
- For a Softer Treat: If you have a senior dog or one with dental issues, you can create a softer treat by adding 2 tablespoons of unsweetened applesauce to the initial mix. You may need to bake them for a few minutes less.
The Efficiency Play: Batching and Storing for Maximum Freshness
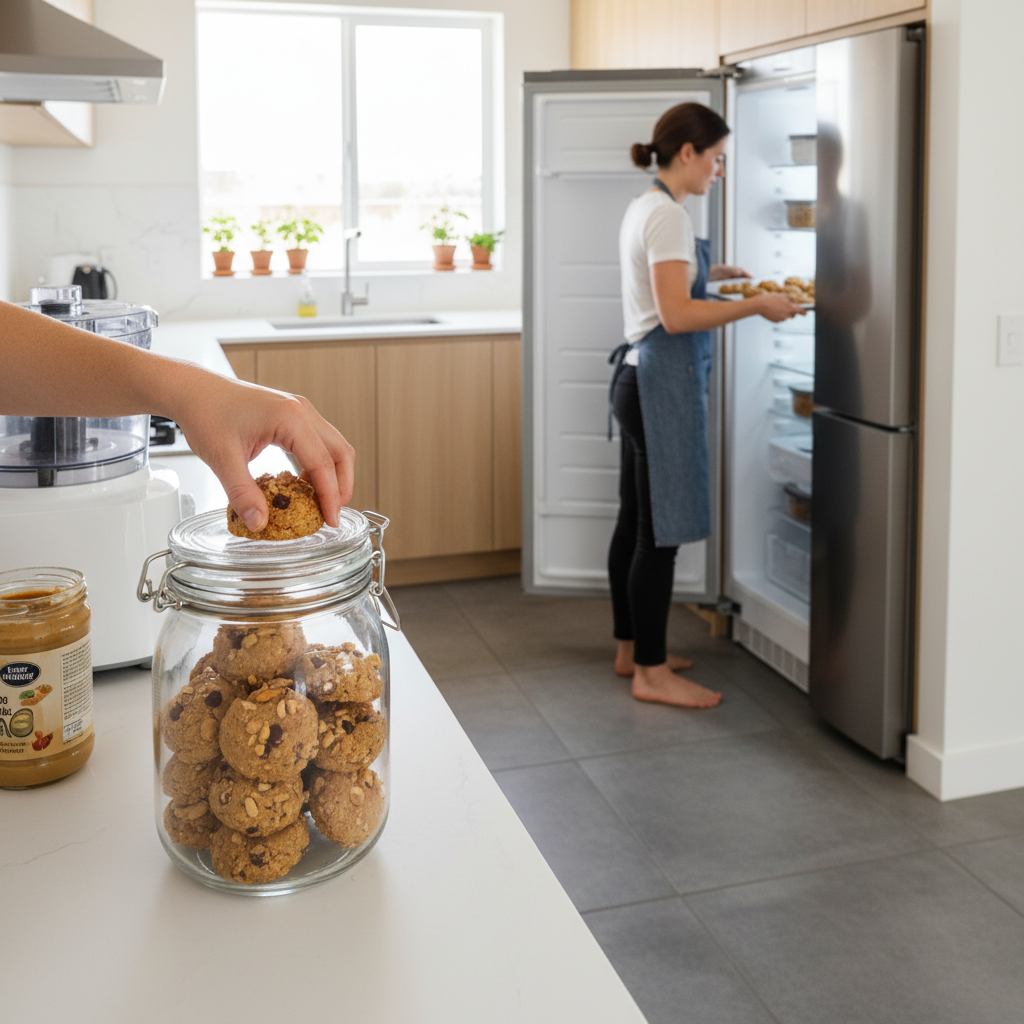
Your time is valuable. The key to making DIY treats a sustainable habit is efficiency. Never make just one batch. Doubling or tripling the recipe takes virtually no extra time and sets you up for weeks or even months.
Storage Protocols
How you store the treats is crucial for maintaining freshness and safety. Because they contain no artificial preservatives, they won’t last for years on a shelf like commercial products.
- Room Temperature: Once completely cooled, store the treats in an airtight container. A glass jar with a good seal is ideal. They will stay fresh on the counter for up to one week. If you notice any signs of mold, discard the entire batch immediately.
- Refrigeration: To extend their life, you can store the treats in an airtight container in the refrigerator. This will keep them fresh for up to three weeks. They will be harder when cold, so you may want to let them sit out for a few minutes before serving.
The Ultimate Batch Cooking Tip: Freezing
This is the master hack for long-term supply. Freezing locks in freshness and allows you to have ‘freshly-baked’ treats on demand.
- Flash Freeze: After the treats have cooled completely, arrange them in a single layer on a baking sheet. Make sure they are not touching.
- Freeze Solid: Place the baking sheet in the freezer for about 1-2 hours, or until the treats are frozen solid.
- Bag and Store: Transfer the frozen treats into a labeled freezer-safe bag or container. By flash-freezing them first, you prevent them from sticking together in a giant clump.
- Longevity: Properly frozen, these treats will maintain their quality for up to 4 months. You can pull out a few at a time to thaw on the counter or give them to your dog as a cool, crunchy treat on a hot day.
Conclusion
You now possess the knowledge and the protocol to completely revolutionize your dog’s treat experience. You’ve learned how to spot the marketing gimmicks and chemical-laden ingredient lists of commercial brands. More importantly, you have a simple, cost-effective, and healthy alternative that you can create in your own kitchen. This is about more than just baking; it’s about taking an active, empowered role in your dog’s nutrition. You are no longer just a consumer; you are a provider, a chef, and a guardian of their health. Welcome to the world of the Canine Nutrition Hacker.