How to Get Rid of Pantry Moths in Your Dog Food Container Forever
You see it out of the corner of your eye. A tiny, fluttering moth in the kitchen. Then another. The feeling of dread sinks in when you open your dog’s expensive, nutrient-dense food container and find the tell-tale signs: delicate, sticky webbing clumped on the kibble and, if you look closer, tiny, wriggling worms. Your investment is ruined, and your dog’s health is at risk. This intruder is the Indian Meal Moth (Plodia interpunctella), and it’s the number one enemy of premium pet food.
Here’s the first secret most pet owners don’t know: it’s probably not your fault. These pests are notorious hitchhikers. Their eggs often arrive pre-installed in bags of kibble, grains, and flour, straight from the processing plant, warehouse, or retail store. Blaming your housekeeping is a waste of time. What you need is a military-grade strategy. As the Canine Nutrition Hacker, my job is to protect your dog’s nutrition from every threat, from filler ingredients to pantry pests. This is not just a guide on how to clean up a single infestation. This is the definitive protocol to eradicate them from your home and build an impenetrable defense to ensure they never return. It’s time to take back control of your dog’s food supply.
Forensic Analysis: Know Your Enemy, The Indian Meal Moth
Forensic Analysis: Know Your Enemy, The Indian Meal Moth
To defeat an enemy, you must understand it completely. The Indian Meal Moth operates on a simple, destructive lifecycle that can turn a 30-pound bag of premium dog food into a contaminated wasteland in a matter of weeks. Understanding their process is key to breaking the cycle for good.
The Four-Stage Assault
The moth’s life is a four-part invasion plan. Ignoring any single stage is a guaranteed path to re-infestation.
- The Egg: These are microscopic, laid directly on or near the food source. You will never see them. A single female can lay up to 400 eggs, which hatch in a few days. This is often the state they’re in when they enter your home inside the dog food bag.
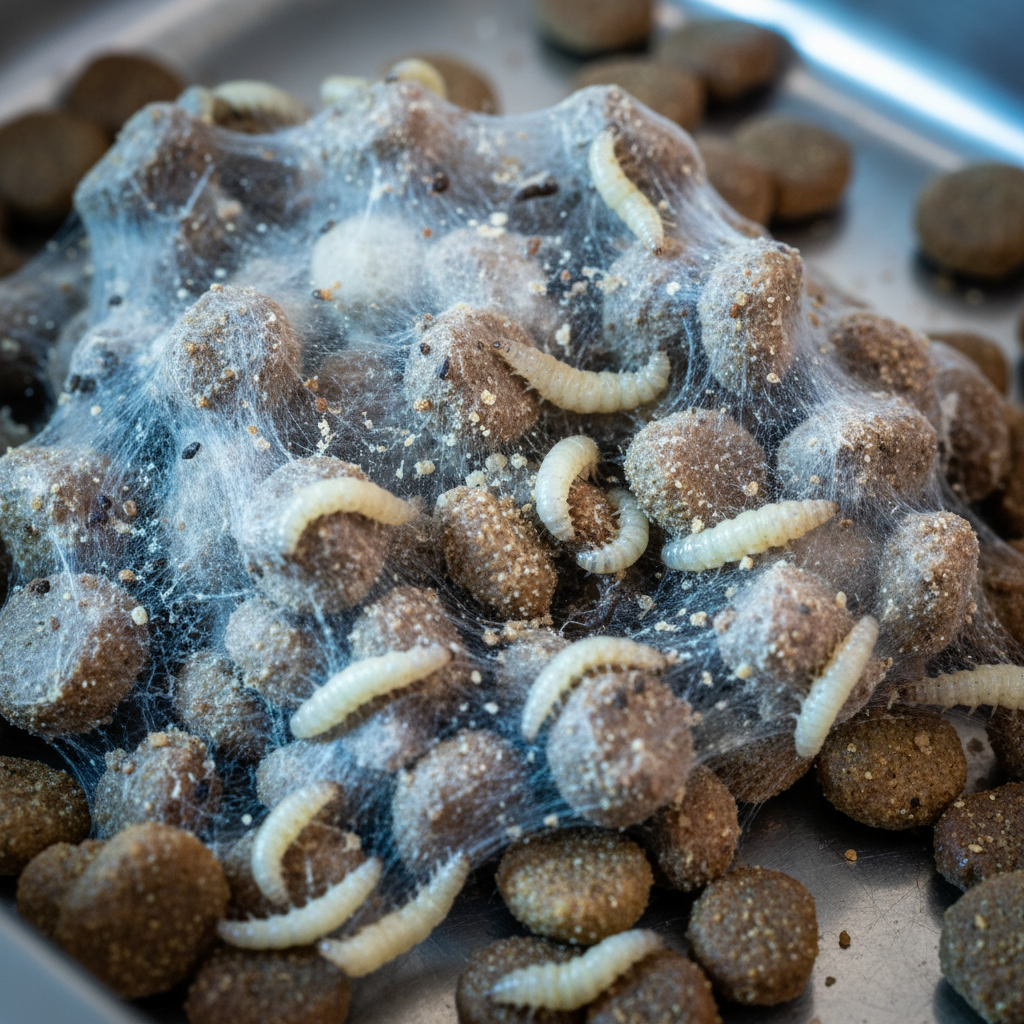
- The Larva: This is the destructive ‘worm’ stage. The larvae are small, off-white caterpillars with brown heads. For several weeks, their only job is to eat, grow, and contaminate your dog’s food with feces and silk webbing. This webbing is the most obvious sign of an active infestation.
- The Pupa: After gorging themselves, the larvae leave the food source to find a safe place to build a cocoon (pupa). They will crawl up walls, into corners of your pantry, under shelves, and even in the threads of a screw-top lid. This is a critical stage to target during cleanup.
- The Adult Moth: The adult moth emerges from the cocoon. It has distinctive wings—coppery-red on the back half and grayish-tan on the front. Here’s the crucial fact: the adult moths do not eat. Their sole purpose is to reproduce, find a suitable food source (like your dog’s kibble), and lay the next generation of eggs. Killing the adults is important, but the real war is won by eliminating the larvae and their food source.
Hacker Tip: Before you even purchase a bag of dog food, perform a quick forensic check. Squeeze the bag gently. Look for any tiny punctures or tears where moths could have entered or exited. Examine the seams and folds for any signs of webbing. If you see anything suspicious, drop the bag and walk away. It’s not worth the risk.
Phase One: The Complete Eradication Protocol

Phase One: The Complete Eradication Protocol
Once you’ve confirmed an infestation, you must act with precision and without compromise. A partial cleanup guarantees a repeat performance. This is a search-and-destroy mission. Follow these steps exactly.
- Step 1: Isolate and Discard Immediately. Seal the contaminated dog food container or bag in a heavy-duty trash bag. Do not hesitate, do not try to salvage it. The webbing and larvae you see are only part of the problem; the entire container is filled with unseen eggs and fecal matter. Under no circumstances should you feed any of this food to your dog. Remove the sealed bag from your home entirely.
- Step 2: Decontaminate the Primary Container. Take the empty dog food bin outside. First, scrub it thoroughly with hot, soapy water to remove all physical debris. Pay special attention to lid seals, grooves, and handles. Then, perform a sanitizing rinse and soak with a solution of one part white vinegar to one part water. Let it sit for 15 minutes before a final rinse with clean water. Let it air dry completely in direct sunlight if possible; UV light is a natural sterilizer.
- Step 3: The Full Pantry Purge. The moths have almost certainly explored. You must empty the entire pantry or cupboard where the food was stored. Every single item must come out. Inspect all other grain-based products: flour, cereal, pasta, crackers, and even other pet treats. Be ruthless. If anything shows the slightest sign of webbing, discard it.
- Step 4: The Deep Vacuum. Using a vacuum with a crevice tool, meticulously vacuum every surface inside the empty pantry. This is the most critical mechanical removal step. Vacuum the corners, the shelf joints, the tiny holes for shelf pins, and the ceiling. This will remove hidden pupae and eggs. Once finished, immediately empty the vacuum canister into an outdoor trash can to prevent them from hatching inside your vacuum.
- Step 5: The Final Wipe-Down. After vacuuming, wipe every single surface—shelves, walls, floor, ceiling—with the same 1:1 vinegar-water solution. The acetic acid in vinegar helps to dissolve the invisible ‘glue’ of the eggs and acts as a future repellent. Do not rinse; let it air dry.
- Step 6: Deploy Pheromone Traps. Once the pantry is clean, place one or two pantry moth pheromone traps. These are not a solution on their own, but they are an essential monitoring tool. The traps use a female moth pheromone to attract and trap the males, which helps break the breeding cycle and will alert you to any surviving moths you may have missed.
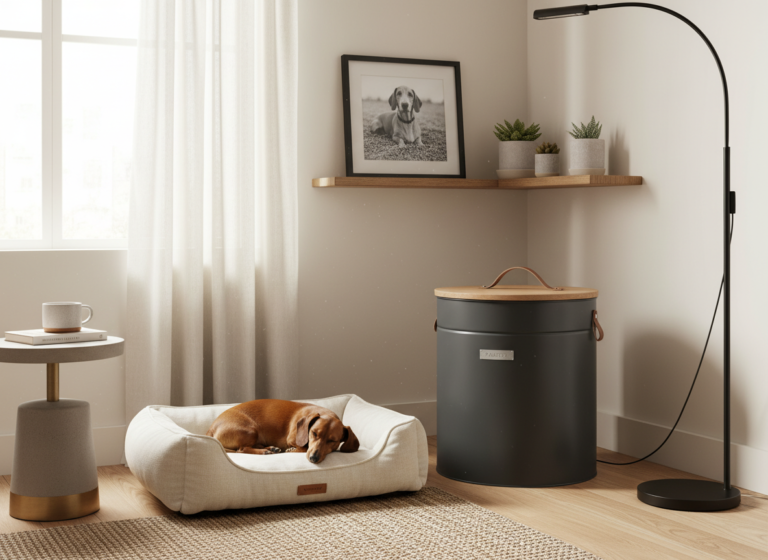
Phase Two: Fort Knox Your Kibble – The Ultimate Storage Defense
Phase Two: Fort Knox Your Kibble – The Ultimate Storage Defense
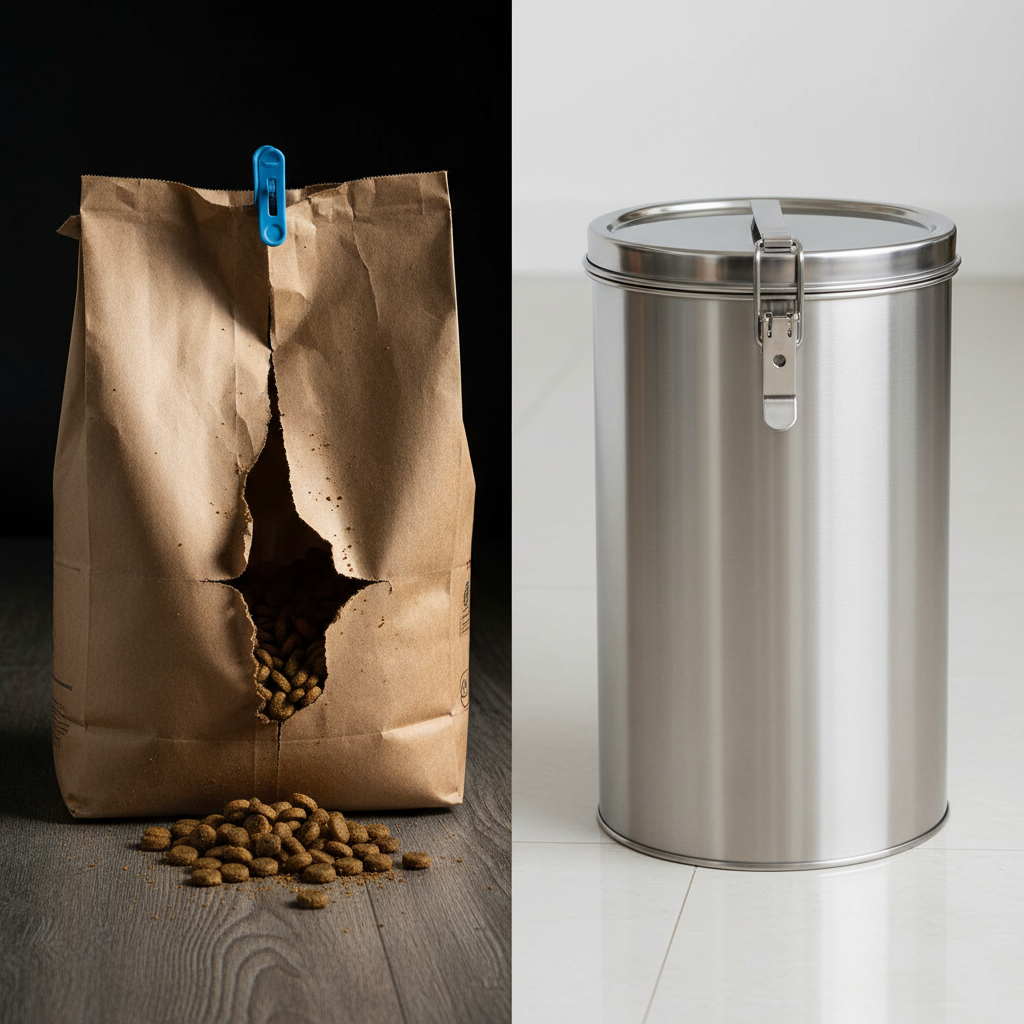
The cleanup was the battle; this is how you win the war. Your defense system is only as strong as your storage container. The bag the kibble comes in is merely a transport vessel. Its ‘resealable’ top is a joke to a determined pest, and the paper or plastic is easily compromised.
The Airtight Mandate
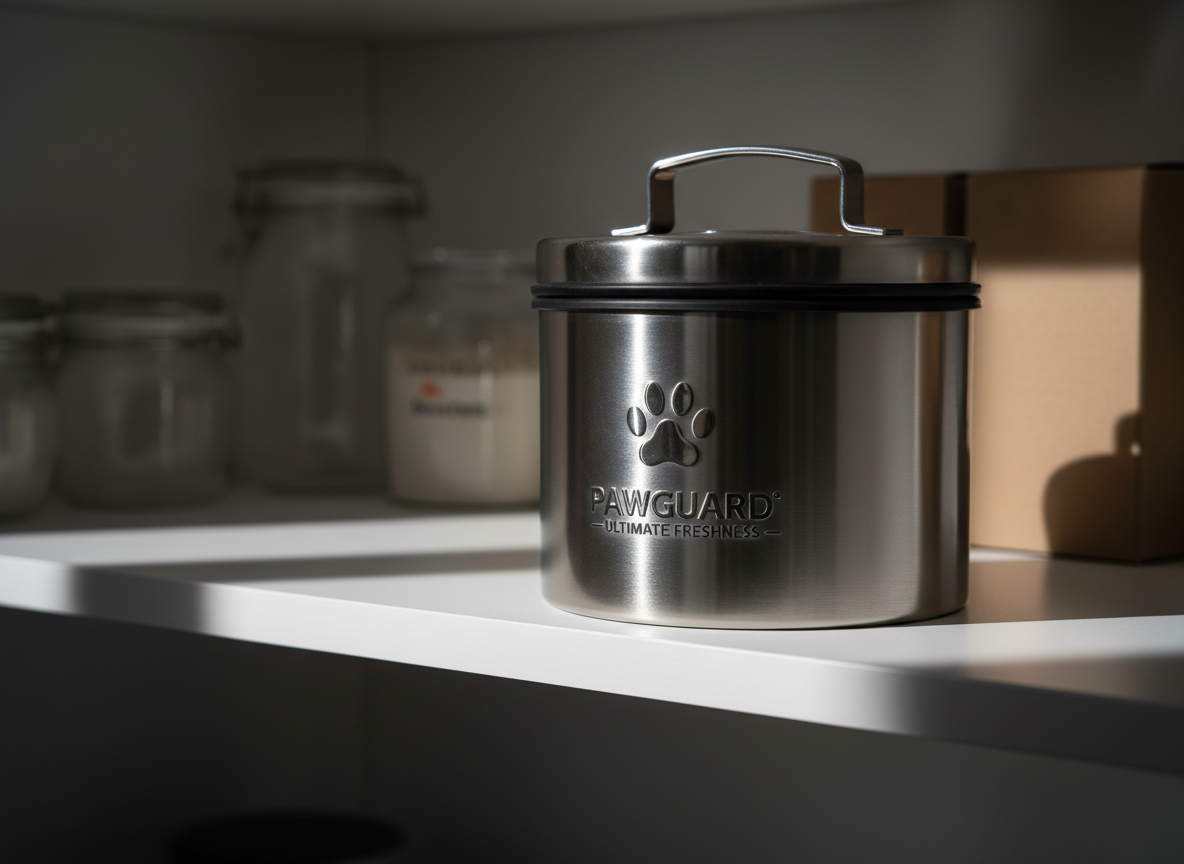
Forget decorative canisters or simple bins with loose-fitting lids. You need a container with one non-negotiable feature: a full, uninterrupted airtight seal. This usually means a silicone or rubber gasket seated inside the lid that is compressed by locking clamps. If you can easily pull the lid off without undoing a latch, it’s not good enough. The goal is to create a hermetically sealed environment that no pest can breach from the outside and in which no pre-existing egg can survive due to lack of oxygen.
Insider Secret: The ‘smell test’ is the ultimate proof of an airtight seal. After filling your new container, close it and wait an hour. If you can hold the container up to your nose and smell even a faint hint of dog food, the seal is insufficient. Moths find their targets by scent; if you can smell it, so can they.
Material Matters: Choosing Your Weapon
The material of your container is as important as its seal. Each has distinct advantages and disadvantages that impact durability, cost, and effectiveness.
| Material | Pros | Cons | The Hacker Verdict |
|---|---|---|---|
| Food-Grade Plastic (BPA-Free) | Lightweight, often transparent for easy monitoring, wide variety of sizes and shapes, generally affordable. | Can absorb odors and oils over time, susceptible to being chewed by a determined dog, can be scratched, creating places for bacteria to hide. | An excellent budget-friendly choice for most owners. Look for brands like Vittles Vault or Gamma2 that specialize in airtight pet food storage with screw-on gasket lids. |
| Stainless Steel | Extremely durable, will not absorb odors, easy to clean and sanitize, impossible for pests or pets to chew through, blocks all light which helps preserve nutrients. | Heavier, more expensive, you cannot see the food level inside. | The gold standard. This is a buy-it-for-life solution. It offers total protection from pests, light, and air. The ultimate choice for the serious nutrition hacker. |
| Glass | Impermeable to odors and scratches, easy to clean, chemically inert (no risk of leaching). | Very heavy, fragile and easily broken (a major safety hazard), impractical for large quantities of food. | Unsuitable for bulk dog food storage. Reserve large glass jars for smaller quantities of treats, but they are too risky for storing the main supply of kibble. |
Advanced Prevention: Creating a Moth-Free Zone
Advanced Prevention: Creating a Moth-Free Zone
With your new storage system in place, you can add layers of proactive defense to make your pantry a hostile environment for any future pests. These advanced tactics are for owners who want a zero-tolerance policy against pantry moths.
The 72-Hour Deep Freeze Protocol
This is the ultimate ‘kill step’ for any eggs that may have arrived in a new bag of food. It’s a non-negotiable tactic if you’ve suffered a major infestation previously.
- Upon bringing a new bag of kibble home, do not open it.
- If the bag is small enough, place the entire sealed bag directly into a chest freezer or your main freezer for a minimum of 72 hours. For larger bags, portion the kibble into large, sealed freezer bags before freezing.
- This extended period of deep cold will kill any and all life stages of the pantry moth, from egg to larva, without harming the nutritional integrity of the kibble.
- After 72 hours, you can remove the food, let it come to room temperature, and then decant it into your clean, airtight ‘Fort Knox’ container.
Strategic Use of Natural Repellents
Certain natural scents are repulsive to moths. While they won’t kill an active infestation, they can help deter new moths from settling in your pantry. Crucial Warning: These items should be placed in the pantry area, NEVER inside the dog food container itself. Many essential oils are toxic to dogs if ingested.
- Bay Leaves: Place a few dried bay leaves on the corners of your pantry shelves. Moths dislike the smell. Replace them every few months.
- Peppermint Oil: Place a few drops of pure peppermint oil on cotton balls and tuck them into the back of the pantry, far from the food container. The strong scent is a powerful deterrent. Refresh the oil weekly.
- Cedar Blocks: Natural cedar wood has long been used to repel moths. Place a few cedar blocks or chips in your pantry. You can sand them lightly every few months to refresh their aromatic oils.
The Weekly Security Sweep
Make a quick inspection part of your routine. Once a week, take 30 seconds to visually inspect your pantry. Look at your pheromone trap to see if it has caught anything new. Check around the base of your dog food container. This vigilance allows you to catch any potential issue long before it becomes a full-blown infestation.
Conclusion
You have now graduated from being a victim of pantry pests to a master of prevention. The strategy is simple but must be absolute: Eradicate, Upgrade, and Prevent. By conducting a thorough, forensic-level cleanout, you eliminate the immediate threat. By upgrading your storage to a truly airtight system, you build a permanent defense that makes your dog’s food supply untouchable. And by implementing proactive prevention and monitoring tactics, you create a hostile environment that ensures pantry moths never establish a foothold in your home again.
Protecting your dog’s nutrition is about more than just reading ingredient labels. It’s about safeguarding that nutrition from the moment it enters your home. You’ve invested in premium food for your dog’s health; now you have the insider’s blueprint to protect that investment. Your pantry is no longer a vulnerability—it is a fortress.