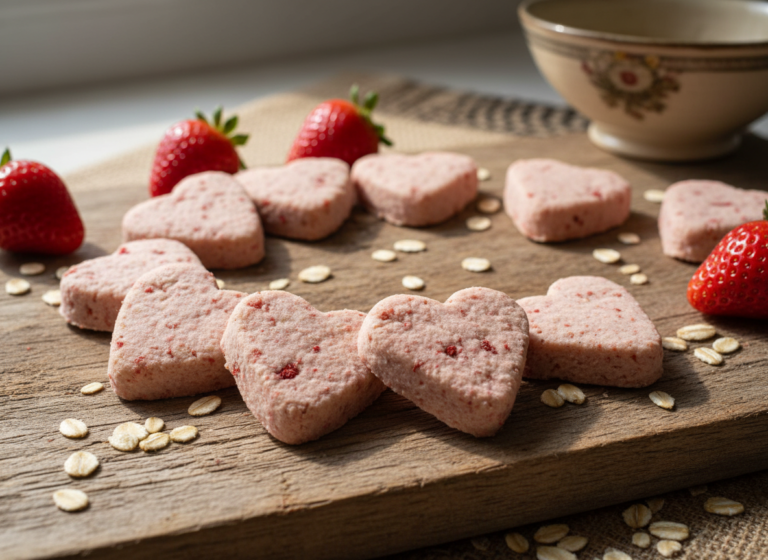
Instagram-Worthy Treats: How to Make Layered Fruit & Goat Milk Pupsicles
Walk down any pet store treat aisle and you’ll be bombarded with colorful packaging and clever marketing. But turn those bags over. The ingredient lists are often a horror show of sugar, artificial colors, and unpronounceable preservatives. You’re paying a premium for junk that does nothing for your dog’s health. It’s time to take control. As the Canine Nutrition Hacker, I’m here to show you how to bypass the commercial nonsense and create treats that are not only visually stunning but are packed with functional, health-boosting ingredients. These Layered Fruit & Goat Milk Pupsicles aren’t just a treat; they’re a nutritional strategy.
SAFETY DISCLAIMER: I am a canine nutrition analyst, not a veterinarian. The information in this guide is for educational purposes. These treats are intended for supplemental feeding only and should not replace a balanced diet. Always consult with your veterinarian before introducing new foods into your dog’s diet, especially if they have underlying health conditions, allergies, or sensitivities. Ensure all ingredients used are plain, unsweetened, and free from harmful additives like xylitol.
The Nutritional Blueprint: Why These Ingredients Are a Canine Superfood Combo
Before we build our masterpiece, let’s dissect the components. A smart chef—and a savvy owner—knows the ‘why’ behind every ingredient. This isn’t just about making something pretty; it’s about targeted nutrition that serves a purpose. We’re choosing powerhouse ingredients that work synergistically to support your dog’s gut health, immune system, and overall vitality.
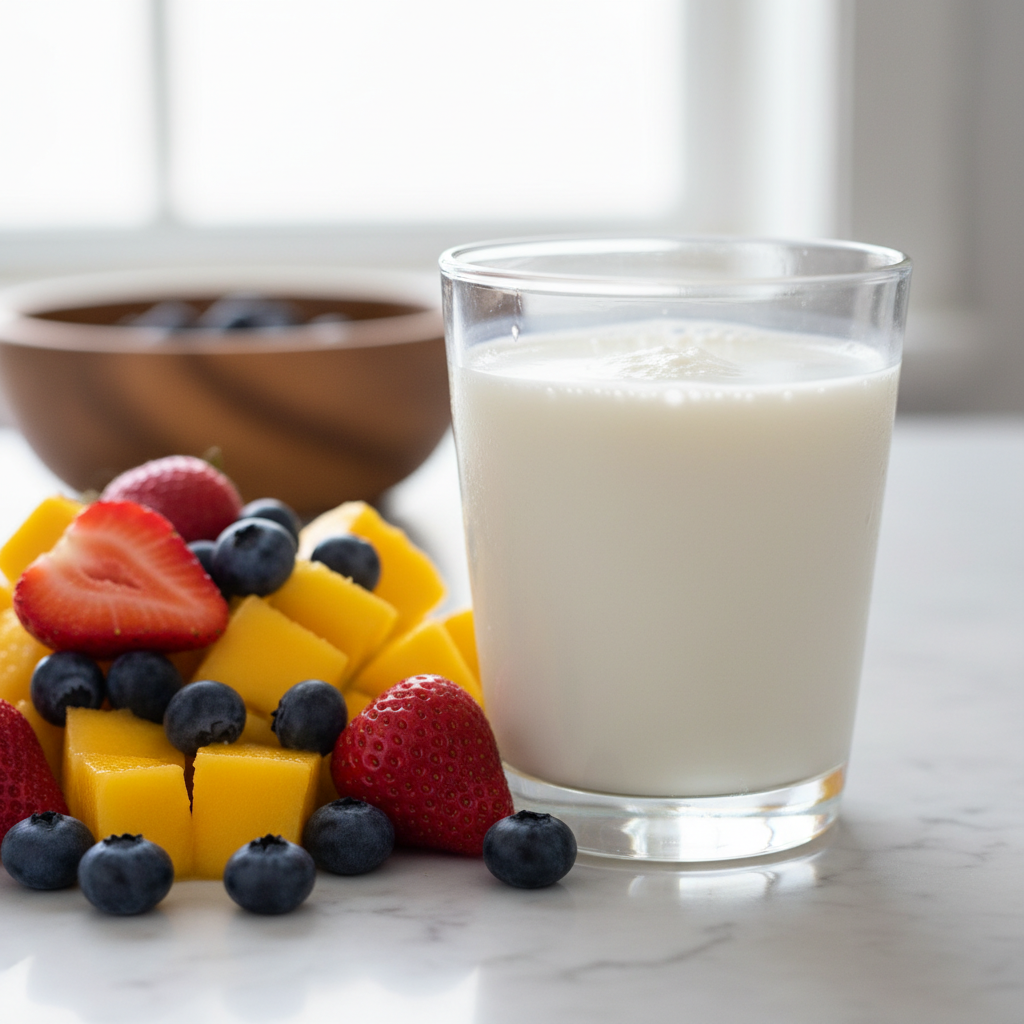
The Foundation: Raw Goat Milk
Forget cow’s milk, which is a common allergen for dogs and can cause significant digestive upset. Raw goat milk is the undisputed champion. Its fat globules are smaller and its protein structure is different, making it far easier for dogs to digest. But the real magic lies in its payload of natural nutrients.
- Probiotics: It’s a living food, teeming with beneficial bacteria that populate the gut, aid digestion, and bolster the immune system. This is your first line of defense against tummy troubles.
- Digestive Enzymes: Goat milk contains natural enzymes like lipase, which helps your dog break down and absorb fats more efficiently. This means they get more nutritional value from their food.
- Vitamins & Minerals: It’s a rich source of calcium for strong bones, vitamin A for vision, and B-vitamins for energy metabolism.
We use plain, unsweetened goat milk—never the flavored or sweetened varieties intended for humans.
The Color & Antioxidant Layers: Dog-Safe Fruits
Fruits provide the vibrant, Instagram-worthy layers, but their role is more than aesthetic. They are a primary source of antioxidants, which combat cellular damage caused by free radicals. This is crucial for long-term health and disease prevention.
Layer 1: Strawberries or Raspberries
These berries are low in sugar and high in fiber and Vitamin C. They also contain an enzyme that can help whiten your dog’s teeth. Their deep red color comes from anthocyanins, a powerful class of antioxidants known for their anti-inflammatory properties.
Layer 2: Mango or Cantaloupe
This orange layer provides a blast of Vitamin A, essential for skin, coat, and eye health. Mango is packed with beta-carotene and potassium. Cantaloupe is incredibly hydrating and rich in vitamins. Important: Always remove the rind and seeds from cantaloupe, and the pit and skin from mango.
The Optional Booster: Blueberries
While they don’t create a distinct layer color when blended with goat milk, tossing a few whole blueberries into the white layer adds a potent antioxidant punch. They are one of the most nutrient-dense berries you can offer your dog.
The Cost Analysis: Hacking Your Treat Budget
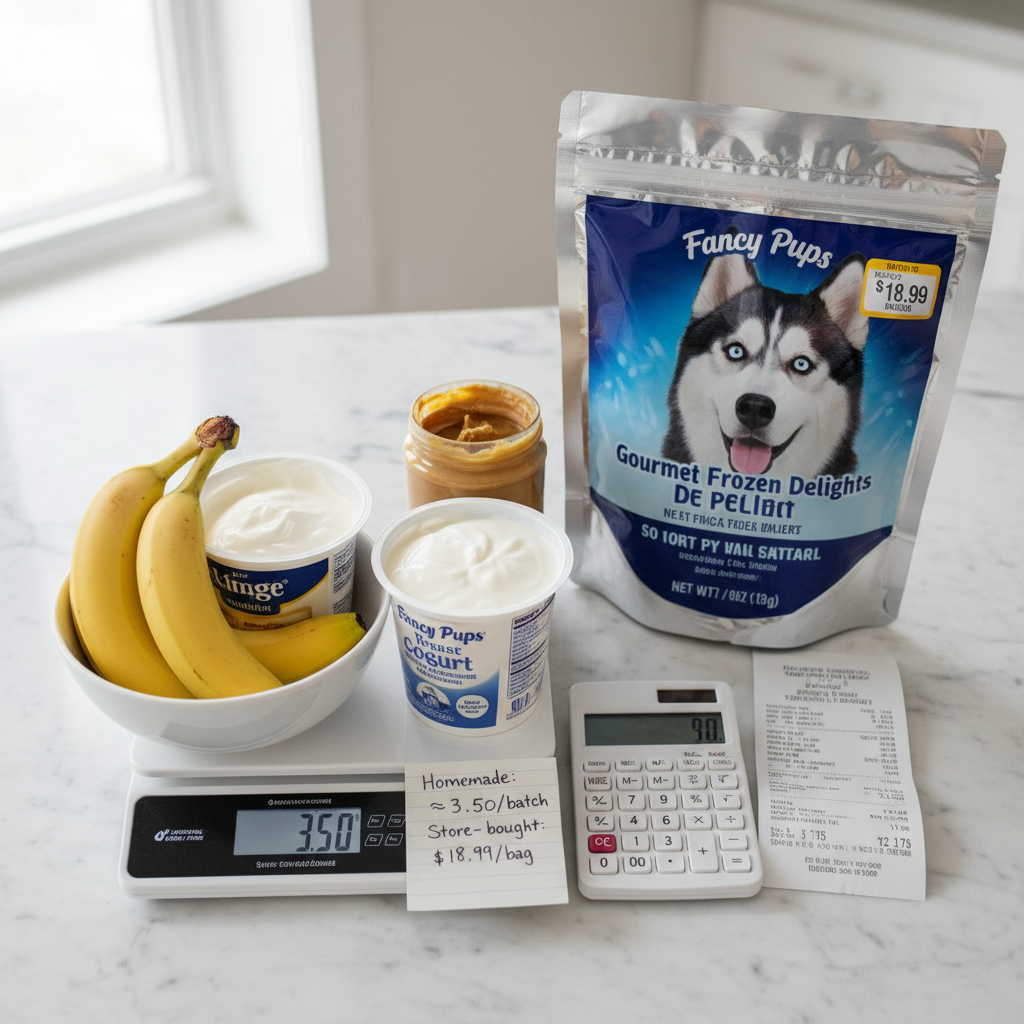
Boutique pet stores love to sell ‘gourmet’ frozen treats for dogs, often charging exorbitant prices for what amounts to little more than flavored ice. Let’s break down the numbers and expose just how much you can save by taking 15 minutes to make your own superior product. The results are staggering.
For this analysis, we’ll compare making a batch of 12 medium-sized pupsicles at home versus buying a popular brand of ‘Doggy Frozen Yogurt’ cups.
| Component | DIY Layered Pupsicles (12 Treats) | Premium Store-Bought (12 Treats) |
|---|---|---|
| Primary Ingredient | 32 oz Plain Goat Milk (~$8.00) | 4-pack of 3.5oz cups, need 3 packs (~$21.00) |
| Fruit Component | 1 cup Frozen Berry/Mango Mix (~$2.50) | ‘Natural Flavoring’ & Fruit Puree (Cost included) |
| Equipment (One-time cost) | Silicone Molds (~$10.00) | N/A |
| Total Cost (First Batch) | $20.50 (including molds) | $21.00 |
| Total Cost (Subsequent Batches) | $10.50 | $21.00 |
| Cost Per Treat | $0.88 | $1.75 |
| The Verdict | Superior ingredients, 50% cheaper long-term, complete control over quality. | Convenient but double the price for often inferior ingredients like rice syrup or tapioca starch. |
Hacker Tip: The freezer aisle is your best friend. Buy large bags of frozen organic fruit when they’re on sale. They are picked at peak ripeness, contain just as many nutrients as fresh, and save you significant money and prep time. You can create endless flavor combinations without breaking the bank.
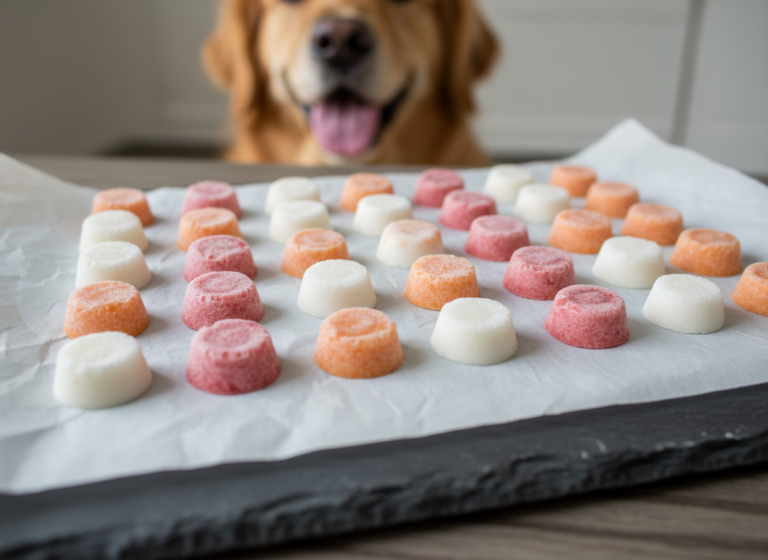
The Recipe: Your Step-by-Step Pupsicle Protocol
This is where the magic happens. The key to perfect layers is patience. You must freeze each layer completely before adding the next. Rushing this step will result in a blended, muddy-looking treat—still nutritious, but not the showstopper we’re aiming for.
Equipment Needed:
- Blender
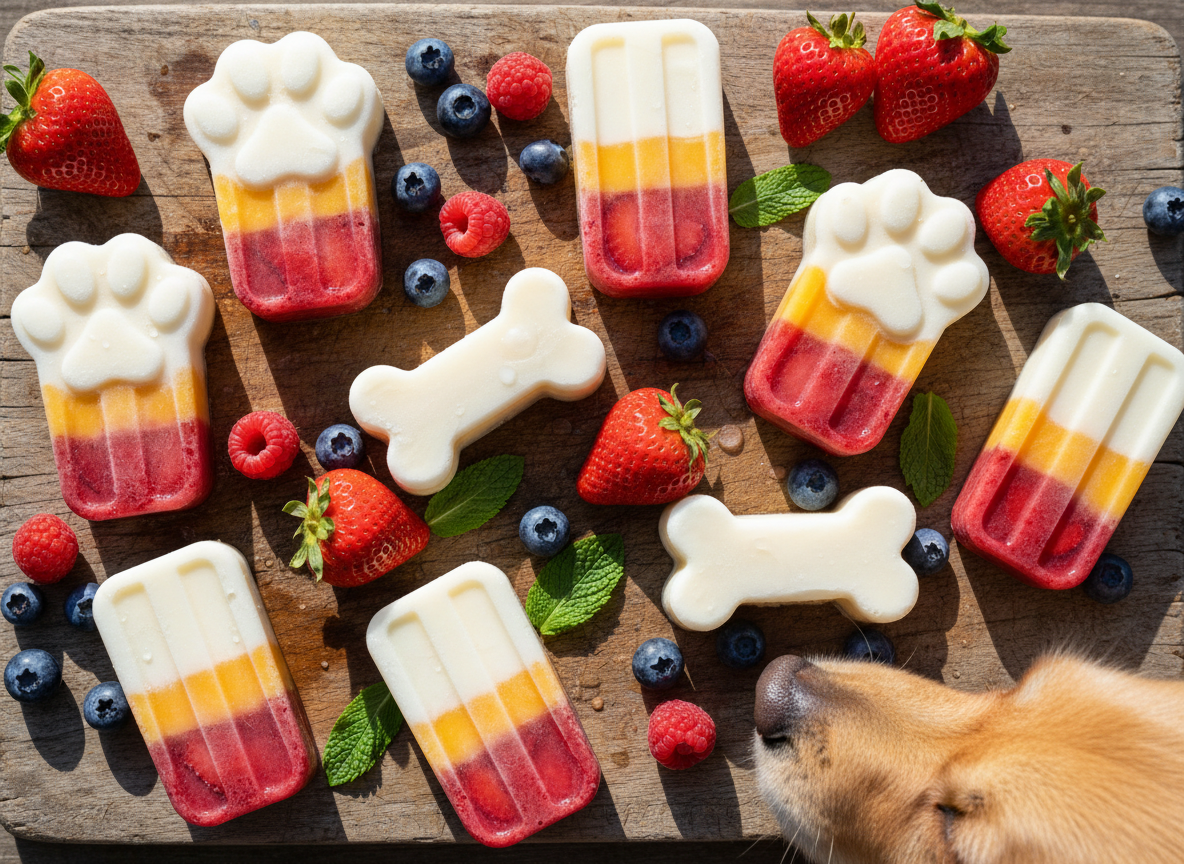
- Silicone molds (paw prints, bones, or simple ice cube trays work)
- Measuring cups
- A small funnel or a measuring cup with a spout for clean pouring
- Baking sheet (to keep molds stable in the freezer)
Ingredients:
- 2 cups Plain, Unsweetened Goat Milk (raw or pasteurized is fine)
- 1/2 cup Strawberries or Raspberries (fresh or frozen)
- 1/2 cup Chopped Mango or Cantaloupe (fresh or frozen)
- Optional: 1/4 cup Blueberries (whole)
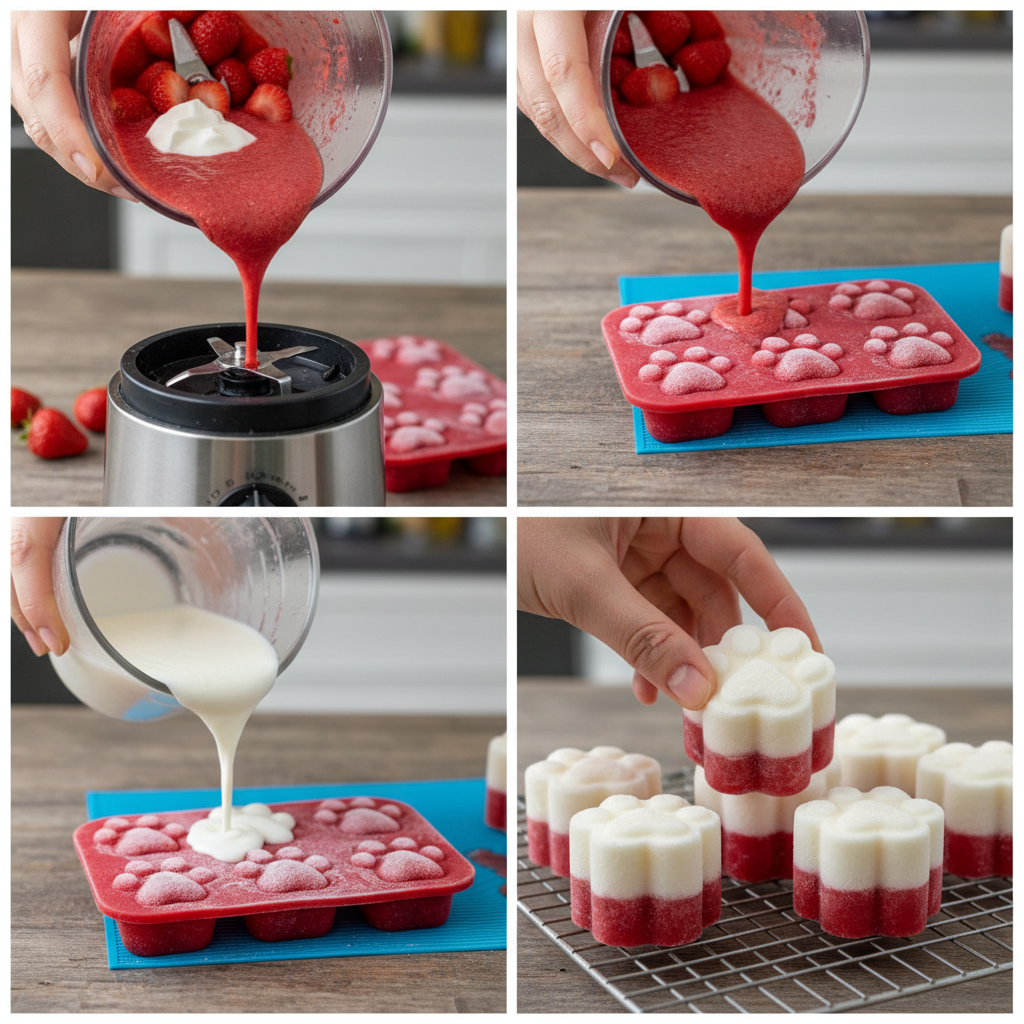
The Protocol:
- Prepare Your Station: Place your silicone molds on a small baking sheet. This makes transferring them to and from the freezer spill-free and much easier.
- Create Layer 1 (Red): In your blender, combine the strawberries/raspberries with 1/4 cup of water or goat milk. Blend until you have a smooth, pourable puree. Carefully fill each mold about 1/3 of the way full.
- First Freeze: Place the tray in the freezer and let it freeze until completely solid. This typically takes 1-2 hours, depending on your freezer’s temperature. Do not proceed until you can touch the surface and it’s hard.
- Create Layer 2 (Orange): Rinse your blender. Combine the chopped mango/cantaloupe with 1/4 cup of water or goat milk and blend until smooth. Once the first layer is frozen solid, carefully pour the orange puree on top, filling the molds to the 2/3 mark.
- Second Freeze: Return the tray to the freezer. Again, wait until this layer is frozen completely solid. This is the most critical step for sharp, defined layers.
- Create Layer 3 (White): Pour the remaining goat milk to fill the molds to the top. If you’re using the optional blueberries, you can drop a few into the liquid goat milk now.
- Final Freeze: Place the tray back into the freezer one last time for at least 3-4 hours, or until the entire pupsicle is rock solid.
- De-mold & Serve: Once frozen, simply pop the pupsicles out of the silicone molds. Serve one to your eager pup and store the rest for later.
Customization & Safety: Advanced Treat Hacking
Once you’ve mastered the basic recipe, you can start innovating. However, with greater creativity comes a greater need for vigilance. Not all human foods are safe for dogs, and some can be lethally toxic. Knowledge is your most important tool.
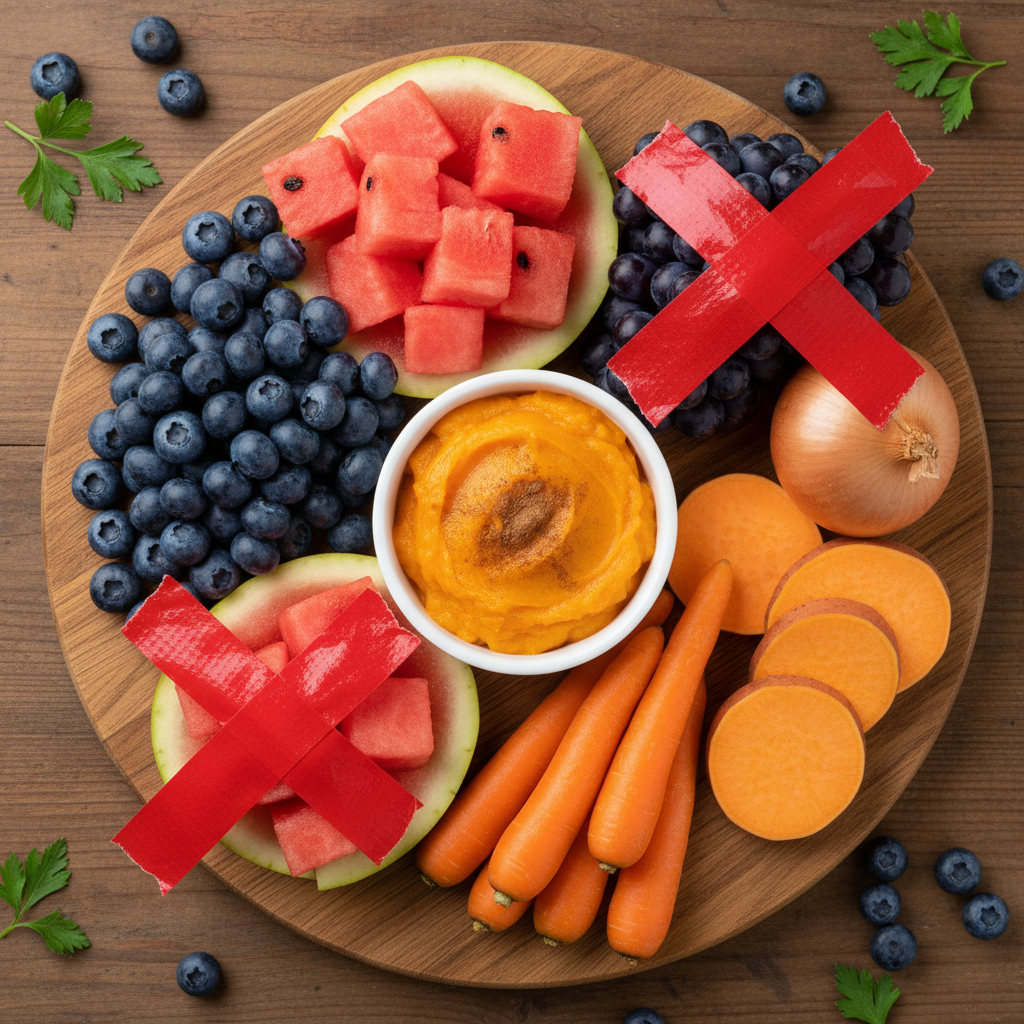
Safe & Creative Add-ins:
- Pure Pumpkin Puree: Not pumpkin pie filling! A swirl of 100% pure pumpkin adds fiber and is excellent for digestive health.
- Chia Seeds: Sprinkle a few into the goat milk layer for a boost of Omega-3 fatty acids, which are great for skin and coat.
- Plain, Unsweetened Yogurt: If goat milk is unavailable, plain Greek yogurt can be a substitute, offering similar probiotic benefits.
- Herbs: A tiny amount of finely chopped parsley or mint can help freshen your dog’s breath.
Enemy Ingredients: A Non-Negotiable ‘Do Not Use’ List
Your dog’s safety is paramount. The following ingredients are toxic and must be avoided at all costs. This is not an exhaustive list; when in doubt, always research or ask your vet.
- Xylitol: A sugar substitute found in many human products (peanut butter, yogurt, etc.). It is extremely toxic to dogs and can cause liver failure and death. READ ALL LABELS.
- Grapes & Raisins: Can cause acute kidney failure.
- Chocolate: Contains theobromine, which is toxic to dogs.
- Onions & Garlic: Can damage red blood cells.
- Macadamia Nuts: Highly toxic, affecting the nervous system.
- Avocado: Contains persin, which can cause vomiting and diarrhea.
Choosing the Right Goat Milk
A final note on your core ingredient. When you’re at the store, you may see several types of goat milk. Always choose the option that is plain and unsweetened. Avoid any products with added sugars, flavors (like vanilla), or artificial sweeteners. Raw goat milk is often found in the freezer section of specialty pet stores or health food stores and is nutritionally superior, but pasteurized goat milk from the dairy aisle is also a safe and effective choice.
Batching & Storage: The Meal Prep Pro’s Guide
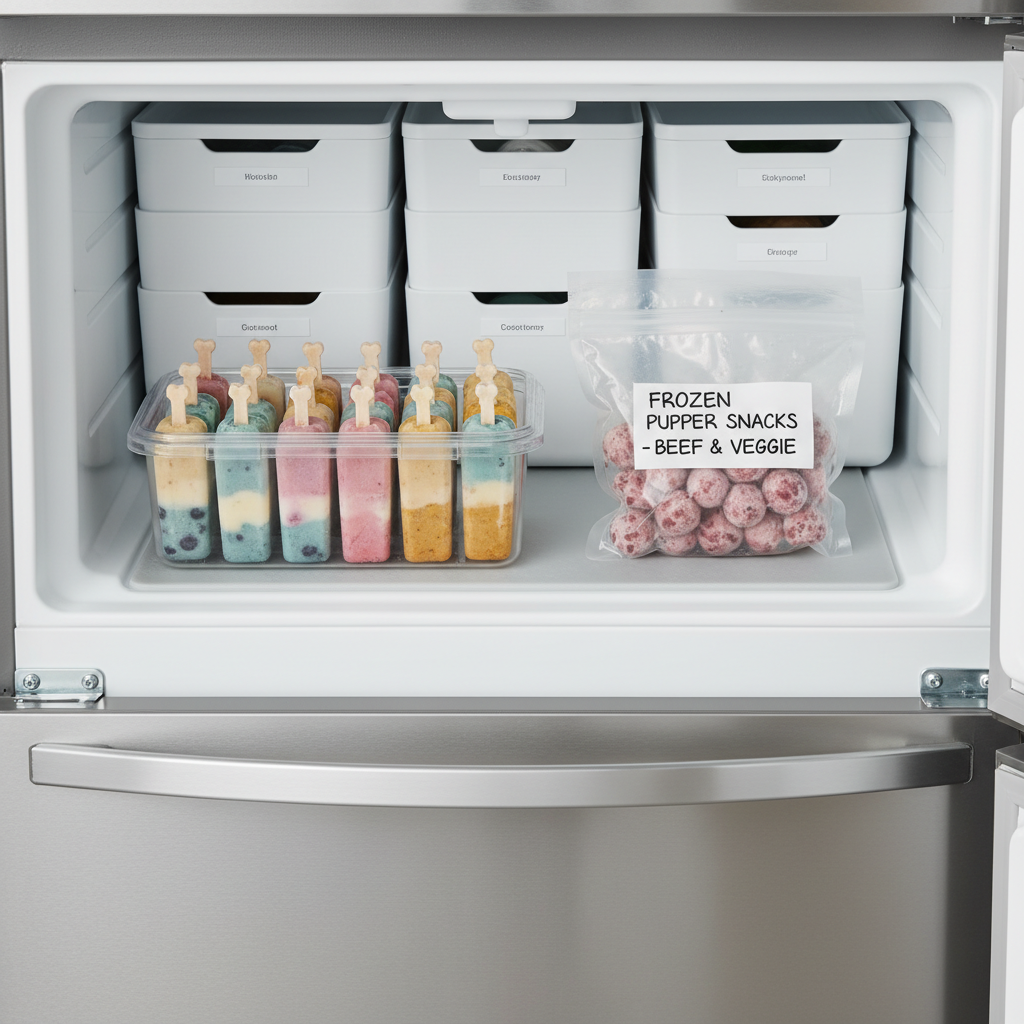
These treats are so easy to make that creating a large batch is the most efficient use of your time. Proper storage is key to maintaining their freshness and preventing freezer burn, which can degrade the texture and taste. A well-stored pupsicle is just as good a month from now as it is today.
Once your pupsicles are fully frozen and de-molded, you need to protect them from the air in your freezer. Air is the enemy; it causes ice crystals to form and can lead to that unpleasant ‘freezer’ taste.
Best Storage Methods:
- Airtight Containers: A glass or BPA-free plastic container with a tight-fitting lid is an excellent option. Layer the pupsicles with sheets of wax paper or parchment paper to prevent them from sticking together into a giant block.
- Freezer-Safe Bags: Heavy-duty, zip-top freezer bags work well. Squeeze out as much air as possible before sealing the bag to create a pseudo-vacuum effect. This is a great space-saving option.
Properly stored, your pupsicles will remain fresh and delicious for up to 3 months in a standard freezer. Be sure to label your container or bag with the date and contents (‘Fruit/Goat Milk Pupsicles – [Date]’) so you can keep track of your inventory.
Insider Secret: For the ultimate in long-term storage, invest in a vacuum sealer. By removing 100% of the air, you completely eliminate the risk of freezer burn. You can seal them in bags of 4-5 treats, creating perfect weekly serving packs. Your treats will last for 6 months or more with this method, maintaining perfect texture and flavor. It’s the ultimate food preservation hack for the serious DIY treat maker.
Conclusion
You now possess the blueprint to create treats that are cheaper, healthier, and infinitely more impressive than anything you can buy in a store. By investing a small amount of time, you’ve taken a powerful step in controlling the quality of your dog’s nutrition. You’ve moved beyond being a mere consumer and have become a creator, providing your dog with functional, wholesome food that supports their well-being from the inside out. So go ahead, make a batch, snap a photo for Instagram, and feel proud of the high-value, love-filled nutrition you’re providing your best friend. They deserve nothing less.