Soft & Chewy Dog Pretzel Recipe (Grain-Free Option)
Walk down any pet store aisle and you’re bombarded with slick marketing for ‘gourmet’ treats that command a premium price. But turn over the bag and what do you find? A laundry list of chemical preservatives, artificial flavors, cheap fillers like corn and soy, and mystery ‘meat meals.’ You’re paying top dollar for industrial byproducts disguised as a wholesome snack. It’s time to stop playing their game. As the Canine Nutrition Hacker, I’m here to show you how to bypass the system, save money, and provide your dog with a treat that’s genuinely healthy and delicious.
This guide will equip you with a foolproof recipe for soft and chewy dog pretzels that you can make in your own kitchen. We’ll break down the cost, expose the truth about commercial treats, and provide a simple, grain-free alternative for sensitive dogs. You are in control of the ingredient list.
IMPORTANT SAFETY DISCLAIMER: I am a canine nutrition analyst, not a veterinarian. This recipe is for supplemental feeding only and should be considered a treat. It is not a complete and balanced meal. Always consult with your veterinarian before introducing new foods into your dog’s diet, especially if they have pre-existing health conditions, allergies, or dietary sensitivities. Crucially, ensure any peanut butter you use is 100% free of Xylitol, which is highly toxic to dogs.
Deconstructing Commercial Treats: The Case for DIY
Before we build, we must deconstruct. The first step in hacking your dog’s nutrition is learning to read an ingredient label like a forensic scientist. Pet food companies are masters of illusion, using clever language to hide low-quality ingredients.
The First 5 Ingredient Rule
The first five ingredients listed on a package make up the bulk of the product. Let’s look at a popular, mid-range commercial dog treat:
- Wheat Flour: A common, cheap binder. Not inherently bad, but often a primary filler.
- Glycerin: A sweetener and humectant used to keep treats soft. It can be derived from plant or animal sources, or from petroleum as a byproduct of soap manufacturing. The source is rarely specified.
- Wheat Gluten: The protein of wheat, used to boost the protein percentage on the label cheaply. It’s a common allergen for many dogs.
- Sugar: Completely unnecessary for a dog’s diet and contributes to obesity and dental problems.
- Chicken (preserved with BHA): Finally, some meat, but it’s often low-quality and preserved with Butylated Hydroxyanisole (BHA), a chemical preservative that is a controversial potential carcinogen.
What you see here is a product built on cheap fillers, sugar, and chemically preserved protein. You’re paying for marketing, not nutrition. By making your own treats, you eliminate every single one of these questionable ingredients and replace them with whole, recognizable foods.
The Canine Hacker’s Cost Analysis: DIY Pretzels vs. Store-Bought
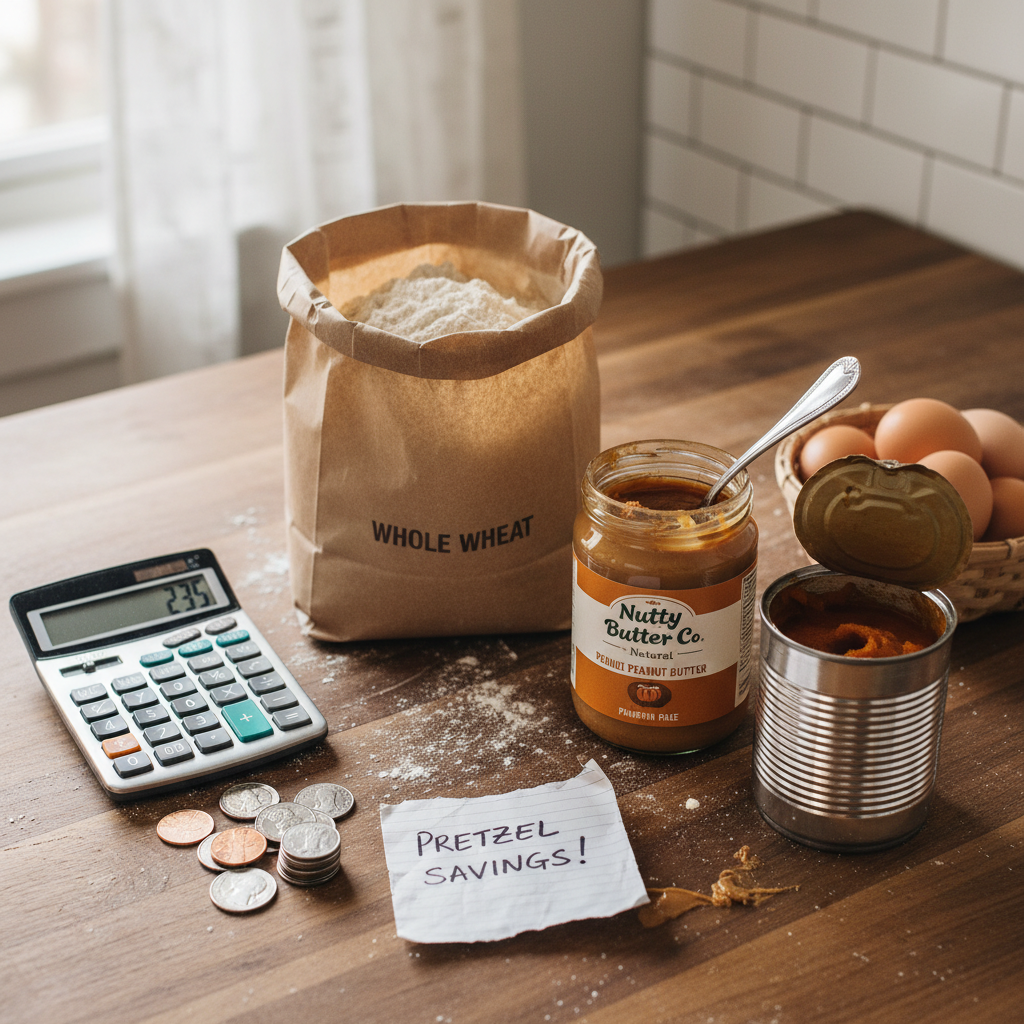
Control over ingredients is the primary benefit of DIY, but the cost savings are a close second. Let’s break down the real cost of making a batch of approximately 30 pretzels versus buying a premium, store-bought equivalent. Prices are approximate and will vary by location and brand.
| Component | DIY Homemade Pretzels (per batch of 30) | Premium Store-Bought Treats (per bag of 30) |
|---|---|---|
| Primary Ingredients | Whole Wheat Flour (~$0.50), Pumpkin Puree (~$1.00), Peanut Butter (~$1.25), Eggs (~$0.50) | Marketed as ‘premium’ or ‘limited ingredient.’ |
| Total Batch Cost | ~$3.25 | ~$15.00 – $20.00 |
| Cost Per Treat | ~$0.11 | ~$0.50 – $0.67 |
| Quality Control | 100% Human-Grade Ingredients | Variable; risk of fillers and preservatives |
| Verdict | Massive cost savings with superior ingredient quality. | Convenient but significantly more expensive for often lower-quality ingredients. |
Hacker Tip: Buy your core ingredients like flour and oats in bulk. Canned pumpkin is cheapest after the fall holidays—stock up then. This simple strategy can cut your per-treat cost by another 30-50% over the year.
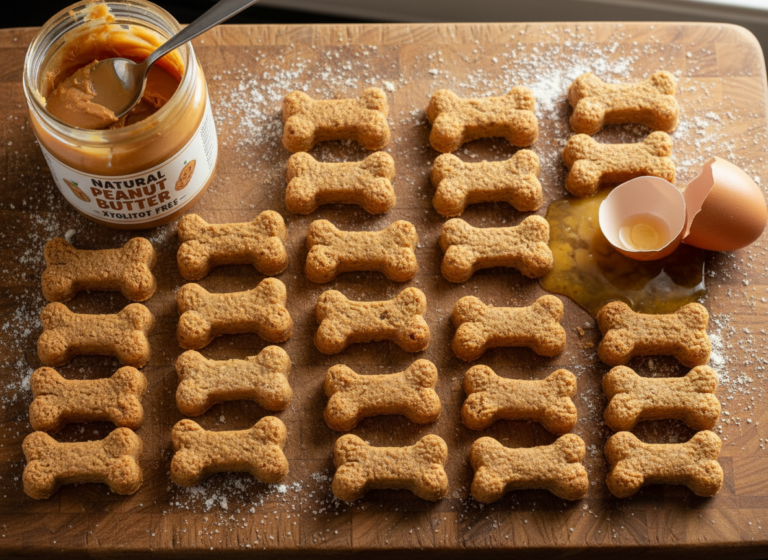
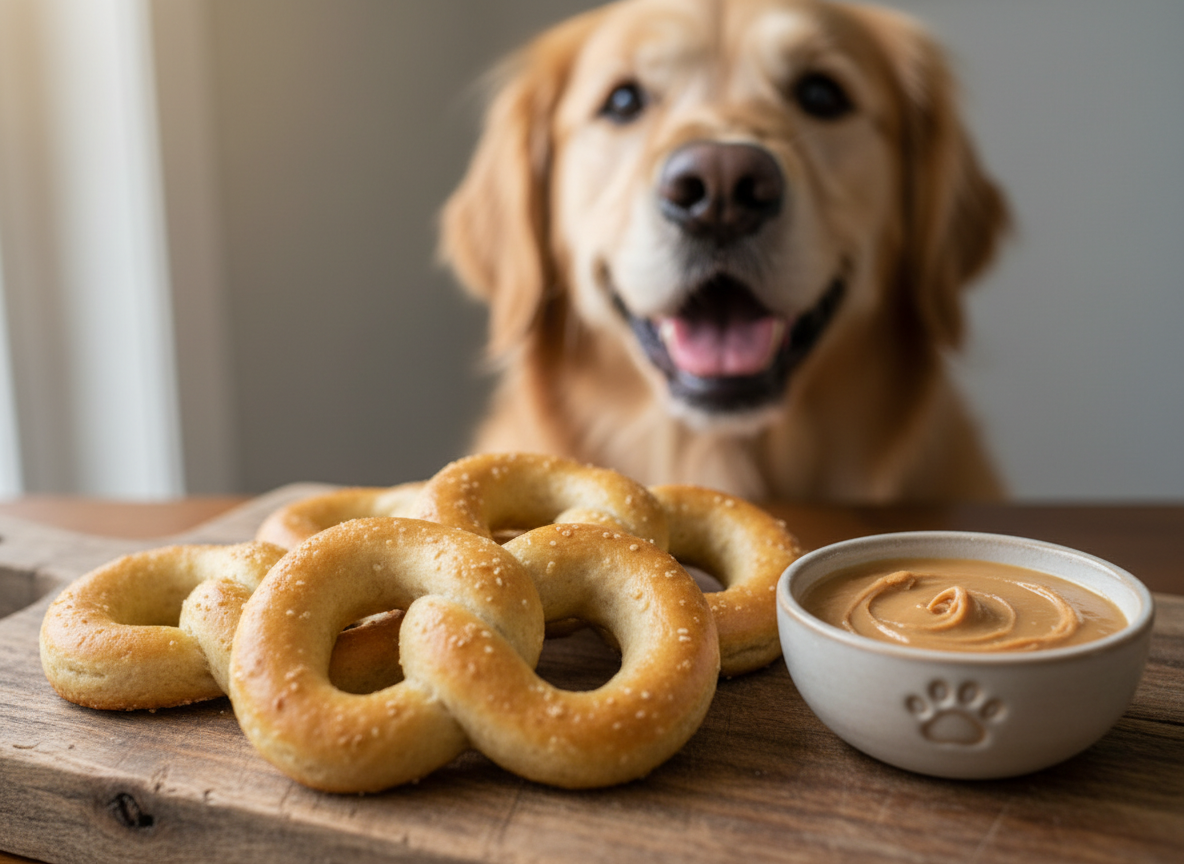
The Ultimate Soft & Chewy Dog Pretzel Blueprint
This is the core recipe. It’s simple, adaptable, and approved by my own discerning canine test panel. We will cover the classic recipe first, followed by the grain-free modification.
Required Equipment
- Large mixing bowl
- Measuring cups and spoons
- Whisk or wooden spoon
- Rolling pin (optional, hands work fine)
- Baking sheets
- Parchment paper
Core Ingredients (Classic Recipe)
- 2 ½ cups of Whole Wheat Flour (plus more for dusting)
- 1 cup of Pumpkin Purée (ensure it’s 100% pure pumpkin, not pie filling)
- ½ cup of Natural Peanut Butter (CRITICAL: Must be XYLITOL-FREE)
- 2 large Eggs
- ½ teaspoon of Cinnamon (optional, but good for joint health)
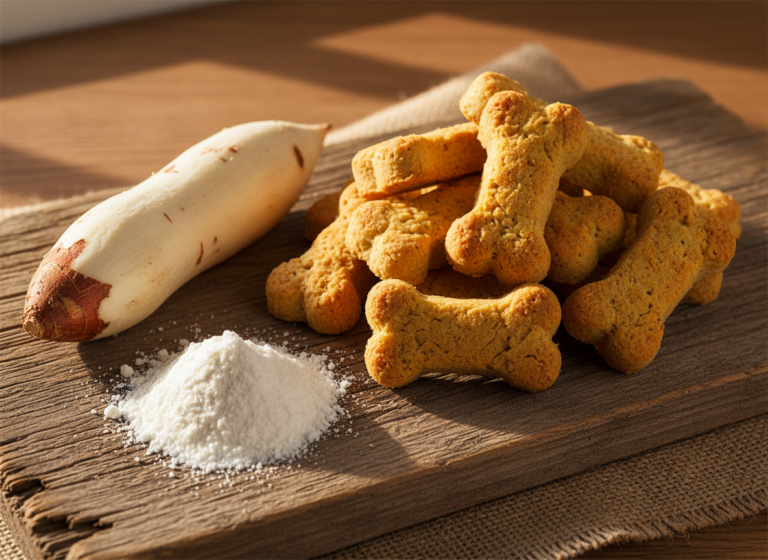
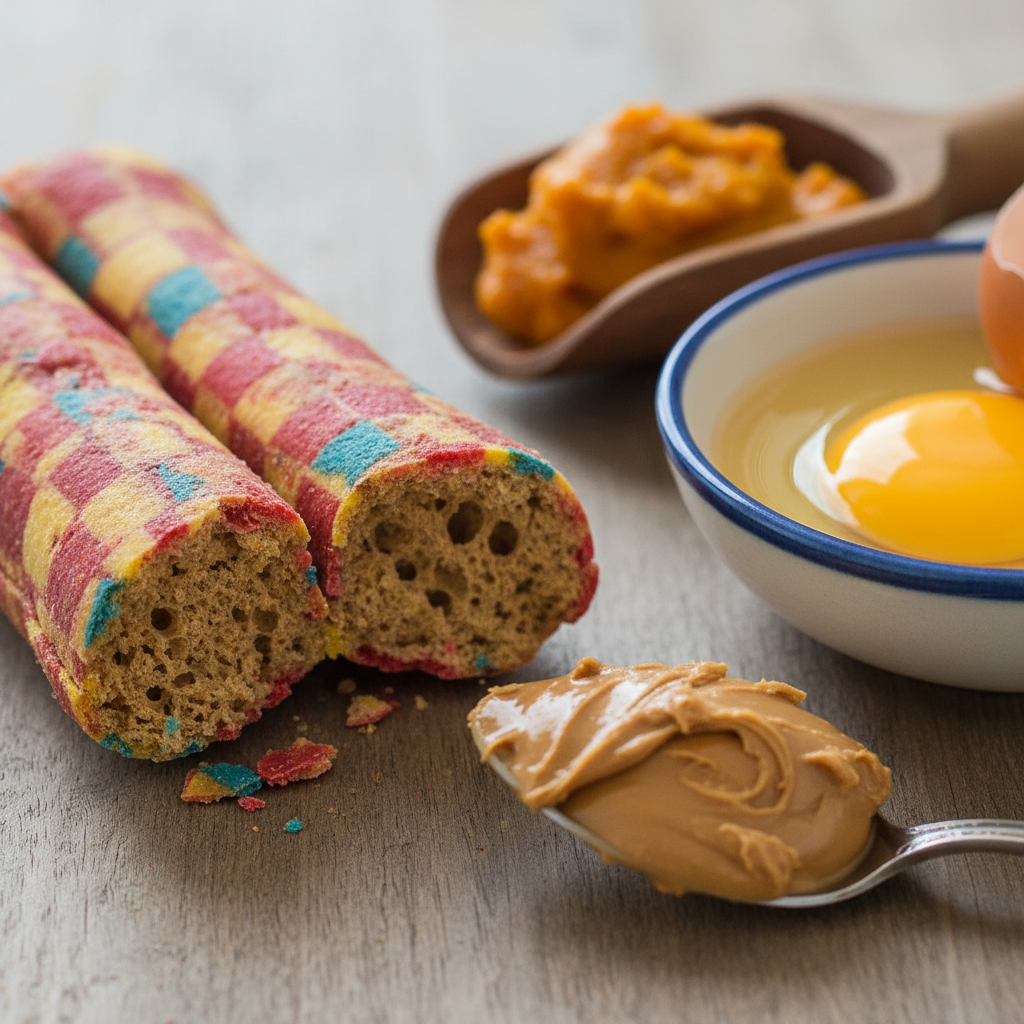
The Grain-Free Modification
For dogs with grain sensitivities, the fix is simple. Swap the whole wheat flour for a grain-free alternative. The texture may be slightly different, but the result is just as delicious.
- Replace the 2 ½ cups of whole wheat flour with one of the following:
- 2 ½ cups of Chickpea Flour (Garbanzo Bean Flour): High in protein and fiber. This is my top recommendation.
- 3 cups of Almond Flour: A low-carb option, but it is more expensive and calorie-dense. You may need a bit more as it absorbs less liquid.
- 2 ½ cups of a commercial grain-free all-purpose flour blend.
Step-by-Step Baking Instructions: Perfect Pretzels Every Time
Follow these steps precisely for a perfect batch. The process is forgiving, so don’t be afraid to get your hands dirty. This is a great activity to do with kids.
- Preheat & Prep: Preheat your oven to 350°F (175°C). Line two large baking sheets with parchment paper to prevent sticking.
- Combine Wet Ingredients: In a large bowl, whisk together the pumpkin purée, peanut butter, and eggs until smooth and well-combined.
- Combine Dry Ingredients: In a separate, smaller bowl, mix the flour (either whole wheat or your grain-free choice) and the optional cinnamon.
- Mix Dough: Gradually add the dry ingredients to the wet ingredients, mixing with a wooden spoon until a stiff dough begins to form.
- Knead the Dough: Turn the dough out onto a lightly floured surface. Knead for 3-5 minutes until it is smooth and no longer sticky. If the dough is too wet, add flour one tablespoon at a time. If it’s too dry, add a tablespoon of water.
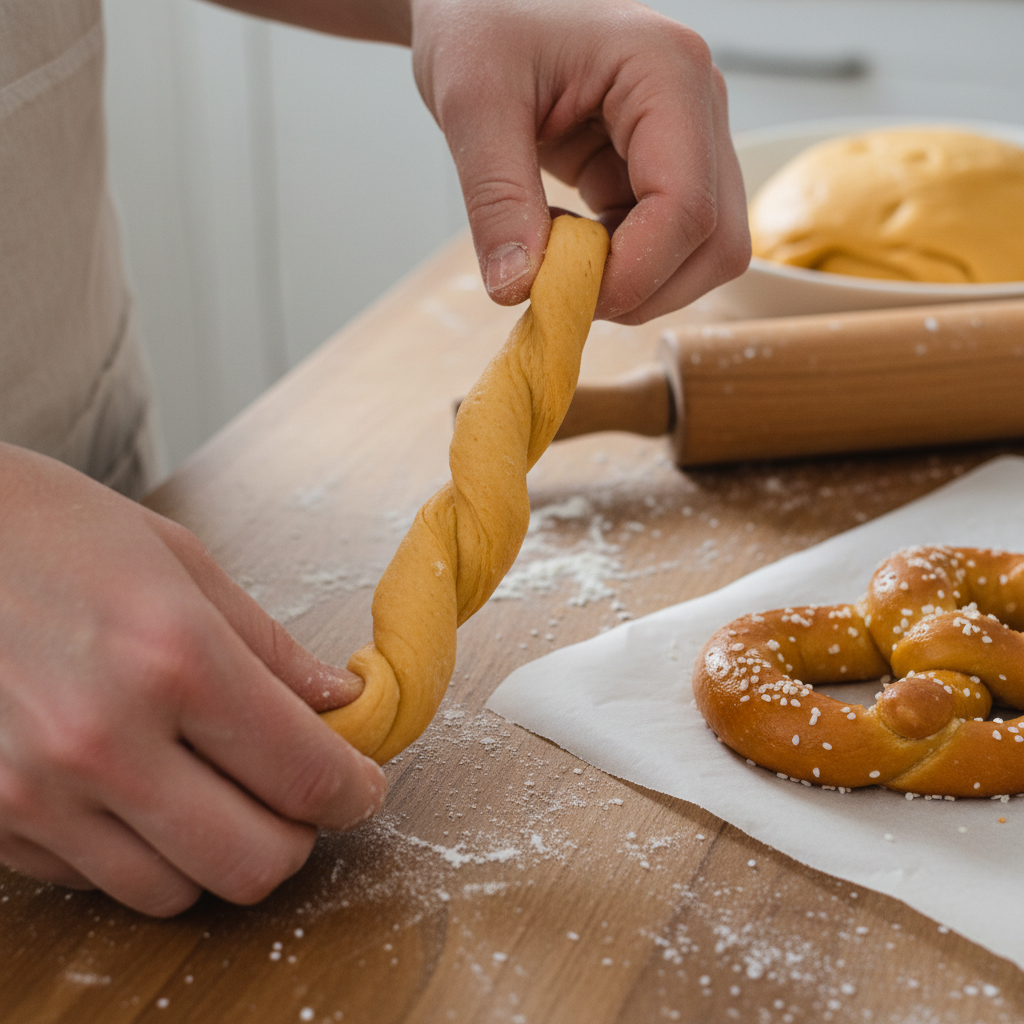
- Shape the Pretzels: Take a small portion of dough (about 2 tablespoons) and roll it into a thin rope, about 8-10 inches long. Twist the rope into a classic pretzel shape and place it on your prepared baking sheet. Repeat with the remaining dough.
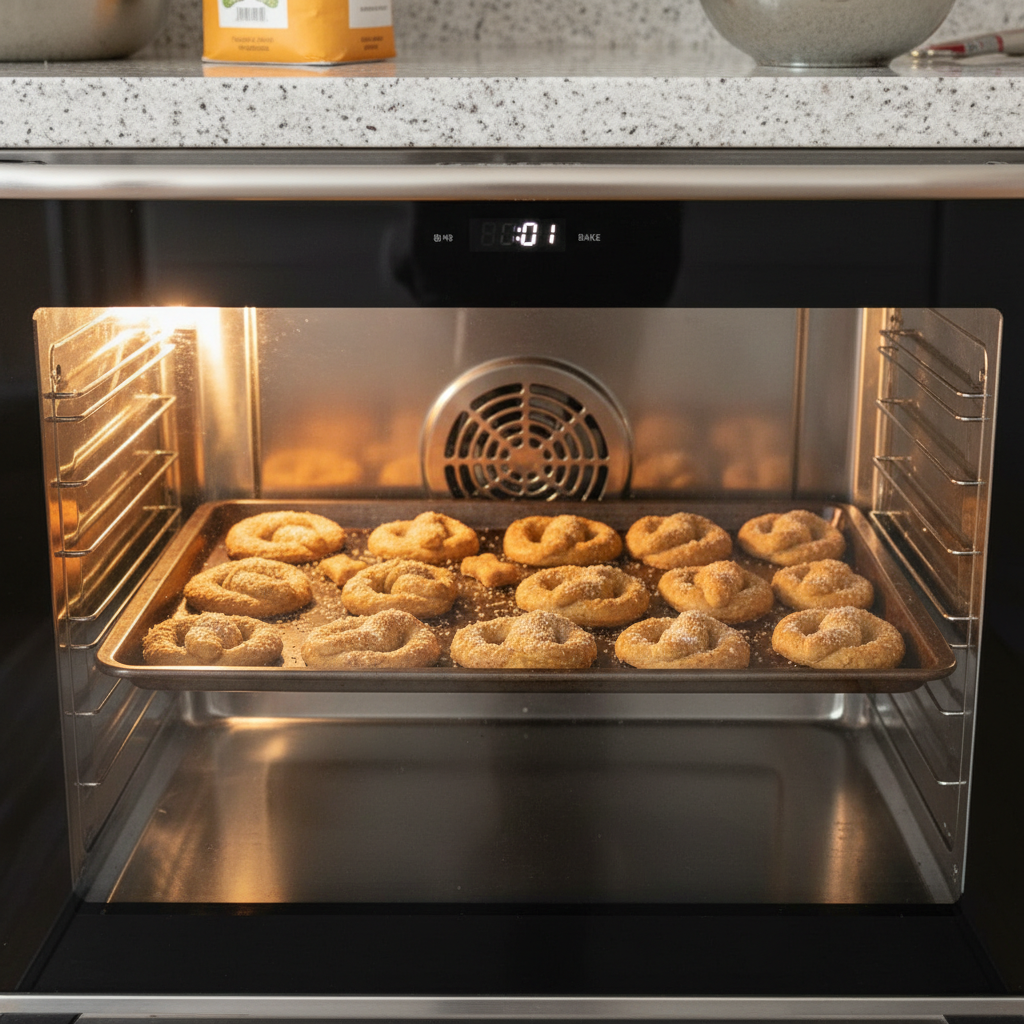
- Bake to Perfection: Bake for 20-25 minutes, or until the pretzels are firm and lightly golden on the bottom.
- Cool Completely: Let the pretzels cool completely on the baking sheet before serving or storing. They will harden slightly as they cool but will retain a soft, chewy center.
Hacker Tip: For a shiny, professional-looking finish, create an egg wash by whisking one egg with a tablespoon of water. Lightly brush this mixture over the pretzels before they go into the oven. It adds zero nutritional value but makes them look like they came from a gourmet bakery.
Storage & Shelf-Life: The Batch Cooking Advantage
One of the best things about this recipe is its suitability for batch cooking. Since these treats contain no artificial preservatives, proper storage is critical to maintain freshness and prevent mold.
Short-Term Storage (Refrigerator)
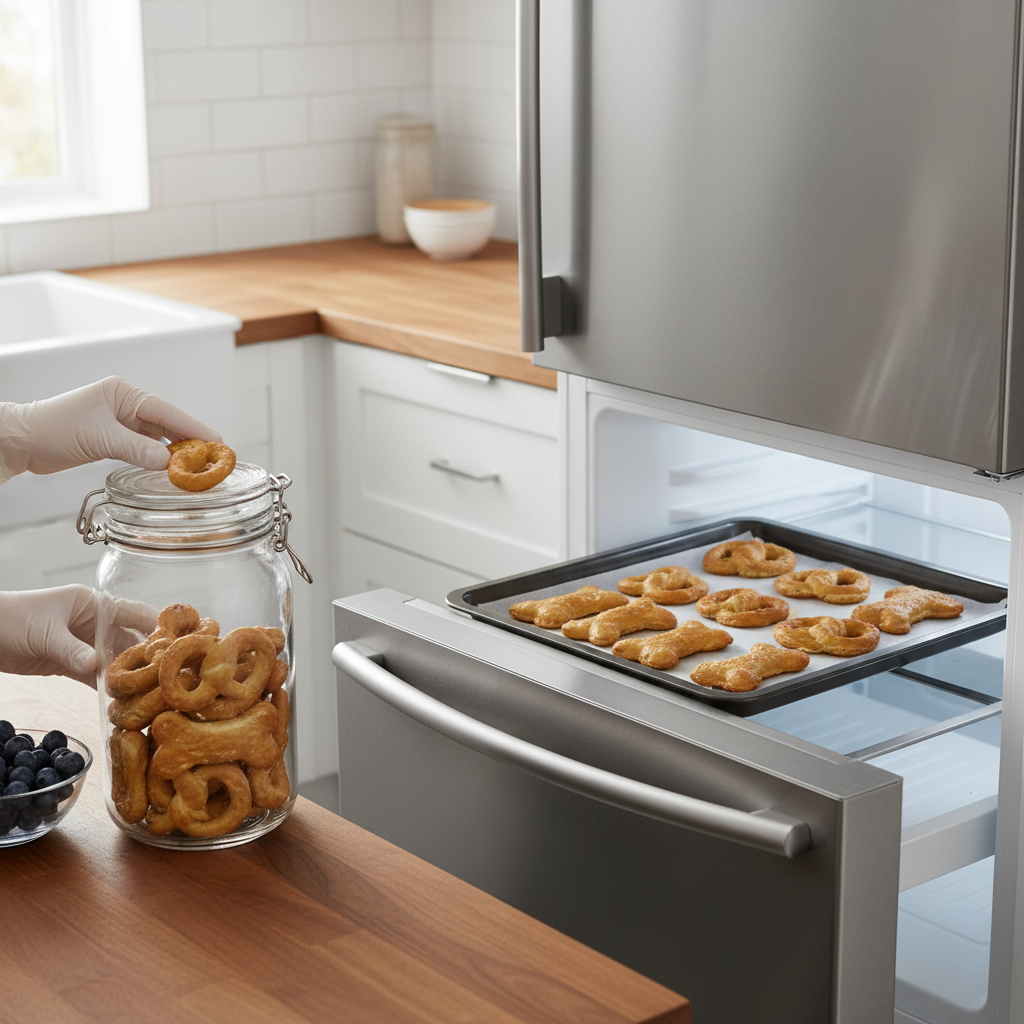
Once the pretzels are completely cool, place them in an airtight container. They can be stored in the refrigerator for up to 7-10 days. The cool temperature will prevent spoilage from the fresh ingredients like pumpkin and egg.
Long-Term Storage (Freezer)
This is the ultimate hacker move for long-term savings and convenience.
- Arrange the cooled pretzels in a single layer on a baking sheet.
- Place the sheet in the freezer for 1-2 hours, or until the pretzels are frozen solid. This is called ‘flash freezing’ and prevents them from sticking together.
- Transfer the frozen pretzels into a labeled freezer-safe bag or container.
- They will keep in the freezer for up to 3 months.
You can then pull out a few pretzels at a time to thaw at room temperature for about 20-30 minutes before serving. This ensures you always have a fresh, healthy, and safe treat on hand without any of the last-minute effort.
Conclusion
You’ve now successfully hacked your dog’s treat jar. You’ve replaced overpriced, low-quality commercial snacks with a wholesome, delicious, and incredibly cost-effective alternative. You have complete control over every ingredient that goes into your dog’s body, and you’ve likely saved a significant amount of money in the process. This is more than just a recipe; it’s a new mindset. Scrutinize every label, question every marketing claim, and never be afraid to take your dog’s nutrition into your own hands. That is the essence of being a Canine Nutrition Hacker.