Simple Coconut Oil Dog Treats for a Shiny, Healthy Coat
Walk down any pet store aisle and you’ll be bombarded with promises: ‘Glossy Coat Formula,’ ‘Skin & Coat Support,’ ‘Silky Shine Bites.’ These boutique treats come with a premium price tag and, often, a laundry list of ingredients you can’t pronounce. The truth? You’re paying for marketing, fillers, and a minuscule amount of the active ingredients that actually work. It’s time to stop guessing and start taking control.
As the Canine Nutrition Hacker, I dissect labels and expose the fluff. The secret to a vibrant, healthy coat isn’t a complex, factory-made biscuit; it’s often found in simple, powerful whole foods. At the top of that list is organic, virgin coconut oil—a true superfood for canines. This guide will not only give you a ridiculously simple, 3-ingredient recipe but will also break down the science and the cost, proving that you can provide superior nutrition for your dog without emptying your wallet.
SAFETY DISCLAIMER: I am a canine nutrition analyst, not a veterinarian. The information provided here is for educational purposes only. These treats are intended for supplemental feeding and should not replace a balanced diet. Always consult with your veterinarian before introducing new foods, especially if your dog has a history of pancreatitis, is overweight, or has other health conditions. Introduce coconut oil slowly and in small amounts to monitor for any adverse reactions.
Deconstructing the Hype: The Science Behind Coconut Oil’s Shine Factor
Before we get to the recipe, you need to understand why this works. We don’t operate on trends; we operate on data. The power of coconut oil lies in its unique chemical structure. Unlike other fats, it’s packed with Medium-Chain Triglycerides (MCTs), with over 50% of its fatty acid content being Lauric Acid.
Why MCTs Are a Dog’s Best Friend
MCTs are metabolized differently than the long-chain fatty acids found in many other oils. They are absorbed directly from the gut into the liver, where they are quickly converted into energy. This efficient process means less fat is stored and more is used for cellular fuel. But the benefits go far beyond simple energy:
- Skin Barrier Fortification: The fatty acids in coconut oil help to strengthen the skin’s lipid barrier. A stronger barrier retains moisture more effectively and protects against environmental allergens and pathogens, reducing dryness, itchiness, and flaky skin from the inside out.
- Anti-Inflammatory & Antimicrobial Properties: Lauric acid is a powerhouse. When ingested, the body converts it into a compound called monolaurin, which has proven antiviral, antibacterial, and antifungal properties. This can help manage yeast overgrowth and minor skin infections that lead to a dull, unhappy coat.
- Improved Nutrient Absorption: A healthy gut is the foundation of a healthy coat. MCTs can support gut health, which in turn improves the absorption of fat-soluble vitamins (like Vitamin E) and other minerals essential for hair follicle health and growth.
A Word of Caution: The Dosage Protocol
Power requires respect. Coconut oil is a fat, and too much of a good thing can lead to problems. Overconsumption can cause greasy stools, diarrhea, or, in susceptible breeds, increase the risk of pancreatitis—a serious inflammation of the pancreas. The golden rule is start low and go slow. We will cover specific dosage protocols later, but never introduce a large amount of coconut oil into your dog’s diet overnight.
The Bottom Line: Exposing the True Cost of ‘Premium’ Treats
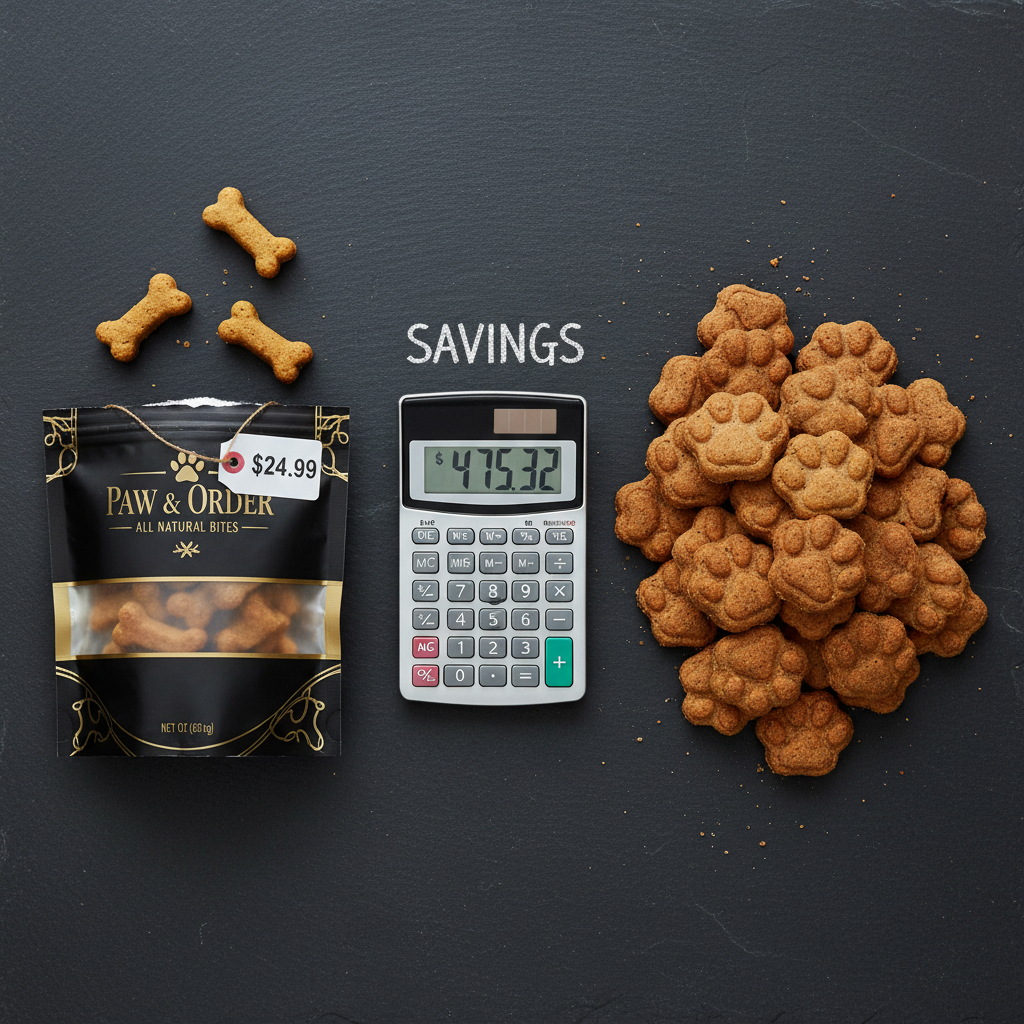
Let’s run the numbers. The ’boutique’ pet industry thrives on your desire to give your dog the best, and they price their products accordingly. A small bag of ‘Skin & Coat’ treats can easily cost $10-$15. But what are you actually paying for? Let’s break it down.
| Treat Type | Primary Ingredients | Approx. Cost Per Ounce | The Hacker’s Verdict |
|---|---|---|---|
| Boutique ‘Shiny Coat’ Bites | Pea Flour, Potato, Chicken Meal, Glycerin, Coconut Oil | $2.50 – $4.00 | You’re paying for cheap fillers like pea flour and potato. The ‘active ingredient’ is often far down the list. |
| Grain-Free ‘Wellness’ Chews | Chickpeas, Tapioca Starch, Salmon, Coconut Glycerin, Flaxseed | $2.00 – $3.50 | Slightly better, but still heavy on starches. The cost is inflated by marketing and complex formulas. |
| DIY Coconut Oil Treats | Organic Coconut Oil, Oat Flour | $0.45 – $0.70 | You control 100% of the ingredients. No fillers, no preservatives, no mystery meals. The savings are massive. |
The analysis is clear. By making these treats yourself, you’re not just saving money—you’re providing a purer, more potent product. A 16oz jar of quality organic virgin coconut oil costs around $10 and will make hundreds of treats. The oat flour can be made by simply grinding rolled oats from your pantry. The total cost is laughably low compared to the commercial equivalent. You’re looking at a potential savings of over 80%.
Insider Secret: Buy your organic virgin coconut oil from the grocery store, not the pet store. Look for large tubs in the baking or health food aisle. It’s the exact same product, often at a significantly lower price point per ounce than the pet-branded, smaller jars.
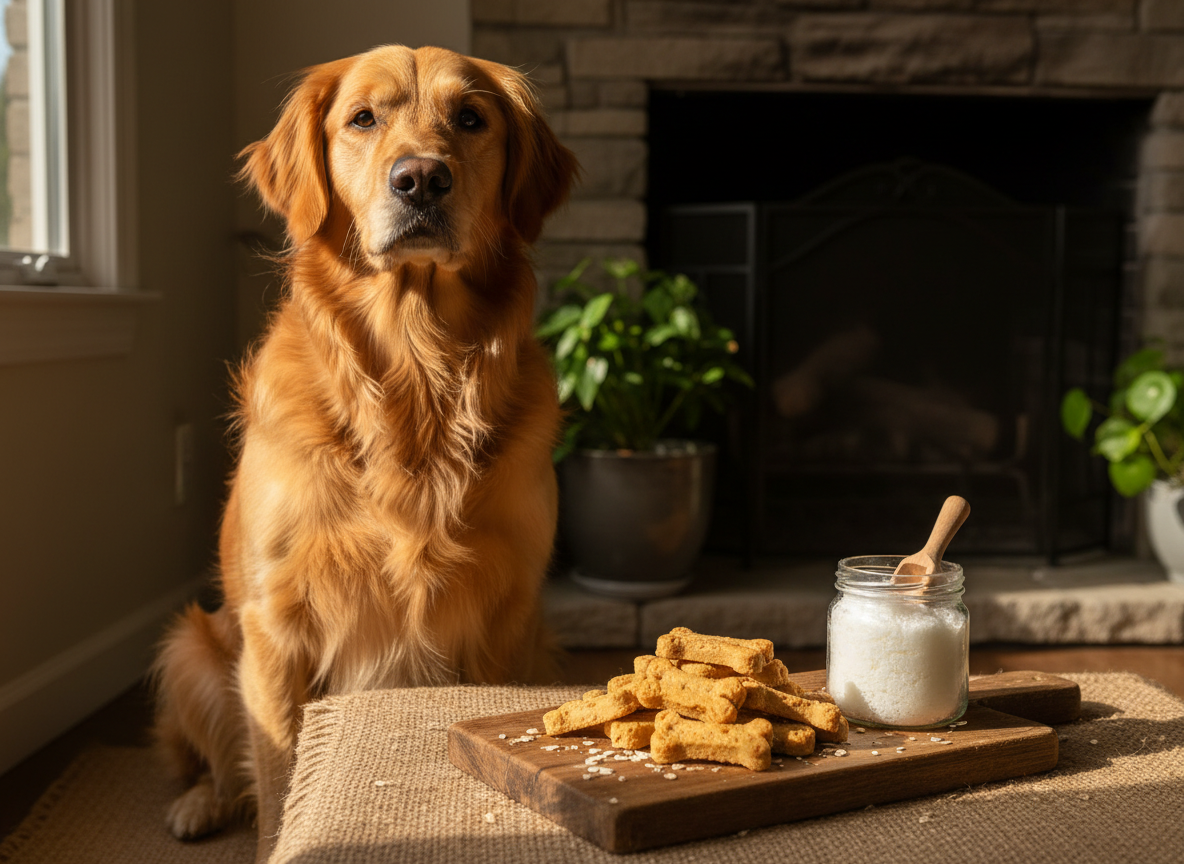
The Canine Nutrition Hacker’s 3-Ingredient Shiny Coat Treat Blueprint
This isn’t complicated. This is about efficiency and purity. We use three simple ingredients to create a powerful, coat-boosting treat your dog will love. Remember to ensure all ingredients are free of xylitol, a sweetener that is highly toxic to dogs.
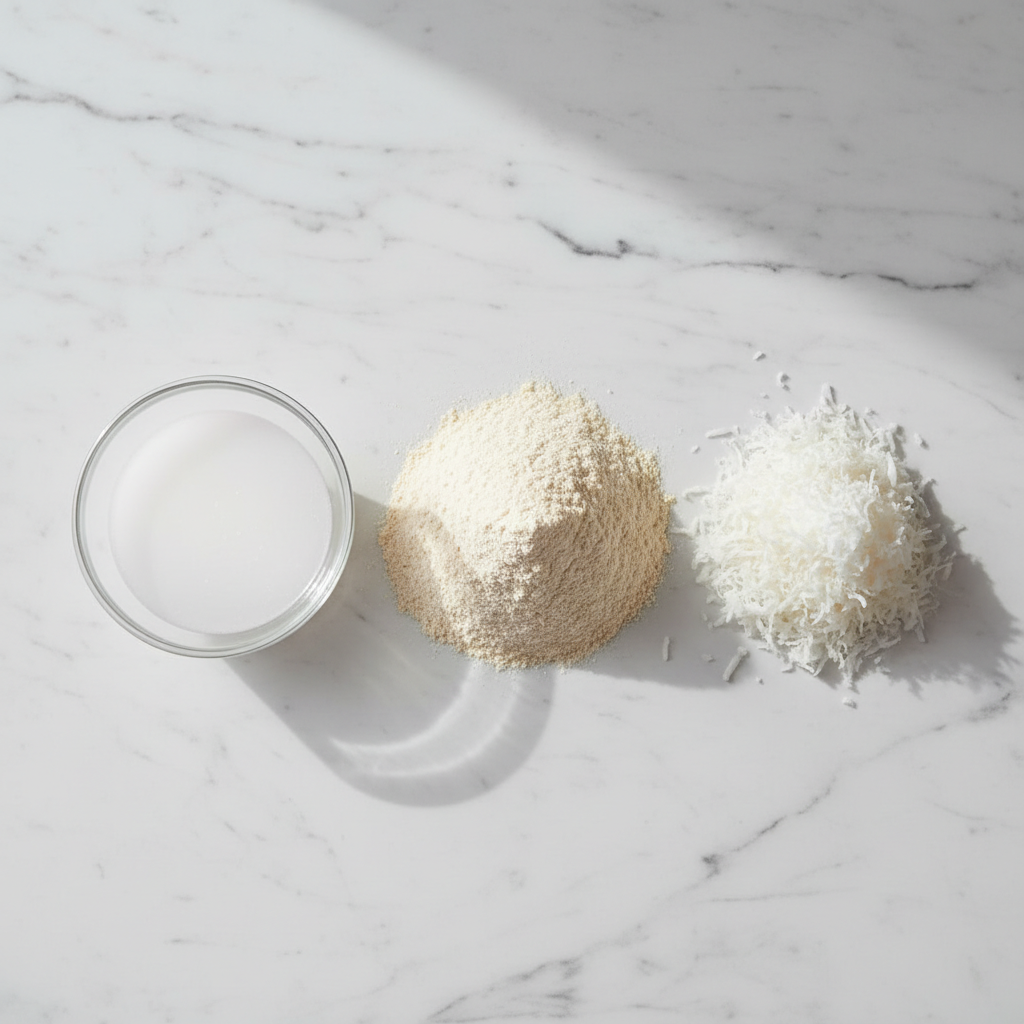
Core Components:
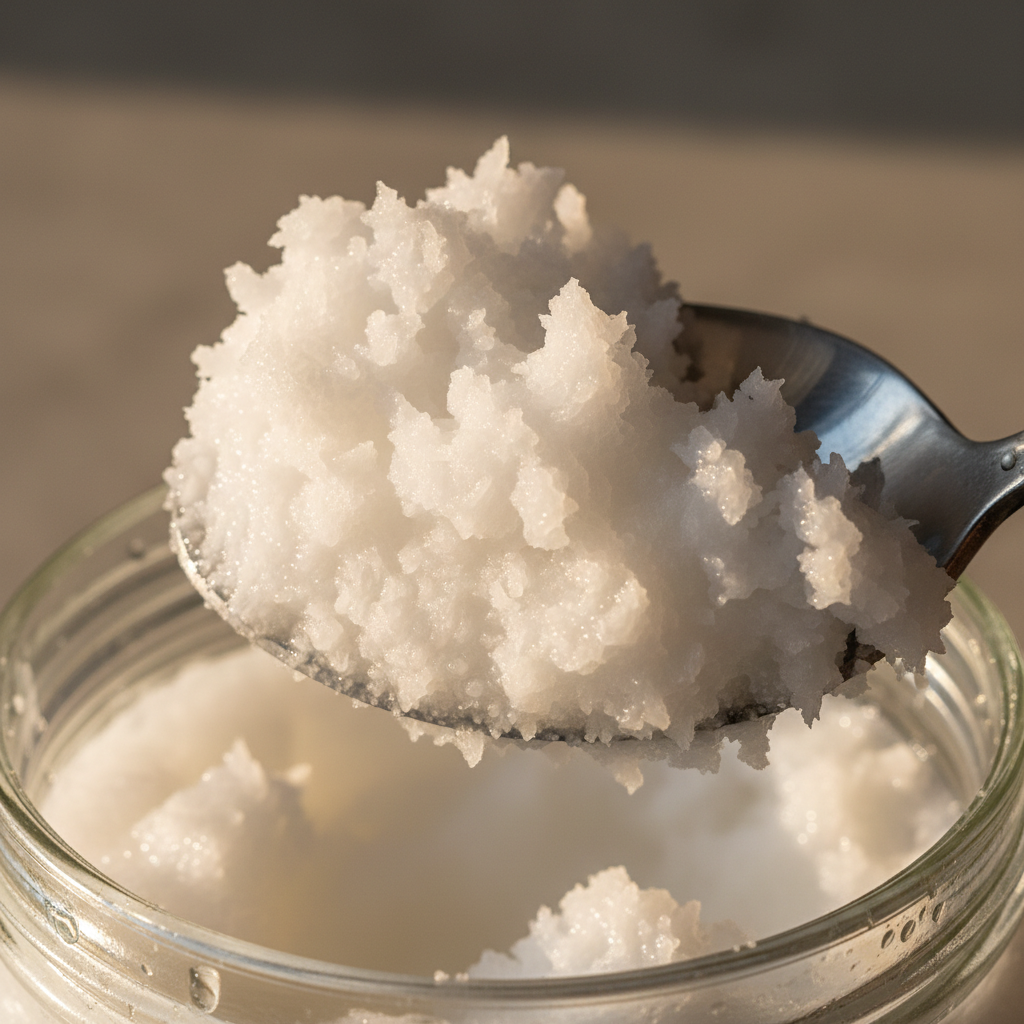
- 1 cup Organic, Virgin, Cold-Pressed Coconut Oil: This is the star of the show. Don’t skimp on quality here. ‘Virgin’ means it’s less processed and retains more nutrients.
- 1/2 cup Oat Flour: A fantastic binder and a source of soluble fiber. You can buy oat flour or make your own by simply blending rolled oats in a blender until fine. Ensure it’s certified gluten-free if your dog has sensitivities.
- 2 Tablespoons Unsweetened, Finely Shredded Coconut (Optional): This adds texture and a bit more coconut flavor. Make absolutely sure it’s unsweetened.
The Protocol (Recipe Steps):
- Melt the Base: Gently melt the coconut oil in a small saucepan over low heat or in the microwave in short bursts. You just want it to be liquid, not hot.
- Combine Ingredients: In a small bowl, combine the oat flour and optional shredded coconut. Pour the melted coconut oil over the dry ingredients.
- Mix Thoroughly: Stir the mixture until it’s well combined and forms a thick, paste-like consistency. It should be smooth with no dry clumps of flour.
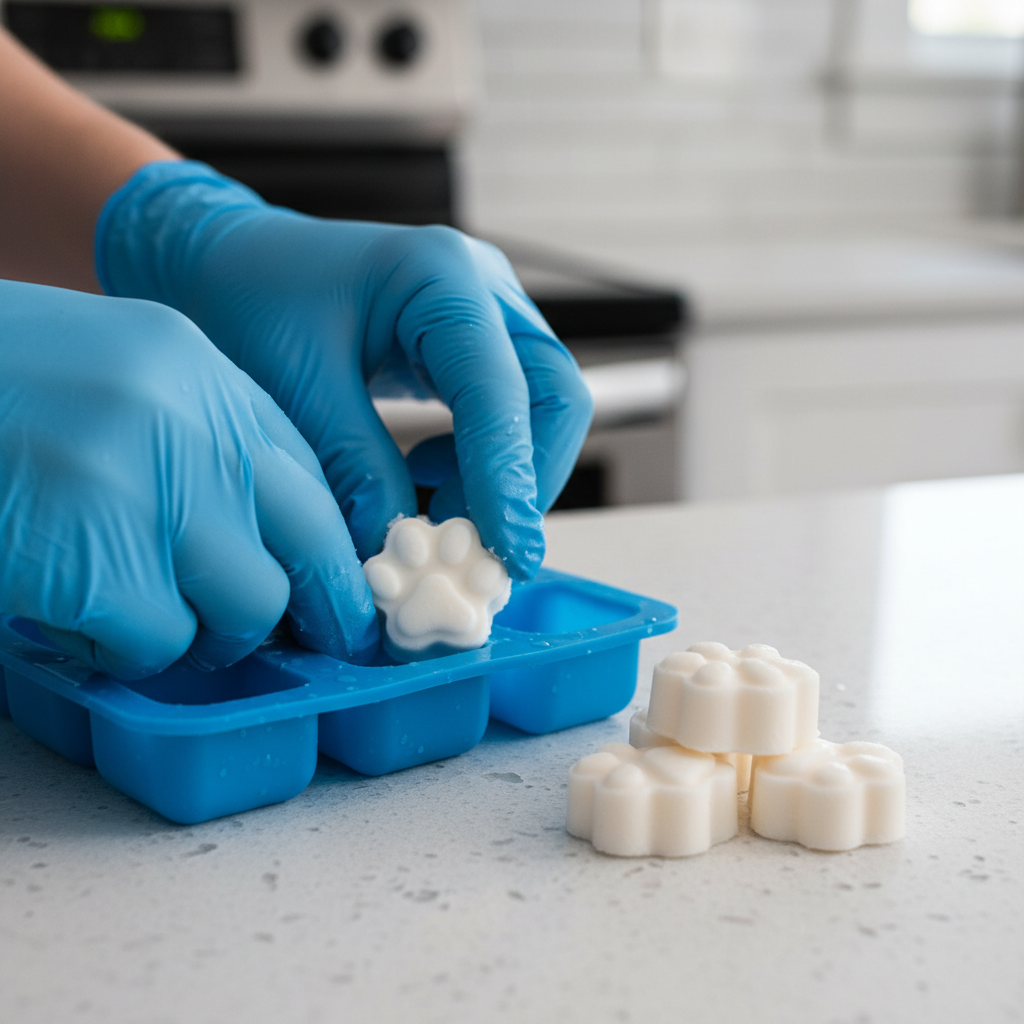
- Portion and Form: Spoon the mixture into silicone molds. Paw prints or small bone shapes work great and help with portion control. If you don’t have molds, you can drop small spoonfuls onto a parchment-lined baking sheet.
- Chill to Set: Place the molds or baking sheet into the refrigerator for at least 30-60 minutes, or until the treats are completely firm.
Optional Nutritional Upgrades:
For advanced hackers, consider adding a small amount of one of these for added benefits:
- 1 teaspoon Turmeric: A powerful natural anti-inflammatory.
- 1 tablespoon chopped fresh Parsley: Helps freshen breath.
Advanced Protocols: Maximizing Efficiency and Safety
Making the treats is simple. Storing and dosing them correctly is what separates the novice from the pro. Proper protocol ensures safety, maintains freshness, and makes your life easier.
Batching & Storage Protocol
Your time is valuable. Don’t make a dozen treats; make a hundred. This recipe is easily scaled up. Use multiple silicone mold trays to create a large batch in one session.
- Short-Term Storage: Once firm, pop the treats out of their molds and store them in an airtight container in the refrigerator for up to 2 weeks. Since they are oil-based, they will soften or melt at room temperature.
- Long-Term Storage: For maximum efficiency, place the firm treats on a baking sheet and freeze them solid for an hour. Then, transfer the frozen treats to a freezer bag or container. They will last in the freezer for up to 6 months. You can pull out a week’s supply at a time.
Hacker Tip: Use different shaped silicone molds for different ‘upgraded’ batches. For example, use bone shapes for the plain recipe and paw prints for the version with added turmeric. This prevents mix-ups and allows you to tailor the treats to your dog’s needs for the day.
Critical Dosage Guide
This is the most important part. Do not eyeball this. The recommended starting dosage for coconut oil in a dog’s diet is 1/4 teaspoon per 10 pounds of body weight per day, split between meals. You can slowly work up to a maximum of 1 teaspoon per 10 pounds daily.
You must calculate how much coconut oil is in each treat to dose properly. If your recipe used 1 cup of coconut oil (which is 48 teaspoons) and you made 96 small treats, then each treat contains approximately 1/2 teaspoon of coconut oil.
- Small Dog (10-20 lbs): Start with 1/2 of one treat per day.
- Medium Dog (30-50 lbs): Start with one treat per day.
- Large Dog (60+ lbs): Start with one to two treats per day, spaced out.
Always remember: these treats count towards their total daily fat and calorie intake. Adjust their regular food accordingly to prevent weight gain. Monitor your dog closely for any signs of digestive upset and reduce the amount if needed.
Conclusion
You now possess the blueprint to bypass the overpriced, underperforming commercial treat industry. By investing a few minutes of your time, you’ve created a pure, potent, and incredibly cost-effective supplement that will have a visible impact on your dog’s health and appearance. This is what being a Canine Nutrition Hacker is all about: using knowledge to cut through the marketing noise, taking direct control of your dog’s wellness, and achieving superior results for a fraction of the cost. Stop buying promises in a bag and start building real health in your own kitchen.