DIY Pedialyte: Homemade Electrolyte Water for Dehydrated Dogs
When your dog is suffering from a bout of vomiting, diarrhea, or has overexerted themselves in the heat, dehydration becomes a primary threat. It’s a condition that escalates quickly, robbing their body of essential fluids and minerals known as electrolytes. While your first instinct might be to reach for a commercial rehydration solution, I’m here to tell you there’s a better, cheaper, and cleaner way. As The Canine Nutrition Hacker, I dissect labels and expose the truth behind pet products. Many commercial electrolyte drinks are little more than sugar water with a high price tag.
This guide will empower you to become your dog’s first line of defense against mild dehydration. We will create a simple, effective homemade electrolyte solution using ingredients you likely already have. However, let’s get one thing straight from the start:
SAFETY DISCLAIMER: I am a canine nutrition analyst, not a veterinarian. This recipe is intended for cases of mild dehydration in otherwise healthy dogs. Severe dehydration is a medical emergency that requires immediate professional veterinary care. Always consult your vet before introducing anything new to your dog’s diet, especially if they have underlying health conditions like kidney disease, heart problems, or diabetes. This advice does not replace a professional diagnosis.
The Dehydration Danger Zone: Recognizing the Signs in Your Dog
Before you can intervene, you must become an expert at identifying the enemy. Dehydration is more than just thirst; it’s a systemic failure of the body’s fluid balance, impacting everything from organ function to circulation. A dog can lose a life-threatening amount of water and electrolytes long before their water bowl runs dry, especially after illness or intense exercise. You need to learn to read the physical signs. A vigilant owner is a prepared owner.
Key Indicators of Dehydration:
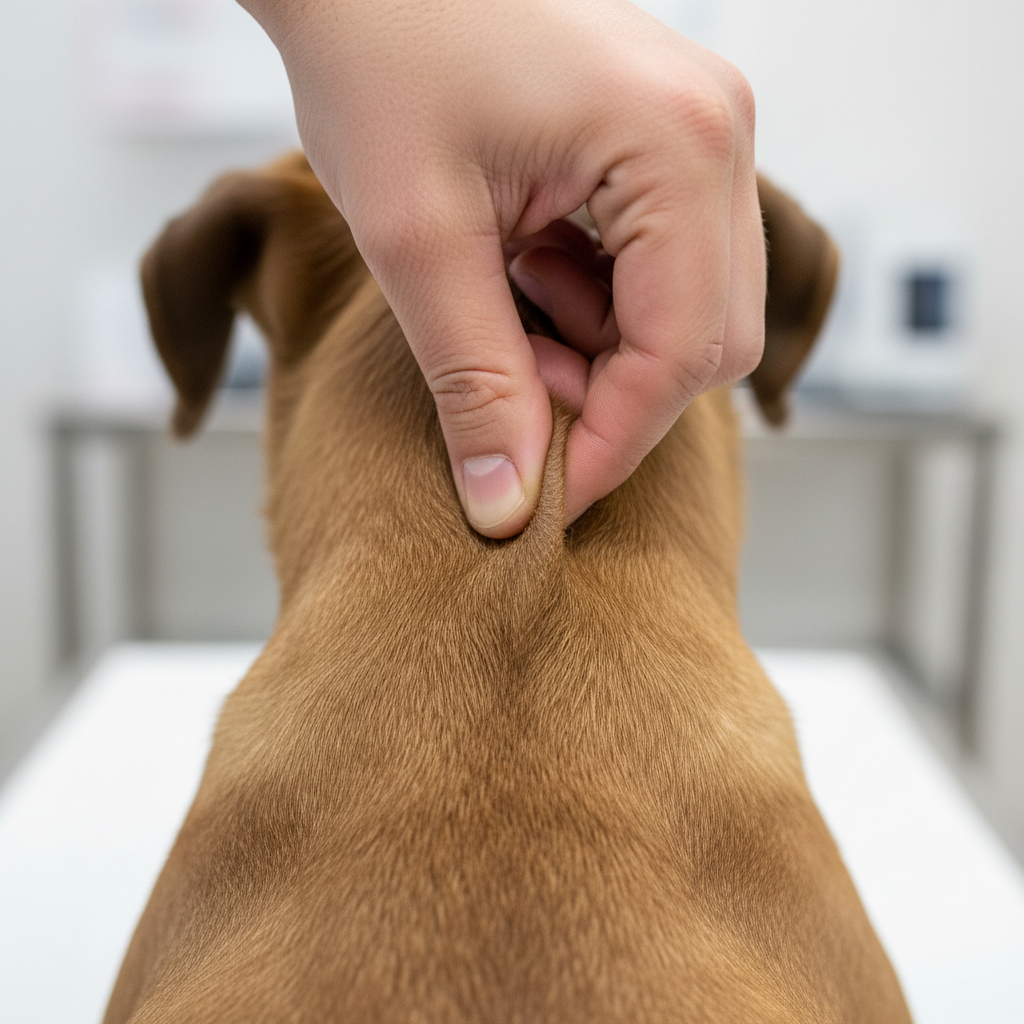
- Loss of Skin Elasticity (Turgor Test): This is the classic field test. Gently grasp the skin on your dog’s back, between the shoulder blades. Lift it up, then release it. In a well-hydrated dog, the skin will snap back into place almost instantly. If the skin returns slowly, or worse, remains in a tented shape, dehydration is likely present. A slow return indicates moderate to severe dehydration.
- Dry, Tacky Gums: A healthy dog’s gums should be slick, wet, and pink. Gently lift your dog’s lip and touch their gums. If they feel sticky or dry to the touch, it’s a clear warning sign. You can also perform a Capillary Refill Time (CRT) test: press your finger gently on the gum until it turns white, then release. The color should return in less than two seconds. A longer refill time signals poor circulation, often linked to dehydration.
- Sunken Eyes: As fluid is lost from the body’s tissues, the fat pads behind the eyes can shrink, causing the eyes to appear sunken or hollow. This is often a sign of more advanced dehydration.
- Lethargy and Weakness: Electrolytes are crucial for nerve and muscle function. A dog lacking these vital minerals will appear unusually tired, weak, or depressed. They may be unwilling to move or play.
- Thick, Ropy Saliva: Instead of normal, watery saliva, a dehydrated dog may have thick, stringy drool.
- Panting: While panting is a normal cooling mechanism, excessive or continuous panting when not hot or stressed can be a sign the body is under duress from fluid loss.
If you observe several of these signs, particularly a slow skin turgor test or pale gums, the situation may have progressed beyond a simple DIY remedy. These are your red flags to call a veterinarian immediately.
Commercial vs. Homemade: A Forensic Cost & Ingredient Breakdown
The pet care market is flooded with ‘veterinarian-approved’ rehydration solutions. They come in convenient bottles and packets, but a forensic look at the label and the price tag tells a different story. Many are packed with unnecessary sugars (like dextrose or corn syrup), artificial flavors to entice a sick dog to drink, and preservatives to extend shelf life. You’re paying a premium for convenience and, in many cases, suboptimal ingredients.
Let’s break down the real cost. We’ll compare a popular commercial brand against our simple, clean, homemade recipe. The numbers don’t lie.
| Metric | Commercial Canine Electrolyte Drink | The Canine Nutrition Hacker’s DIY Solution |
|---|---|---|
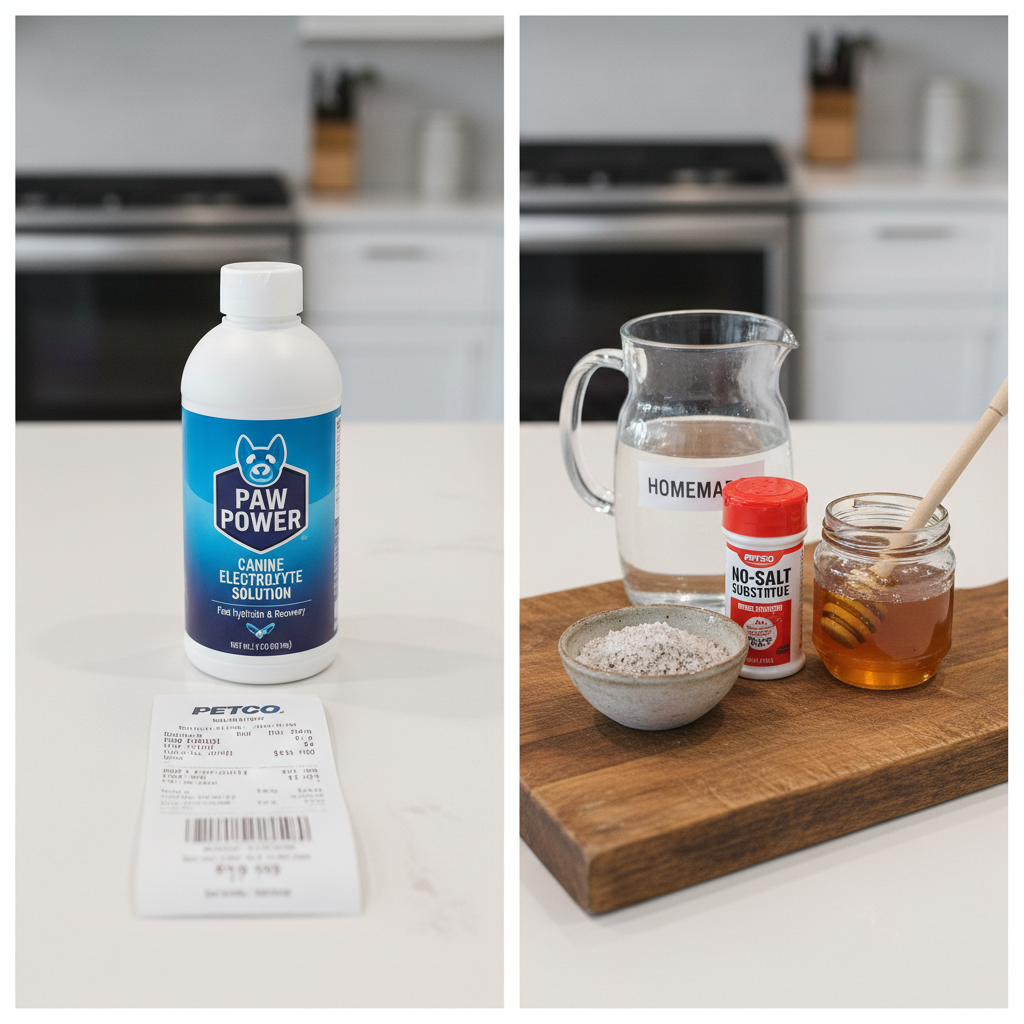
| Primary Ingredients | Water, Dextrose, Sodium Chloride, Potassium Chloride, Artificial Chicken Flavor, Preservatives | Filtered Water, Sodium Chloride (Sea Salt), Potassium Chloride, Glucose/Honey (optional) |
| Approximate Cost (per 32 oz) | $8.00 – $15.00 | Less than $0.25 |
| Control Over Ingredients | None. You get what’s in the bottle, including additives. | Total Control. You can use filtered water, high-quality sea salt, and omit sugar for diabetic dogs (with vet approval). |
| Verdict | Convenient but expensive and often contains unnecessary additives. A valid option in a pinch, but not the most efficient or cleanest choice. | Drastically more cost-effective. Provides the essential electrolytes without fillers, flavors, or high sugar content. The clear winner for the prepared owner. |
Hacker Tip: Don’t be fooled by fancy packaging or the term ‘veterinary formula.’ The core electrolytes—sodium and potassium—are simple, cheap minerals. The rest is often marketing. By making it yourself, you control the quality and save a significant amount of money that can be better spent on high-quality food or veterinary care.
The Canine Nutrition Hacker’s Approved DIY Electrolyte Recipe
Now for the core of the operation. This recipe is simple, fast, and uses precise ratios to deliver what your dog needs without the fluff. Before you begin, a critical warning: NEVER use human products like Gatorade, Powerade, or Pedialyte. Many contain artificial sweeteners like xylitol, which is extremely toxic to dogs, and all have sugar and sodium levels that are inappropriate for a canine’s system.
The Essential Ingredients:
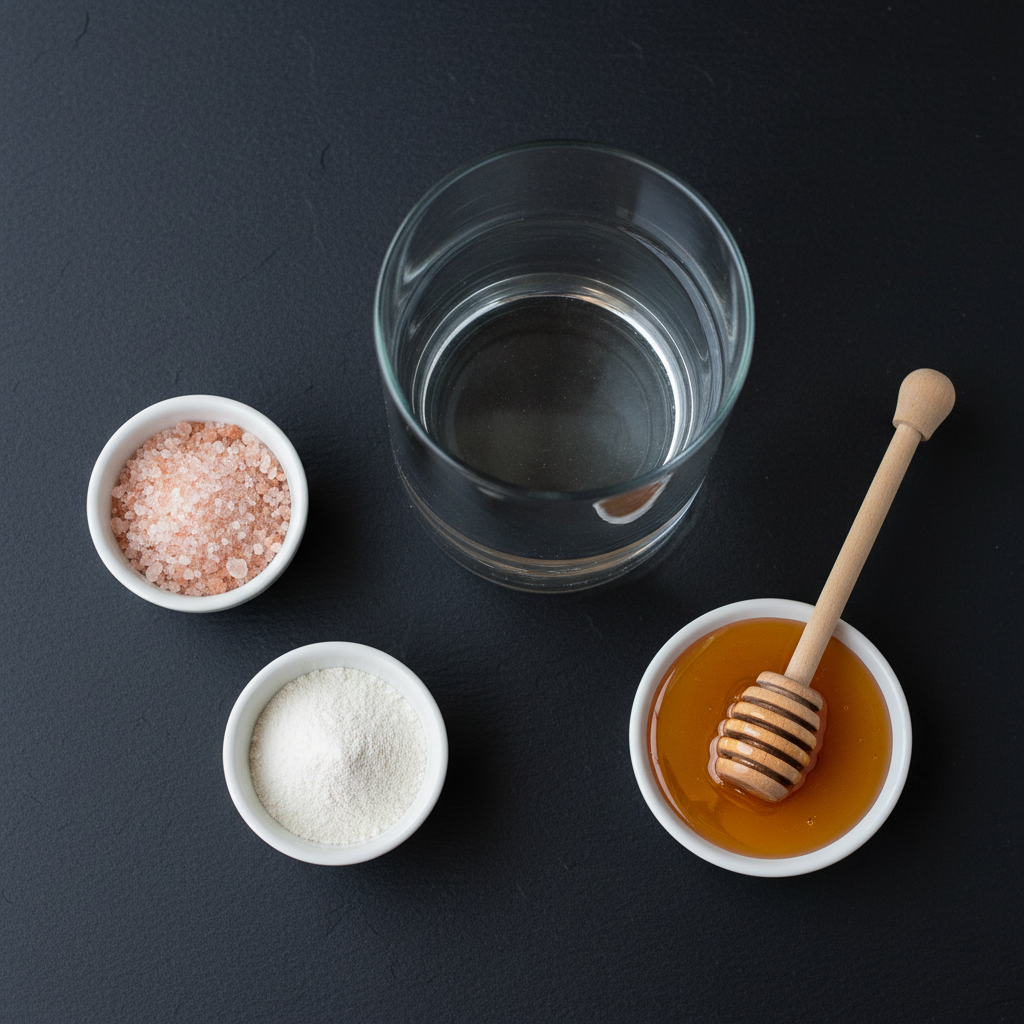
- 4 cups of water: Use filtered or spring water if possible for purity.
- 1 teaspoon of salt: Use a quality sea salt or Himalayan salt, not iodized table salt. This provides essential sodium chloride.
- 1/2 teaspoon of potassium chloride: Often sold as a salt substitute (e.g., ‘NoSalt’ or ‘Nu-Salt’). This is a critical electrolyte.
- 1 teaspoon of glucose or natural sugar: This is optional but can provide a small energy boost and help with the absorption of electrolytes. You can use raw honey or maple syrup. If your dog is diabetic, consult your vet before adding any sugar.
Step-by-Step Instructions:
- Combine Ingredients: In a large, clean glass pitcher or bottle, add the 4 cups of water.
- Dissolve Minerals: Add the salt and potassium chloride to the water. Stir vigorously until both are completely dissolved. There should be no visible granules.
- Add Energy Source (Optional): If you are using it, add the honey or maple syrup and stir again until it is fully incorporated into the solution.
- Serve at Room Temperature: Do not serve the water ice-cold, as this can be a shock to a sick dog’s system. Room temperature is best.
Insider Secret: For dogs who are picky or refusing to drink, you can make this recipe using unsalted, homemade bone broth as the base instead of water. The savory flavor is often irresistible and adds extra nutrients. Ensure the broth contains NO onions or garlic, as they are toxic to dogs.
Safe Administration and Storage Protocols

Making the solution is only half the battle; administering it correctly and storing it safely are critical for success. Your goal is to encourage your dog to drink willingly, not to cause more stress.
How to Offer the Solution:
- Never Force It: Do not use a syringe to force-feed this solution unless specifically instructed to do so by your veterinarian. Forcing fluids into a nauseous or lethargic dog can cause aspiration, where the liquid enters the lungs, leading to pneumonia.
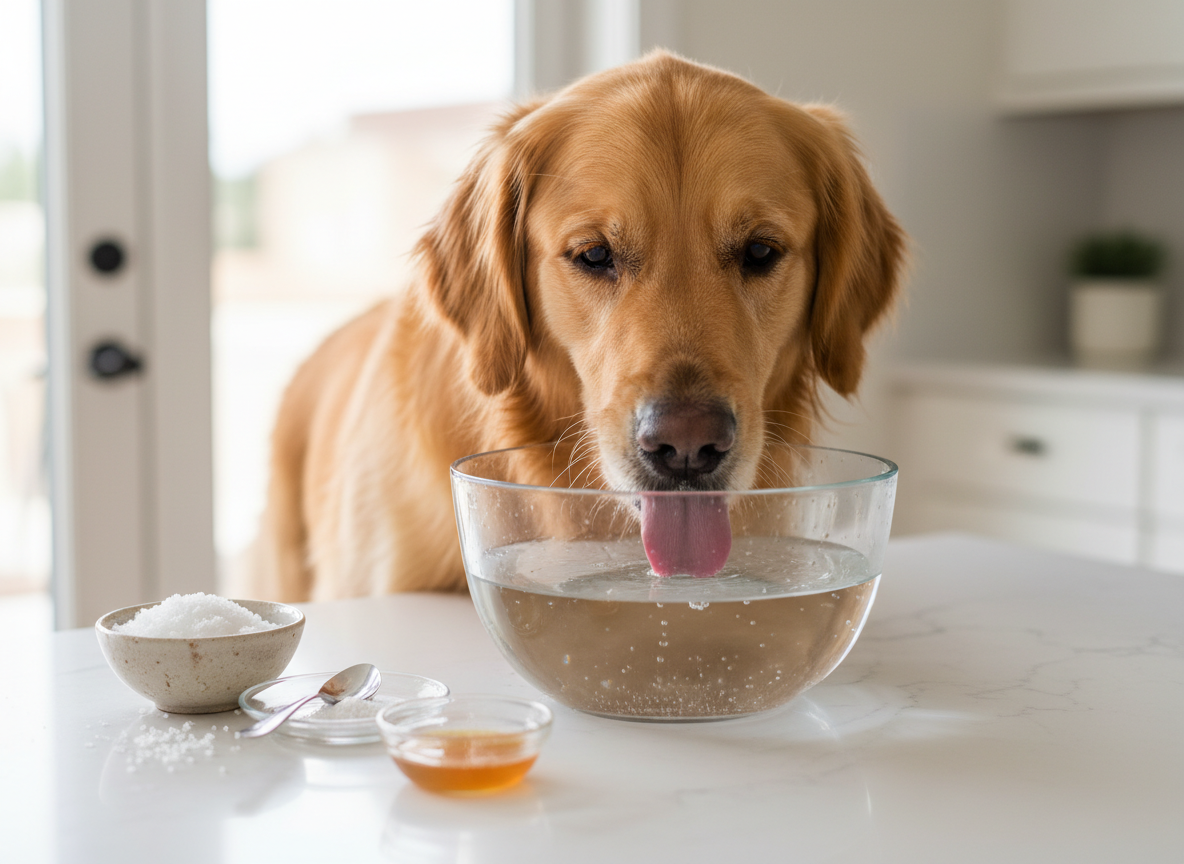
- Offer Small Amounts Frequently: Replace your dog’s regular water bowl with a small bowl of the electrolyte solution. Refresh it every few hours. The goal is small, consistent sips, not large gulps which could upset their stomach further.
- Monitor Intake: Keep a close eye on whether your dog is drinking. If they refuse to drink anything for more than a few hours, it’s time to call the vet.
Dosage and Storage Guidelines:
As a general guideline, a dog needs about one ounce of fluid per pound of body weight per day. During illness, this need can increase. Offer the solution freely, but monitor for any negative signs. Proper storage is non-negotiable to prevent bacterial growth.
- Refrigeration: This homemade solution contains no preservatives. It must be stored in a covered container in the refrigerator. It will keep for a maximum of 48 hours. After that, discard any unused portion and make a fresh batch.
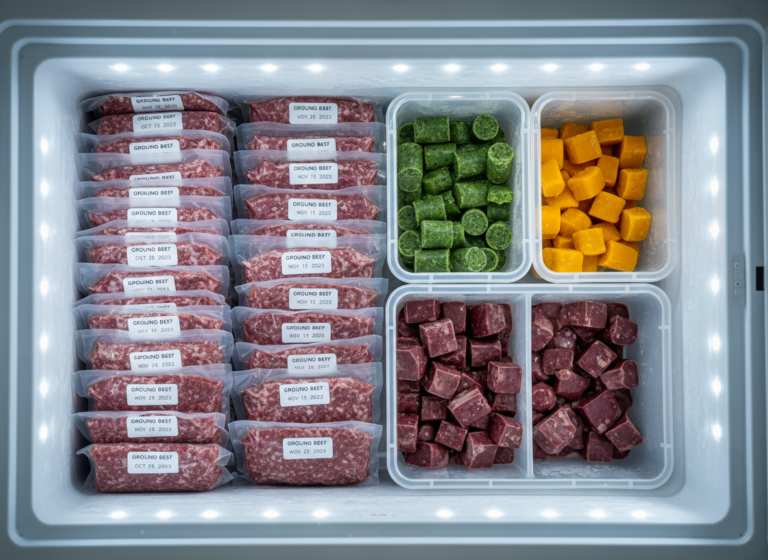
- Freezing for Longevity: The ultimate hacker tip for preparedness is to make a batch and freeze it. Pour the solution into ice cube trays. Once frozen, transfer the cubes to a labeled freezer bag. This allows you to have single, fresh servings ready to thaw at a moment’s notice. You can also offer a cube to a recovering dog to lick, which is a gentle way to rehydrate.
When DIY Isn’t Enough: Red Flags for an Emergency Vet Visit
Empowerment comes from knowing not just what to do, but also recognizing your limits. This DIY solution is a tool for a specific problem—mild dehydration. It is not a cure-all and is not a substitute for professional medical intervention when a situation is severe. Ignoring these red flags can have tragic consequences. Your dog’s life is not worth the risk.
Seek Immediate Veterinary Care If You See:
- Continuous Vomiting or Diarrhea: If your dog cannot keep any fluids down, they are losing more than they can take in. This requires IV fluids from a vet.
- Extreme Lethargy or Collapse: If your dog is unresponsive, cannot stand, or seems disoriented, this is a critical emergency.
- Signs of Pain: A bloated or hard abdomen, whining, or a ‘praying’ position (front end down, rear end up) can indicate a serious underlying issue like a blockage or pancreatitis.
- Pale or White Gums: This is a sign of shock or severe anemia and requires immediate medical attention.
- Refusal to Drink Anything: If your dog shows no interest in the electrolyte solution or plain water for several hours, a vet needs to determine the cause.
- No Improvement: If you’ve been providing the solution for 12-24 hours and your dog’s symptoms are not improving or are getting worse, it’s time to escalate to professional care.
Being a responsible owner means using tools like this recipe wisely, but also knowing when to call in the professionals. Do not hesitate. Your veterinarian is your most important partner in your dog’s health.
Conclusion
Being a proactive pet owner means having an arsenal of tools and knowledge at your disposal. You now possess the formula for a safe, effective, and incredibly cost-efficient homemade electrolyte solution to combat mild dehydration in your canine companion. By understanding the warning signs, mastering this simple recipe, and—most importantly—recognizing the critical red flags that demand a veterinarian’s expertise, you have elevated your ability to care for your dog. You’ve moved beyond being just a consumer of pet products to becoming an informed, hands-on advocate for their well-being. Keep this recipe handy, stay vigilant, and continue to be the savvy, no-nonsense owner your dog deserves.