5 Hypoallergenic Hydrolyzed Protein Treat Recipes
Navigating the world of canine food allergies is a frustrating and expensive ordeal. You scrutinize every label, only to be met with a minefield of potential triggers and a hefty price tag for ‘safe’ options. The gold standard for severe allergies—prescription hydrolyzed protein diets and treats—can feel like a financial trap. But it doesn’t have to be.
As the Canine Nutrition Hacker, I’m here to give you the insider’s playbook. We’re going to bypass the marketing fluff and get straight to the science. Hydrolyzed protein is a powerful tool, and you can leverage it in your own kitchen to create treats that are safer, healthier, and drastically cheaper than their commercial counterparts. This guide will not only provide you with actionable recipes but will also empower you with the knowledge to understand exactly why they work.
MEDICAL & SAFETY DISCLAIMER: I am a canine nutrition analyst, not a veterinarian. The information and recipes provided here are for educational purposes and are designed for dogs already diagnosed with food allergies and sensitivities. Always consult with your veterinarian or a board-certified veterinary nutritionist before making any changes to your dog’s diet, especially when dealing with a medical condition. These treats are not a complete and balanced diet and should not constitute more than 10% of your dog’s daily caloric intake. Ensure any new ingredient, including hydrolyzed protein powders, is approved by your vet for your specific dog.
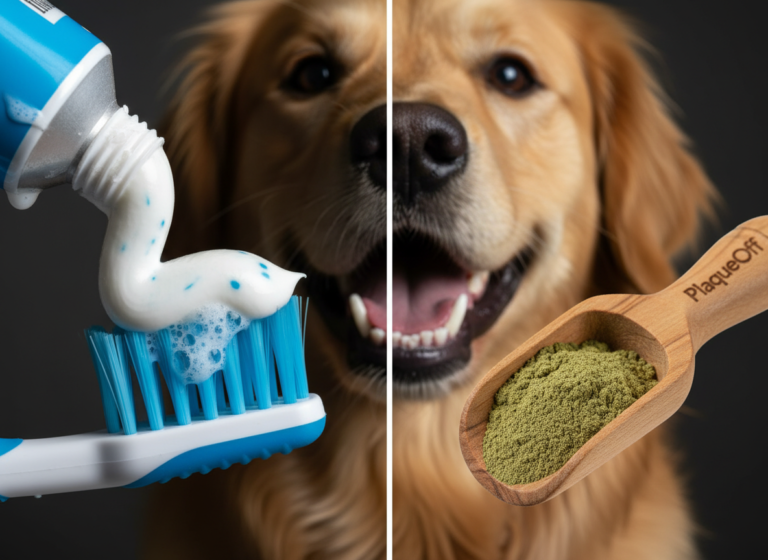
Decoding the Label: What is Hydrolyzed Protein and Why Does it Work?
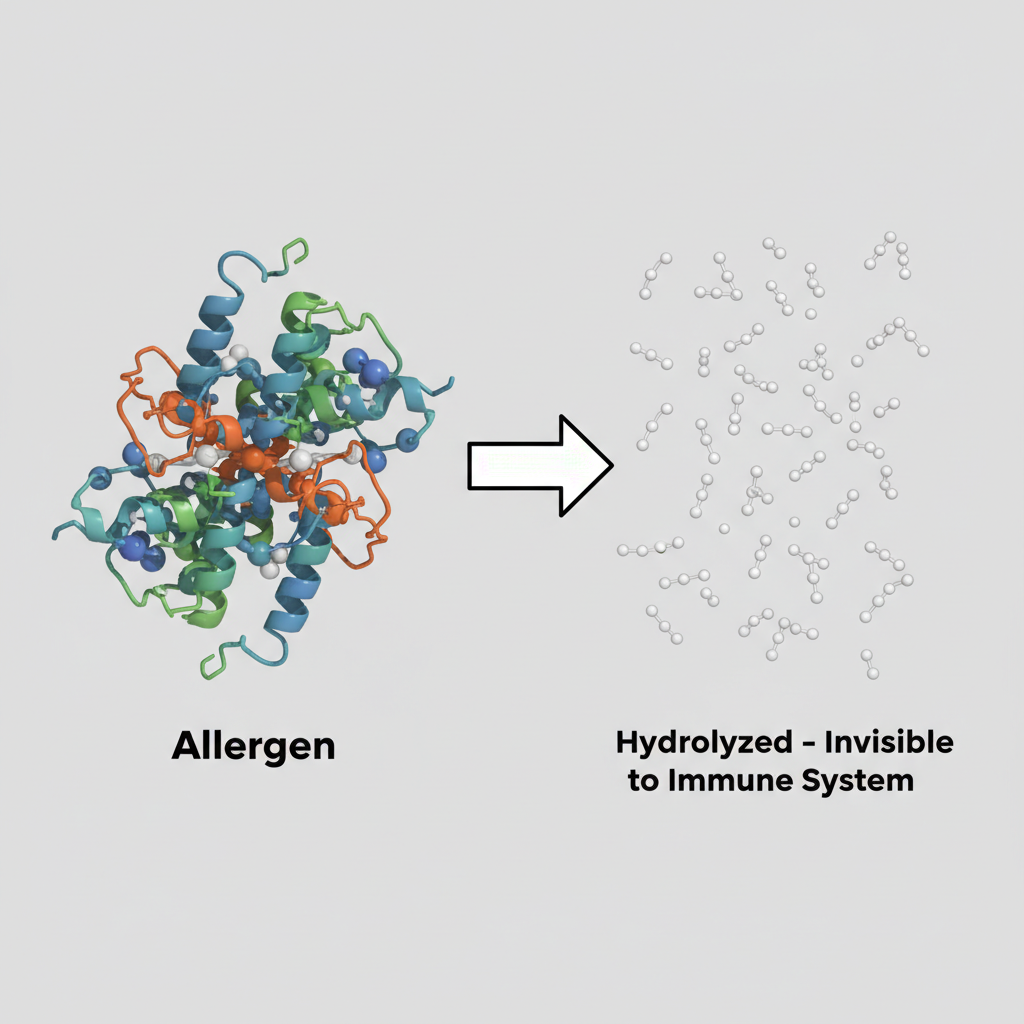
To effectively ‘hack’ your dog’s allergies, you must first understand the enemy: your dog’s own immune system. In a food-allergic dog, the immune system mistakenly identifies certain large protein molecules (like those in chicken or beef) as hostile invaders. This triggers an inflammatory response, leading to skin issues, digestive upset, and chronic discomfort.
This is where hydrolyzed protein becomes your secret weapon. The process of hydrolysis uses water to break down these large, allergenic protein molecules into tiny fragments called peptides. These peptides are so small that they fly completely under the radar of the immune system’s defense mechanisms. They are, in essence, nutritionally complete proteins in disguise.
Enemy Ingredients: The Usual Suspects
While any protein can theoretically cause an allergy, the most common triggers are the proteins dogs are most frequently exposed to. Your watchlist should always include:
- Chicken
- Beef
- Dairy
- Lamb
- Soy
- Wheat Gluten
The goal of a hydrolyzed diet is to provide essential amino acids without triggering the alarm bells associated with these common protein sources.
Hero Ingredients: Your Allergy-Fighting Arsenal
The heroes are the ingredients that provide nutrition without the allergic reaction. Your primary tool is, of course, the hydrolyzed protein itself.
- Hydrolyzed Protein Isolate: Available in salmon, chicken, or soy varieties. This is the core component of our recipes. You can often source this from veterinary suppliers or specialized online stores.
- Limited Carbohydrates: Using a single, novel carbohydrate source like sweet potato, pumpkin, or tapioca starch helps bind treats without introducing additional potential allergens.
- Healthy Fats: Sources like flaxseed oil or sunflower oil (if tolerated) can be added for skin health, but start small and monitor for any reaction.
Insider Secret: Many ‘grain-free’ commercial foods simply swap corn and wheat for other potential allergens like peas, lentils, and potatoes. True hypoallergenic formulation isn’t about being grain-free; it’s about using novel or hydrolyzed ingredients your dog’s body has never seen before or can’t recognize.
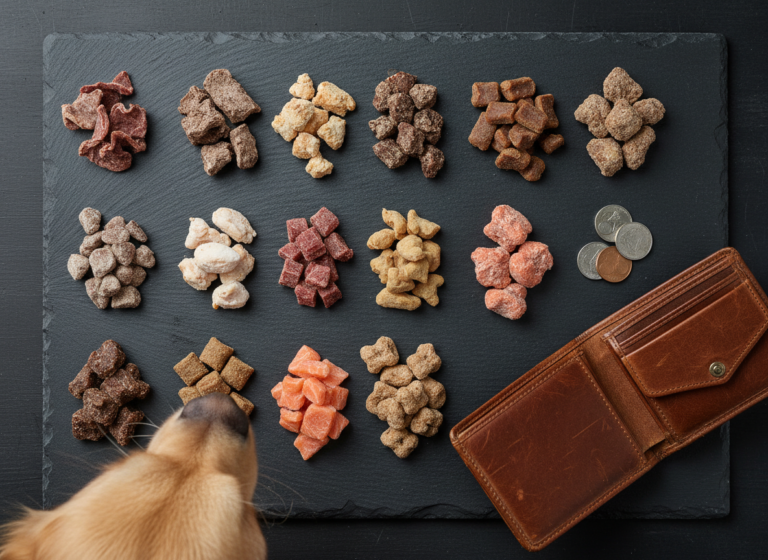
The Bottom Line: Analyzing the Cost of DIY vs. Prescription Treats
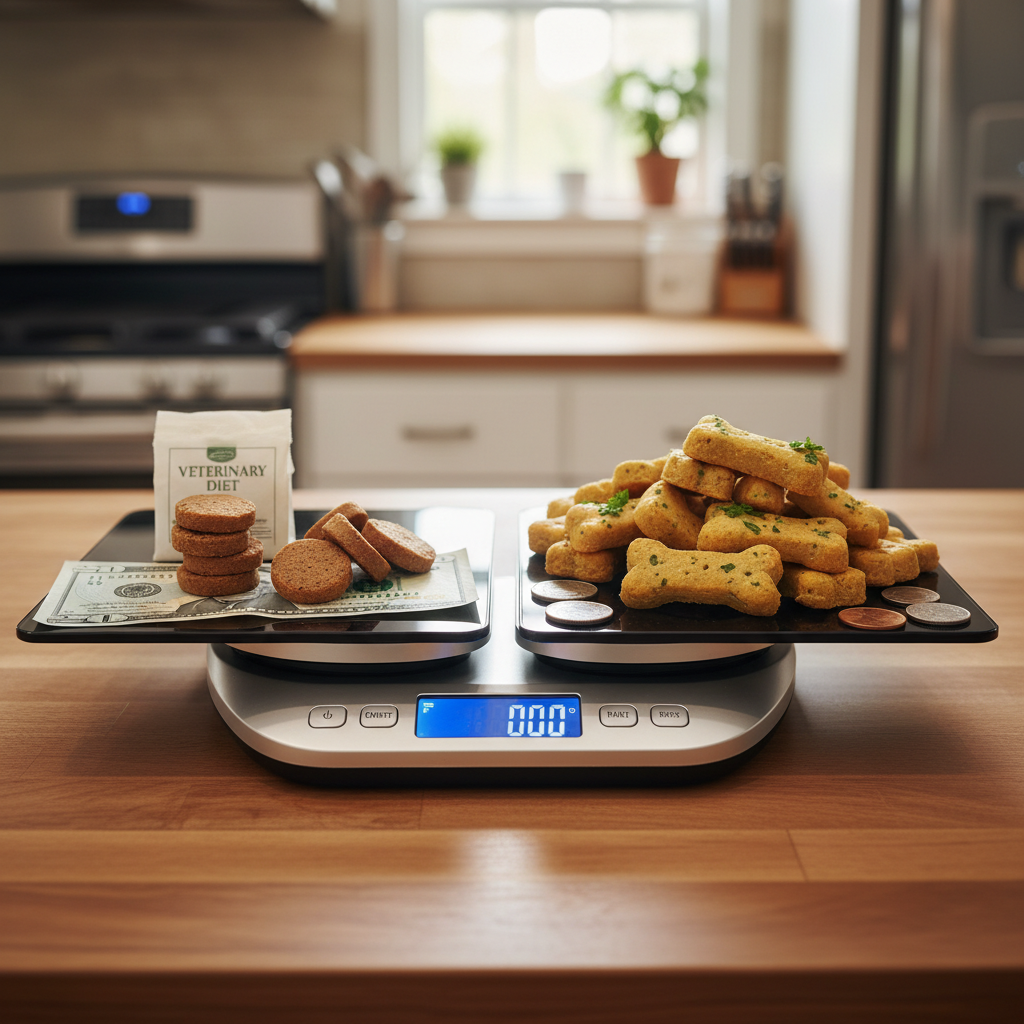
The sticker shock on a bag of prescription hypoallergenic treats is real. Brands like Royal Canin or Hill’s Prescription Diet charge a premium for their formulation. But what are you actually paying for? Let’s break down the numbers and see how DIY stacks up against a leading commercial brand.
We’ll compare a popular veterinary treat with our DIY Hydrolyzed Salmon & Sweet Potato Puffs recipe. Prices are approximate and based on average online retail costs.
| Feature | Prescription Brand (e.g., Royal Canin HP) | DIY Hydrolyzed Salmon Puffs |
|---|---|---|
| Primary Protein Source | Hydrolyzed Soy Protein | Hydrolyzed Salmon Protein |
| Approximate Cost | $15.00 per 17.6 oz bag | $4.50 per ~18 oz batch |
| Cost Per Ounce | ~$0.85/oz | ~$0.25/oz |
| Ingredient Control | Fixed formula, includes brewers rice, chicken fat, and other binders. | 100% control. You choose the protein, carb, and nothing else. |
| Preservatives | Contains BHA and other artificial preservatives. | None. You control freshness. |
| The Verdict | Convenient but expensive, with less ingredient transparency. | Requires effort, but offers over 70% cost savings and complete purity. |
The savings are undeniable. By investing a small amount of time, you can cut your hypoallergenic treat budget by more than two-thirds. Over a year, this can translate to hundreds of dollars saved, all while providing your dog with a purer, preservative-free treat.
Hacker Tip: Purchase food-grade hydrolyzed salmon or chicken protein powder in larger quantities (2-5 lbs) from online supplement or specialty pet ingredient suppliers. The upfront cost is higher, but the price per ounce plummets, maximizing your long-term savings.
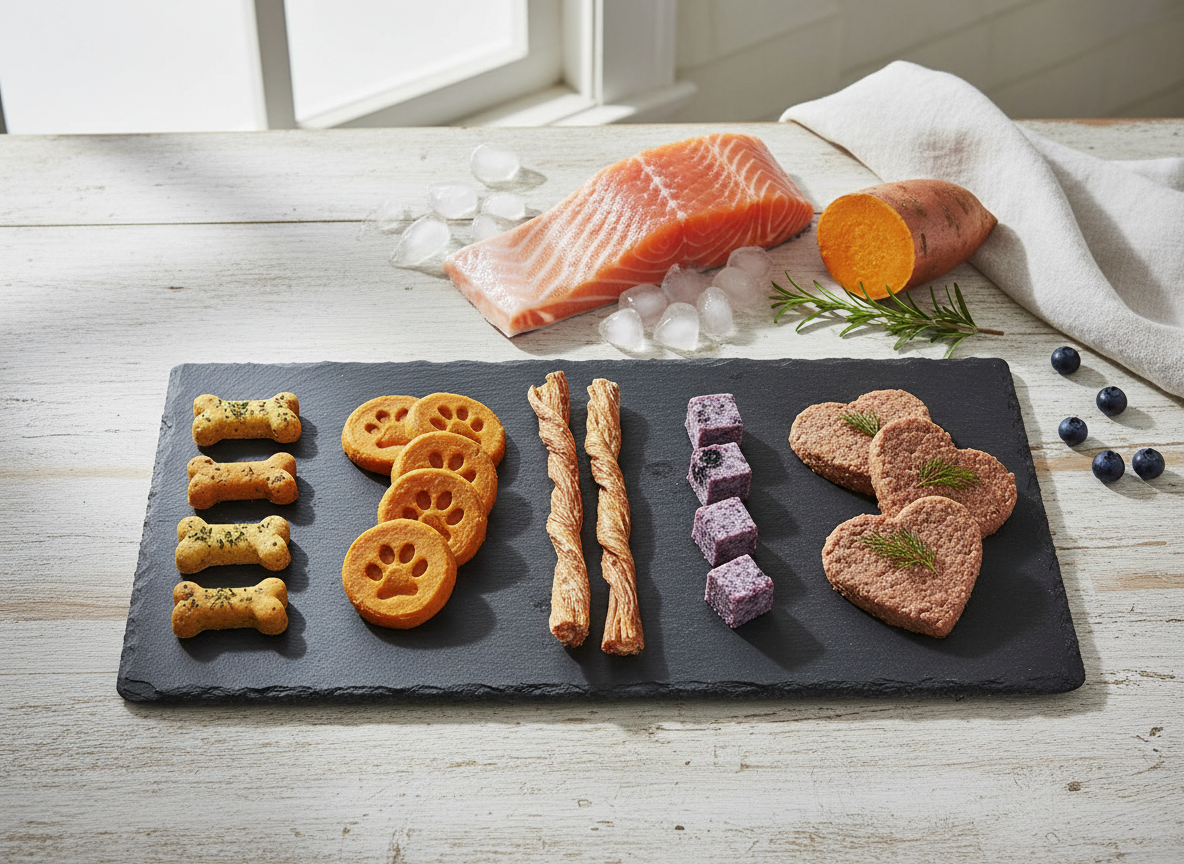
The Canine Nutrition Hacker’s Vault: 5 Vet-Informed Hydrolyzed Protein Treat Recipes
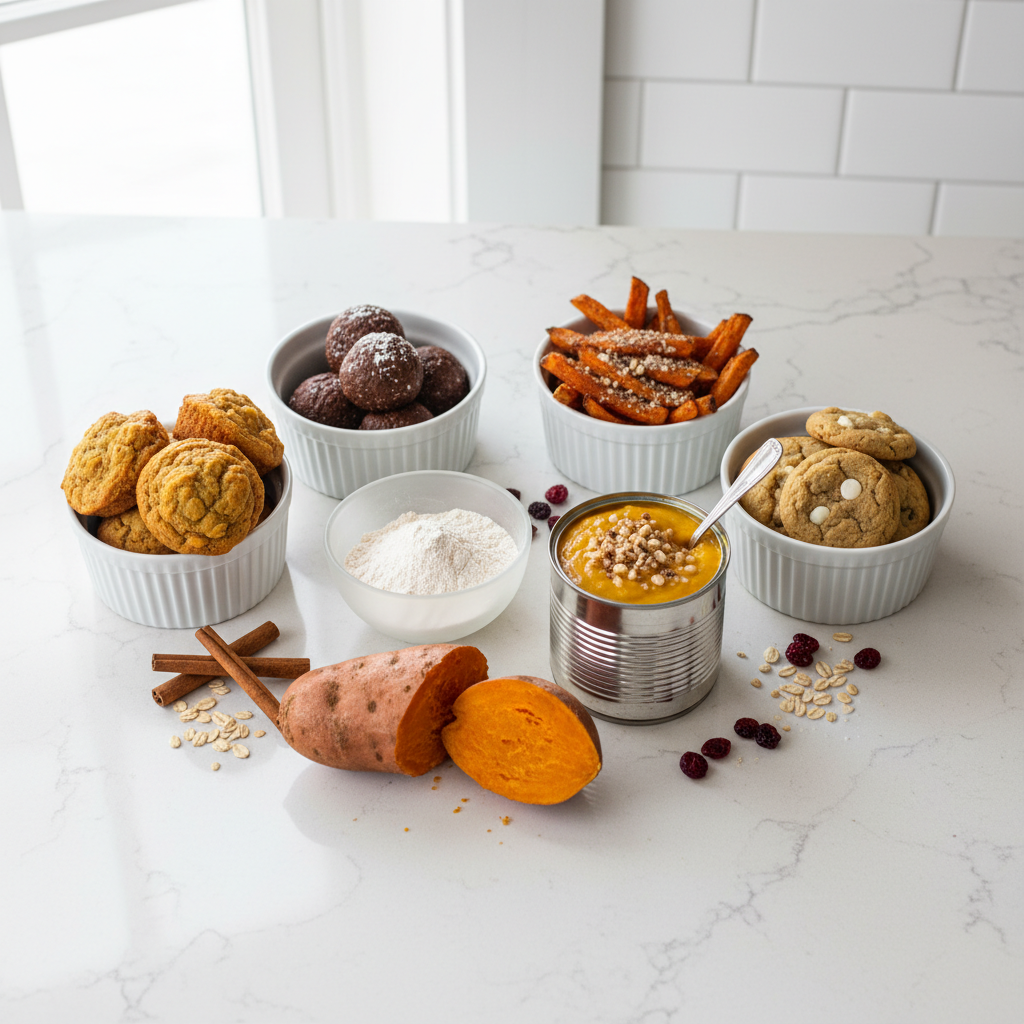
Before you begin, ensure your workspace is clean and you have all ingredients ready. Remember to introduce any new treat slowly and watch for any signs of digestive upset or reaction, however unlikely. All recipes assume you have sourced a high-quality hydrolyzed protein powder as approved by your veterinarian.
Recipe 1: Ultimate Hydrolyzed Salmon & Sweet Potato Puffs
These soft, chewy puffs are nutrient-dense and highly palatable. Sweet potato provides fiber and vitamins, complementing the clean protein from the salmon.
- Ingredients:
- 1 cup cooked, mashed sweet potato, cooled
- 1/2 cup hydrolyzed salmon protein powder
- 1/4 cup tapioca starch (or arrowroot starch)
- 2-3 tablespoons of water, as needed
- Instructions:
- Preheat your oven to 350°F (175°C) and line a baking sheet with parchment paper.
- In a medium bowl, combine the mashed sweet potato, hydrolyzed salmon powder, and tapioca starch. Mix until a thick, crumbly dough forms.
- Add water, one tablespoon at a time, and mix until the dough comes together and is no longer sticky. It should have a consistency similar to play-doh.
- Roll the dough into small, pea-sized balls and place them on the prepared baking sheet.
- Bake for 15-20 minutes, or until the puffs are firm to the touch. Let cool completely before serving.
Recipe 2: Minimalist Hydrolyzed Chicken Jerky
This recipe creates a tough, chewy jerky strip that’s excellent for dental health and satisfies a dog’s need to chew. It requires a dehydrator for best results, but an oven can also be used.
- Ingredients:
- 1/2 cup hydrolyzed chicken protein powder
- 1/4 cup + 2 tablespoons warm water
- Instructions:
- In a bowl, slowly whisk the water into the hydrolyzed chicken powder. Mix until you have a smooth, thick paste, about the consistency of hummus.
- Spread the paste thinly and evenly onto a dehydrator tray lined with a fruit leather sheet or parchment paper. Aim for a thickness of about 1/8 inch.
- Dehydrate at 145°F (63°C) for 4-6 hours, or until the jerky is dry and leathery but not brittle. If using an oven, set it to the lowest possible temperature (usually around 170°F / 77°C), prop the door open slightly, and bake for 2-4 hours, checking frequently.
- Once cool, break or cut the sheet into jerky-style strips.
Recipe 3: Soothing Frozen Hydrolyzed Soy & Pumpkin Bites
A perfect no-bake treat for dogs with sensitive stomachs or for a refreshing reward on a warm day. Pumpkin is a well-known digestive aid.
- Ingredients:
- 1 cup 100% pure canned pumpkin puree (not pie filling)
- 1/2 cup hydrolyzed soy protein powder
- 1/4 cup water
- Instructions:
- In a blender, combine the pumpkin puree, hydrolyzed soy powder, and water.
- Blend until completely smooth. The mixture should be like a thick smoothie.
- Pour the mixture into silicone ice cube trays (small, fun shapes work great).
- Freeze for at least 4 hours, or until solid. Pop out of the molds and store in a freezer bag.
Recipe 4: Functional Hydrolyzed Protein ‘Pill Pockets’
Stop fighting to give your dog medication. These homemade pill pockets are hypoallergenic and make medicine time a stress-free experience.
- Ingredients:
- 1/4 cup hydrolyzed protein powder (any type)
- 2 tablespoons tapioca starch
- 3-4 tablespoons water or unsalted bone broth (ensure it has no added allergens)
- Instructions:
- In a small bowl, mix the hydrolyzed protein powder and tapioca starch.
- Add the liquid one tablespoon at a time, mixing with a fork until a very thick, moldable dough forms.
- Knead with your hands for a minute until smooth.
- Pinch off a small piece, flatten it, press a pill into the center, and mold the dough around it to conceal it completely.
Recipe 5: Crunchy Baked Hydrolyzed Salmon & Oat Crisps
For dogs who love a good crunch, these crisps offer a satisfying texture. Ensure you use certified gluten-free rolled oats if your dog is sensitive to gluten cross-contamination.
- Ingredients:
- 1/2 cup gluten-free rolled oats, ground into a flour in a blender
- 1/2 cup hydrolyzed salmon protein powder
- 1/4 cup water
- 1 tablespoon coconut oil, melted (optional, for skin health)
- Instructions:
- Preheat oven to 325°F (165°C). Line a baking sheet with parchment paper.
- In a bowl, combine the oat flour and hydrolyzed salmon powder.
- Add the water and melted coconut oil (if using) and mix to form a stiff dough.
- Place the dough between two sheets of parchment paper and roll it out very thin (about 1/16 inch).
- Remove the top sheet of parchment. Score the dough with a knife or pizza cutter into small, cracker-sized squares.
- Bake for 12-15 minutes, or until the edges are golden and the crisps are hard. Turn off the oven and let the crisps cool inside the oven for maximum crunchiness.
Mastering Your Prep: Batch Cooking and Storage for Long-Term Success
Making your own treats is only sustainable if it fits into your life. The key is efficiency. By mastering batch preparation and storage, you ensure a constant supply of safe treats without constant effort.
The Monthly Prep Strategy
Set aside one or two hours, one day a month, to be your dog’s personal chef. You can easily make a month’s supply of several different treat types in a single session. This ‘meal prep’ approach saves time and reduces daily stress.
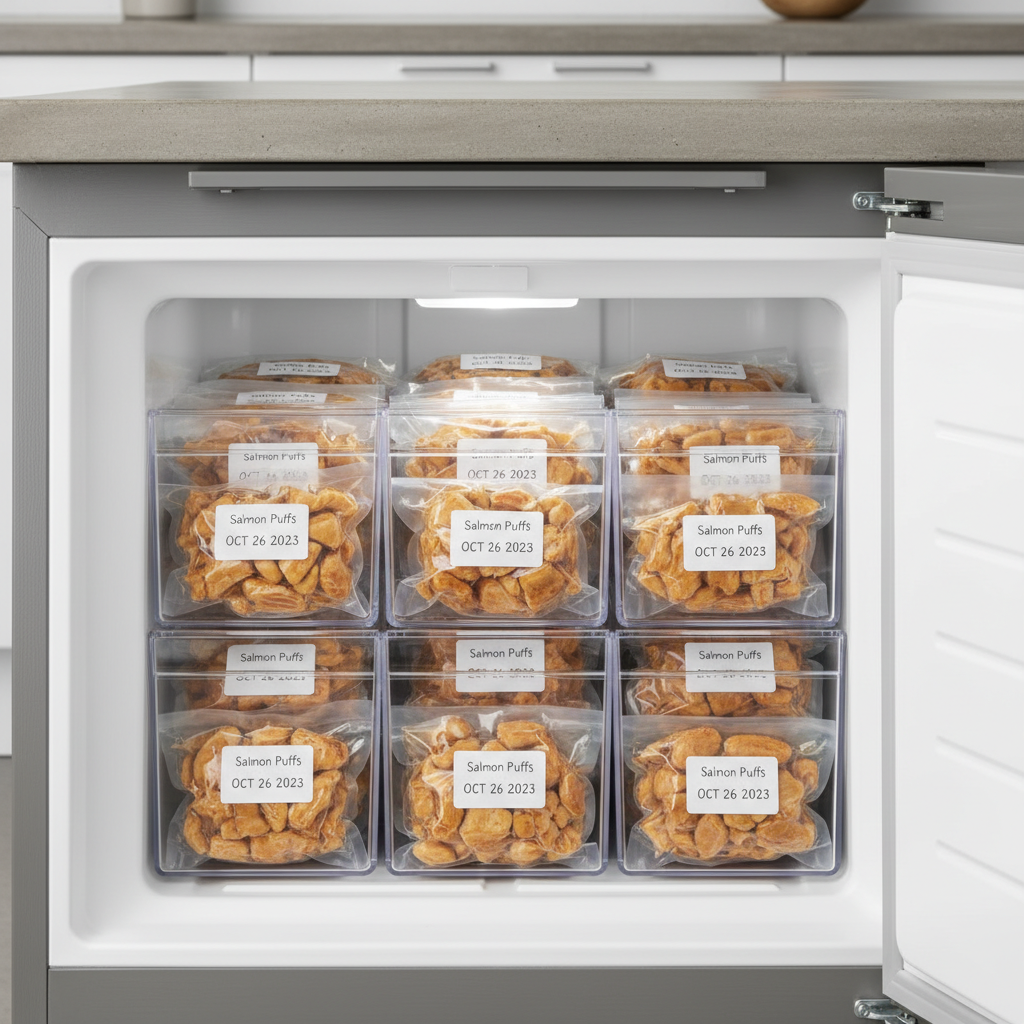
Storage Protocols
Proper storage is critical to prevent spoilage and maintain freshness. Each treat type has different needs:
- Baked Treats (Puffs, Crisps): These are the most shelf-stable. Once completely cool, store them in an airtight glass jar or container in a cool, dark place. They should last for 2-3 weeks. For longer storage, freeze them.
- Jerky: Properly dehydrated jerky is very stable. Store in an airtight container or zip-top bag with a food-grade silica packet to absorb any moisture. It can last for over a month in the pantry.
- Frozen Bites: Keep these in a freezer-safe bag or container. They will last for up to 3 months in the freezer.
- Pill Pockets: This dough is best made fresh as needed, but you can store a small batch in an airtight container in the refrigerator for up to 5 days.
Hacker Tip: Use a vacuum sealer for long-term freezer storage. By removing all the air, you prevent freezer burn and extend the life of your baked treats and jerky for up to 6 months. Portion them into weekly supply bags before sealing for easy access.
Always label your containers or bags with the type of treat and the date it was made. This ensures you’re always using the freshest treats first and avoids any mystery items in the back of your freezer.
Conclusion
You now possess the knowledge and the practical tools to step outside the expensive prescription treat system. By understanding the science of hydrolyzed proteins and utilizing these simple, pure recipes, you have fundamentally changed the way you manage your dog’s nutrition. You are no longer just a consumer; you are a proactive, informed advocate for your dog’s health.
The benefits are clear: dramatic cost savings, complete control over every single ingredient, and the elimination of unnecessary fillers and preservatives. Most importantly, you gain the profound peace of mind that comes from providing your sensitive dog with a safe, delicious reward you created yourself. Stop paying a premium for what you can master in your own kitchen. You’ve hacked the system—now enjoy the rewards of a happier, healthier dog and a healthier budget.