Pressure Canning Dog Food: A Safety Guide for Preppers
Forget the marketing hype on that bag of kibble. In a crisis, the commercial pet food supply chain is one of the first things to break. The true Canine Nutrition Hacker understands that self-sufficiency is the ultimate guarantee of your dog’s health and safety. We don’t guess, we analyze. We don’t hope, we prepare. Today, we’re not just making dog food; we’re building a resilient, long-term, and nutritionally superior food supply using the gold standard of preservation: pressure canning.
This isn’t your grandmother’s jam-making session. We’re dealing with low-acid foods like meat and vegetables, the perfect breeding ground for deadly bacteria if handled incorrectly. Water bath canning is completely unacceptable and dangerous for this task. Only the high heat and pressure of a dedicated pressure canner can ensure the food you store is safe for your canine companion. This guide provides the non-negotiable, safety-first protocol for creating a shelf-stable food supply that you control from start to finish. Let’s get it right.
The Critical Disclaimer: Why Safety is Non-Negotiable
Before we even touch a Mason jar, we need to establish the ground rules. This is the most important section of this entire guide. Read it, understand it, and respect it. Your dog’s life depends on it.
Medical and Procedural Warning
I am a canine nutrition analyst, not a licensed veterinarian. This guide is for informational purposes only and should not replace professional veterinary advice. Every dog has unique nutritional needs based on age, breed, weight, and health status. Always consult your veterinarian to formulate a diet that is complete and balanced for your specific dog.
Furthermore, this guide assumes you have a working knowledge of your specific pressure canner model. Always read and follow the manufacturer’s instructions for your equipment. The information provided here is based on established USDA canning guidelines, but your canner’s manual is your primary operational bible.
The Botulism Threat
The stakes are incredibly high. Improperly canned low-acid foods (meat, poultry, vegetables) can harbor Clostridium botulinum spores. In the oxygen-free environment of a sealed jar, these spores can produce botulinum toxin, a neurotoxin so potent it is measured in nanograms. Ingesting this toxin causes botulism, which leads to paralysis and is often fatal. There is no room for error. You cannot see, smell, or taste botulism. Only the verified combination of time, temperature, and pressure can destroy the spores and guarantee safety.
Pressure Canning vs. Water Bath Canning: A Life-or-Death Difference
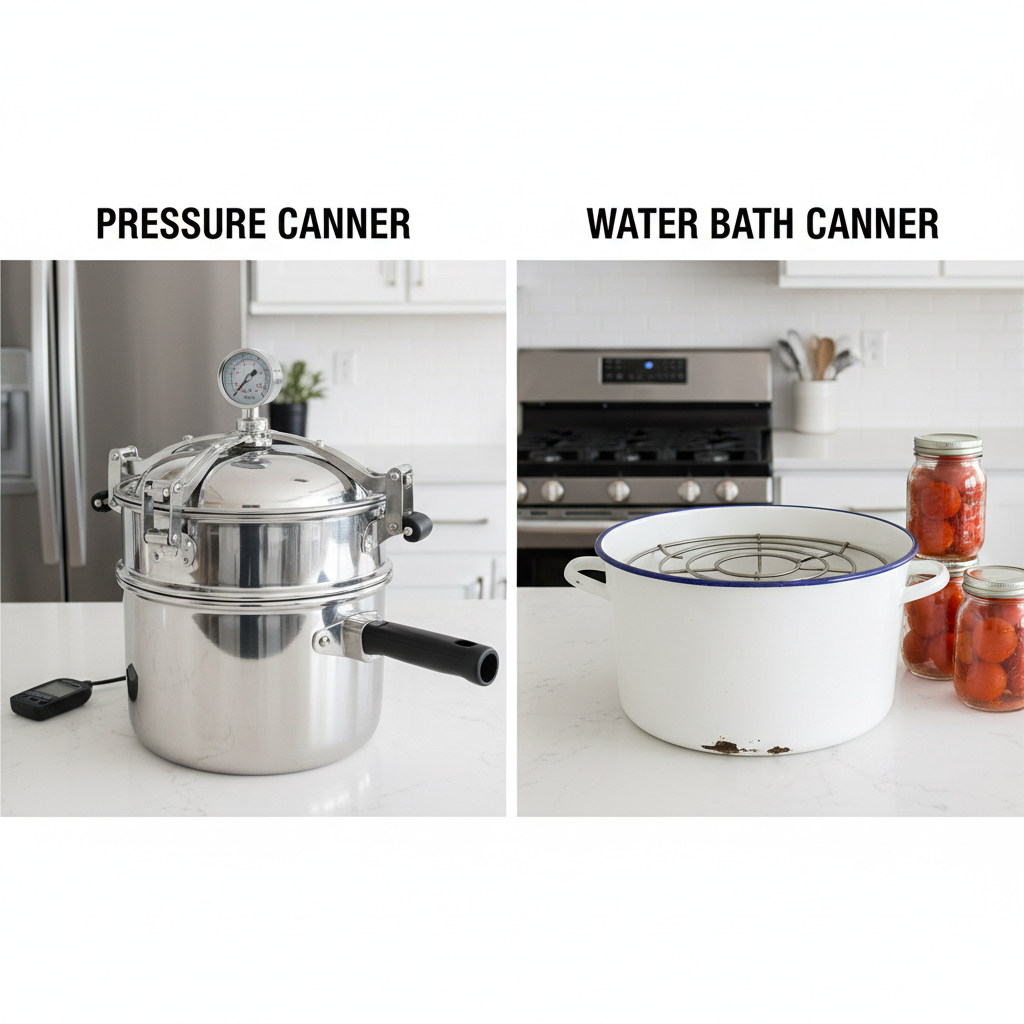
Many beginners to food preservation fail to understand the fundamental scientific difference between the two main canning methods. For a prepper, this mistake can lead to a pantry full of poison.
The Science of Spore Destruction
The core issue is acidity. High-acid foods like fruits, jams, and pickles (with a pH of 4.6 or lower) can be safely processed in a boiling water bath canner. The boiling water (212°F / 100°C at sea level) combined with the food’s natural acidity is sufficient to kill off mold, yeast, and most bacteria.
However, C. botulinum spores are tough. They are not destroyed at boiling temperatures. To kill them in a low-acid environment (all meats, poultry, fish, and most vegetables), you must achieve a temperature of at least 240°F (116°C). The only way to reach this temperature in a home setting is by using a pressure canner. By trapping steam, the canner builds pressure, which in turn raises the temperature of the water and steam inside far above boiling point, ensuring every spore is neutralized.
Insider Secret: Thinking you can ‘just boil it longer’ in a water bath canner is a fatal misconception. You can boil a jar of green beans for 24 hours straight and you will still not kill the botulism spores. Only pressure-generated heat is effective.
The Hacker’s Blueprint: A Nutritionally Balanced, Canner-Safe Recipe
A safe recipe for canning is not always a nutritionally complete one. Heat destroys vitamins. Our strategy is to can a solid nutritional base and add a crucial supplement just before serving. This recipe is designed for safety during processing and provides a foundation for a complete meal.
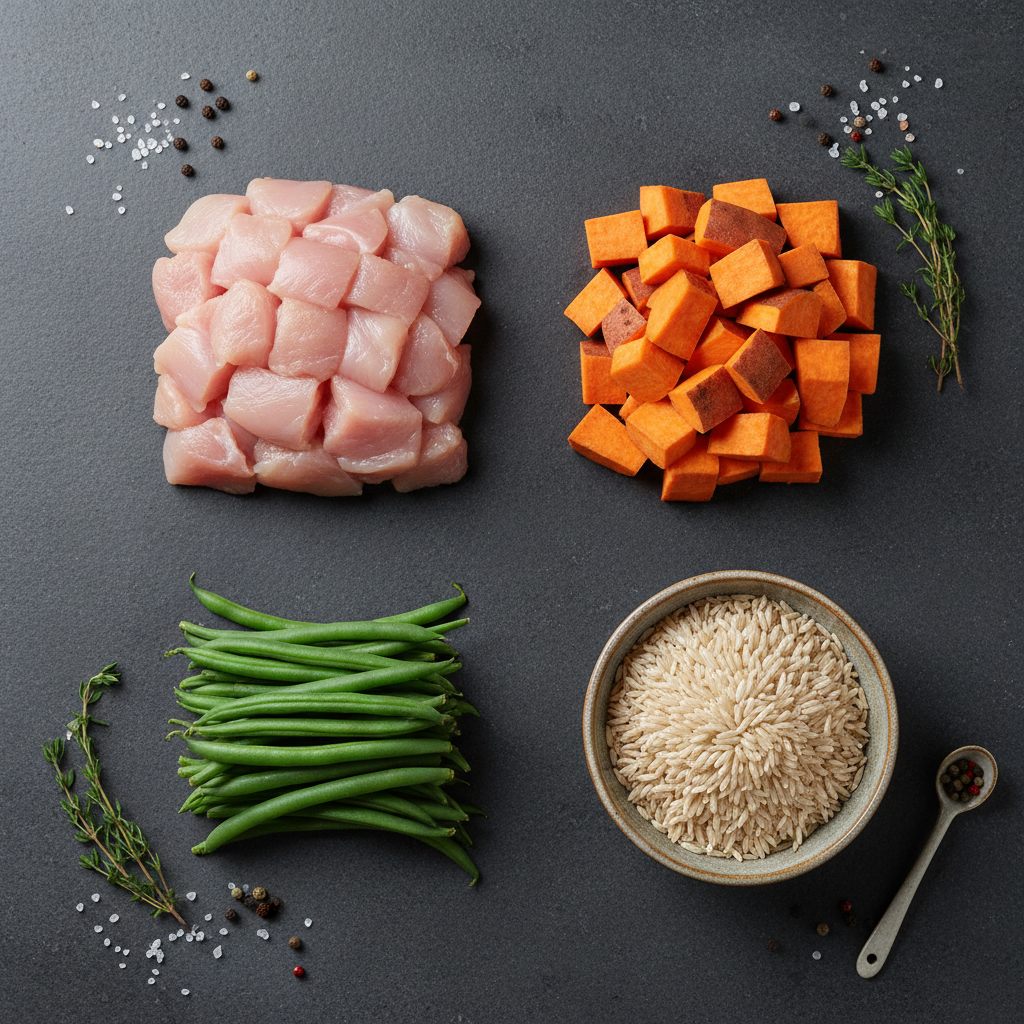
The Core Ratio (per quart jar)
This ratio ensures proper heat penetration. Do not overpack jars.
- 50% Lean Protein: Approximately 1.5 to 2 cups of 1-inch cubed lean meat. Good options include chicken breast, turkey breast, or very lean beef (93/7 or leaner, with all fat drained after browning).
- 25% Complex Carbohydrates: Approximately 1 cup of cubed sweet potatoes, winter squash, or pumpkin. Alternatively, you can use pre-cooked brown rice, filling the jar no more than 1/3 full with rice before adding other ingredients.
- 25% Approved Vegetables: Approximately 1 cup of carrots, green beans, or peas.
Hero Ingredients vs. Enemy Ingredients
Not all foods are safe for canning. Stick to the list.
| Category | Canner-Safe ‘Hero’ Ingredients | Dangerous ‘Enemy’ Ingredients |
|---|---|---|
| Proteins | Lean chicken, turkey, beef, venison | Fatty meats, ground meat not thoroughly drained, fish (requires special times) |
| Carbohydrates | Brown rice, sweet potatoes, pumpkin, winter squash | Pasta, barley, oats, flour, cornstarch (they clump and block heat) |
| Vegetables | Carrots, peas, green beans, potatoes (white) | Broccoli, cauliflower, leafy greens (turn to mush), summer squash |
| Liquids/Fats | Water, meat broth (no fat) | No oil, no fats, no dairy, no butter. Fats can interfere with the jar seal. |
The Critical Supplement Addition
The intense heat of pressure canning will degrade many essential vitamins, particularly B vitamins and vitamin C. Therefore, the canned product is NOT a complete meal on its own. Just before serving, you must mix in a high-quality, veterinarian-approved canine multivitamin/mineral powder. This is a non-negotiable step to prevent long-term nutritional deficiencies.
The Step-by-Step Canning Protocol: Zero-Error Execution
Follow this process meticulously. Precision is your only defense against contamination. We will use the ‘Hot Pack’ method, which is superior for ensuring even heat distribution.
- Preparation is Everything: Inspect your pressure canner, ensuring the gasket is pliable and the vent pipe is clear. Wash and rinse your quart or pint jars and keep them hot (e.g., in a dishwasher on a heat cycle or in a sink of hot water). Place the lids in a small pot of simmering, not boiling, water.
- Cook the Ingredients: In a large stockpot, cook the cubed meat until it is just cooked through. Drain any and all fat. Add your vegetables and carbohydrates to the pot along with enough fresh water or fat-free broth to cover. Bring the mixture to a boil and simmer for 5 minutes. This is your ‘hot pack’.
- Pack the Jars: Using a canning funnel, ladle the hot mixture into your hot jars. Pack loosely. After the solids are in, pour the hot liquid from the pot over them, leaving exactly 1 inch of headspace at the top of the jar.
- De-bubble and Seal: Slide a plastic bubble remover tool or a thin spatula around the inside of the jar to release any trapped air bubbles. Wipe the rim of the jar with a clean, damp cloth to ensure a perfect seal. Center the hot lid on the jar and screw on the ring until it is ‘fingertip tight’. Do not overtighten.
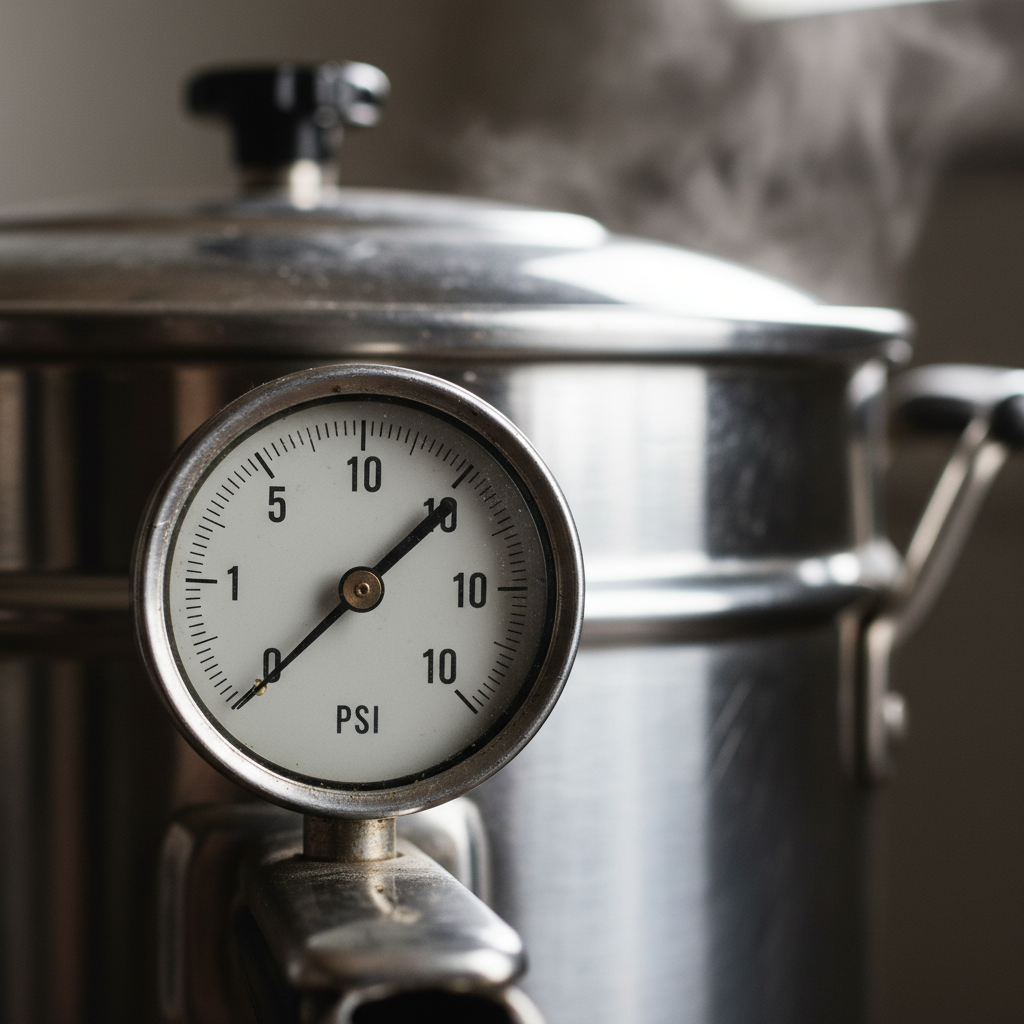
- Process the Jars: Place the jars on the rack inside your pressure canner, which should have 2-3 inches of simmering water in it per the manufacturer’s instructions. Lock the canner lid. Turn the heat to high and wait for a steady column of steam to vent from the vent pipe. Let it vent for 10 full minutes. Then, place the weight or counterweight on the vent pipe.
- Reach and Maintain Pressure: Watch the pressure dial or wait for the weighted gauge to jiggle/rock according to your canner’s manual. Once it reaches the target pressure (typically 10 PSI for a dial gauge, but see below), you must start your timer. Process quart jars for 90 minutes and pint jars for 75 minutes. Adjust pressure for your altitude.
- The Cool Down: After the processing time is complete, turn off the heat. Let the canner cool down naturally until the pressure gauge reads zero. This can take 45-60 minutes. Do not rush this step. Once at zero, remove the weight and wait another 10 minutes before unlocking and opening the lid away from your face.
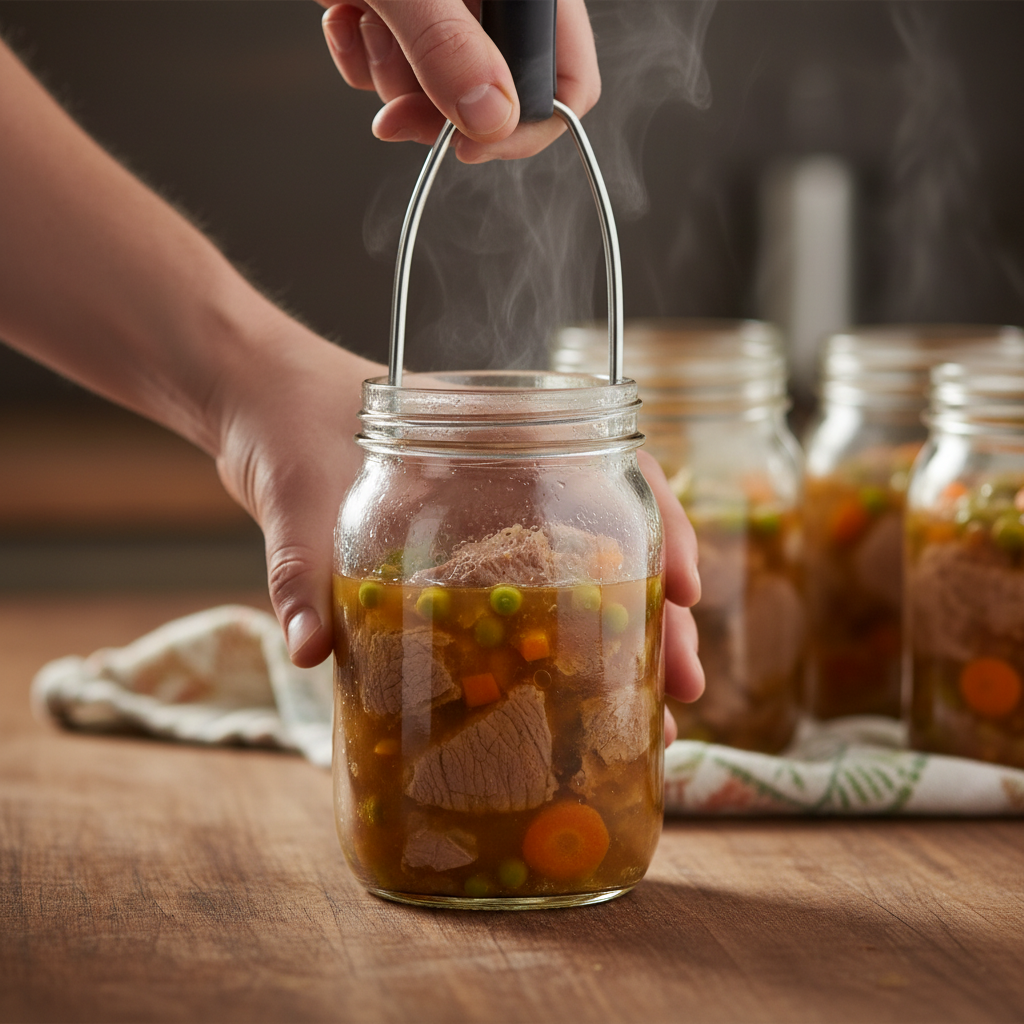
- Check the Seals: Remove the jars with a jar lifter and place them on a towel on the counter, leaving space between them. Do not touch them for 12-24 hours. You will hear satisfying ‘ping’ sounds as the lids seal. After 24 hours, check the seals by pressing on the center of the lid. If it doesn’t flex, it’s sealed. Remove the screw rings, wipe the jars, label with the date and contents, and store in a cool, dark place.
Hacker Tip: Pressure must be adjusted for altitude. At altitudes over 1,000 feet, you must increase the pressure to ensure adequate heat. For a dial gauge canner, increase to 11 PSI for 1-2000 ft, 12 PSI for 2-4000 ft, and so on. A weighted gauge at 10 PSI automatically compensates up to a certain altitude, but you may need to switch to the 15 PSI weight. Consult your manual.
The Real Cost Breakdown: Prepping vs. Premium Kibble
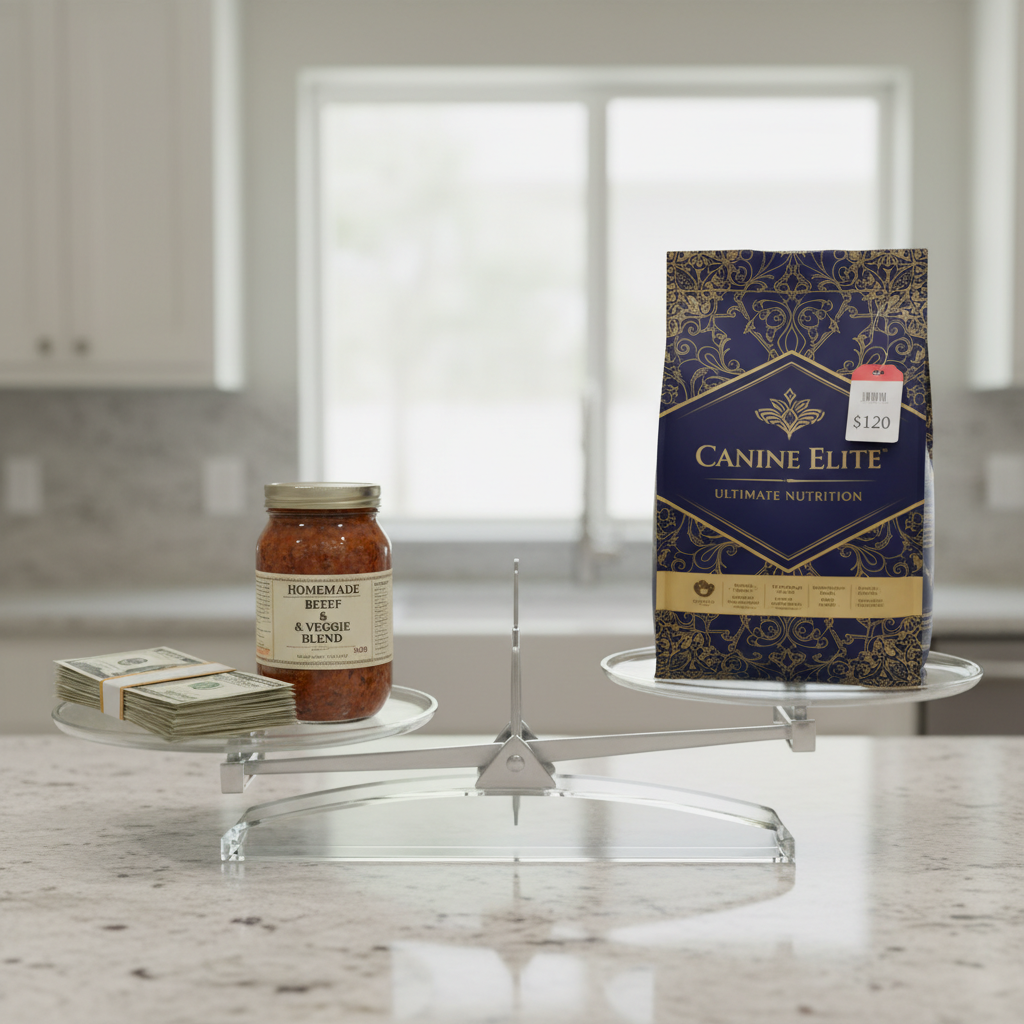
A key tenet of the Canine Nutrition Hacker is value. Does this intensive process actually save you money compared to buying a high-end, shelf-stable commercial dog food? Let’s run the numbers. Assumptions are based on bulk purchasing of ingredients for a 50lb dog requiring approximately 1,000 calories per day.
| Metric | DIY Pressure Canned Food | Premium ‘Prepper’ Kibble |
|---|---|---|
| Ingredient Cost (per lb, prepared) | ~$1.50 – $2.50 (depending on protein source) | ~$3.00 – $5.00 |
| Daily Cost (50lb Dog) | ~$2.25/day (plus supplement) | ~$3.50/day |
| Ingredient Control | Absolute. 100% human-grade ingredients, no fillers, no preservatives. | Reliant on brand transparency. Potential for mystery meats, fillers, and recalls. |
| Upfront Investment | High (Pressure canner: $100-$300, Jars, Tools) | None |
| Time Investment | Significant (several hours per batch) | Minimal (opening a bag) |
| Verdict | Significantly cheaper long-term with superior ingredient quality. The ultimate in supply chain control and peace of mind. High initial cost in time and money. | Convenient but more expensive. You are paying a premium for convenience and are vulnerable to supply chain disruptions and quality control issues. |
The analysis is clear. While the upfront investment in equipment and time is substantial, the long-term savings are significant. More importantly, you gain complete sovereignty over your dog’s nutrition. In a long-term emergency scenario, this control is priceless.
Conclusion
You now possess the blueprint to opt out of the fragile commercial pet food system. Mastering the art and science of pressure canning is more than a hobby; it’s a critical preparedness skill that puts you in the driver’s seat of your dog’s health and well-being. You are no longer just a consumer; you are a provider, a protector, and a prepper. You control the ingredients, you guarantee the quality, and you own the supply chain. That is the ultimate canine nutrition hack. Store your work with pride, knowing that no matter what happens in the world outside, your loyal companion will have the safe, high-quality nutrition they deserve.