15 Adorable Homemade Dog Treats Using Silicone Molds
Are you tired of staring at the dog treat aisle, deciphering ingredient lists longer than a research paper, and paying a premium for what often amounts to cleverly marketed junk? I’m the Canine Nutrition Hacker, and I’m here to tell you there’s a better way. Commercial dog treats are frequently packed with fillers, artificial preservatives, and low-quality ingredients that do nothing for your dog’s health. The solution is in your own kitchen.
By making your own treats, you gain absolute control over every single ingredient. Using silicone molds is the ultimate hack—it guarantees perfect portioning, easy preparation, and fun shapes that your dog will love. This guide will equip you with 15 foolproof recipes, from simple frozen pupsicles to advanced, health-boosting chews. It’s time to stop guessing and start cooking.
IMPORTANT SAFETY DISCLAIMER
Before you begin, let’s establish some ground rules. I am a canine nutrition analyst, not a veterinarian. The recipes provided are for intermittent or supplemental feeding only. They are treats and should not replace your dog’s balanced, regular diet. Always consult with your veterinarian before introducing new foods, especially if your dog has health conditions, allergies, or dietary restrictions. Furthermore, you must be vigilant about ingredients. Many human foods are toxic to dogs. NEVER use any of the following:
- Xylitol (an artificial sweetener found in many peanut butters and yogurts – EXTREMELY TOXIC)
- Grapes and Raisins
- Onions and Garlic
- Chocolate
- Macadamia Nuts
- Alcohol
Always double-check labels, especially on products like peanut butter, yogurt, and broths, to ensure they are free from harmful additives. When in doubt, leave it out.
The Hacker’s Toolkit: Why Silicone Molds Are Your Secret Weapon
To outsmart the commercial pet food industry, you need the right tools. Forget messy cookie cutters and sticky dough. Food-grade silicone molds are the single best investment for any aspiring homemade treat chef. They are inexpensive, versatile, and solve the biggest problems in treat-making.
The Strategic Advantages
- Perfect Portion Control: Molds come in various small sizes, allowing you to create bite-sized treats. This is critical for managing your dog’s caloric intake and for use in training without overfeeding.
- Unmatched Versatility: High-quality silicone is a culinary workhorse. It’s freezer-safe, oven-safe, microwave-safe, and dishwasher-safe. You can make frozen pupsicles, baked biscuits, and gelatinous gummies all with the same set of molds.
- Effortless Release: The non-stick, flexible nature of silicone means your perfectly shaped treats pop out every time without breaking. No more greasing pans or prying out broken biscuit bits.
- Easy Cleanup: A quick rinse or a cycle in the dishwasher is all it takes. This means you’re more likely to make treats regularly.
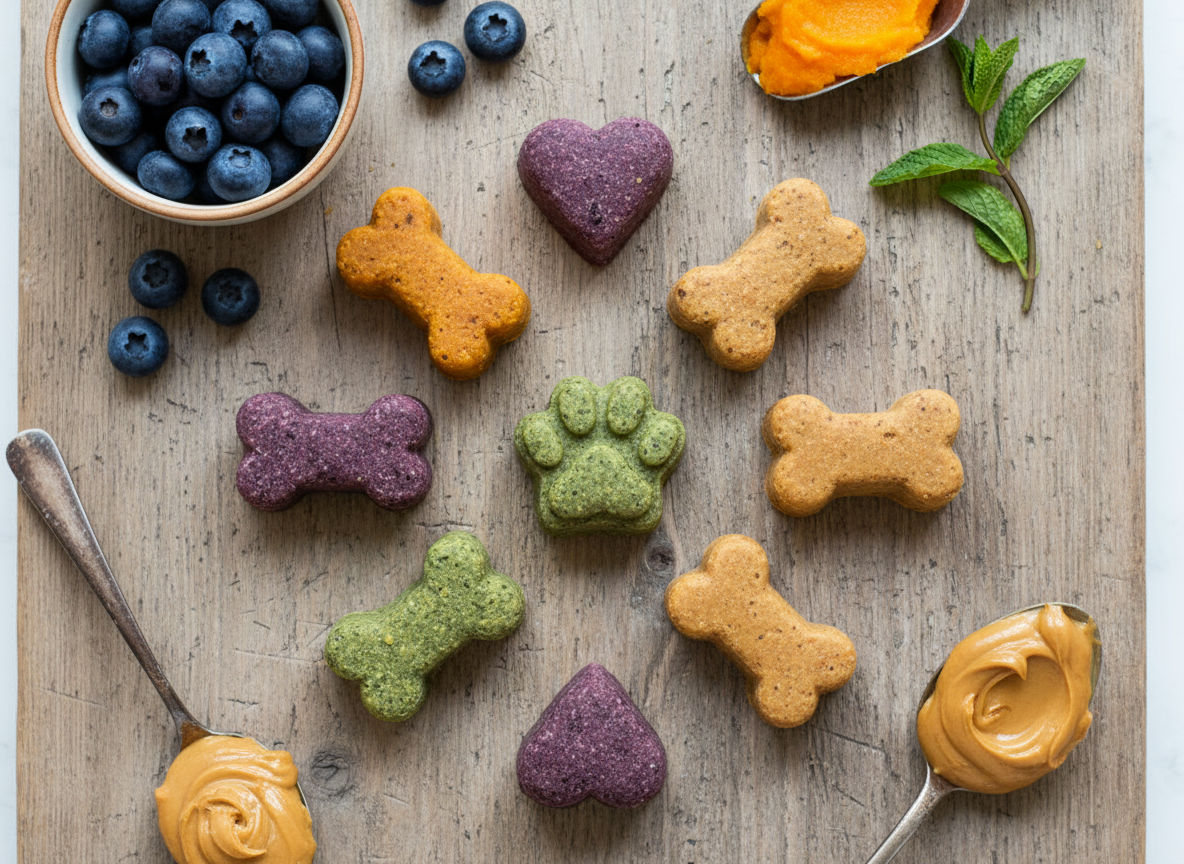
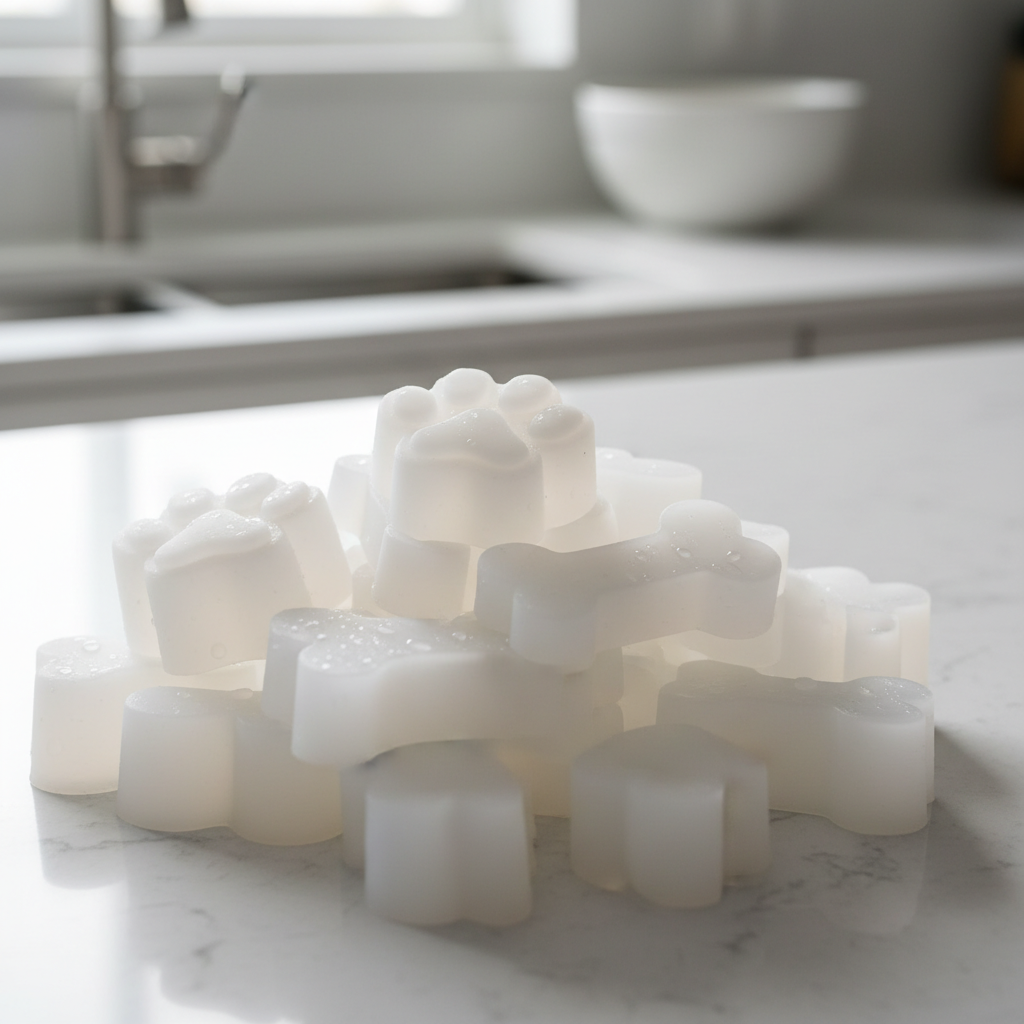
Insider Secret: Look for molds made from 100% food-grade, BPA-free silicone. Avoid cheap plastics or fillers. A good quality mold will not have a chemical smell and will withstand high heat without warping. The paw print and bone shapes are classics for a reason—they look great and dogs love them!
Level 1: Frozen Pupsicles & Yogurt Bites (5 Recipes)
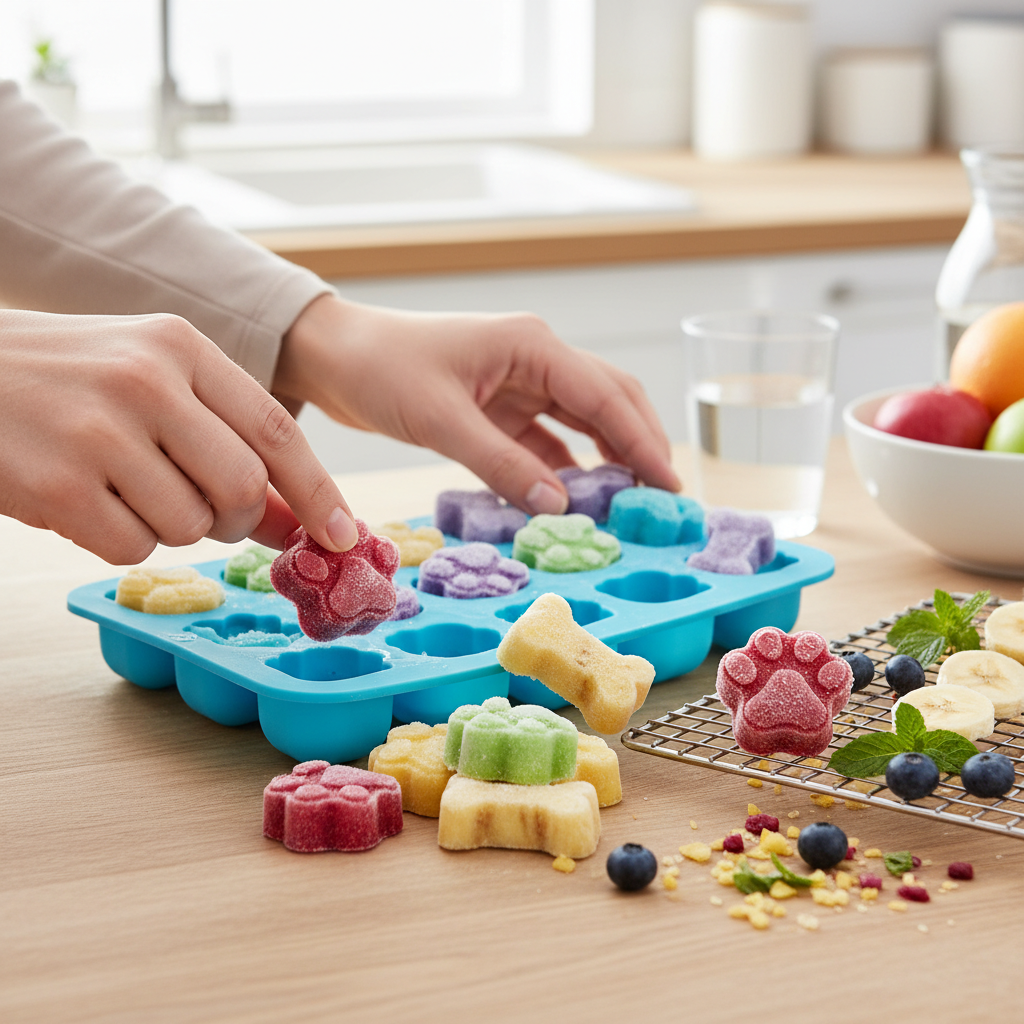
This is your entry point. These recipes require no baking and minimal prep. They are perfect for cooling your dog down on a hot day or as a simple, high-value reward. The basic principle is simple: blend and freeze.
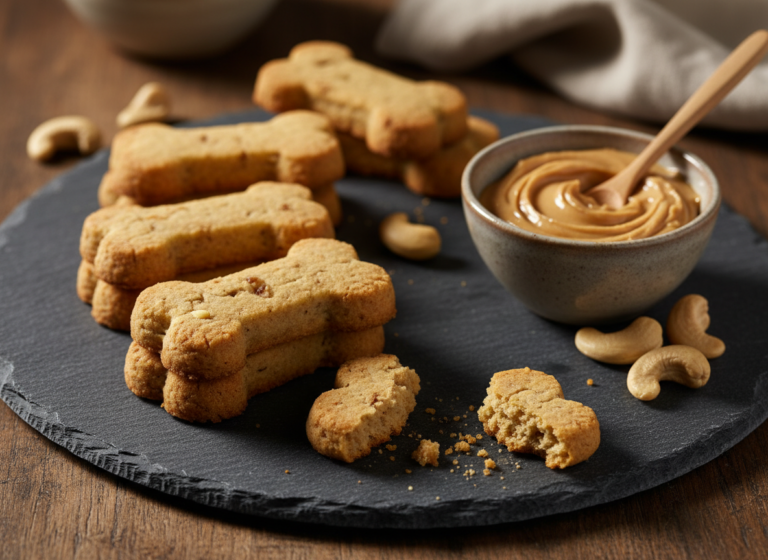
1. Classic Peanut Butter & Banana Pupsicles
A timeless favorite that’s packed with potassium and healthy fats.
- 1 ripe banana
- 2 tablespoons of 100% natural, xylitol-free peanut butter
- 1/4 cup plain, unsweetened yogurt (or water)
- Blend all ingredients until smooth.
- Pour the mixture into your silicone molds.
- Freeze for at least 4 hours, or until solid.
2. Antioxidant Yogurt & Berry Bites
Berries provide a powerful antioxidant punch for cellular health.
- 1/2 cup plain, unsweetened Greek yogurt (rich in probiotics)
- 1/4 cup mixed berries (blueberries and strawberries work well)
- 1 tablespoon water (if needed for consistency)
- Gently mash the berries, leaving some small chunks for texture.
- Mix the mashed berries into the Greek yogurt.
- Spoon into molds and freeze until solid.
3. Hydrating Watermelon & Mint Coolers
A refreshing, hydrating treat with a hint of mint for fresh breath.
- 1 cup seedless watermelon
- 3-4 fresh mint leaves
- Blend the watermelon and mint until it becomes a liquid juice.
- Pour through a fine-mesh sieve to remove any pulp if desired.
- Fill molds and freeze solid.
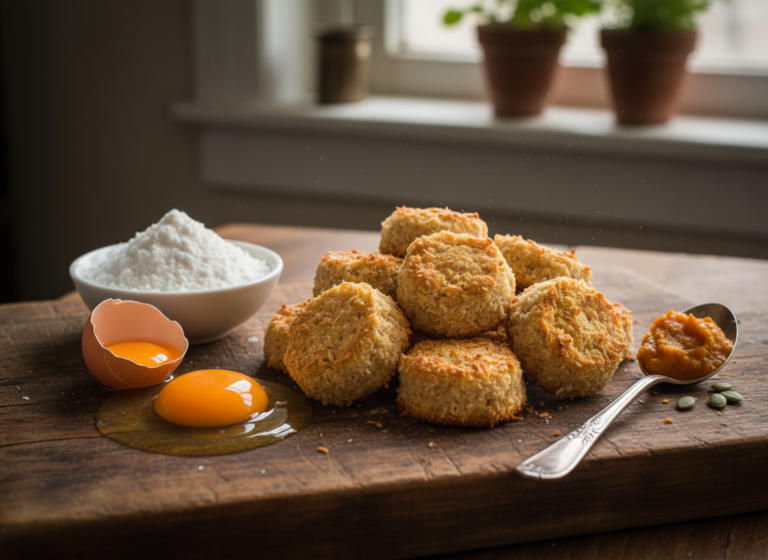
4. Digestive Pumpkin Spice Freezes
Pumpkin is a superstar ingredient for digestive regularity.
- 1/2 cup 100% pure pumpkin puree (NOT pie filling)
- 1/4 teaspoon ground cinnamon (Ceylon cinnamon is best)
- 1/4 cup water
- Whisk the pumpkin, cinnamon, and water together until well combined.
- Pour into molds.
- Freeze for 2-3 hours.
5. Savory Bone Broth Blocks
A nutrient-dense treat that supports joint health and hydration.
- 1 cup high-quality bone broth (ensure it is onion and garlic-free)
- 1 tablespoon chopped fresh parsley (optional, for fresh breath)
- If using parsley, stir it into the bone broth.
- Carefully pour the broth into the silicone molds.
- Freeze until solid. These make a great ‘kibble topper’ as well.
Level 2: Oven-Baked Biscuits & Chews (5 Recipes)
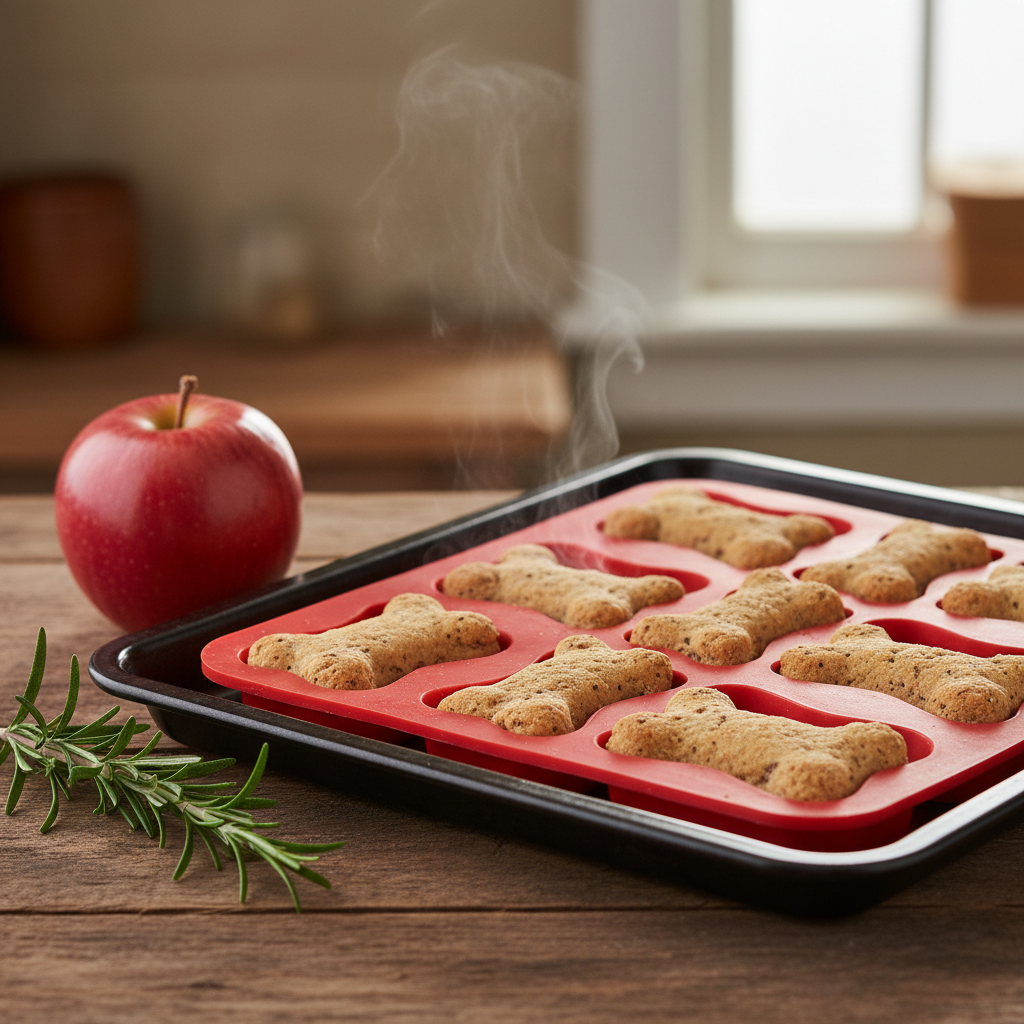
When you want a shelf-stable, crunchy treat, baking is the answer. These recipes create satisfying biscuits that are perfect for training or as a daily snack. Always ensure baked treats are fully cooled before serving.
6. Oat & Apple Crunchers
A wholesome, fiber-rich biscuit that’s gentle on the stomach.
- 1 cup rolled oats (blended into a flour)
- 1/2 cup unsweetened applesauce
- 1 egg
- Preheat your oven to 350°F (175°C).
- In a bowl, mix the oat flour, applesauce, and egg until a thick dough forms.
- Press the dough firmly into your silicone molds.
- Bake for 20-25 minutes, or until golden and firm.
- Let cool completely before removing from molds.
7. Sweet Potato & Turmeric Chews
This recipe leverages turmeric’s natural anti-inflammatory properties.
- 1 cup cooked and mashed sweet potato
- 1/2 cup coconut flour
- 1 egg
- 1 teaspoon ground turmeric
- Preheat oven to 350°F (175°C).
- Combine mashed sweet potato, egg, and turmeric. Gradually mix in the coconut flour until a dough forms.
- Press the dough into the molds.
- Bake for 25-30 minutes. For a crunchier treat, turn off the oven and let them sit inside as it cools.
8. Sardine & Flaxseed Bites
An Omega-3 powerhouse for a shiny coat and healthy skin. Fair warning: your kitchen will smell fishy!
- 1 can (3.75 oz) sardines packed in water, undrained
- 1 egg
- 1/4 cup ground flaxseed
- 1/2 cup whole wheat flour (or oat flour)
- Preheat oven to 350°F (175°C).
- In a blender, combine the entire can of sardines (with water), egg, and ground flaxseed. Blend until mostly smooth.
- Pour into a bowl and mix in the flour to form a thick paste.
- Spoon and press the mixture into molds.
- Bake for 15-20 minutes.
9. Coconut & Carob ‘Choc-less’ Treats
Carob is a safe and healthy alternative to chocolate for dogs.
- 1 cup oat flour
- 1/4 cup coconut oil, melted
- 1/4 cup water
- 2 tablespoons carob powder
- Preheat oven to 350°F (175°C).
- Mix all ingredients together to form a crumbly dough.
- Press firmly into silicone molds.
- Bake for 15 minutes. Cool completely.
10. Cheesy Chicken Minis
A high-protein, savory treat that’s an incredible high-value reward.
- 1/2 lb lean ground chicken
- 1/4 cup shredded low-fat cheddar cheese
- 1 egg
- Preheat oven to 375°F (190°C).
- Thoroughly mix the ground chicken, cheese, and egg in a bowl.
- Press small amounts of the mixture into your molds, packing it down.
- Bake for 20-25 minutes, or until the chicken is fully cooked.
- Drain any excess fat on a paper towel after removing from molds.
Level 3: The Nutrition Hacker’s Advanced Formulations (5 Recipes)
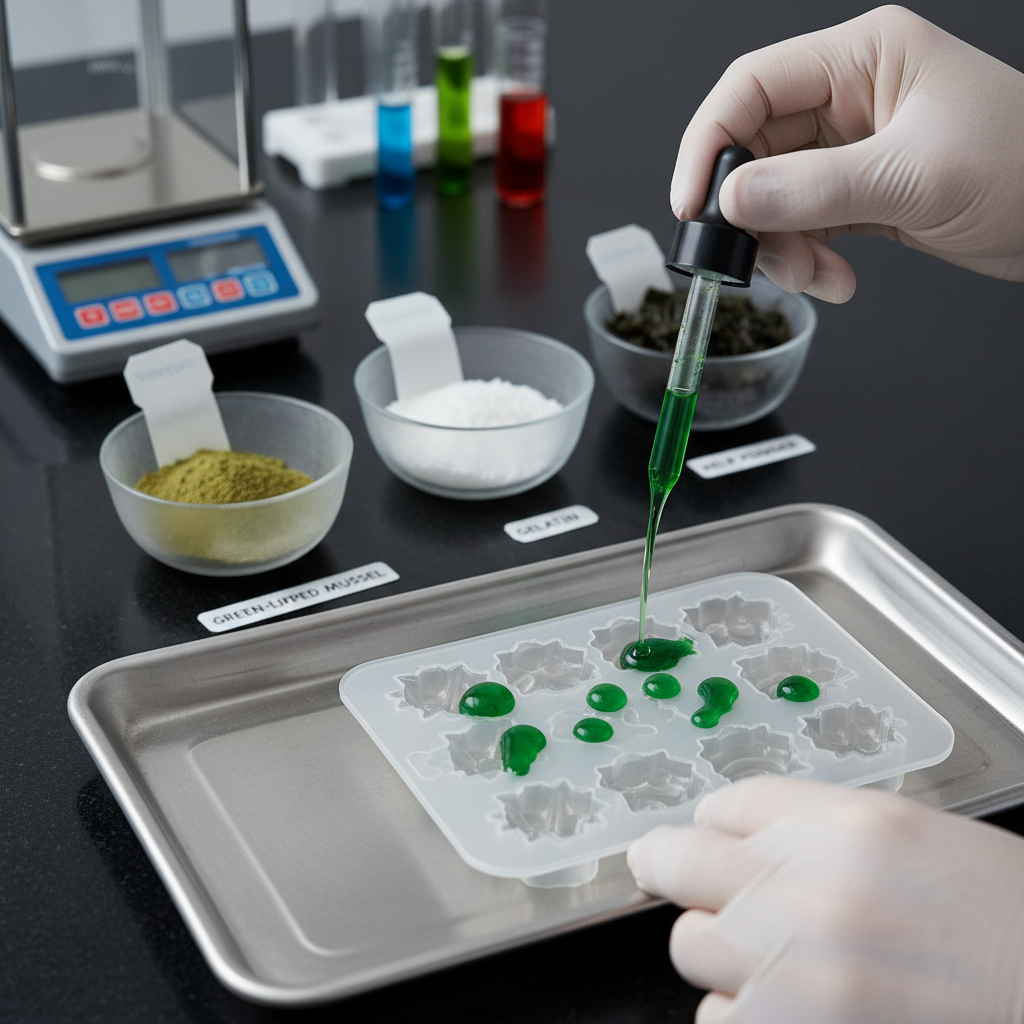
Ready to level up? These recipes use specific, functional ingredients to target common canine health issues. They require more unique ingredients but offer powerful benefits. Gelatin is a key player here for creating gummy textures.
11. Green-Lipped Mussel Joint Support Jellies
A potent treat for senior dogs or breeds prone to joint issues.
- 1 cup bone broth (no onion/garlic)
- 2 tablespoons unflavored beef gelatin
- 1 teaspoon green-lipped mussel powder
- Pour 1/2 cup of COLD bone broth into a bowl and sprinkle the gelatin over it. Let it ‘bloom’ for 5 minutes.
- Gently heat the remaining 1/2 cup of bone broth until warm, not boiling.
- Pour the warm broth over the bloomed gelatin and whisk until fully dissolved.
- Whisk in the green-lipped mussel powder.
- Pour into molds and refrigerate for 4-6 hours until firm.
12. Calming Chamomile & Honey Gummies
For dogs with mild anxiety. Chamomile has natural calming properties.
- 1 cup brewed chamomile tea, cooled
- 2 tablespoons unflavored gelatin
- 1 teaspoon raw honey (optional)
- Follow the same gelatin ‘blooming’ process as above, using the tea instead of broth.
- After dissolving the gelatin, stir in the honey until combined.
- Pour into molds and refrigerate until set.
13. Digestive Aid Pumpkin & Ginger Gels
Soothing for an upset stomach and promotes healthy digestion.
- 1/2 cup pumpkin puree
- 1/2 cup water
- 2 tablespoons gelatin
- 1/2 teaspoon ground ginger
- Bloom the gelatin in the COLD water.
- Gently warm the pumpkin puree. Do not boil.
- Combine the warm pumpkin with the bloomed gelatin mixture, whisking until smooth. Stir in the ginger.
- Pour into molds and refrigerate until firm.
14. Dental Health Parsley & Mint Chews
A gelatin-based chew that helps freshen breath from the inside out.
- 1 cup water
- 1/4 cup finely chopped fresh parsley
- 1 tablespoon finely chopped fresh mint
- 2 tablespoons unflavored gelatin
- Bloom the gelatin in 1/2 cup of cold water.
- Heat the other 1/2 cup of water until warm. Combine with the gelatin mixture and whisk until dissolved.
- Stir in the fresh parsley and mint.
- Pour into molds and refrigerate.
15. Shiny Coat Salmon & Kelp Cubes
Packed with omega-3s and vital minerals for skin and coat health.
- 1 can (6 oz) boneless, skinless salmon, drained
- 1/4 cup water
- 1 teaspoon organic kelp powder
- 1 tablespoon coconut oil
- Combine all ingredients in a blender and blend until a smooth paste forms.
- Spoon the mixture into molds.
- Freeze until solid. These are best served frozen.
The Bottom Line: Cost Breakdown & Smart Storage
One of the biggest wins of the hacker mentality is saving money without sacrificing quality. Let’s break down the real cost of a simple homemade treat versus a ‘premium’ store-bought equivalent.
Cost Analysis: DIY vs. Commercial
| Metric | DIY Peanut Butter & Banana Treats (Recipe #1) | Premium Grain-Free Peanut Butter Treats |
|---|---|---|
| Key Ingredients | Banana, Natural Peanut Butter, Yogurt | Pea Flour, Chickpeas, Peanut Butter, Canola Oil |
| Approx. Cost per Batch (60 small treats) | $2.50 | N/A |
| Cost per Treat | $0.04 | $0.25 – $0.50 |
| Verdict | Complete control over high-quality, fresh ingredients for a fraction of the cost. | Significantly more expensive, often uses cheaper ‘filler’ ingredients like pea flour to add bulk. |
The numbers don’t lie. You can make a month’s worth of high-quality treats for the price of one small bag of commercial treats. This is how you win the nutrition game.
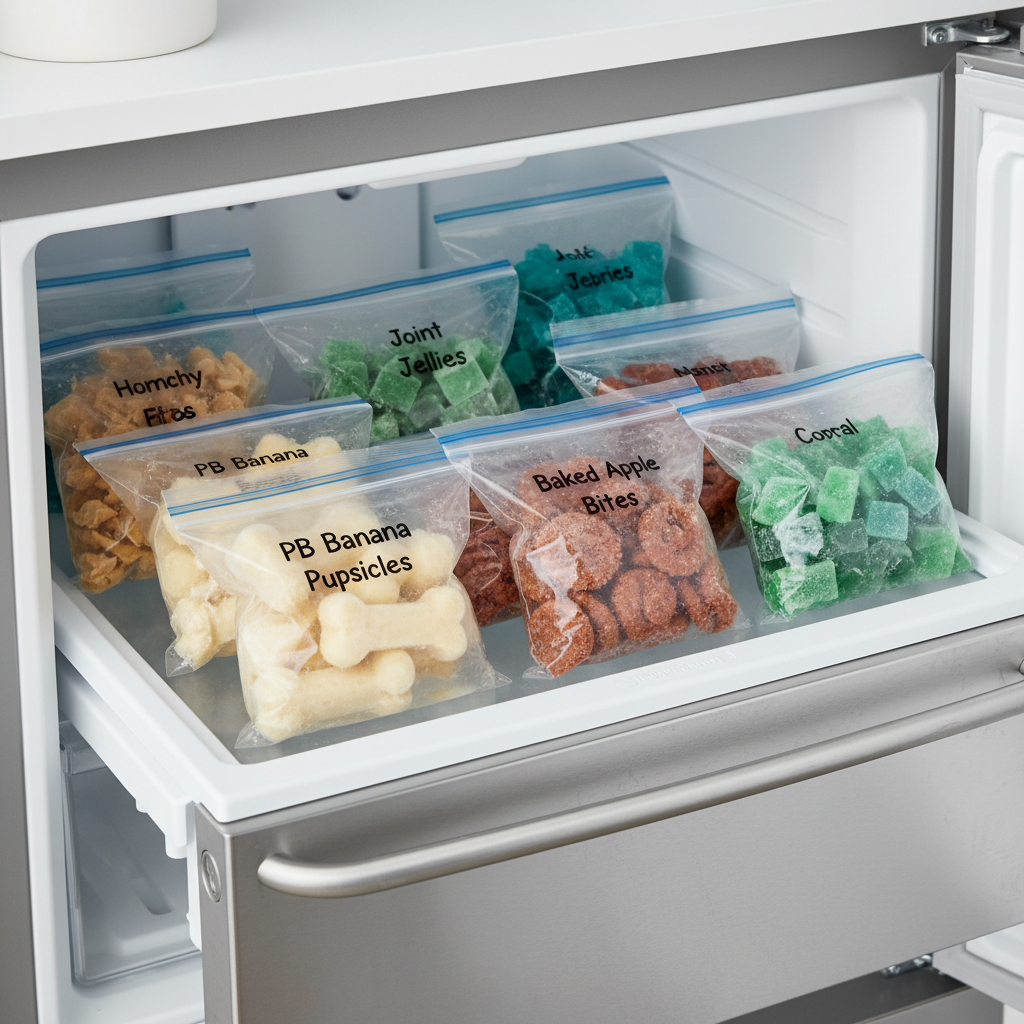
Batch Cooking & Storage Secrets
Hacker Tip: Never let your hard work go to waste. Proper storage is key. For baked treats, ensure they are completely dry and cooled. Store them in an airtight container on the counter for up to a week. For longer storage, freeze them flat on a baking sheet before transferring them to a freezer bag. This prevents them from sticking together. Frozen and gelatin-based treats should be removed from the molds and stored in a labeled freezer bag or container for up to 3 months. You can pull out a few at a time as needed.
Conclusion
You are now armed with the knowledge and the recipes to completely transform your dog’s treat experience. By stepping into your kitchen, you’ve moved beyond being a passive consumer and have become an active participant in your dog’s wellness—a true Canine Nutrition Hacker. You control the ingredients, you control the quality, and you control the cost.
There’s no need to feel intimidated. Start with a simple frozen recipe and see how your dog reacts. The act of creating something wholesome for your companion is incredibly rewarding. You’re not just saving money or avoiding fillers; you’re actively contributing to a healthier, happier life for your best friend. Welcome to the club.