Easy Gluten-Free Sorghum Flour Dog Treats
Walk down any pet food aisle and you’re bombarded with slick marketing. Bags scream ‘Grain-Free,’ ‘All-Natural,’ and ‘Gourmet.’ But turn the bag over and the truth is often disappointing. You’re paying a premium for treats bulked out with pea protein, potato starch, and a laundry list of ingredients that serve the manufacturer’s bottom line, not your dog’s health. The ‘grain-free’ craze, in particular, has become a masterclass in nutritional misdirection, swapping out traditional grains for equally questionable, and sometimes problematic, legumes and starches.
As The Canine Nutrition Hacker, my mission is to cut through this noise. It’s time to stop being a passive consumer and start being a proactive guardian of your dog’s diet. We’re going to bypass the commercial machine entirely. Today, we focus on one superior ingredient that blows most commercial fillers out of the water: sorghum. This isn’t just another flour; it’s an ancient, nutrient-dense, and naturally gluten-free grain that provides sustained energy without the inflammatory properties of common allergens like wheat. This guide will provide you with more than a recipe; it’s a blueprint for creating high-value, cost-effective treats that deliver real nutritional benefits. Prepare to upgrade your dog’s snack time and save significant money in the process.
Critical Safety Protocol: Read Before You Bake
Critical Safety Protocol: Read Before You Bake
Before you preheat your oven, we need to establish a critical baseline. My analysis and recommendations are based on extensive research into canine nutrition, but they are not a substitute for professional veterinary advice.
LEGAL DISCLAIMER: I am a canine nutrition analyst, not a licensed veterinarian. The information provided here is for educational purposes only. Every dog is an individual with unique health needs. Always consult with your trusted veterinarian before making any significant changes to your dog’s diet, especially if your dog has pre-existing health conditions, allergies, or dietary sensitivities. These treats are intended for supplemental feeding only and should not replace a balanced, complete diet.
The Xylitol Threat
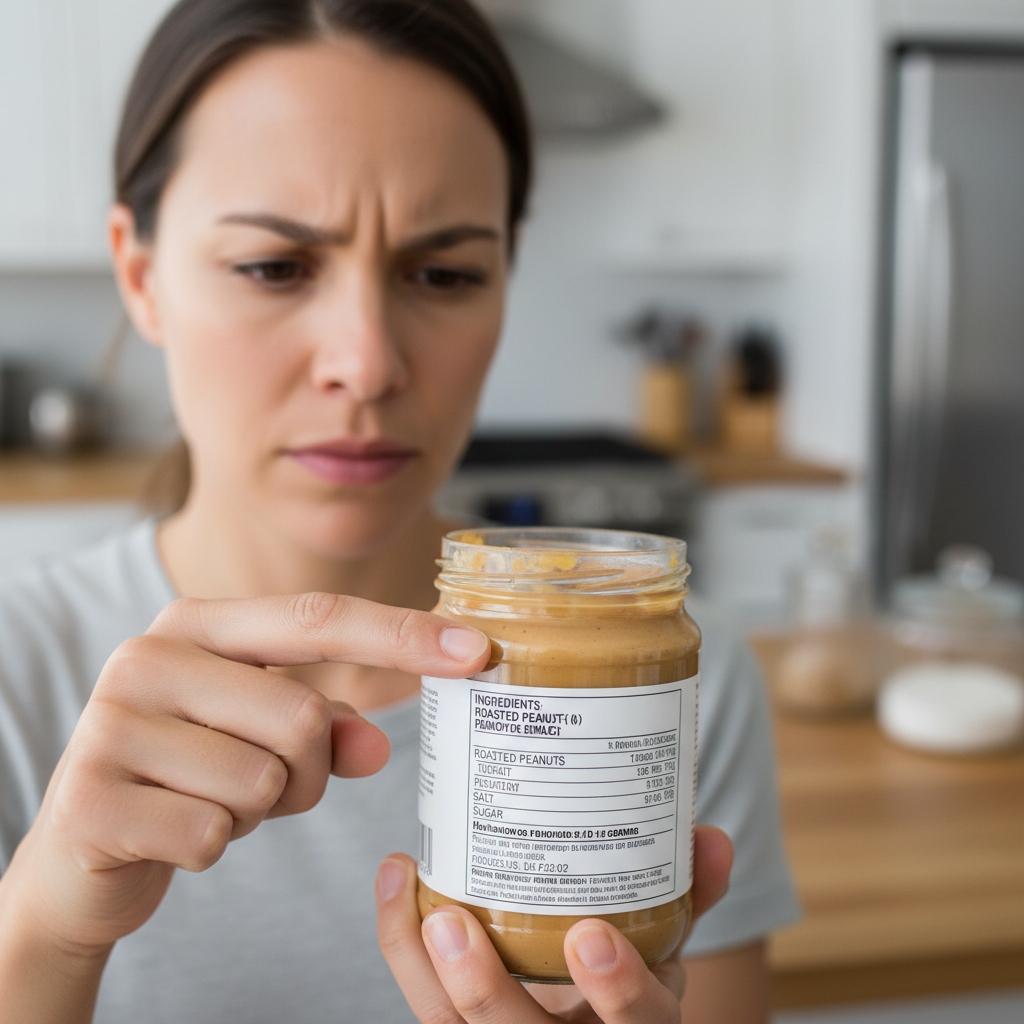
One of the most significant dangers in homemade treats comes from a seemingly innocent ingredient: peanut butter. Many brands, especially ‘low-sugar’ or ‘natural’ varieties, now use xylitol as a sweetener. Xylitol is extremely toxic to dogs, causing a rapid release of insulin that leads to hypoglycemia, liver failure, and can be fatal. NEVER use any product containing xylitol. Read every label, every time. If it doesn’t explicitly say ‘xylitol-free,’ do not buy it.
Known Canine Toxins
Your kitchen contains other potential hazards. This is not an exhaustive list, but it covers common ingredients that must be avoided at all costs:
- Chocolate (all forms)
- Onions, Garlic, Chives
- Grapes and Raisins
- Macadamia Nuts
- Alcohol
- Caffeine
- Fatty foods or cooked bones
Treats should make up no more than 10% of your dog’s daily caloric intake. Use this recipe to reward and supplement, not to replace their core nutrition. Your diligence is the most important ingredient in this recipe.
Deconstructing the Grain-Free Myth: Why Sorghum is a Superior Choice
Deconstructing the Grain-Free Myth: Why Sorghum is a Superior Choice
The ‘grain-free’ movement started with good intentions, aiming to eliminate common allergens like wheat, corn, and soy. However, the multi-billion dollar pet food industry co-opted the term, using it as a marketing tool. They replaced cheap grains with cheap legumes and starches—like peas, lentils, and potatoes—which could be problematic in their own right, leading to concerns about links to diet-associated Dilated Cardiomyopathy (DCM) in dogs.
The real issue was never ‘grains’ as a whole, but the quality and type of grains used. This is where sorghum enters the picture as a hacker’s choice. It is not a cheap filler; it’s a strategic nutritional asset.
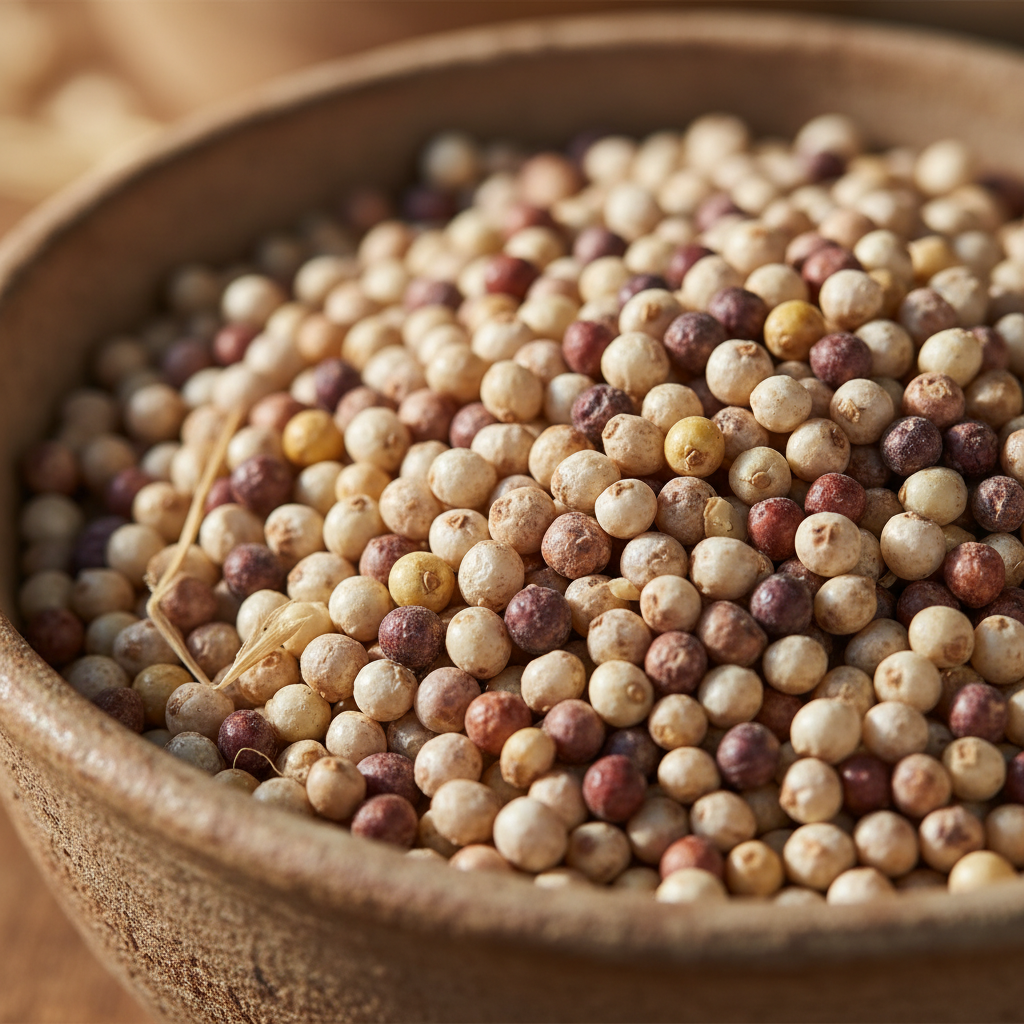
What is Sorghum?
Sorghum is an ancient cereal grain that has been a staple food source for millions of people for centuries. Unlike heavily subsidized and genetically modified crops like corn, sorghum is often grown using fewer resources and remains closer to its ancestral form. It is naturally gluten-free, making it an excellent option for dogs with sensitivities to wheat or other gluten-containing grains.
The Nutritional Dossier
Here’s a breakdown of why sorghum is a superior carbohydrate source for your dog:
- Low Glycemic Index: Sorghum is a complex carbohydrate that is digested slowly. This prevents sharp spikes in blood sugar, providing a source of steady, sustained energy. This is particularly beneficial for diabetic dogs or those needing weight management.
- Rich in Antioxidants: Certain varieties of sorghum are packed with phenolic compounds and anthocyanins, antioxidants that help combat oxidative stress and inflammation in the body.
- High in Fiber: The dietary fiber in sorghum supports digestive health, promoting regular bowel movements and feeding the beneficial bacteria in your dog’s gut.
- Nutrient Profile: It’s a good source of essential nutrients, including iron, phosphorus, magnesium, and B vitamins, which are vital for everything from energy metabolism to red blood cell production.
Insider Secret: The pet food industry avoids high-quality ancient grains like sorghum in many treat formulas because cheaper binders like potato starch or tapioca are more profitable. By using sorghum, you are directly investing in your dog’s metabolic health, a factor often ignored in commercial treat production.
The Blueprint: A Foolproof Sorghum Flour Dog Treat Recipe
The Blueprint: A Foolproof Sorghum Flour Dog Treat Recipe
This recipe is engineered for simplicity, nutritional value, and palatability. We use a minimal number of high-quality ingredients to ensure you know exactly what your dog is consuming. No fillers, no artificial binders, no preservatives.
Ingredient Dossier (Yields approx. 30-40 treats)
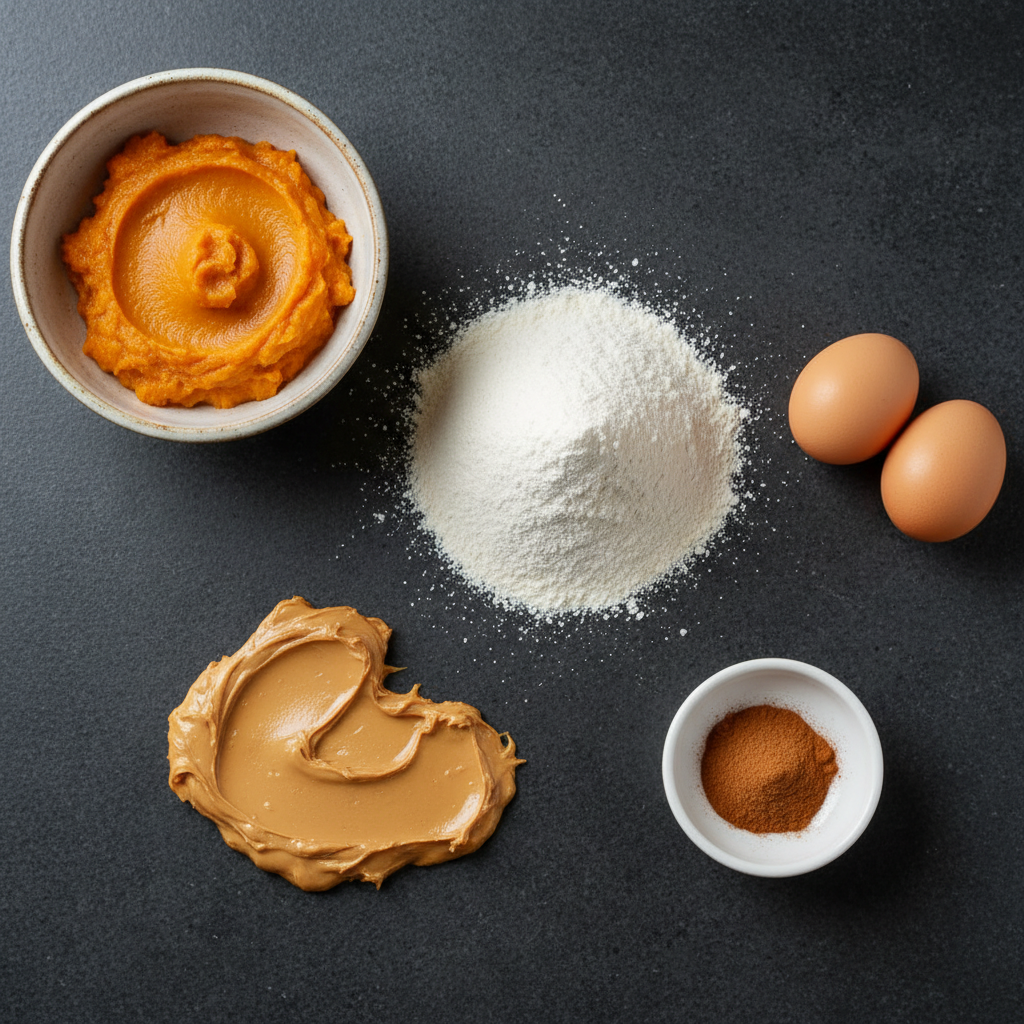
- 2 cups Sorghum Flour: The foundation of our treat.
- 1 cup Unsweetened Pumpkin Purée: Ensure it is 100% pure pumpkin, not pumpkin pie filling which contains sugar and spices that can be harmful. Pumpkin is excellent for digestive health.
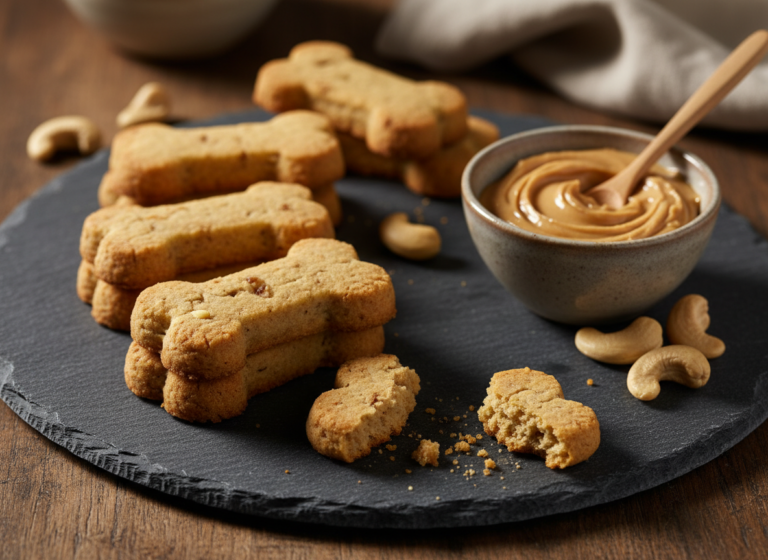
- 1/2 cup Natural, Creamy Peanut Butter: CRITICAL: Must be xylitol-free. Check the label. This provides healthy fats and protein.
- 2 Large Eggs: A fantastic source of protein and acts as a natural binder.
- 1 teaspoon Ground Cinnamon (Optional): A powerful anti-inflammatory agent that can also help regulate blood sugar.
Step-by-Step Protocol
- Pre-Op: Preheat your oven to 350°F (175°C). Line a large baking sheet with parchment paper to prevent sticking.
- Combine Wet Ingredients: In a large mixing bowl, combine the pumpkin purée, peanut butter, and eggs. Whisk until the mixture is smooth and homogenous. This ensures the fats and binders are evenly distributed before adding the dry flour.
- Incorporate Dry Ingredient: Gradually add the sorghum flour and optional cinnamon to the wet mixture. Start by mixing with a spoon or spatula. As the dough thickens, switch to using your hands. Sorghum flour absorbs liquid differently than wheat flour, so the dough will be dense and slightly sticky.
- Knead and Form: Turn the dough out onto a lightly floured surface (use extra sorghum flour). Knead it gently for about a minute until it forms a cohesive, non-sticky ball. If the dough is too wet, add sorghum flour one tablespoon at a time. If it’s too crumbly, add a tablespoon of water.
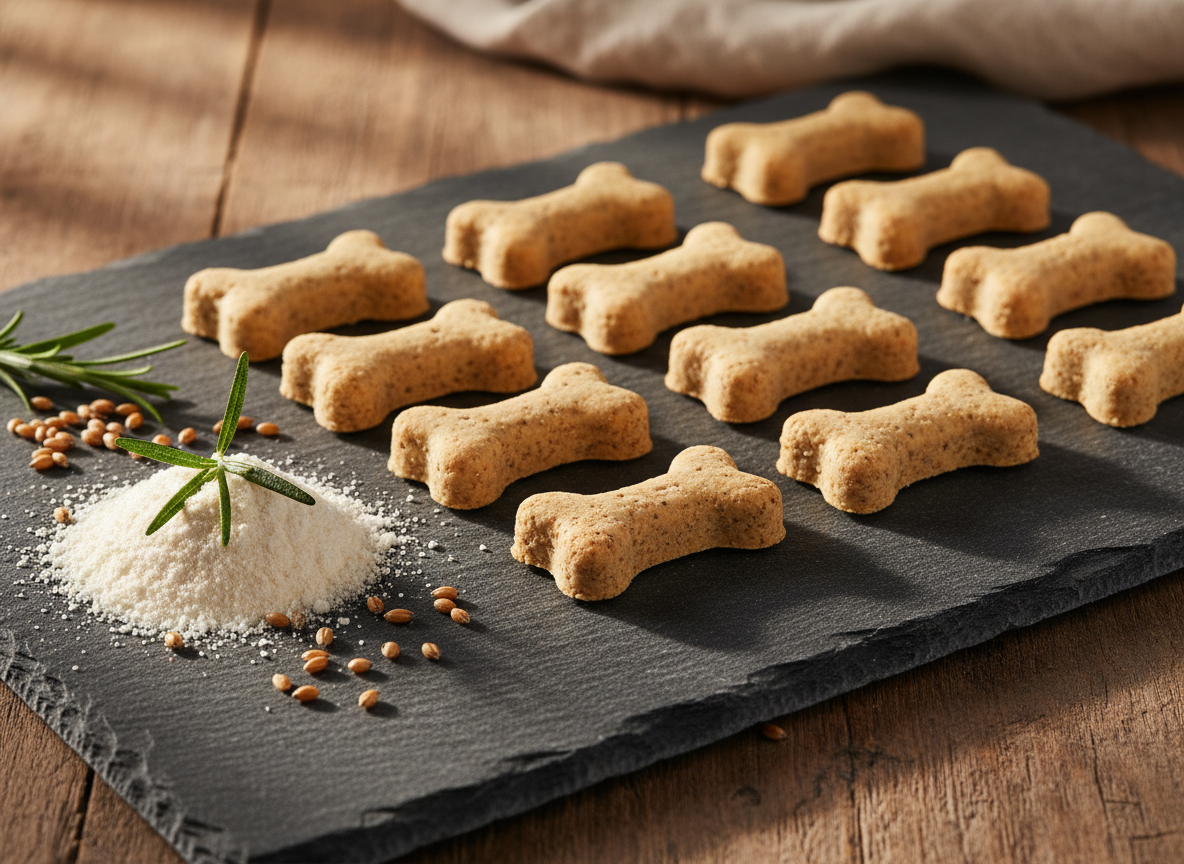
- Roll and Cut: Roll the dough out to approximately 1/4-inch thickness. Use your favorite cookie cutters to cut out shapes. Place the treats about an inch apart on the prepared baking sheet.
- Bake: Bake for 20-25 minutes. For a crunchier, more shelf-stable treat, turn off the oven, crack the door open, and let the treats cool and dry out in the oven for another hour or two.
- Cool Down: Remove the treats from the oven and let them cool completely on a wire rack before serving or storing.
Hacker Variations & Upgrades
Once you’ve mastered the base recipe, you can customize it for added nutritional benefits:
- Omega-3 Boost: Add 2 tablespoons of ground flaxseed or chia seeds for a boost of anti-inflammatory omega-3 fatty acids.
- Joint Support: Mix in 1 teaspoon of turmeric (with a pinch of black pepper to aid absorption) for its powerful anti-inflammatory properties, beneficial for older dogs or active breeds.
- Fresh Breath Formula: Add 2 tablespoons of finely chopped fresh parsley. Parsley contains chlorophyll, a natural breath freshener.
Cost Analysis: Hacking Your Treat Budget
Cost Analysis: Hacking Your Treat Budget
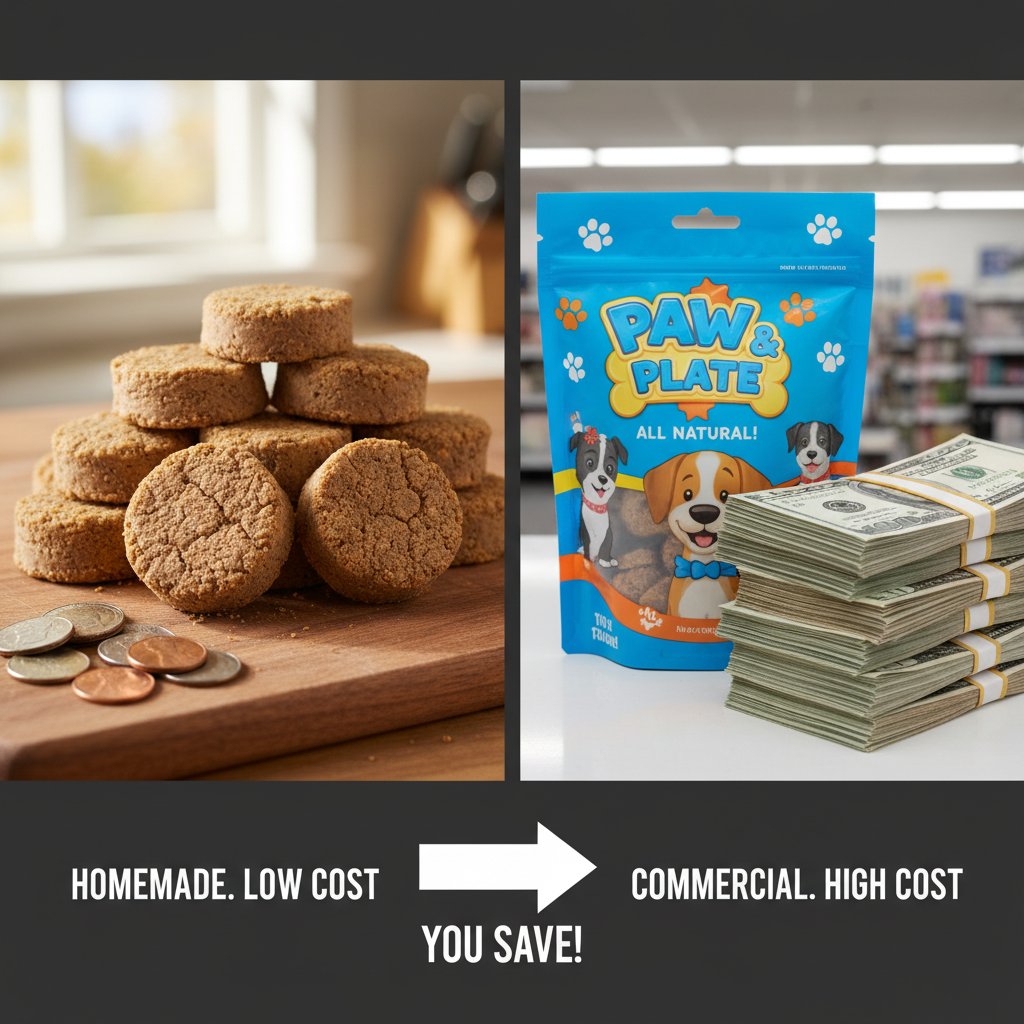
The ‘premium’ and ‘gourmet’ labels on commercial dog treats are often just a license to charge exorbitant prices. Let’s run the numbers and see the real cost of convenience versus the strategic investment of making your own. This analysis is based on average US grocery store prices; your costs may vary.
DIY Batch Cost Breakdown
- Sorghum Flour (2 cups): A 20oz bag (~4.5 cups) costs ~$4.00. Cost for recipe: $1.78
- Pumpkin Purée (1 cup): A 15oz can (~1.75 cups) costs ~$2.00. Cost for recipe: $1.14
- Peanut Butter (1/2 cup): A 16oz jar (~2 cups) costs ~$3.50. Cost for recipe: $0.88
- Eggs (2): A dozen eggs costs ~$3.00. Cost for recipe: $0.50
Total Cost Per Batch (approx. 40 treats): $4.30
Cost Per DIY Treat: ~$0.11
Commercial Brand Comparison
Let’s compare this to a popular ‘premium’ brand of gluten-free peanut butter dog treats. A typical 12oz bag contains around 35-40 treats and costs approximately $12.00.
Cost Per Commercial Treat: ~$0.32
By investing a small amount of time, you are creating a higher-quality product for nearly one-third of the price. Over a year, the savings are substantial.
Hacker Tip: Buy your sorghum flour and other dry goods in bulk from health food stores or online retailers. The unit price drops significantly, pushing your cost-per-treat even lower. I can often get my cost down to under $0.07 per treat with strategic bulk purchasing.
| Metric | DIY Sorghum Treats | Premium Commercial Brand | The Verdict |
|---|---|---|---|
| Cost Per Treat | ~$0.11 | ~$0.32 | 65% Savings |
| Ingredient Control | 100% transparent and high-quality | Contains fillers, preservatives, ‘natural flavors’ | DIY Wins |
| Nutrient Density | High (whole foods) | Variable (processed ingredients) | DIY Wins |
| Annual Savings (10 treats/week) | ~$109 Saved | Baseline Cost | Significant Financial Advantage |
Strategic Reserves: Batching and Storage Protocol
Strategic Reserves: Batching and Storage Protocol
Your time is valuable. The most efficient way to implement this nutritional upgrade is to batch-prepare your treats. A single baking session can produce a supply that lasts for weeks or even months, provided you follow the correct storage protocol. Proper storage is critical to prevent mold and spoilage, protecting both your investment of time and your dog’s health.
Short-Term Storage (Up to 1 Week)
For treats you plan to use within a week, the key is ensuring they are completely cool and dry. If they were baked until very crunchy and allowed to dry in the cooling oven, they can be stored at room temperature. Use an airtight container, like a glass jar or a dedicated cookie tin. Do not seal them while they are still warm, as the trapped steam will create moisture and lead to rapid spoilage.
Medium-Term Storage (Up to 3 Weeks)
If your treats are slightly softer or if you live in a humid climate, refrigeration is the safest option. Store them in an airtight container or a zip-top bag in the refrigerator. This will significantly slow down any potential for mold growth.
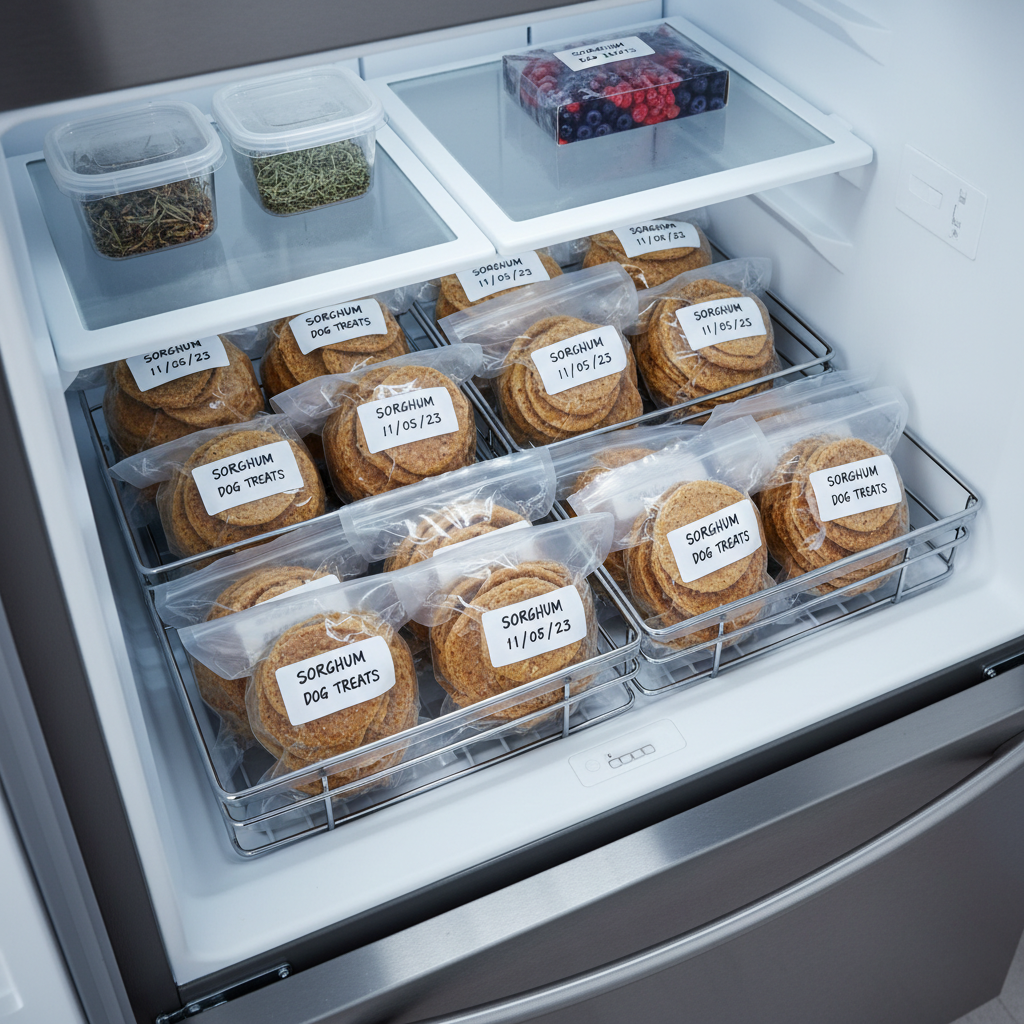
Long-Term Storage: The Freezer Strategy (Up to 6 Months)
Freezing is the ultimate batching strategy. This allows you to make several batches at once, ensuring you always have a healthy, cost-effective supply on hand.
- Flash Freeze: After the treats have cooled completely, arrange them in a single layer on a baking sheet. Place the baking sheet in the freezer for 1-2 hours, or until the treats are frozen solid. This crucial step prevents them from clumping together into a single frozen mass.
- Package and Label: Once frozen, transfer the treats to a freezer-safe zip-top bag or a vacuum-seal bag. Squeeze out as much air as possible to prevent freezer burn. Use a permanent marker to label the bag with the contents and the date of preparation.
- Thawing: You can give the treats to your dog directly from the freezer for a cool, crunchy snack on a hot day, or you can let them thaw on the counter for about 10-15 minutes.
By adopting this batching and storage protocol, you transform a simple recipe into a sustainable part of your dog’s nutritional routine, maximizing both efficiency and savings.
Conclusion
You now possess the knowledge and the blueprint to opt out of the commercial treat ecosystem. By choosing a superior ingredient like sorghum and investing a small amount of time, you have fundamentally upgraded your dog’s nutrition while simultaneously cutting your budget. This isn’t just about baking; it’s about taking decisive control over what goes into your dog’s body. You are no longer just a consumer; you are your dog’s personal nutritionist and advocate. Analyze every label, question every ingredient, and never underestimate your power to provide the absolute best for your canine companion. Welcome to the world of the Canine Nutrition Hacker.