Build This Rustic Wooden Dog Food Can Organizer (Free Plans)
Let’s be honest. The standard method for storing dog food cans is a disaster. You’re dealing with precarious stacks in the pantry, ugly cardboard trays on the counter, or a jumbled mess in a cabinet. Every feeding time is a game of Jenga. It’s inefficient, unsightly, and beneath a savvy pet owner like you. Commercial plastic organizers are flimsy, overpriced, and lack any sort of style.
The solution isn’t to buy another piece of cheap plastic. It’s to build something permanent, functional, and frankly, beautiful. This guide provides the complete, no-fluff plans to build a rustic, gravity-fed wooden can organizer. It’s a straightforward project that will dramatically upgrade your pet feeding station, turning clutter into a piece of custom furniture. Let’s get to work.
The Arsenal: Gathering Your Materials and Tools

Before a single cut is made, a professional prepares their workspace. This project doesn’t require a master woodworker’s shop, but it does demand the right tools and materials for a clean, sturdy result. Don’t compromise here; your finished product’s quality depends on it.
Workshop Safety Disclaimer
You are in control of your own safety. Always wear safety glasses when operating power tools. Read and understand the manuals for your tools before use. Work in a well-ventilated area, especially when staining and sealing. This guide is for informational purposes; you assume all risk associated with the project.
Materials List
- 1 piece of 1×6 common pine board, 8 feet long (or equivalent scrap wood)
- Wood glue (Titebond II or similar is recommended for strength)
- 1-1/4 inch 18-gauge brad nails
- Wood stain (e.g., Varathane Dark Walnut or Minwax Jacobean for a deep rustic look)
- Pet-safe polyurethane or polycrylic (water-based is easier for cleanup)
- 120-grit and 220-grit sandpaper
- Clean rags for staining
- Foam brush for sealing
Tools List
- Tape Measure & Pencil
- Miter Saw or Circular Saw with a guide
- Brad Nailer (or hammer and finish nails if you prefer)
- Power Sander (orbital or block)
- Clamps (at least two are helpful)
- Safety Glasses
Hacker Tip: Check the ‘cull lumber’ or ‘project board’ section at your home improvement store. You can often find perfectly usable boards with minor defects for up to 70% off. A little strategic cutting and sanding is all it takes to turn discounted wood into a premium project.
| Item | DIY Build Cost (Approx.) | Pre-Made Retail (Approx.) |
|---|---|---|
| Rustic Can Organizer | $20 – $25 (wood, stain, supplies) | $50 – $80+ (for lower quality) |
| Total Savings | Over 50% Saved & Higher Quality | |
Measure Twice, Cut Once: The Official Cut List
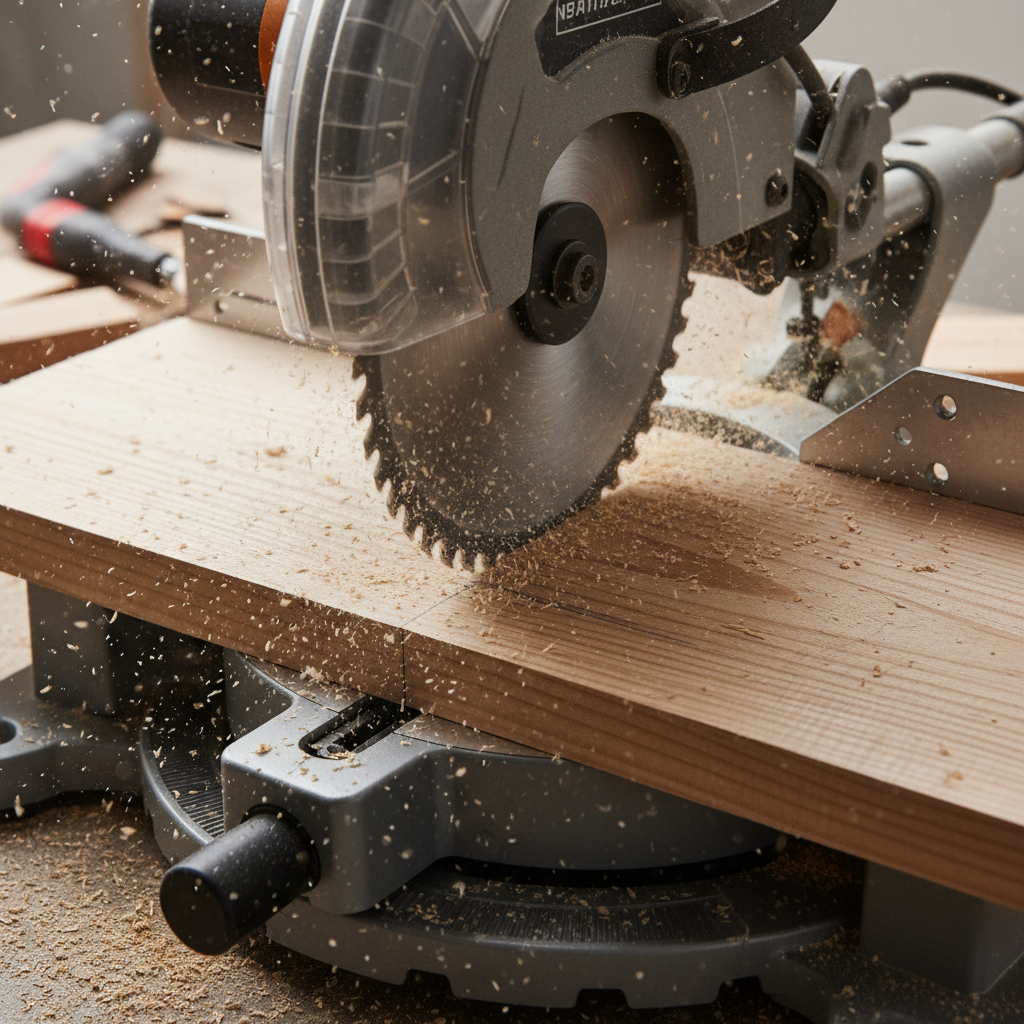
Precision is the foundation of quality woodworking. Inaccurate cuts lead to gaps, instability, and a finished product that looks amateurish. Take your time, double-check every measurement, and ensure your saw is set to a perfect 90-degree angle for square cuts. The following dimensions are designed for standard 5.5 oz dog food cans. Adjust widths if you use larger cans.
From your 1×6 pine board (which is actually 5.5 inches wide), make the following cuts:
- Back Panel (A): 1 piece @ 24 inches
- Side Panels (B): 2 pieces @ 11.25 inches
- Top Panel (C): 1 piece @ 5.5 inches
- Bottom Panel (D): 1 piece @ 6 inches
- Angled Ramp (E): 1 piece @ 10.5 inches
- Front Lip (F): 1 piece @ 5.5 inches
Use a pencil to lightly label each piece with its corresponding letter on an inside face. This will prevent confusion during assembly.
The Framework: Step-by-Step Assembly
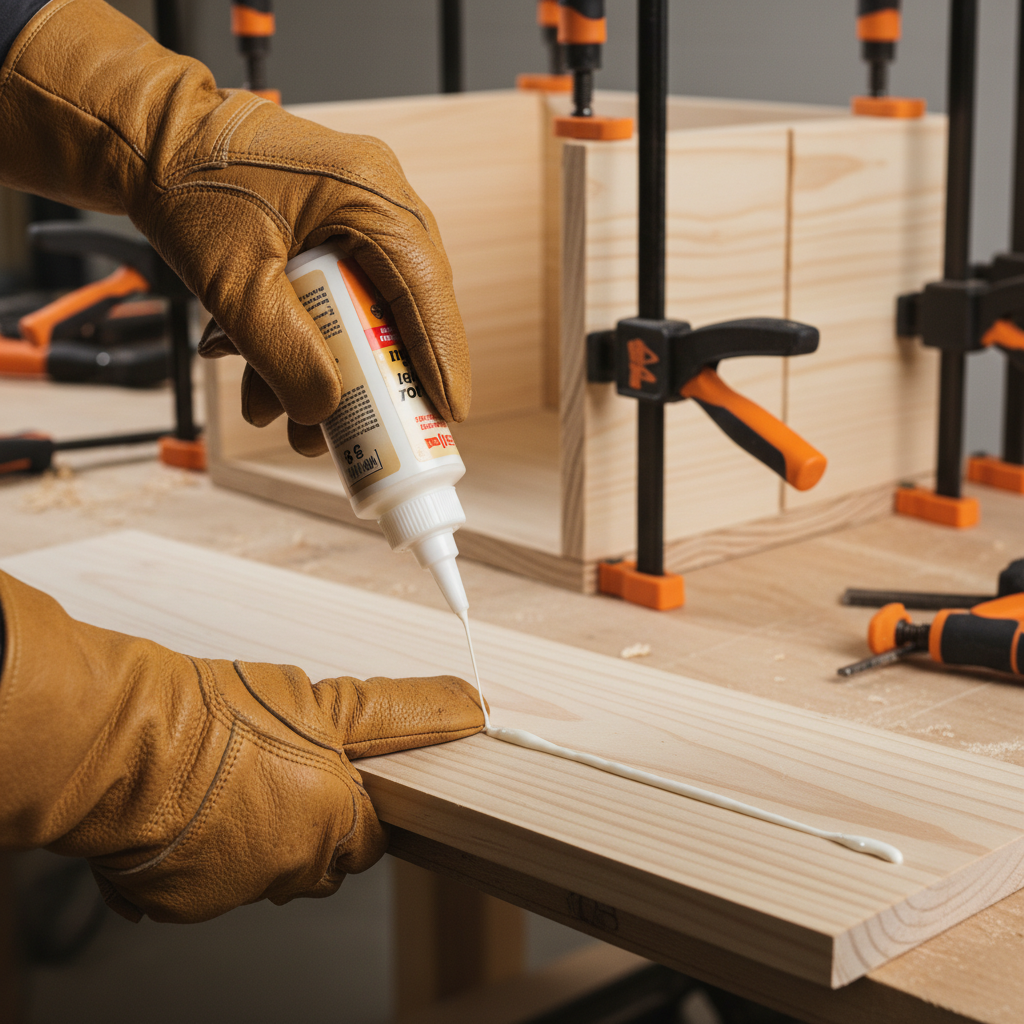
With your pieces cut, the organizer will come together quickly. The key to a strong, lasting build is the combination of wood glue and mechanical fasteners (brad nails). The glue provides the real strength; the nails act as clamps while the glue dries.
-
Step 1: Attach the Sides to the Back
Lay the Back Panel (A) flat on your workbench. Run a thin bead of wood glue along one of the long edges. Place one of the Side Panels (B) on top of the glue bead, ensuring it’s flush with the top and back edges of the back panel. Secure it with 4-5 brad nails. Repeat for the other Side Panel (B) on the opposite side.
-
Step 2: Install the Bottom and Top
Apply glue to the bottom edges of the side and back panels. Place the Bottom Panel (D) in place. It should overhang slightly at the front. Secure with brad nails through the sides and back. Flip the unit over and install the Top Panel (C) in the same manner, ensuring it is flush with the back and sides.
-
Step 3: Fit the Angled Ramp
This is the critical component for the gravity-feed mechanism. Take the Angled Ramp (E) and slide it into the box at an angle. The top edge should rest against the Back Panel (A) about 5 inches down from the top. The bottom edge should rest against the inside of the front, just above the Bottom Panel (D). Secure it by nailing through the side panels into the edges of the ramp.
-
Step 4: Secure the Front Lip
Finally, apply glue to the bottom front edge of the side panels and the top of the Bottom Panel’s overhang. Press the Front Lip (F) into place to create a stop for the cans. Secure with a few brad nails from the sides.
-
Step 5: Clean Up and Clamp
Wipe away any excess glue squeeze-out with a damp rag immediately. If you have clamps, apply gentle pressure to the assembly to ensure tight joints while the glue cures for at least an hour.
The Finishing Touches: From Raw Wood to Rustic Art
An unfinished project is a job half-done. The finishing process not only provides the rustic aesthetic but also protects the wood from moisture, spills, and wear. Do not skip these steps.
Sanding for a Professional Finish
Using your power sander, sand all surfaces starting with 120-grit sandpaper. This will remove any mill marks, smooth the joints, and slightly round over the sharp edges. Once smooth, go over the entire piece again with 220-grit sandpaper. This polishes the wood, closes the pores, and prepares it to accept stain evenly. After sanding, wipe away all dust with a tack cloth or a clean rag dampened with mineral spirits.
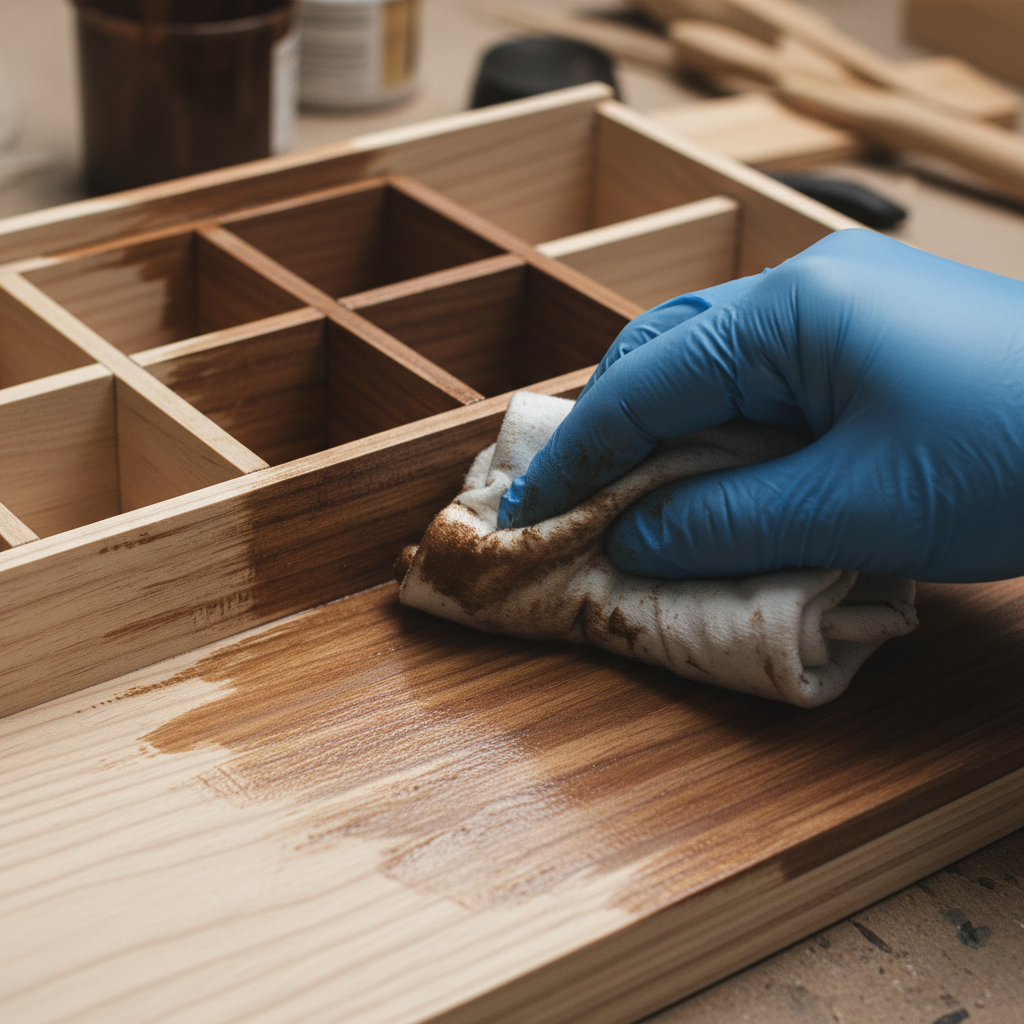
Applying the Stain
Dip a clean, lint-free rag into your chosen stain and wipe it onto the wood, going with the grain. Apply a liberal coat to a section, let it penetrate for 5-10 minutes (check the can for instructions), and then use a separate clean rag to wipe off all the excess. Overlapping your sections is fine. The longer you let the stain sit, the darker it will be. Let the stain dry completely, which usually takes 6-8 hours.
Hacker Tip: To achieve an aged, weathered look, lightly distress the edges with a hammer or a bag of screws before staining. This creates small dings and dents that catch the stain differently, giving it an authentic, time-worn character.
Sealing for Durability
Your organizer will live in a high-traffic area and be subject to spills. Sealing is mandatory. Apply a thin, even coat of pet-safe, water-based polyurethane with a foam brush. Let it dry completely, then lightly sand with 220-grit sandpaper. Wipe away the dust and apply a second coat. A third coat is recommended for maximum durability. Once the final coat is fully cured (24-72 hours), your organizer is ready for service.
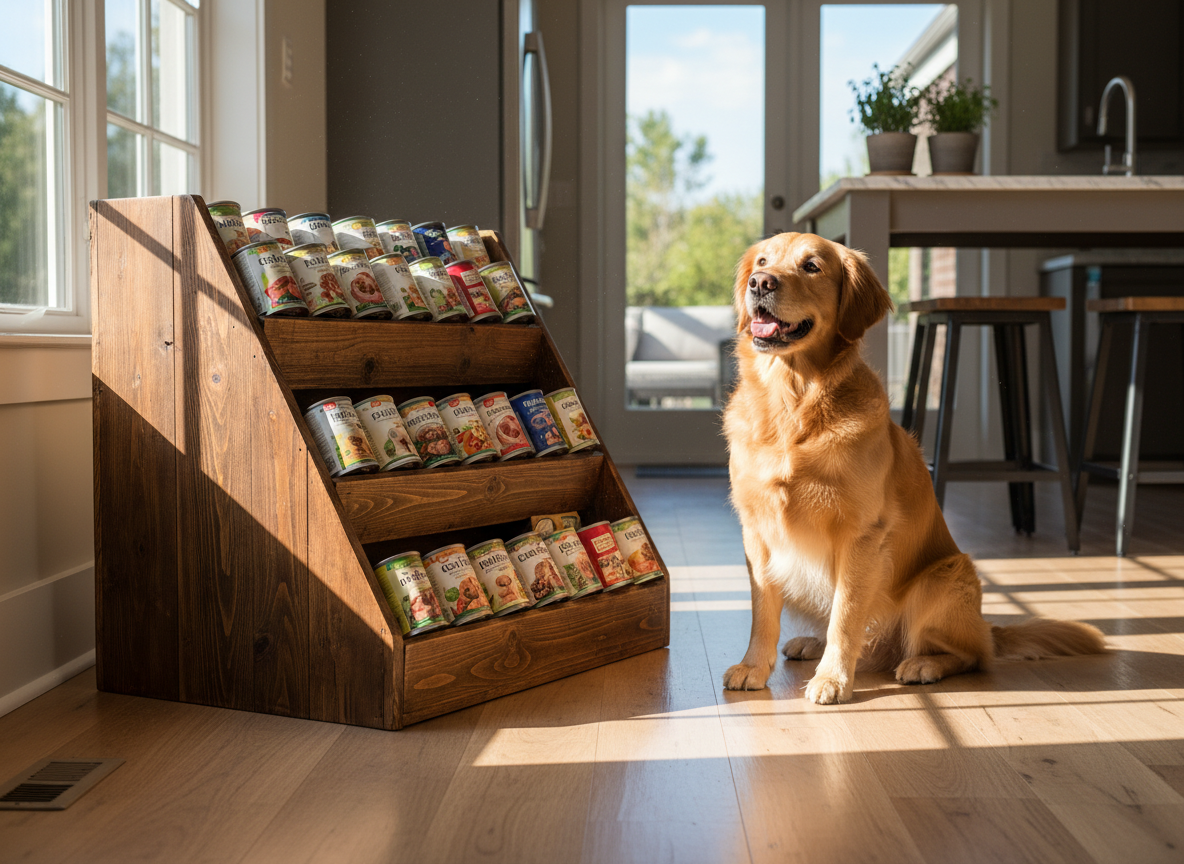
Conclusion
Stand back and admire your work. You’ve transformed a simple piece of lumber into a functional, stylish, and durable piece of custom furniture for your home. You’ve not only solved the practical problem of can chaos but you’ve done it for a fraction of the cost of a lesser-quality retail product. This organizer is built to last, a testament to the value of taking matters into your own hands.
Now for the best part: load it up with your dog’s favorite food. The top-loading, bottom-dispensing system ensures you’re always using the oldest can first (First In, First Out). Enjoy your new, organized, and significantly more stylish pet feeding station. You’ve earned it.