Crispy Air Fryer Dog Treats: Ready in 10 Minutes
Walk down any pet store aisle and you’re bombarded with bags of treats promising premium quality, gourmet flavors, and untold health benefits. But turn that bag over. The first five ingredients often tell a different story: a tale of cheap fillers, ambiguous ‘meat meals,’ and chemical preservatives you can’t even pronounce. You’re paying a premium for marketing, not for nutrition. As the Canine Nutrition Hacker, I’m here to tell you there’s a better way. It’s faster, cheaper, and infinitely healthier.
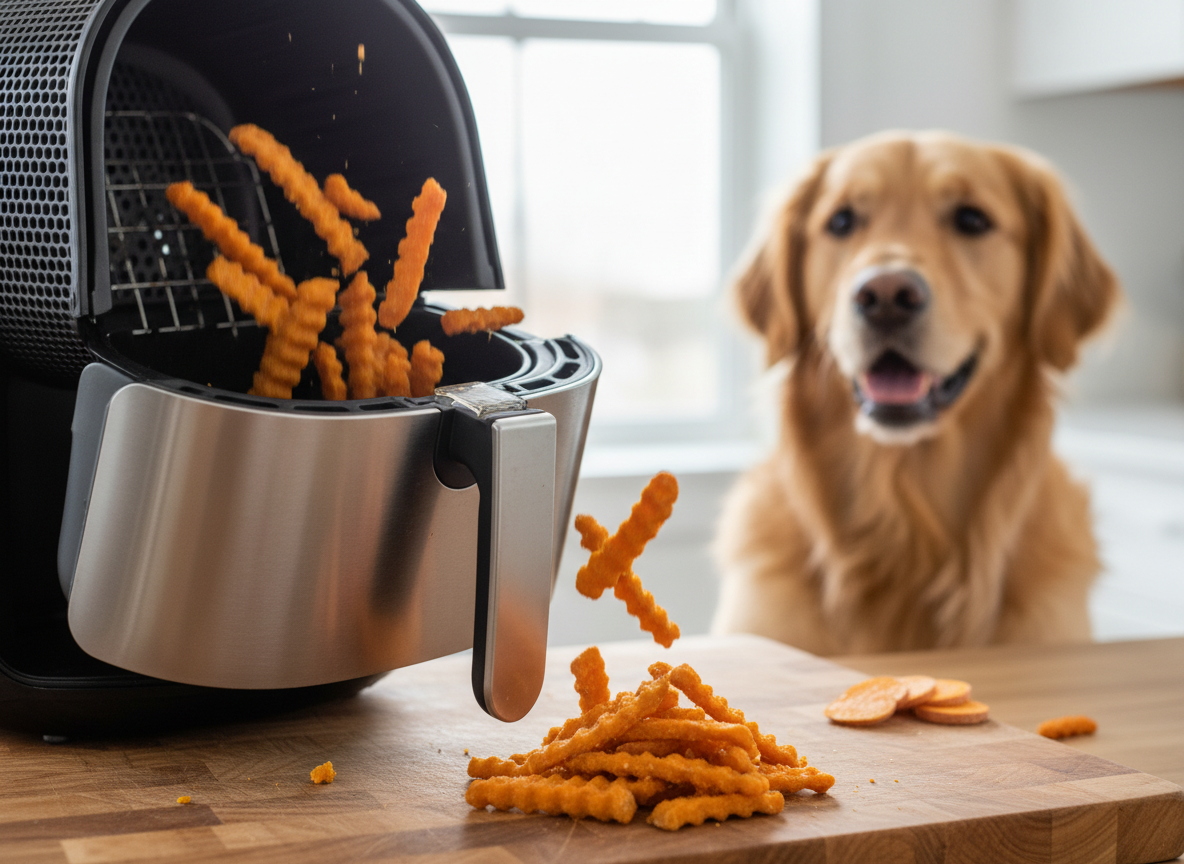
The secret weapon in your arsenal is sitting on your kitchen counter: the air fryer. This isn’t just for making human-grade french fries; it’s a high-powered convection machine perfectly engineered to dehydrate and crisp foods with minimal oil and maximum speed. We’re going to leverage that technology to create dog treats that are not only irresistible but also packed with pure, simple ingredients. In this guide, I’ll provide you with a bulletproof core recipe that takes less than 10 minutes to cook, break down the shocking cost difference between DIY and store-bought, and show you how to customize your treats for your dog’s specific health needs. It’s time to stop being a passive consumer and start being a proactive nutrition provider for your dog.
The Canine Nutrition Hacker’s Disclaimer: Treat Safety First
Before we fire up the air fryer, we need to establish some ground rules. My mission is to empower you with knowledge, but that power comes with responsibility. The recipes and advice here are for supplemental feeding only. Treats should never make up more than 10% of your dog’s daily caloric intake. They are not a substitute for a complete and balanced diet formulated to meet AAFCO standards.
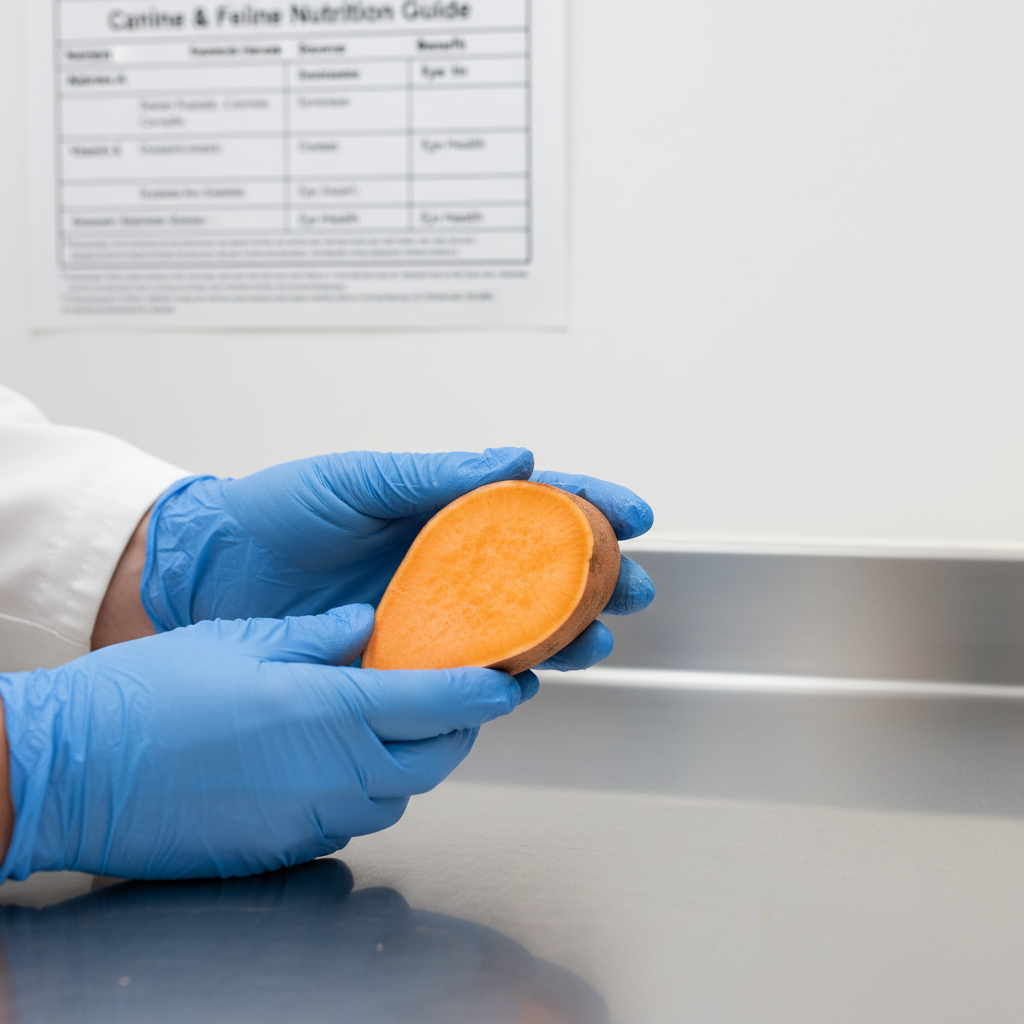
Always consult with your veterinarian before introducing new foods into your dog’s diet, especially if your dog has underlying health conditions like pancreatitis, kidney disease, diabetes, or food allergies. A vet can help you navigate the best ingredients for your specific dog’s needs. Furthermore, you are in complete control of the ingredients, which means you are also responsible for avoiding toxins. Many human foods are dangerous for dogs. This is a non-negotiable list of foods to NEVER use in your dog’s treats:
- Xylitol (an artificial sweetener found in many products, extremely toxic)
- Onions, garlic, chives, and leeks
- Chocolate
- Grapes and raisins
- Macadamia nuts
- Avocado
- Alcohol or caffeine
- Cooked bones (they can splinter)
Introduce any new treat slowly and watch for any signs of digestive upset. Your dog’s safety is the number one priority. Now, let’s get to hacking their nutrition.
The Cost Analysis: Exposing the ‘Premium’ Treat Markup
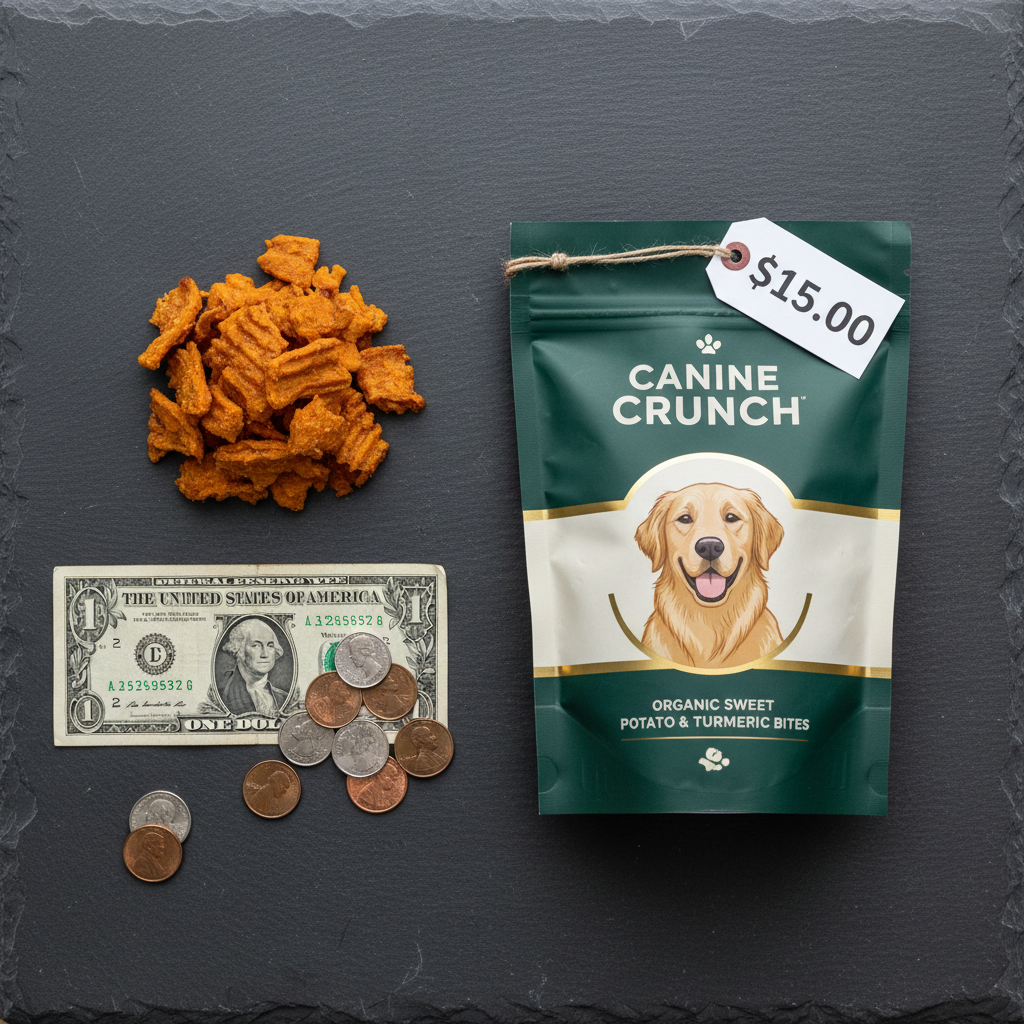
Brands spend millions on packaging and marketing to convince you that their tiny, grain-filled biscuits are worth $15 a bag. Let’s break down the numbers and see where your money is really going. We’ll compare a batch of our DIY Crispy Sweet Potato Bites to a popular bag of ‘premium’ grain-free sweet potato treats from a major pet retailer.
The typical ‘gourmet’ bag weighs around 12 ounces and costs, on average, $14.99. The first ingredient is often a cheap filler like pea flour, followed by sweet potato. Our recipe uses one large sweet potato, which is the star ingredient, not a supporting actor.
| Metric | DIY Air Fryer Treats | Premium Store-Bought Treats |
|---|---|---|
| Primary Ingredient | Fresh Sweet Potato (100% of base) | Pea Flour, Potato Starch, or other filler |
| Weight of Batch | Approx. 4 oz (dehydrated) | 12 oz |
| Cost of Ingredients | ~$1.25 (1 large sweet potato @ $1.00, 1 tbsp coconut oil @ $0.25) | $14.99 |
| Cost Per Ounce | $0.31 | $1.25 |
| Control Over Ingredients | 100% Control (Organic, fresh, no preservatives) | Zero Control (Unknown sourcing, preservatives, potential allergens) |
| Verdict | Over 4 times cheaper with superior ingredient quality. | Convenient but vastly overpriced for the quality provided. |
As you can see, you are paying a 400% markup for convenience and clever marketing. For the price of one bag of store-bought treats, you could make over ten batches of fresh, healthy, single-ingredient treats at home. The savings are not just financial; you’re saving your dog from consuming unnecessary fillers and preservatives. That’s the core of the Canine Nutrition Hacker philosophy: maximum nutrition for minimum cost.
The Core Recipe: 3-Ingredient Crispy Sweet Potato Bites
This is the foundational recipe. It’s simple, fast, and nearly impossible to mess up. The magic is in the air fryer, which circulates hot air to create a perfectly crisp, dehydrated chip without the need for deep frying or hours in an oven. The result is a crunchy, satisfying treat that dogs love.
Ingredients
- 1 large organic sweet potato, washed and dried
- 1 tablespoon of melted coconut oil (or olive oil)
- 1 teaspoon of finely chopped fresh parsley (optional, for fresh breath)
Equipment
- An air fryer
- A sharp knife or mandoline slicer
- A medium-sized mixing bowl
Instructions
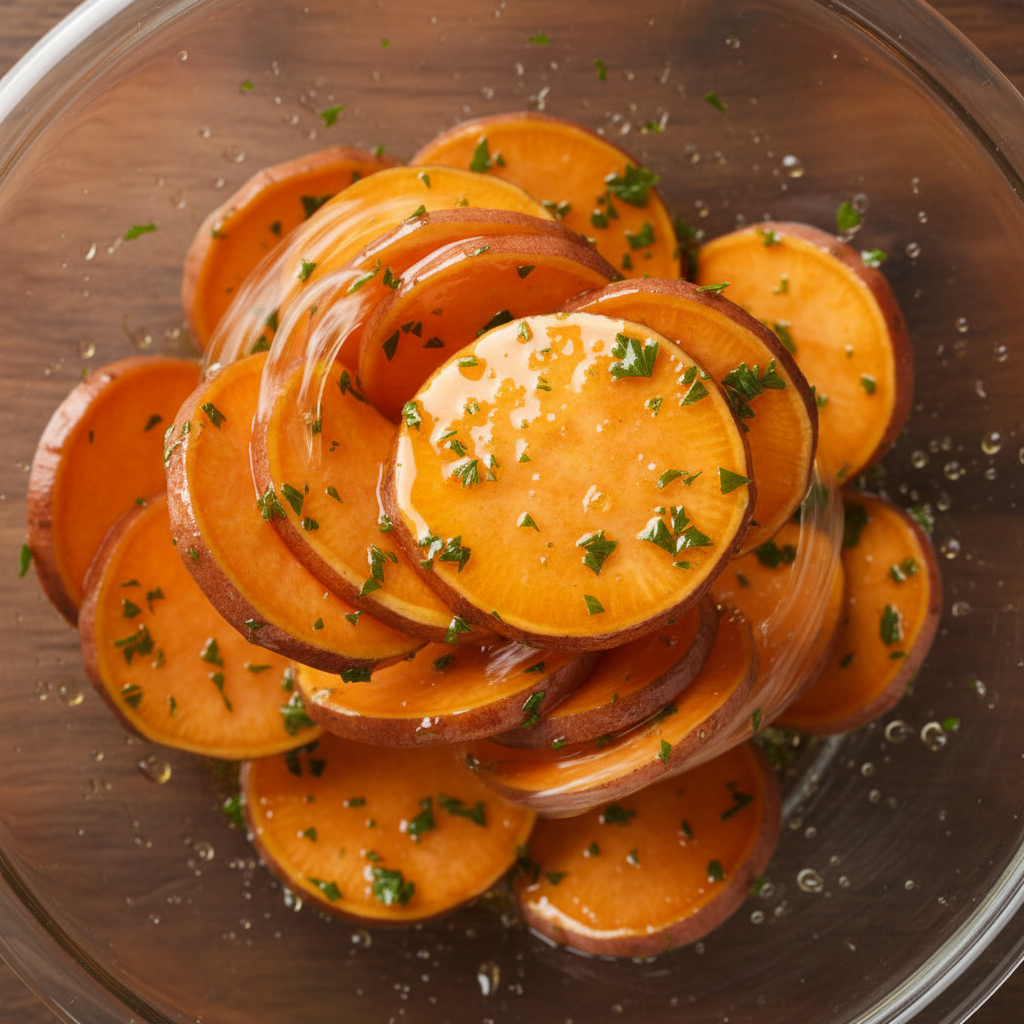
- Preparation is Key: Set your air fryer to 380°F (193°C) to preheat. While it heats, slice the sweet potato. For the best crisp, aim for a uniform thickness of about 1/8 inch (3mm). A mandoline slicer is the best tool for this, but a sharp knife and a steady hand work well. Thicker slices will result in a chewier treat; thinner slices will be more chip-like.
- Coat Evenly: Place the sweet potato slices into the mixing bowl. Drizzle the melted coconut oil over them. Use your hands to toss the slices thoroughly, ensuring each one has a very light, even coating of oil. This is what helps them crisp up without burning. Add the chopped parsley now if you’re using it.
- Arrange for Airflow: Place the coated slices in the air fryer basket in a single layer. Do not overlap them! Proper airflow is the most critical factor for achieving crispiness. You will likely need to cook in 2-3 batches depending on the size of your air fryer.
- Air Fry to Perfection: Cook for 8-12 minutes, flipping the slices or shaking the basket halfway through. The exact time will depend on your air fryer model and the thickness of your slices. Keep a close eye on them during the last few minutes. You are looking for golden brown edges and a dehydrated, firm texture. They will get even crispier as they cool.
- Cool Completely: Remove the treats from the air fryer and place them on a wire cooling rack. Allow them to cool completely for at least 15-20 minutes. This final step is crucial for drawing out the last bit of moisture and achieving that satisfying crunch.
Hacker Tip: The ‘shake’ alert on your air fryer is a suggestion, not a command. For thin treats like these, I recommend opening the basket and manually flipping each slice with tongs at the halfway point. This guarantees even cooking and prevents the powerful fan from blowing the lighter slices around.
Hacking Your Treats: Customization for Health & Flavor
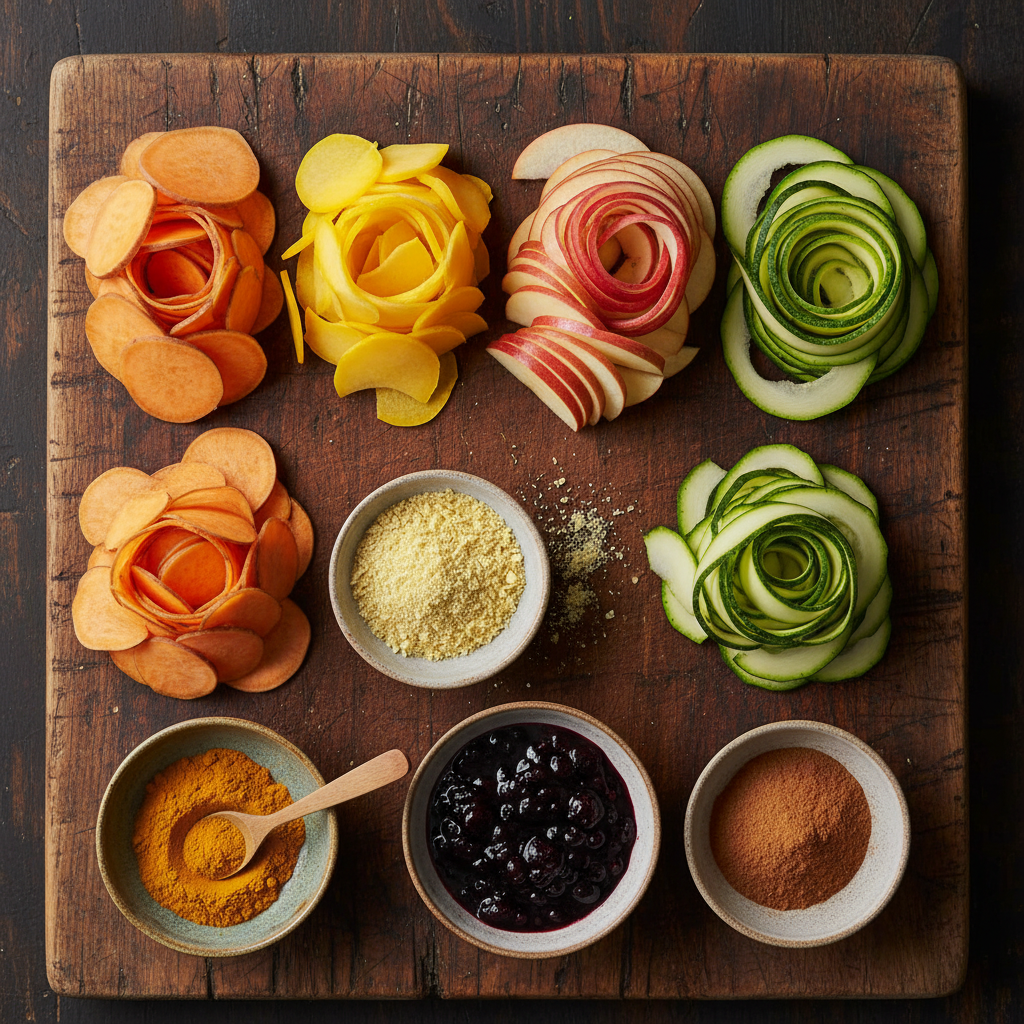
The 3-ingredient recipe is your baseline. Now, let’s upgrade it. By adding specific, functional ingredients, you can tailor these treats to address your dog’s needs or simply provide a variety of flavors. When adding ingredients, stick to small amounts—a little goes a long way.
Protein & Nutrient Boosters
- Nutritional Yeast: Adds a cheesy, savory flavor that dogs adore and is packed with B vitamins. Sprinkle a teaspoon into the bowl with the oil.
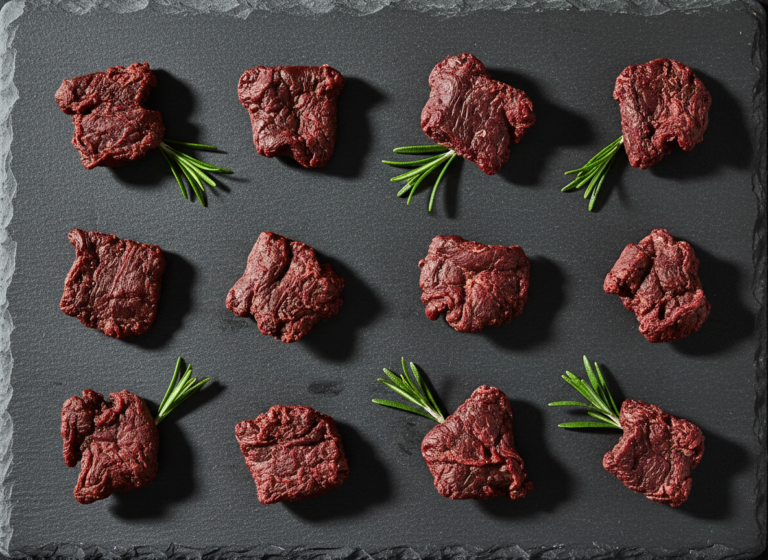
- Beef Liver Puree: For an iron-rich, high-value treat, blend a small amount of cooked beef liver with a little water to make a thin paste. Lightly coat the slices before air frying. You may need to reduce the temperature slightly to prevent burning.
Functional Foods for Common Issues
- Digestion Support: Swap sweet potato for butternut squash or carrot slices. You can also add a 1/4 teaspoon of pure pumpkin puree (not pie filling) to the coconut oil mixture for a fiber boost.
- Joint & Inflammation Support: Add a 1/4 teaspoon of high-quality ground turmeric and a pinch of black pepper (which aids curcumin absorption) to the oil. This creates a powerful anti-inflammatory treat.
- Antioxidant Power: Create a ‘Blueberry Glaze’ by mashing a few blueberries and mixing them with the oil. This will create purple-hued treats packed with antioxidants.
Flavor Swaps
Don’t be afraid to experiment with other dog-safe fruits and vegetables. The same method works wonders for:
- Apple Slices: Core the apple and slice thinly. A sprinkle of Ceylon cinnamon (not Cassia) is a great, safe addition.
- Zucchini Rounds: A low-calorie, hydrating option for dogs on a diet.
- Carrot Chips: Slice carrots on a long diagonal for larger ‘chips’. They offer a different kind of sweetness and a great source of Vitamin A.
The Batch & Store Protocol: Maximizing Your Efforts
You’ve created perfect, crispy treats. Don’t let your hard work go to waste by storing them improperly. Moisture is the enemy of crispiness. Follow this protocol to ensure your treats stay crunchy for as long as possible.
The Critical Cooling Phase
As mentioned in the recipe, cooling is a non-negotiable step. When you pull the treats from the air fryer, they are still releasing steam. If you put them in a container immediately, that steam will be trapped, turning your crispy chips into a soft, soggy mess within hours. A wire cooling rack allows air to circulate around the entire surface of the treat, wicking away moisture and finalizing the crisping process. Do not store them until they are 100% cool to the touch.
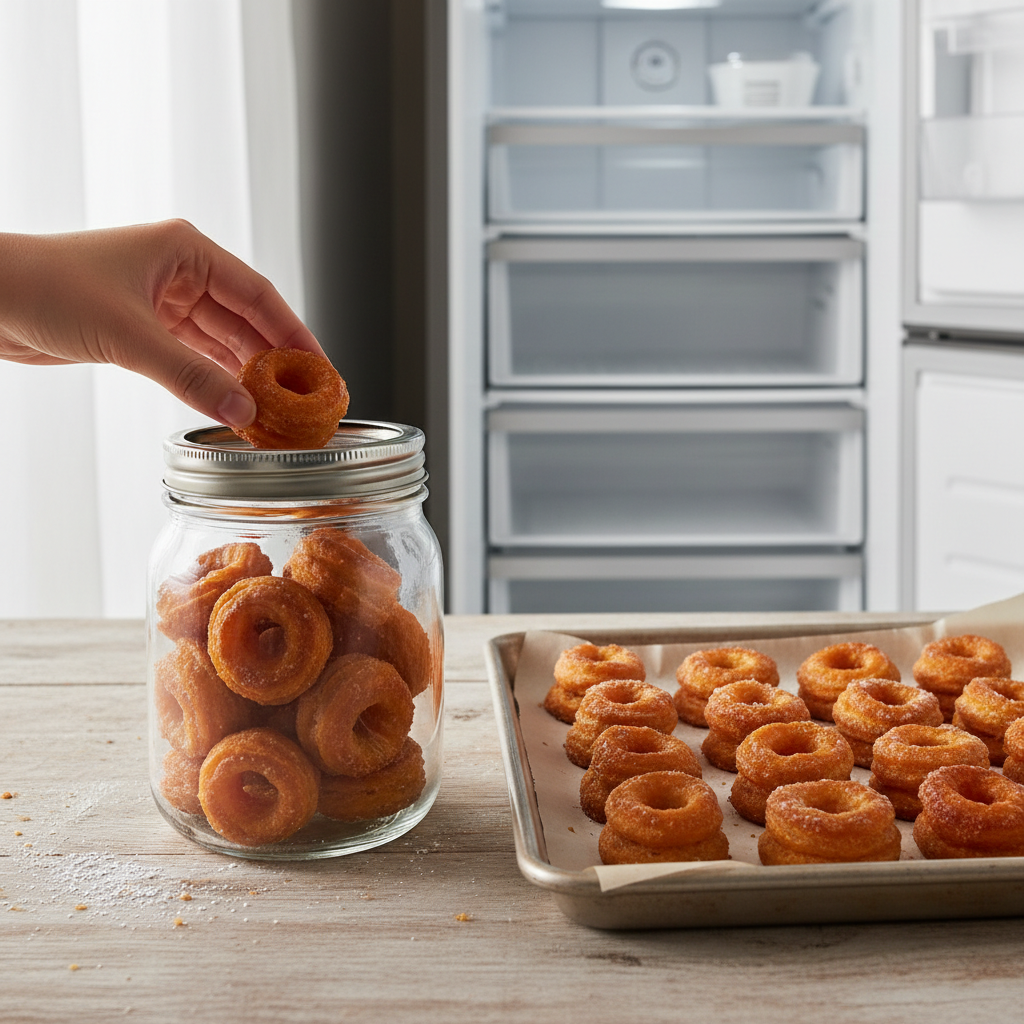
Short-Term Storage (Up to 1 Week)
For maximum crunch, store the cooled treats in a container that is not completely airtight. A cookie jar with a loose lid or a paper bag works best. This allows a tiny amount of air to circulate, preventing any residual moisture from softening the treats. If you live in a very humid climate, an airtight container might be necessary, and you can add a food-safe silica gel packet (the kind found in jerky) to absorb moisture. Store them on the counter or in a pantry for up to one week.
Long-Term Storage (Up to 3 Months)
The air fryer makes it easy to cook in small batches, but if you want to meal prep for the month, freezing is the best option.
- Ensure the treats are completely cool and dry.
- ‘Flash freeze’ them by spreading them in a single layer on a baking sheet and placing it in the freezer for about one hour. This prevents them from sticking together in a giant clump.
- Once frozen solid, transfer the treats to a freezer-safe zip-top bag or vacuum-seal bag. Squeeze out as much air as possible before sealing.
- Label the bag with the date and contents. They will keep in the freezer for up to 3 months.
To serve from frozen, you can give them to your dog straight from the freezer for a cool, crunchy snack, or let them thaw on the counter for about 10 minutes. Do not microwave them, as this will make them soft.
Conclusion
You now possess the knowledge to bypass the commercial treat industry entirely. You’ve seen how a few dollars and ten minutes of your time can produce a superior product, free from the fillers, allergens, and questionable preservatives that plague store-bought options. This isn’t just about one recipe; it’s about a shift in mindset. It’s about analyzing what you feed your dog with a critical eye and taking back control. Your air fryer is more than a kitchen gadget; it’s your personal, high-speed dog treat factory.
So, the next time you’re tempted by a slickly marketed bag of ‘gourmet’ bites, remember the simplicity and honesty of a homemade treat. You know the source, you control the ingredients, and you deliver the nutrition. Start with the sweet potato recipe, experiment with the hacks, and become the master of your dog’s snack time. You have the power to provide the best, and now you have the blueprint.