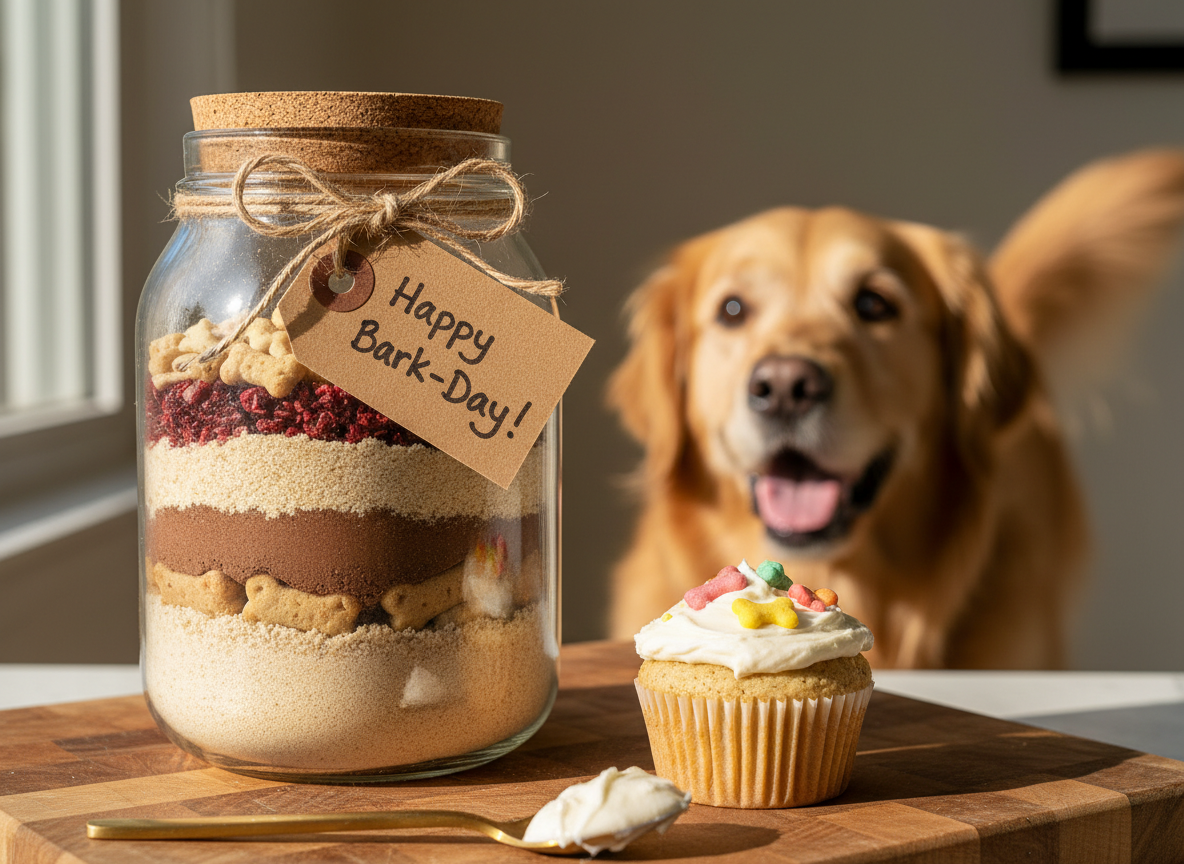
DIY Dog Cake Mix in a Jar: The Perfect Low-Cost Gift
Walk into any high-end pet boutique, and you’ll be bombarded with beautifully packaged “gourmet” dog cake mixes costing upwards of $20. As The Canine Nutrition Hacker, I’m here to tell you that’s a racket. You’re paying for fancy marketing and a box of cheap, low-grade flours and sweeteners. It’s time to take control of your dog’s treats and your wallet. This guide will show you how to create a superior, healthier, and incredibly thoughtful gift: a DIY Dog Cake Mix in a Jar.
You’ll not only save a significant amount of money, but you’ll also provide a treat free from the preservatives, artificial colors, and fillers that plague commercial products. This is the ultimate way to show a fellow dog lover you care.
IMPORTANT SAFETY DISCLAIMER: I am a canine nutrition analyst, not a veterinarian. This recipe is for a supplemental treat and should not replace your dog’s regular, balanced diet. Treats should not make up more than 10% of your dog’s daily caloric intake. Always consult with your veterinarian before introducing new foods into your dog’s diet, especially if they have health conditions, sensitivities, or allergies. Ensure all ingredients, particularly peanut butter, are free from xylitol, which is highly toxic to dogs.
Deconstructing the Store-Bought Mix: Why DIY is Superior
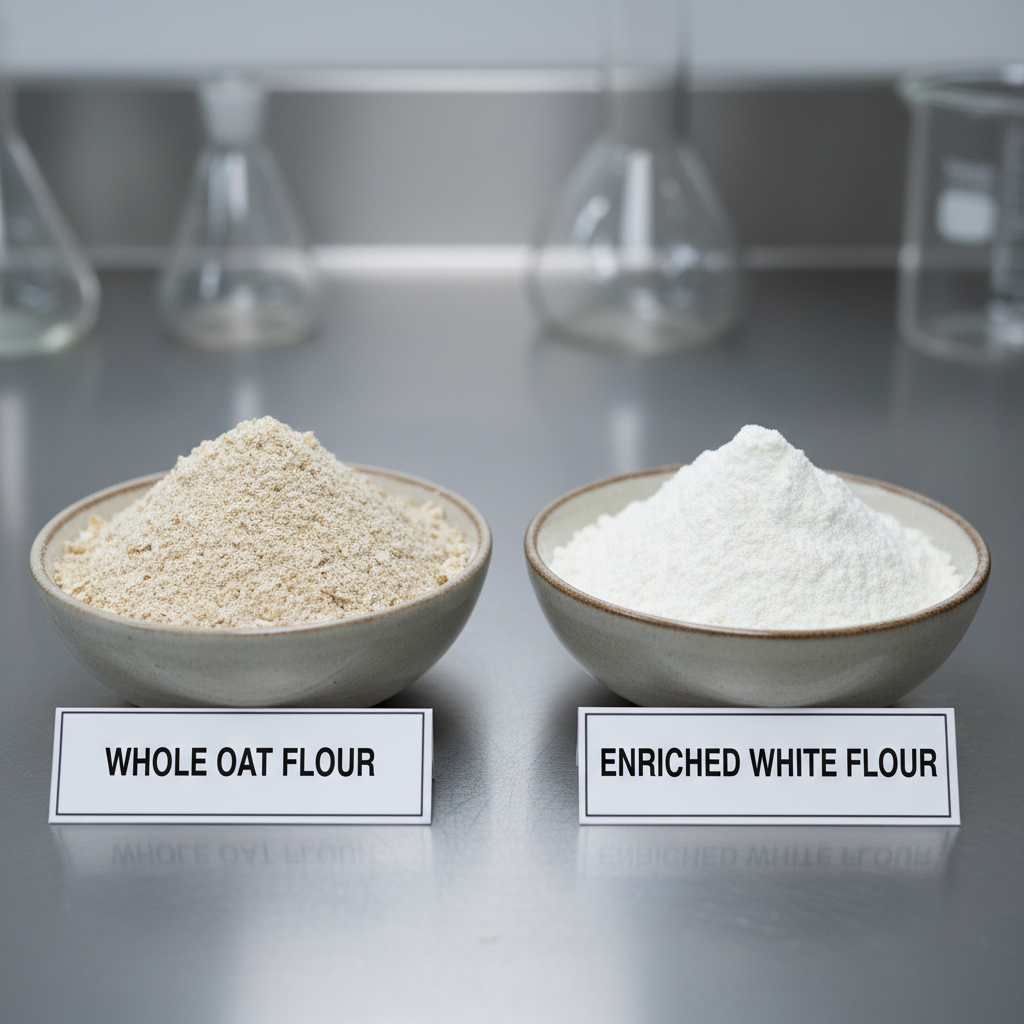
Before we build our own mix, let’s perform a forensic analysis on a typical store-bought dog cake mix. The ingredient label is where companies hide their secrets, and it’s where we find our power. A standard commercial mix often lists its first five ingredients as something like this: enriched flour, sugar, vegetable oil, artificial flavor, dried whey.
Let’s break down the problem:
- Enriched Flour: This is a highly processed simple carbohydrate that has been stripped of its nutrients and then artificially ‘enriched’ back with a few synthetic vitamins. It offers little nutritional value and can spike blood sugar.
- Sugar: Absolutely unnecessary for dogs. It contributes to weight gain, dental problems, and can lead to metabolic issues. It’s used as a cheap filler and to make the product more palatable.
- Vegetable Oil: A vague term that often means a highly processed, low-quality oil (like soy or corn oil) that can be inflammatory.
- Artificial Flavor: A chemical concoction designed to mimic the taste of real food. If a product needs fake flavor, it’s because it lacks quality ingredients.
Our DIY version bypasses this nutritional wasteland entirely. We will use whole, nutrient-dense ingredients that actively contribute to a dog’s well-being. No fillers, no junk—just pure, simple goodness that you control from start to finish.
Hacker Tip: Always read the first five ingredients of any pet product. This is the ‘truth panel.’ If you see grains like corn, wheat, or soy, or vague terms like ‘meat by-product’ or ‘animal digest,’ put the product down and walk away.
The Blueprint: Architecting the Perfect Dog-Safe Cake Mix
Crafting the perfect mix is a science. Every ingredient is chosen for a specific purpose: nutrition, safety, and flavor. We are building a treat from the ground up to be both delicious and beneficial.
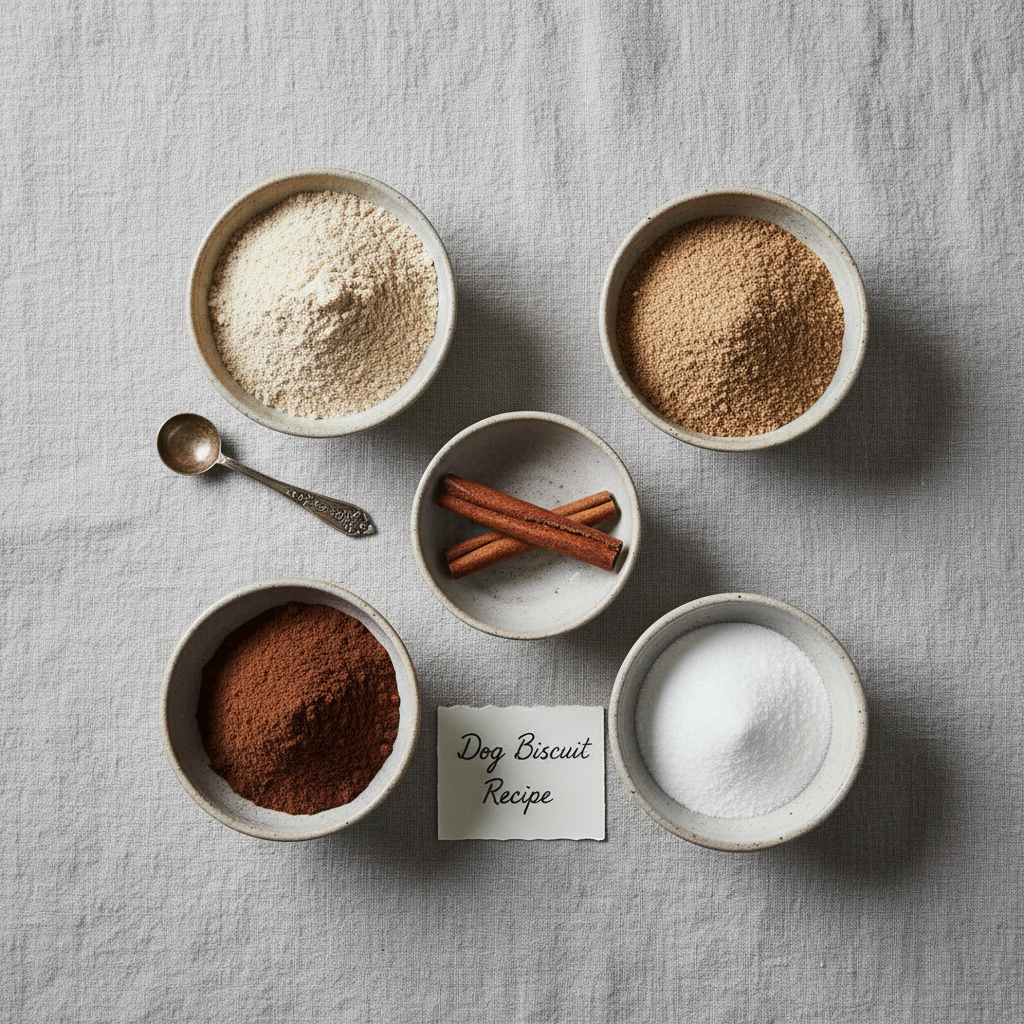
The Dry Ingredient Foundation (For the Jar)
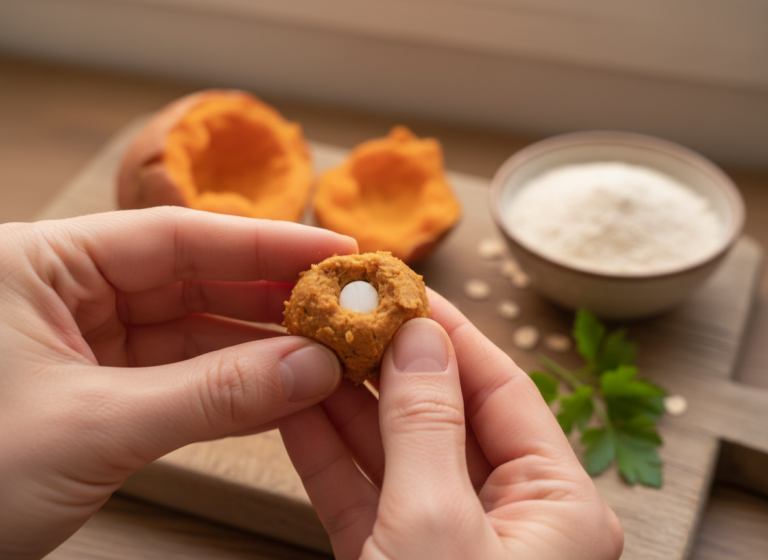
- Base Flour: We’ll use 2 cups of whole oat flour. You can buy this or make it yourself by simply blending old-fashioned rolled oats in a high-speed blender until fine. Oats are a gluten-free option that’s high in fiber, great for digestion, and contains essential minerals.
- Secondary Flour: Add 1/2 cup of brown rice flour or coconut flour. Brown rice flour adds structure, while coconut flour is a great grain-free option that’s high in fiber and healthy fats. Choose one based on your preference.
- The ‘Chocolate’ Fix: 1/4 cup of carob powder. Carob is the ultimate dog-safe chocolate substitute. It’s rich in vitamins and minerals and provides that decadent look and taste without the toxicity of theobromine found in real chocolate.
- Leavening Agent: 2 teaspoons of baking soda. This is crucial for giving the cake a nice, light rise. Not baking powder, which often contains unnecessary additives.
- Flavor & Spice: 1 teaspoon of ground cinnamon. Cinnamon is an anti-inflammatory and can help regulate blood sugar. It adds a wonderful warmth and aroma to the cake.
The Wet Ingredients (For the Recipient’s Instructions)
The gift tag will instruct the recipient to add the following fresh ingredients:
- 1 cup of unsweetened applesauce or pure pumpkin puree. This provides natural sweetness, moisture, and a huge dose of fiber and vitamins.
- 1/4 cup of melted coconut oil or other dog-safe oil. A healthy fat source for energy and a shiny coat.
- 2 large eggs. A fantastic source of digestible protein, selenium, and riboflavin.
- 1/4 cup of water or plain kefir. Kefir adds beneficial probiotics for gut health.
The Hacker’s Guide: Assembling Your DIY Cake Mix Jar

Presentation is key for a gift. We’re not just giving a mix; we’re giving an experience. The goal is to create beautiful, distinct layers within the jar.
- Choose Your Vessel: A 32-ounce (1-quart) wide-mouth mason jar is perfect. Ensure it is completely clean and dry before you begin.
- Layer One (The Base): Pour the 2 cups of oat flour into the jar. Gently shake the jar to create a flat, even surface.
- Layer Two (The Color): Add the 1/2 cup of brown rice flour or coconut flour. This lighter layer will create a nice contrast. Again, level the surface carefully.
- Layer Three (The ‘Chocolate’): Spoon the 1/4 cup of carob powder over the flour. Use the back of the spoon to spread it evenly to the edges.
- Layer Four (The Spices): In a small bowl, whisk together the 2 teaspoons of baking soda and 1 teaspoon of cinnamon. Carefully spoon this mixture on top of the carob layer.
- Seal and Decorate: Seal the jar tightly. Tie a piece of rustic twine or ribbon around the lid. This is where you’ll attach your instruction tag.
Insider Secret: To get perfectly clean layers without smudging the inside of the jar, use a canning funnel. Place the funnel inside the jar and pour each ingredient through it. This prevents dustings of flour and powder from clinging to the glass above the layer line.
Creating the Instruction Tag
Use a piece of cardstock or a kraft paper gift tag. On one side, write the name of the gift, “Dog Lover’s Celebration Cake Mix.” On the other side, provide the clear, simple baking instructions:
“To bake your pup’s cake:
1. Preheat oven to 350°F (175°C). Grease an 8×8 inch pan or a cupcake tin.
2. Pour the entire contents of this jar into a large bowl and whisk to combine.
3. In a separate bowl, mix together: 1 cup pumpkin puree (or applesauce), 1/4 cup melted coconut oil, and 2 eggs.
4. Add the wet ingredients to the dry ingredients and mix until just combined. Stir in 1/4 cup of water or kefir.
5. Pour batter into your prepared pan. Bake for 25-30 minutes for a cake, or 15-20 minutes for pupcakes. A toothpick inserted into the center should come out clean.
6. Let cool completely before frosting and serving. Enjoy!”
The Real Cost Breakdown: DIY vs. Boutique Brands
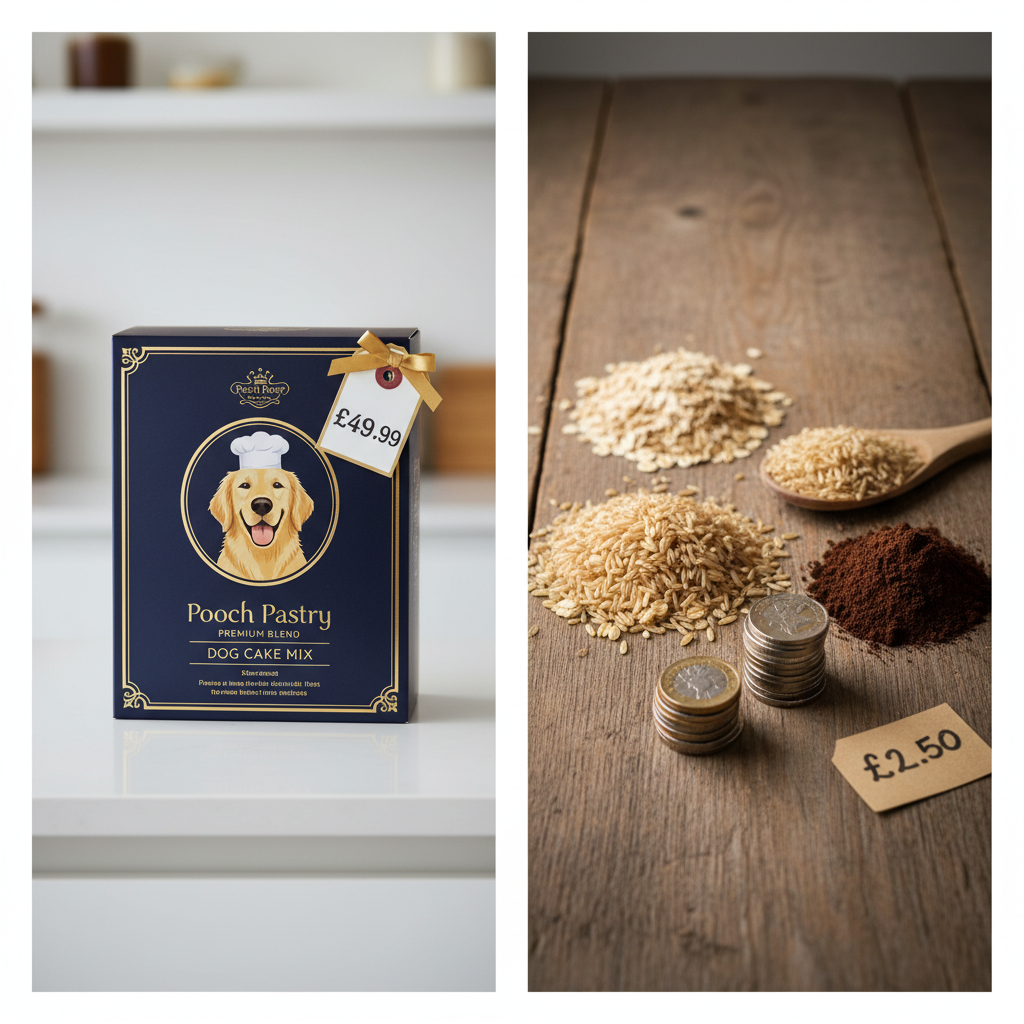
Here is where the Canine Nutrition Hacker’s approach truly shines. Let’s analyze the cost of making one jar of our premium, whole-ingredient mix versus buying a comparable product from a pet store. Prices are approximate and based on average grocery store costs.
| Ingredient/Item | Boutique Brand Cost (One Box) | DIY Cost (Per Jar) | The Hacker’s Savings |
|---|---|---|---|
| Cake Mix (8-10 oz) | $18.00 – $25.00 | N/A | N/A |
| Oat Flour (2 cups) | N/A | $1.50 | N/A |
| Brown Rice Flour (1/2 cup) | N/A | $0.40 | N/A |
| Carob Powder (1/4 cup) | N/A | $0.75 | N/A |
| Baking Soda & Cinnamon | N/A | $0.15 | N/A |
| Mason Jar (32 oz) | N/A | $2.00 | N/A |
| TOTAL COST | $22.00 (average) | $4.80 | $17.20 (Over 75% Saved!) |
The numbers don’t lie. For less than the price of a fancy coffee, you can create a gift that is not only more personal but monumentally healthier and higher in quality. You’re paying for real food, not a fancy box and a brand name. If you make these in batches, the cost per jar drops even further as you buy ingredients in larger quantities.
Beyond the Mix: Frosting, Toppings, and Safe Decorations
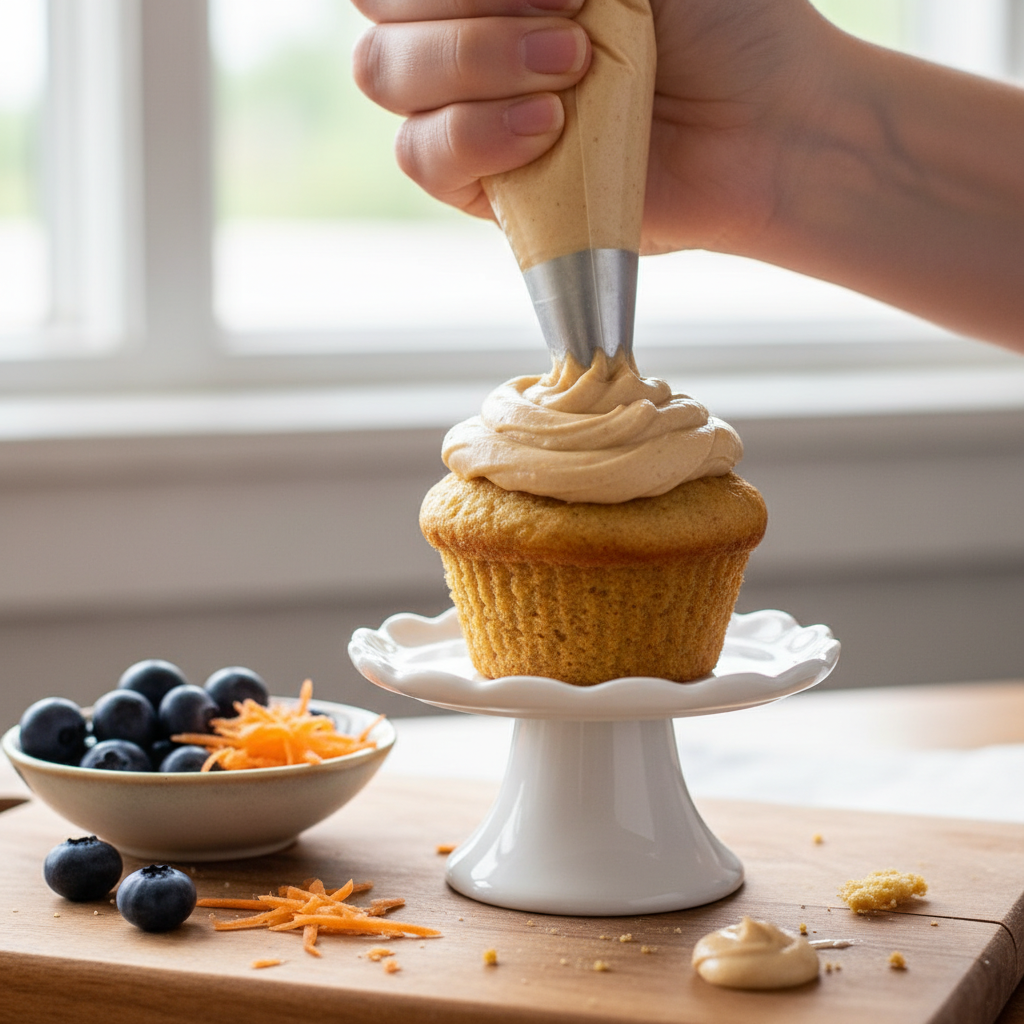
A cake isn’t complete without frosting! Commercial frostings are often pure sugar, which we want to avoid. Here are some simple, dog-safe frosting recipes you can include on a separate tag or simply share with the recipient.
Cream Cheese & Peanut Butter Frosting
- Ingredients: 4 oz plain cream cheese (softened), 2 tablespoons natural, xylitol-free peanut butter, 1-2 tablespoons water or milk to thin.
- Instructions: Beat the cream cheese and peanut butter together until smooth. Slowly add water or milk until you reach a spreadable consistency.
Yogurt & Maple Frosting
- Ingredients: 1/2 cup plain, unsweetened Greek yogurt, 1 teaspoon of pure maple syrup.
- Instructions: Mix ingredients together. This frosting is thinner and works well as a glaze. It must be kept refrigerated.
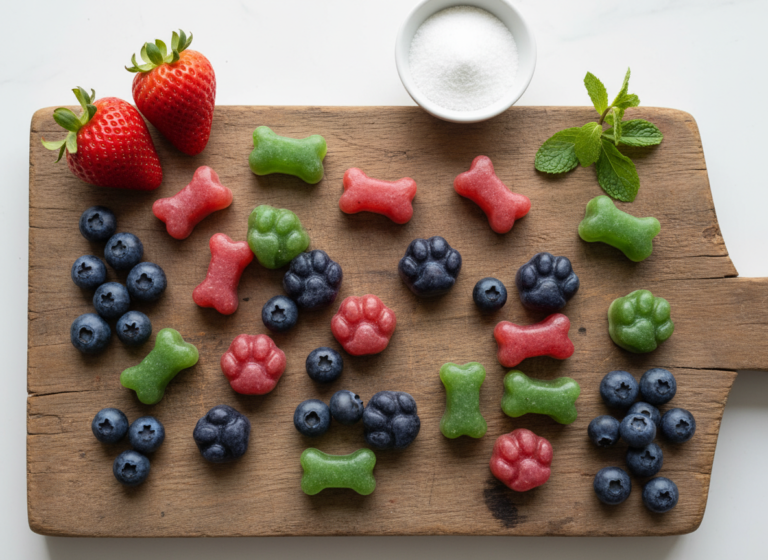
Safe & Healthy Toppings
Encourage creativity with toppings that add both visual appeal and nutritional value:
- Shredded carrots or apples
- Fresh blueberries or strawberries (sliced)
- A sprinkle of chopped, unsalted peanuts or seeds (like chia or flax)
- Crumbled, freeze-dried meat treats for a savory twist
- Your dog’s favorite small biscuit, placed on top
A critical warning: Never use sprinkles, chocolate, or candy designed for humans. Many contain xylitol, dyes, and other toxic ingredients.
Conclusion
You are now equipped with the knowledge to completely bypass the overpriced, under-performing commercial pet treat industry. By creating a DIY Dog Cake Mix in a Jar, you’ve done more than just assemble a gift; you’ve taken a stand for better nutrition, financial savvy, and genuine, heartfelt gift-giving. You have full control over the quality of every single ingredient that goes into your dog’s treat, ensuring it is both safe and beneficial.
This project is infinitely customizable, incredibly cost-effective, and produces a result that will have tails wagging. Welcome to the world of the Canine Nutrition Hacker. Go forth and bake with confidence.