DIY Dog Garden: How to Grow Wheatgrass for Digestion
Let’s cut through the noise. The pet supplement industry is a multi-billion dollar machine, built on convincing you that your dog’s health comes in a plastic bottle with a premium price tag. They market fancy ‘digestive aids’ and ‘gut soothers’ that often contain more fillers than active ingredients. The truth? One of the most potent digestive aids for your canine companion can be grown on your windowsill for pennies. I’m talking about wheatgrass.
Forget the trendy juice bar staple; for dogs, this simple sprout is a nutritional powerhouse packed with chlorophyll, vitamins, and living enzymes that can help soothe digestive tracts, reduce gas, and even freshen breath. This guide is your blueprint to bypass the retail markup and take direct control of a key aspect of your dog’s nutrition. We’ll break down the science, detail the step-by-step growing process, analyze the real costs, and establish safe feeding protocols.
SAFETY DISCLAIMER: I am a canine nutrition analyst, not a veterinarian. The information in this guide is for educational purposes. While wheatgrass is safe for most dogs, you should always consult with your veterinarian before introducing any new food or supplement into your dog’s diet, especially if they have pre-existing health conditions. This guide does not replace professional veterinary advice.
The Forensic Analysis: Why Wheatgrass is a Digestive Game-Changer

Before you plant a single seed, you need to understand why you’re doing it. The marketing claims are vague—’supports wellness,’ ‘promotes health.’ We deal in facts. Wheatgrass is essentially the young grass of the common wheat plant, harvested at its nutritional peak before it forms a seed head. Here’s what’s inside that matters for your dog.
The Core Components:
- Living Enzymes: This is a major advantage over processed powders. Fresh wheatgrass contains active enzymes like protease and amylase, which aid in the breakdown of proteins and starches. This reduces the workload on your dog’s pancreas and can lead to better nutrient absorption and less digestive strain.
- Chlorophyll: This is the green pigment in plants, and it’s a molecular powerhouse. In canines, it acts as a natural detoxifier, helping to cleanse the blood and liver. It’s also known for its ability to combat odor-causing bacteria in the mouth and gut, leading to fresher breath and less noxious gas. Think of it as an internal deodorizer.
- Fiber: Wheatgrass provides a gentle source of insoluble fiber. This type of fiber adds bulk to your dog’s stool, promoting regular, healthy bowel movements. For dogs prone to constipation or mild diarrhea, the regulating effect of this fiber can be transformative.
- Vitamins and Minerals: It’s a living multivitamin. Wheatgrass is rich in vitamins A, C, and E, along with essential minerals like iron, magnesium, and calcium. While it shouldn’t replace a balanced diet, it provides a significant nutritional boost that supports immune function and overall vitality.
Unlike many commercial supplements that are heat-processed, destroying delicate enzymes, homegrown wheatgrass delivers these benefits in their most potent, bioavailable form. You’re not just giving your dog a ‘green food’; you’re providing a living supplement that works in synergy with their natural digestive processes.
The Bottom Line: DIY Wheatgrass vs. Retail Supplements Cost Breakdown
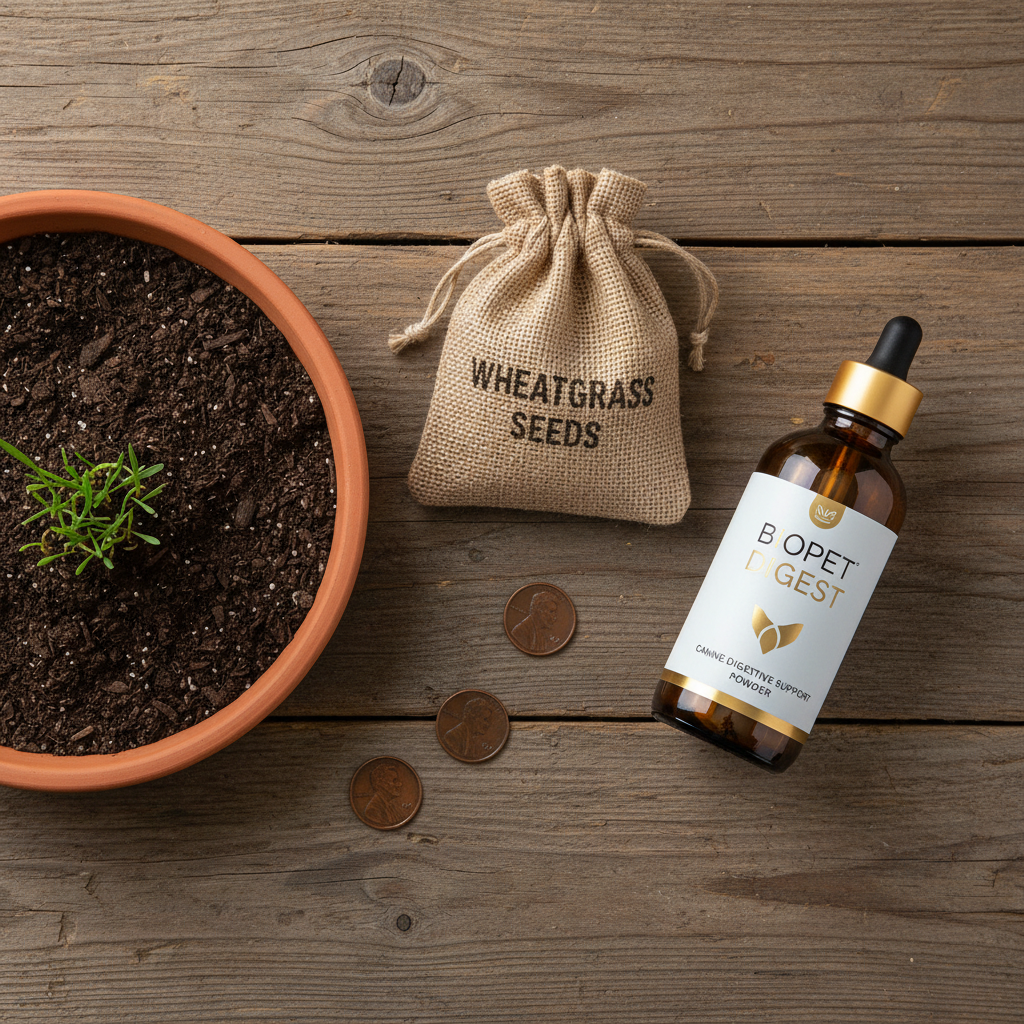
Authority comes from understanding the numbers. Pet owners are often led to believe that DIY solutions are complicated or expensive. Let’s dismantle that myth with a direct cost comparison for a 50lb dog needing daily digestive support.
Hacker Tip: The biggest cost in pet supplements is rarely the ingredient itself. It’s the branding, packaging, marketing, and retail markup. By growing your own, you are cutting out at least four middlemen.
| Item | Typical Initial Cost | Approximate Monthly Cost | The Hacker’s Verdict |
|---|---|---|---|
| DIY Wheatgrass Garden | $20 (Seeds, Soil, Tray) | $2 – $4 (for more seeds) | Extremely low ongoing cost. The initial investment provides a near-endless supply. Unbeatable value and freshness. |
| Pre-Grown Wheatgrass (Pet Store) | $8 per small pot | $32 – $48 (assuming one pot per week) | Convenient but costly. You pay a massive premium for someone else’s 10 days of work. Quality can be inconsistent. |
| Premium Digestive Powder (Online/Retail) | $35 per 60-serving container | $17.50 (for a 30-day supply) | Significantly more expensive than DIY. Often contains preservatives and fillers. Loses the ‘living enzyme’ benefit due to processing. |
The analysis is clear. After a minor initial setup cost, growing your own wheatgrass is overwhelmingly the most cost-effective method. You can save up to $40 per month compared to buying pre-grown grass and over $15 per month compared to a mid-tier powder. This isn’t just about saving money; it’s about investing that savings back into higher-quality core food for your dog while providing a superior, fresher supplement.
The Hacker’s Grow Guide: From Seed to Snack in 10 Days

This is the operational blueprint. Follow these steps precisely for a foolproof, continuous supply of fresh wheatgrass. No green thumb required—only attention to detail.
Phase 1: Procurement & Prep
First, gather your materials. Don’t overcomplicate it.
- Seeds: Purchase organic hard winter wheat seeds (wheatberries). This is critical. Non-organic may be treated with fungicides. A one-pound bag will last for months.
- Growing Tray: A simple plastic or ceramic tray, about 1-2 inches deep. Nursery trays or even recycled food containers work, but ensure they have drainage holes.
- Growing Medium: Organic potting soil or coconut coir. Soil-less growing is possible but more complex; soil provides trace minerals.
- Spray Bottle: For gentle watering.
Phase 2: The Step-by-Step Protocol
- Seed Soaking (Day 1): Measure out enough seeds to cover the bottom of your tray in a single, dense layer. Place them in a glass jar, cover with cool, filtered water, and let them soak for 8-12 hours. This awakens the seeds from dormancy.
- Draining & Sprouting (Day 1-2): After soaking, drain the water completely. Rinse the seeds and drain again. Leave the jar on its side in a dim location. Rinse and drain every 8-12 hours for the next 24-36 hours. You’ll see tiny white root tails emerge. This is the sign to plant.
- Planting (Day 2-3): Fill your tray with about 1 inch of pre-moistened soil. Compact it gently. Spread your sprouted seeds evenly across the surface. They should be crowded but not overlapping. Lightly press them into the soil.
- The Blackout Period (Day 3-5): Mist the seeds generously with your spray bottle. Cover the tray with another inverted tray or a piece of cardboard to block all light. This forces the roots down into the soil. Keep the soil moist by misting twice a day.
- The Growth Phase (Day 5-10): Once the grass shoots are about an inch tall, remove the cover and move the tray to a location with indirect sunlight. Direct sun can scorch the young blades. Water daily, aiming to keep the soil moist but not waterlogged. The grass will grow rapidly.
- Harvesting (Day 10+): The wheatgrass is ready when it’s 4-6 inches tall. To harvest, use clean scissors to cut the grass about an inch above the soil line. You can often get a second, smaller harvest from the same tray.
Dosage and Delivery: How to Safely Serve Wheatgrass
Growing the grass is half the battle; proper integration is the other. The goal is to provide a supplemental boost, not a meal replacement. Introducing it incorrectly can lead to digestive upset, defeating the entire purpose.
The Cardinal Rule: Start Low, Go Slow
Every dog is an individual. Their gut microbiome will react differently. Never give your dog a large amount of wheatgrass for the first time. The sudden influx of fiber can cause vomiting or diarrhea. This is not a sign that wheatgrass is ‘bad,’ but a sign that the introduction was too abrupt.
Serving Methods & Starting Dosages:
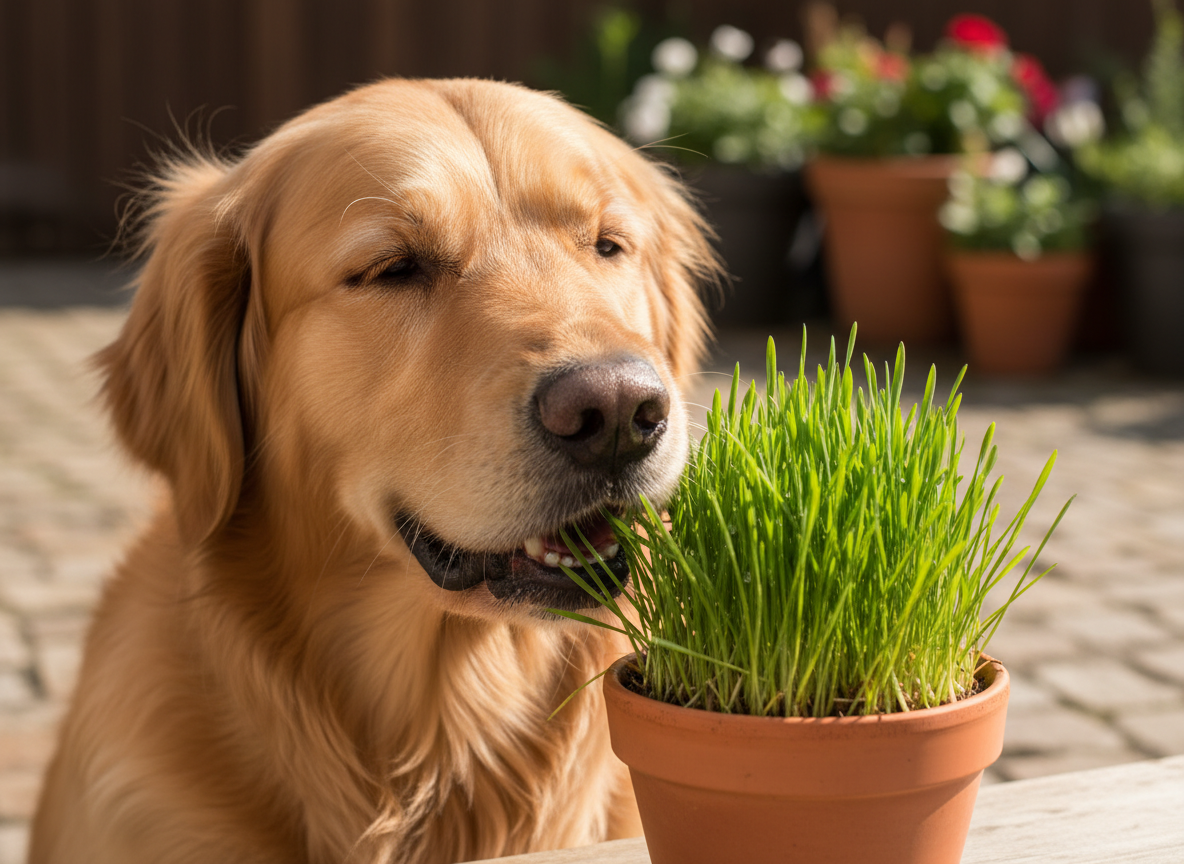
- The Grazer: The simplest method. Place the pot of wheatgrass on the floor and allow your dog to chew on it at their leisure. They are often surprisingly good at self-regulating. Supervise them to ensure they don’t eat the whole tray or knock it over.
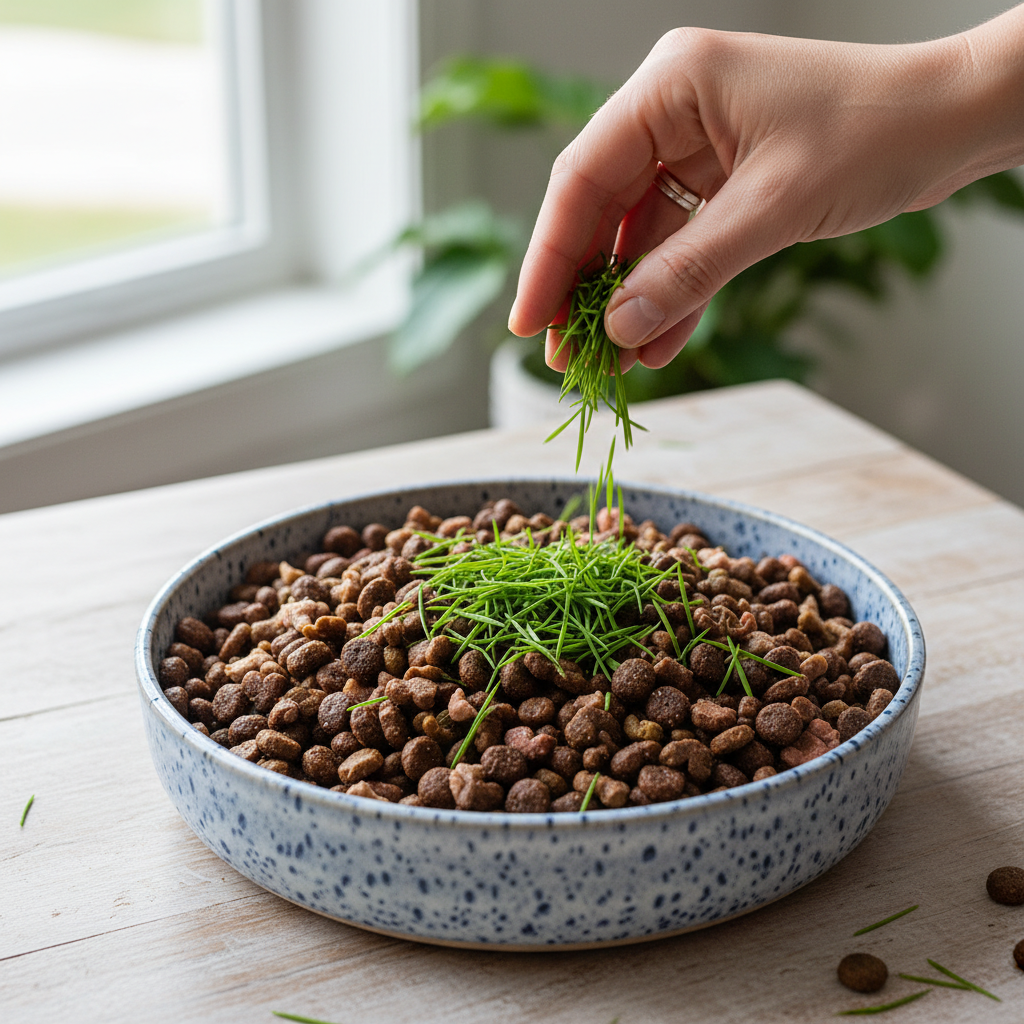
- The Chop & Mix: This is the best method for precise dosage control. Finely chop the harvested grass (a food processor works well) and mix it into their regular food. This ensures they consume it and allows you to measure the amount.
- The Juice: For picky eaters or dogs with dental issues, you can use a masticating juicer to extract the juice. This is highly concentrated, so use it sparingly. Drizzle a small amount over their food.
Recommended Starting Amounts (Chopped):
- Small Dogs (under 20 lbs): Start with 1/2 teaspoon mixed into food once daily.
- Medium Dogs (20-50 lbs): Start with 1 teaspoon mixed into food once daily.
- Large Dogs (over 50 lbs): Start with up to 2 teaspoons mixed into food once daily.
Monitor your dog’s stool and energy levels for 3-5 days before considering a gradual increase. Most dogs do not need more than double these starting amounts for a therapeutic benefit. Consistency is more important than quantity.
Troubleshooting Your Canine Garden: Common Pitfalls & Pro Solutions
Even a simple process can have hiccups. Anticipating problems is key to maintaining a consistent supply. Here are the most common issues and their solutions.
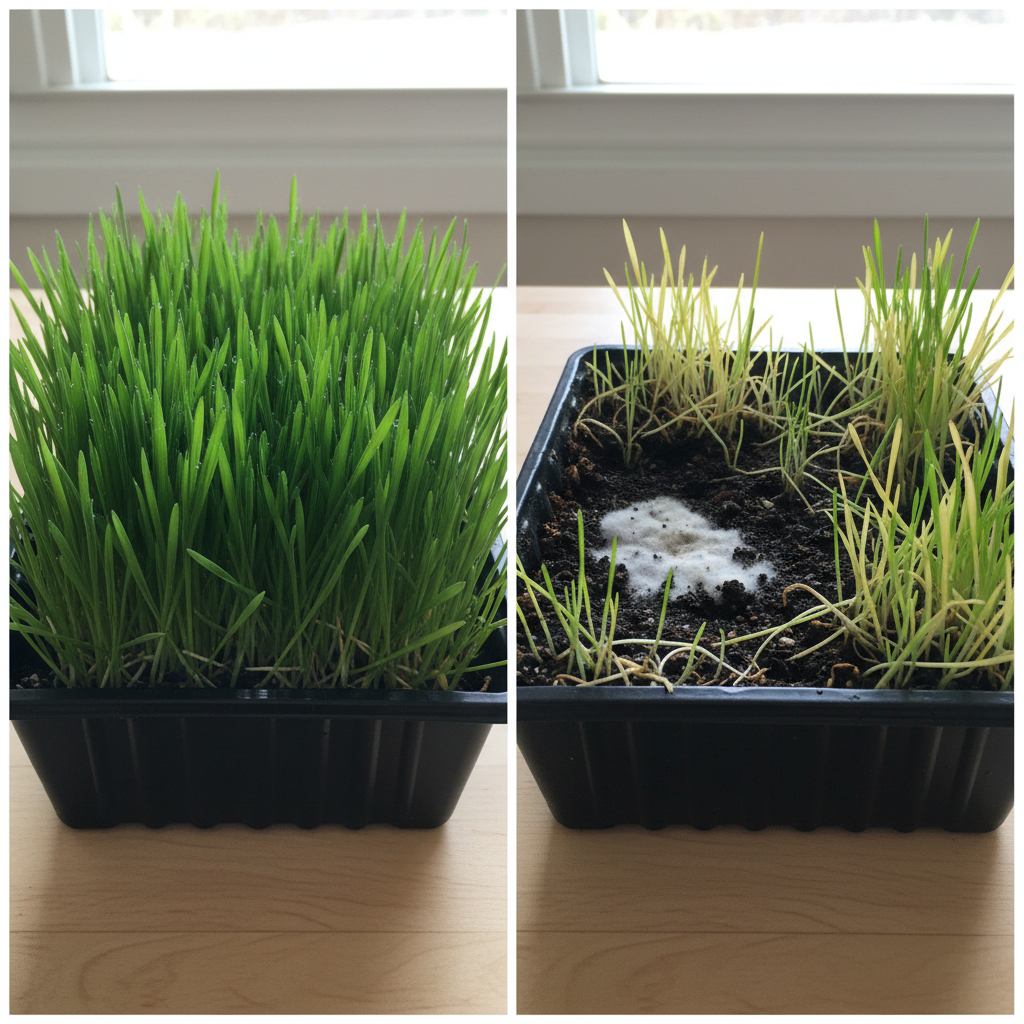
Problem: Mold Growth on the Soil Surface
This is the number one issue for new growers. It typically presents as a white or blueish fuzz.
Cause:
Poor air circulation, overwatering, or planting seeds too densely.
Solution:
Increase air circulation. Place a small fan near your trays or move them to a less stuffy area. Reduce watering frequency—the soil should be damp, not soaked. If mold persists, a very diluted solution of hydrogen peroxide (1 part 3% peroxide to 10 parts water) can be misted on the soil surface as a preventative measure on future trays. Ensure your seeds are spread out enough to allow air to pass through.
Problem: Grass is Yellowing or Wilting
Cause:
This is almost always an issue with sunlight or water. Either too much direct sunlight, which scorches the blades, or not enough water.
Solution:
Move the tray to a location with bright but indirect light. A north-facing window is often ideal. Check your soil moisture. If it’s dry to the touch, your grass is thirsty. Ensure you’re watering daily once the grass is established.
Problem: Poor or Patchy Germination
Cause:
Old seeds, improper soaking, or letting the seeds dry out during the critical blackout period.
Solution:
Buy fresh seeds from a reputable supplier. Follow the soaking and sprouting protocol exactly—don’t cut corners. During the 2-3 day blackout period, it is essential that the seed bed remains consistently moist. Misting twice a day is non-negotiable.
Conclusion
You now have the complete blueprint to become a self-sufficient producer of one of nature’s most effective canine digestive aids. By investing a small amount of time and effort, you’ve unlocked a way to provide your dog with a fresh, living supplement free from fillers and preservatives. You’ve also taken a definitive step away from the overpriced, over-marketed products that dominate the pet care landscape.
This is about more than just growing grass. It’s about empowerment. It’s about understanding the ‘why’ behind the ‘what.’ It’s about having absolute control over the quality of what goes into your dog’s body and saving significant money in the process. Welcome to the smarter way of thinking about canine nutrition.