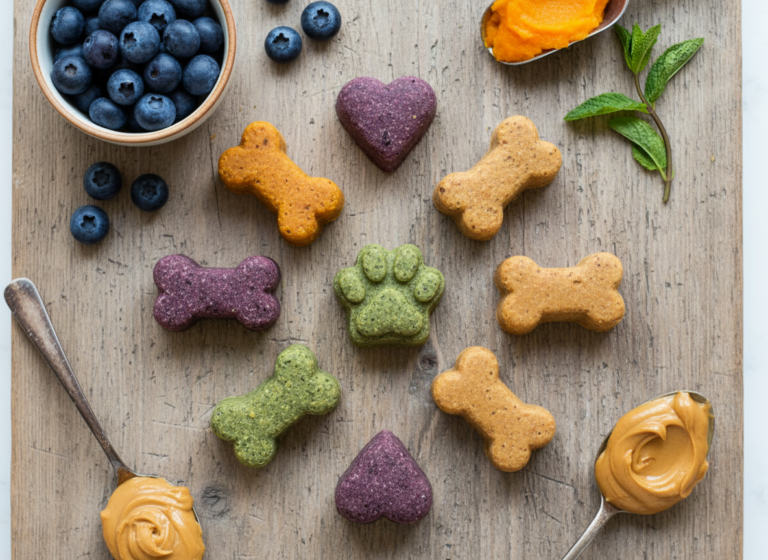
Grain-Free Cassava Flour Dog Biscuits Recipe
SAFETY DISCLAIMER: Before we begin, it is critical to understand that I am not a veterinarian or a certified animal nutritionist. This recipe is intended as a treat and should not replace your dog’s balanced daily diet. Always consult with your veterinarian before introducing new foods, especially if your dog has known health issues, allergies, or is on a specific diet. The goal here is to supplement a healthy lifestyle with high-quality, controlled ingredients, not to overhaul it without professional guidance. Now, let’s get to hacking your dog’s treat jar.
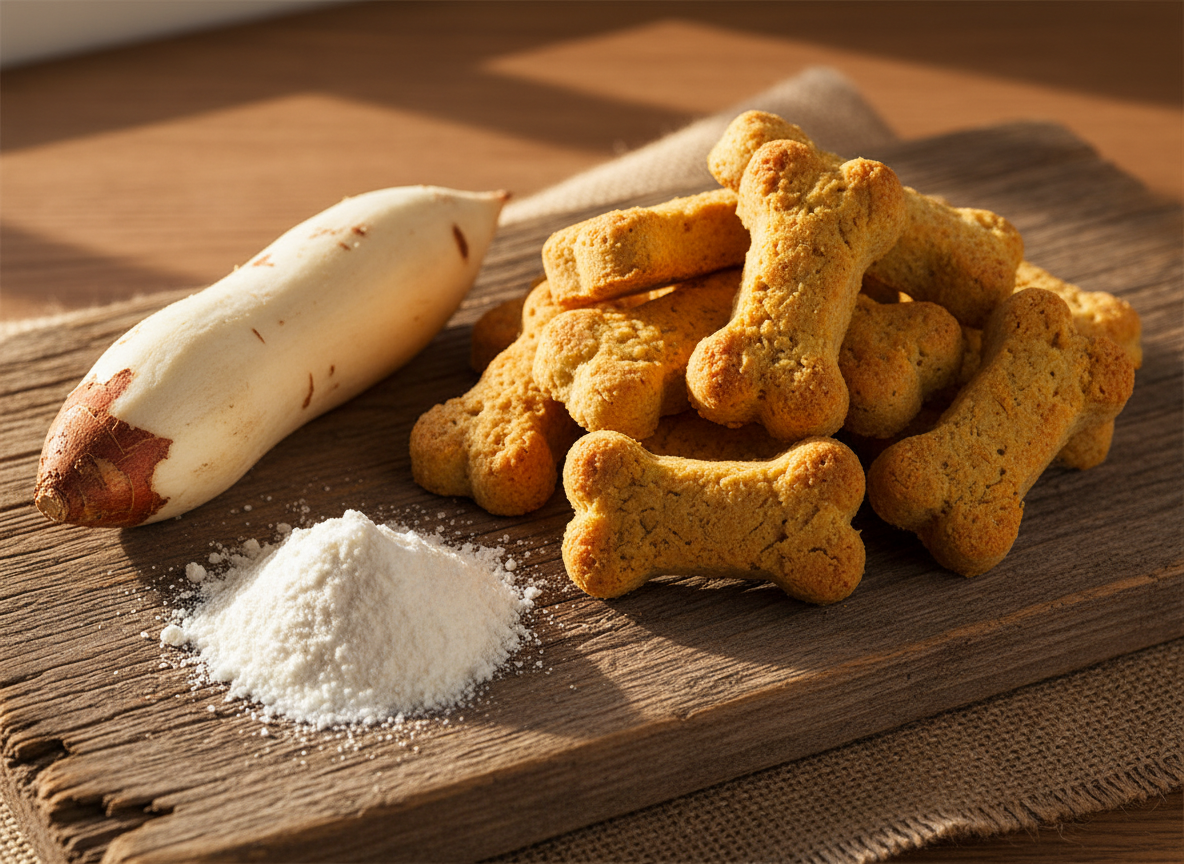
Forget the overpriced, mystery-ingredient biscuits lining pet store shelves. The modern pet owner—the savvy owner—looks at an ingredient label and sees a puzzle to be solved. We see fillers, allergens, and marketing fluff. That’s why we’re moving beyond the usual grain-free suspects like potato or pea flour and diving into a true game-changer: cassava flour. This hypoallergenic powerhouse is the key to creating treats that are not only safe for sensitive dogs but are also incredibly simple to make. This guide will provide you with the exact blueprint to take control of your dog’s nutrition, one delicious, crunchy biscuit at a time.
Deconstructing the Hype: Why Cassava Flour is a Superior Choice
In the world of grain-free dog food, not all alternatives are created equal. Many so-called ‘premium’ brands swap out wheat and corn for high-glycemic starches like potato or tapioca, which can still cause issues for some dogs. Cassava flour, derived from the whole yuca root, is a fundamentally different and superior ingredient for several key reasons.
The Hypoallergenic Edge
The most common food allergens for dogs are proteins, often from sources like beef, dairy, chicken, and wheat gluten. However, many dogs also exhibit sensitivities to common grains and starches. Cassava flour is a ‘novel’ carbohydrate source for most dogs, meaning their immune systems have likely never encountered it before. This dramatically reduces the risk of triggering an allergic reaction. It is naturally:
- Grain-Free: It’s not a cereal grain, making it perfect for dogs with grain sensitivities.
- Gluten-Free: Essential for any dog with gluten intolerance.
- Nut-Free: Unlike almond or coconut flour, it poses no risk for nut allergies.
This clean profile makes it an ideal base for treats designed for dogs suffering from itchy skin, chronic ear infections, or digestive upset—all common signs of food intolerance.
Nutritional and Textural Analysis
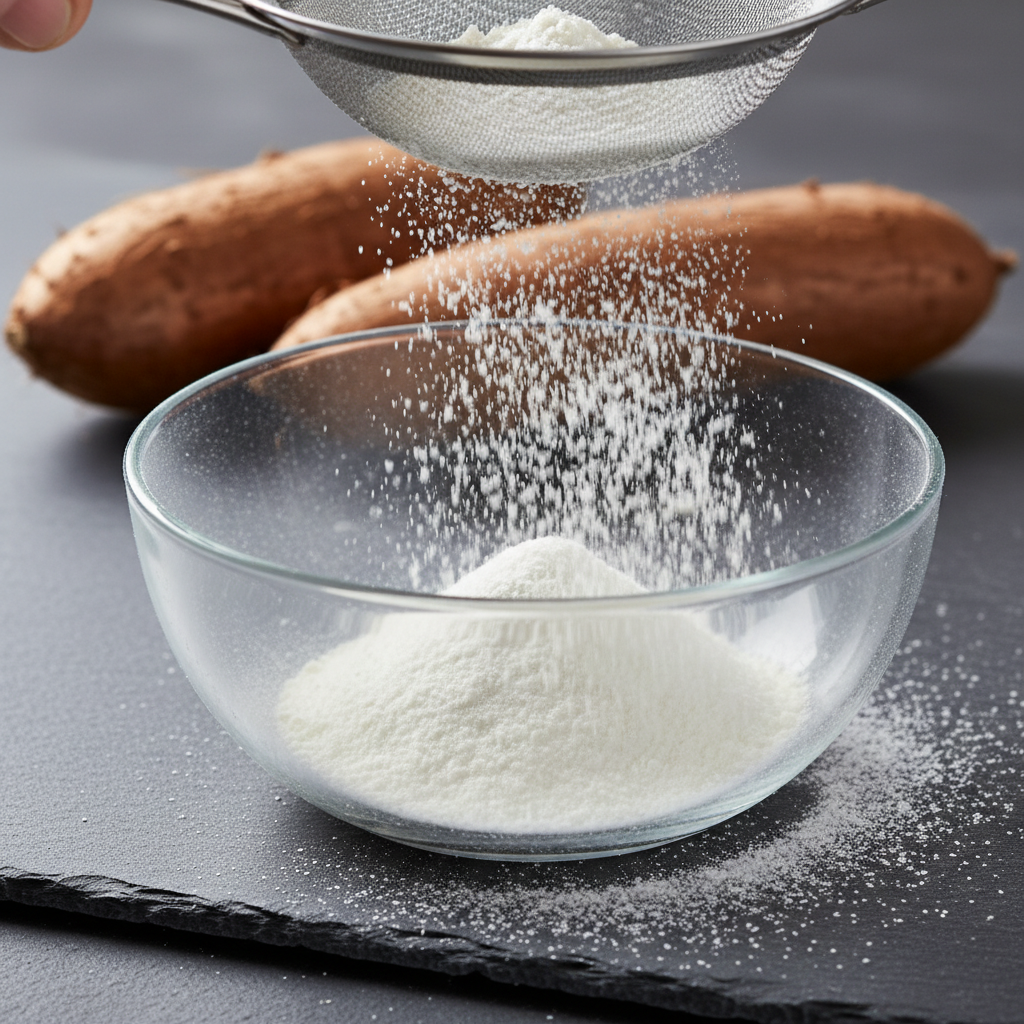
Cassava flour is more than just an inert filler. It’s a source of complex carbohydrates, providing sustained energy. Its fine, powdery texture is remarkably similar to wheat flour, which makes it a dream to work with in the kitchen. Unlike gritty rice flours or dense bean flours, cassava creates a light, crispy biscuit with a satisfying crunch that dogs love. It binds well with wet ingredients, eliminating the need for gums or other artificial binders often found in commercial treats.
Insider Secret: When shopping, ensure you are buying cassava flour, not tapioca starch. While both come from the same plant, tapioca is the extracted starch, while cassava flour is made from the whole, peeled root. This means cassava flour retains more fiber and has a more robust nutritional profile, making it the superior choice for our purposes.
The Forensic Cost Analysis: DIY vs. Premium Store-Bought
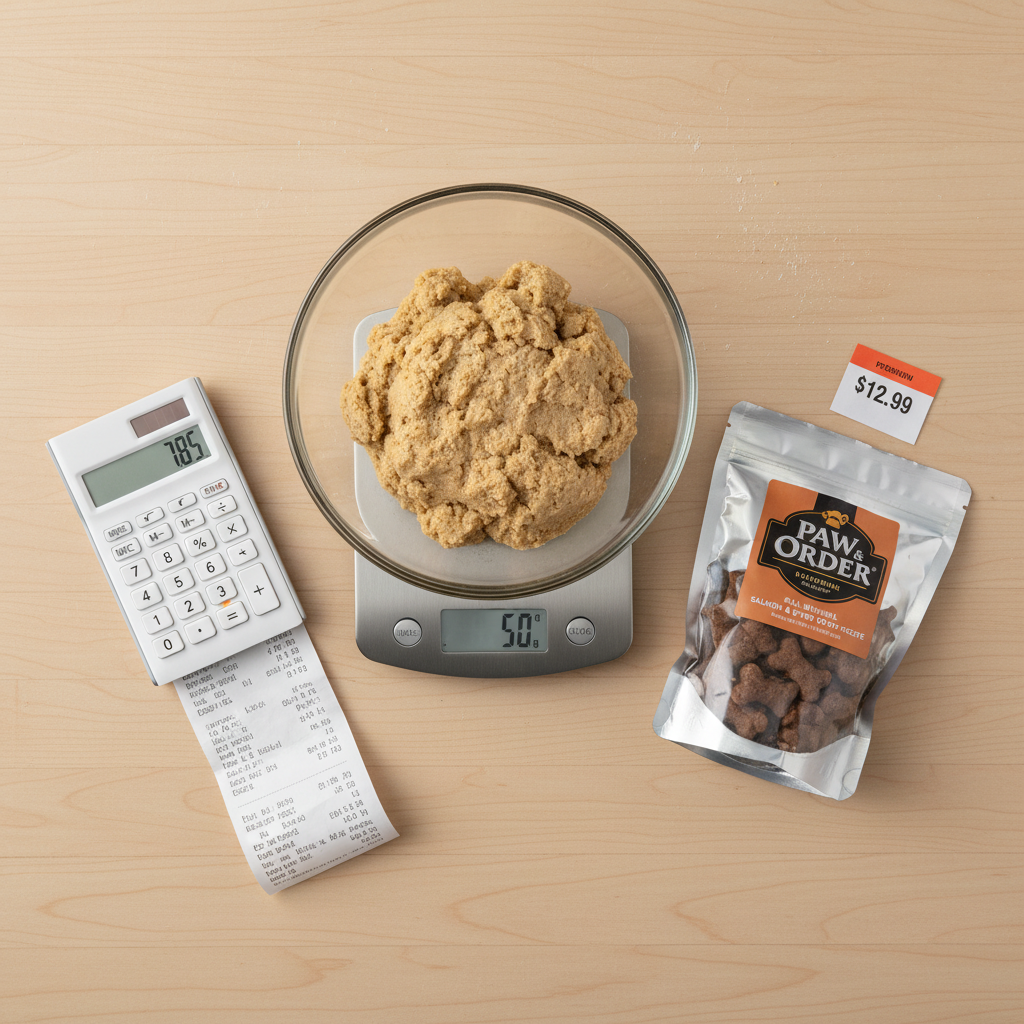
One of the biggest hurdles for pet owners wanting to provide high-quality nutrition is the cost. Premium, single-ingredient, grain-free dog treats can carry an exorbitant price tag. By taking a DIY approach, you not only control the quality but also achieve significant savings. Let’s break down the numbers for a typical batch of our cassava biscuits versus a popular high-end commercial brand.
Cost Breakdown: Homemade Cassava Biscuits
This analysis assumes standard grocery store prices. Your costs may be even lower if you buy in bulk.
- Cassava Flour (2 lbs bag at $8.00, 2.5 cups used ~ $1.25)
- Lean Ground Turkey (1 lb at $5.00, 1/2 lb used ~ $2.50)
- Eggs (1 dozen at $4.00, 1 egg used ~ $0.33)
- Parsley (1 bunch at $1.50, small amount used ~ $0.20)
Total Cost for a Batch (approx. 50 biscuits): $4.28
Cost Per Biscuit: ~$0.09
Comparison Table: DIY vs. Commercial
Here, we’ll compare our homemade recipe to a leading ‘Premium Grain-Free Turkey Recipe’ biscuit brand, which typically costs around $10.00 for a 12 oz bag containing roughly 60 smaller biscuits.
| Metric | DIY Cassava Biscuits | Premium Store-Bought Brand |
|---|---|---|
| Primary Binder | Cassava Flour (Whole Root) | Pea Flour, Potato Starch |
| Protein Source | Fresh Lean Ground Turkey | Turkey Meal |
| Known Allergens | Virtually None (Turkey can be swapped) | Potential for pea/potato sensitivity |
| Cost per Batch/Bag | ~$4.28 | ~$10.00 |
| Cost Per Treat (Approx.) | $0.09 | $0.17 |
| The Verdict | Superior ingredients at nearly half the cost. Full control over quality and sourcing. | Convenient but more expensive, with less transparency and potential for filler ingredients. |
The data is clear. By investing a small amount of time, you can cut your treat costs by nearly 50% while simultaneously providing a fresher, higher-quality product with zero questionable additives or preservatives.
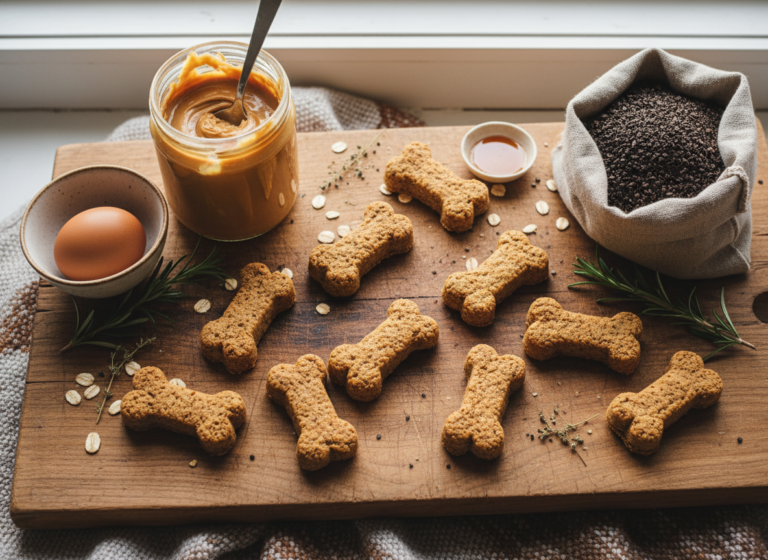
The Blueprint: Grain-Free Cassava Flour Dog Biscuits Recipe
This recipe is a foundational blueprint. It’s designed for simplicity, safety, and nutritional value. Once you master this base, you can begin to customize it based on your dog’s specific needs and preferences, which we will cover in the next section.
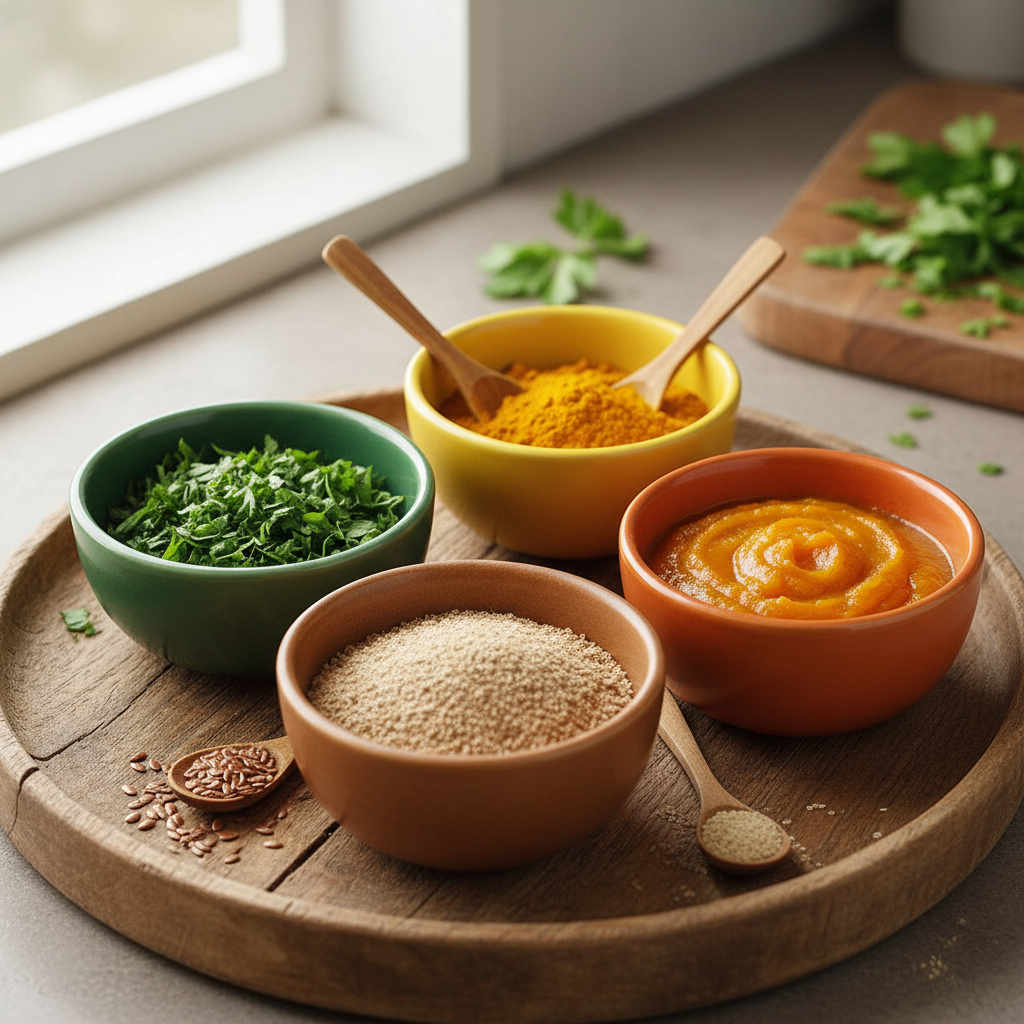
Core Ingredients
- 2 ½ cups Cassava Flour
- ½ lb Cooked Lean Ground Meat (turkey, beef, or lamb)
- 1 Large Egg
- ¼ cup Finely Chopped Fresh Parsley (for fresh breath)
- ½ to ¾ cup Water or Low-Sodium Broth (as needed)
Required Equipment
- Large Mixing Bowl
- Baking Sheets
- Parchment Paper
- Rolling Pin
- Cookie Cutters (dog bone shape is optional but fun)
- Food Processor or Blender (for pureeing meat)
Step-by-Step Instructions
- Preheat and Prep: Preheat your oven to 350°F (175°C). Line two large baking sheets with parchment paper to prevent sticking.
- Cook the Protein: Cook the lean ground meat thoroughly in a pan until no longer pink. Drain off all excess fat. This step is critical as excess fat can cause digestive upset. Allow the meat to cool slightly.
- Puree for Consistency: Transfer the cooked meat to a food processor or blender. Add about ¼ cup of your water or broth and blend until it forms a smooth, paste-like consistency. This ensures the meat is evenly distributed throughout the dough for better flavor and structure.
- Combine Ingredients: In your large mixing bowl, combine the cassava flour and chopped parsley. Create a well in the center. Add the pureed meat and the egg to the well.
- Form the Dough: Begin mixing the ingredients with a spoon or your hands. Slowly add the remaining water or broth, a tablespoon at a time, until a firm, non-sticky dough forms. The amount of liquid needed can vary slightly depending on the humidity and the exact moisture content of your meat puree.
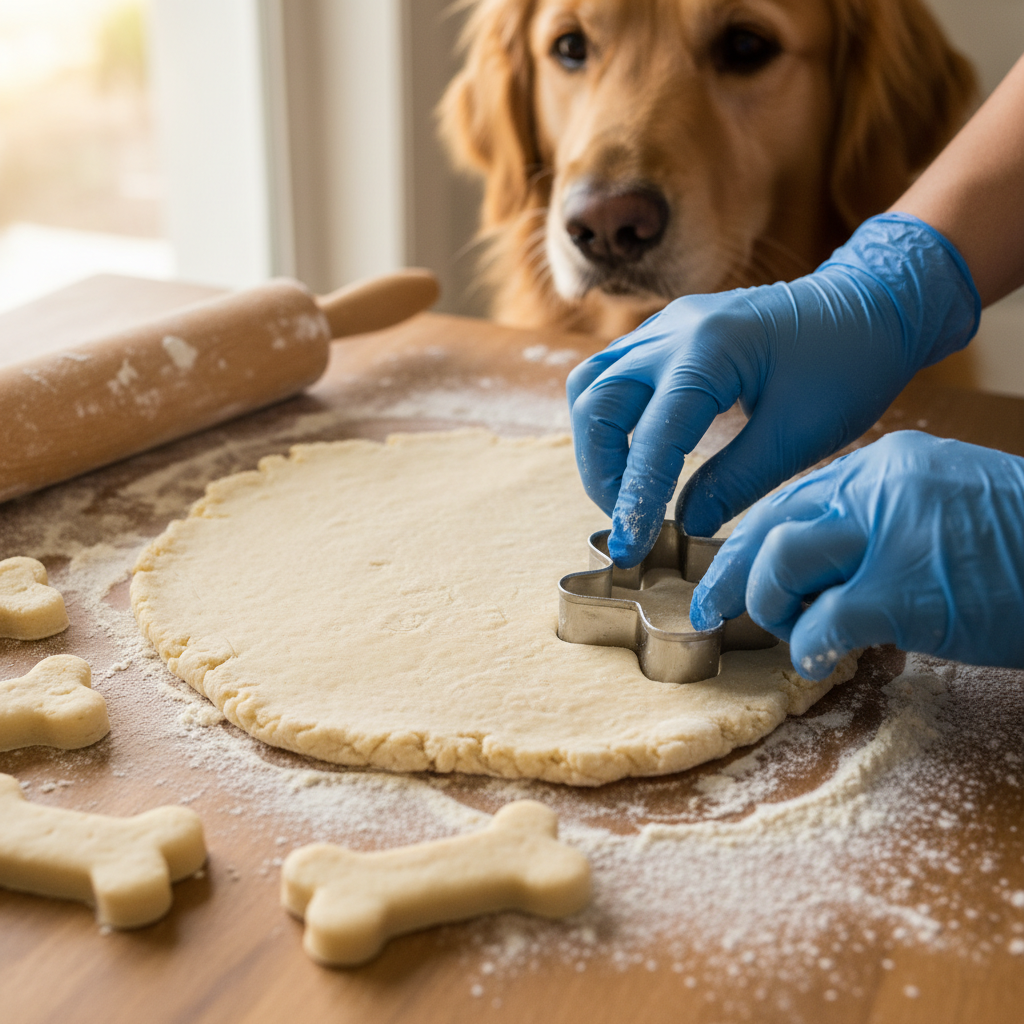
- Roll and Cut: Lightly dust a clean surface with a bit of cassava flour. Turn the dough out and roll it to about ¼-inch thickness. Use your cookie cutters to cut out the biscuits and place them on the prepared baking sheets.
- Bake to Perfection: Bake for 20-25 minutes, or until the edges are golden brown and the biscuits are firm to the touch. For an extra crunchy biscuit (which helps clean teeth), turn off the oven, crack the door open, and let the biscuits cool inside the oven for another hour.
- Cool Completely: Transfer the biscuits to a wire rack to cool completely before serving or storing. This is a crucial step to prevent moisture buildup and mold.
Hacker Tip: The final dough should feel like stiff play-doh. If it’s too sticky, add more cassava flour one tablespoon at a time. If it’s too crumbly, add more water or broth one teaspoon at a time. Getting the consistency right is the key to easy rolling and a perfect final product.
Ingredient Deep-Dive: Optimizing for Your Dog’s Needs
The base recipe is a fantastic starting point, but the real power of DIY is customization. You can tailor these biscuits to address specific health concerns or simply to add variety for your dog. Here’s how to safely modify the blueprint.
Protein & Binder Swaps
If your dog is allergic to the protein used in the base recipe, or if you want a meat-free option, consider these powerful substitutions:
- Novel Proteins: If your dog has common allergies to chicken or beef, try using ground lamb, venison, or even rabbit.
- Fish: Canned sardines or salmon (packed in water, no salt added) are excellent sources of Omega-3 fatty acids for skin and coat health. Drain them well and puree as you would the meat.
- Vegetarian Binders: For a meat-free biscuit, replace the meat with 1 cup of pure pumpkin puree (not pie filling) or unsweetened applesauce. You may need to adjust the flour amount slightly to get the right dough consistency.
Targeted Nutritional Boosters
A pinch of the right ingredient can turn a simple treat into a functional supplement. Add these to the dry ingredients before mixing:
- For Joint Health: Add 1 teaspoon of turmeric powder (with a pinch of black pepper to aid absorption) for its powerful anti-inflammatory properties.
- For Skin & Coat: Mix in 1 tablespoon of ground flaxseed or chia seeds for a boost of Omega-3s.
- For Digestion: A tablespoon of powdered ginger can help soothe an upset stomach.
IMPORTANT WARNING: Never add ingredients without verifying they are safe for canine consumption. Many human foods are toxic to dogs. Avoid at all costs: xylitol (an artificial sweetener), onions, garlic, grapes, raisins, chocolate, and macadamia nuts. When in doubt, leave it out.
The Batch Cooking Protocol: Storage and Freezing for Longevity
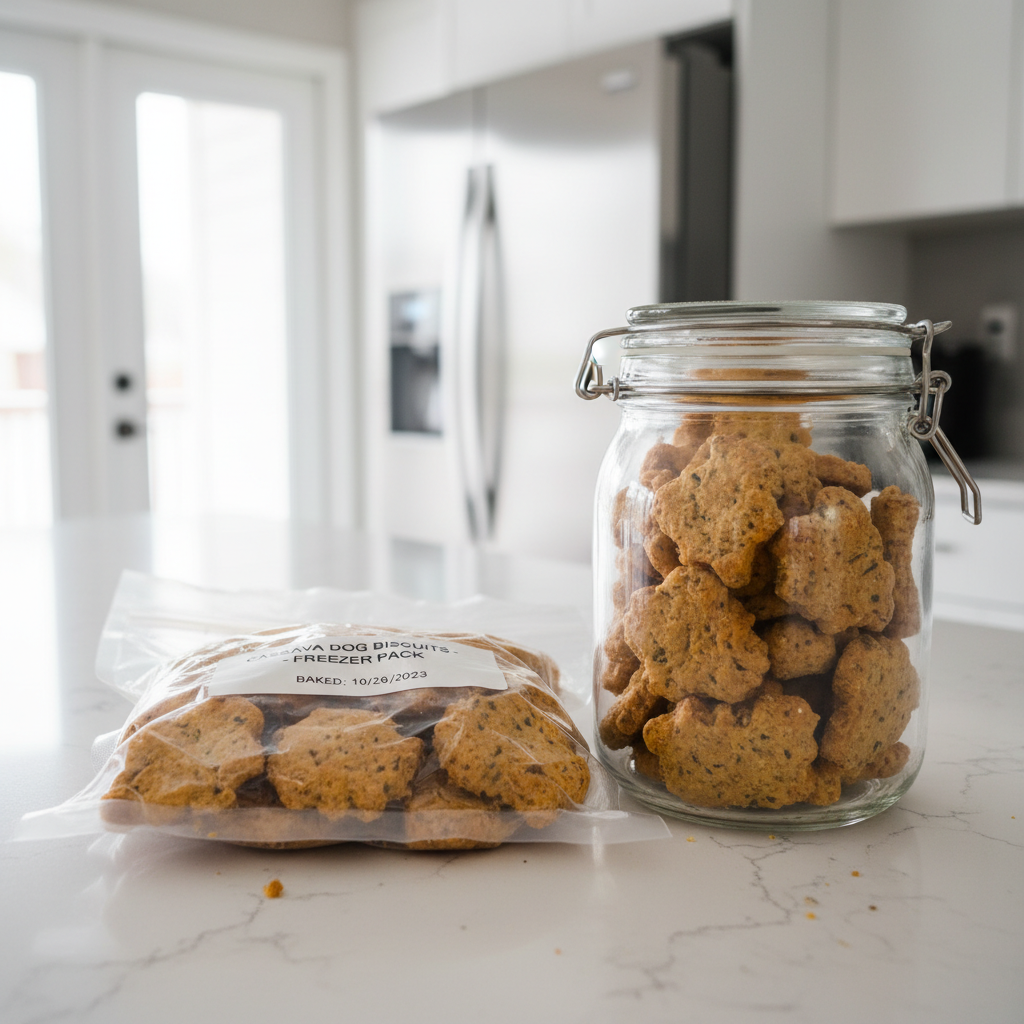
You’ve invested the time to bake a batch of superior-quality treats; now it’s time to protect that investment. Proper storage is not just about convenience; it’s about preserving freshness and preventing the growth of mold and bacteria without the use of artificial preservatives.
Short-Term Storage (1-2 Weeks)
The key to short-term storage is ensuring the biscuits are completely dry and cool. Any residual moisture is the enemy. After cooling on a wire rack for several hours (or overnight for thicker biscuits), they are ready for storage.
- Method: Store the biscuits in a container that is not completely airtight, such as a cookie jar with a loose-fitting lid or a paper bag. This allows for slight air circulation, which prevents moisture from softening the biscuits.
- Location: Keep them in a cool, dry place away from direct sunlight.
- Duration: Stored this way, the biscuits should remain fresh and crunchy for up to two weeks.
Long-Term Storage (Up to 6 Months)
Freezing is the ultimate preservation method. It allows you to make large batches at once, saving you time and effort in the long run.
- Preparation: Ensure the biscuits are bone-dry and completely cool. This is even more critical for freezing to prevent ice crystals from forming and causing freezer burn.
- Packaging: For best results, use a vacuum sealer. This removes all the air, which is the primary cause of freezer burn and degradation of quality. If you don’t have a vacuum sealer, use high-quality freezer bags and press out as much air as possible before sealing.
- Labeling: Always label the bags with the date and the type of biscuit (e.g., ‘Turkey Cassava Biscuits – Oct 2023’). This helps you rotate your stock.
- Thawing: To serve, simply remove the desired number of biscuits from the freezer and let them thaw at room temperature on the counter. They will regain their crunchiness as they thaw. Do not microwave them, as this can create soft spots.
By following this batch cooking protocol, you can ensure your dog always has a supply of healthy, homemade treats ready to go, making the DIY process both efficient and highly rewarding.
Conclusion
You now possess the knowledge and the exact blueprint to move beyond the commercial treat aisle for good. Crafting these Grain-Free Cassava Flour Dog Biscuits is about more than just baking; it’s a definitive act of control over your dog’s health and your own budget. You’ve seen the forensic analysis—making your own treats is not only healthier but also significantly more cost-effective. You’re no longer a passive consumer buying into marketing labels; you are the gatekeeper of your dog’s nutrition. By choosing high-quality, hypoallergenic ingredients and avoiding the fillers and preservatives rampant in the industry, you are providing a level of care that money simply can’t buy. Welcome to the world of the Canine Nutrition Hacker.