How to Make a DIY Snuffle Mat for Mental Enrichment Feeding
Let’s be blunt: a bored dog is a destructive dog. That chewed-up shoe, the shredded couch cushion, the incessant barking—these aren’t signs of a ‘bad dog.’ They are cries for help from a brilliant mind that’s being criminally under-stimulated. The pet industry knows this, and they’ve flooded the market with a dizzying array of expensive, often flimsy ‘enrichment’ toys that promise to solve your problems. Most of them are a waste of money.
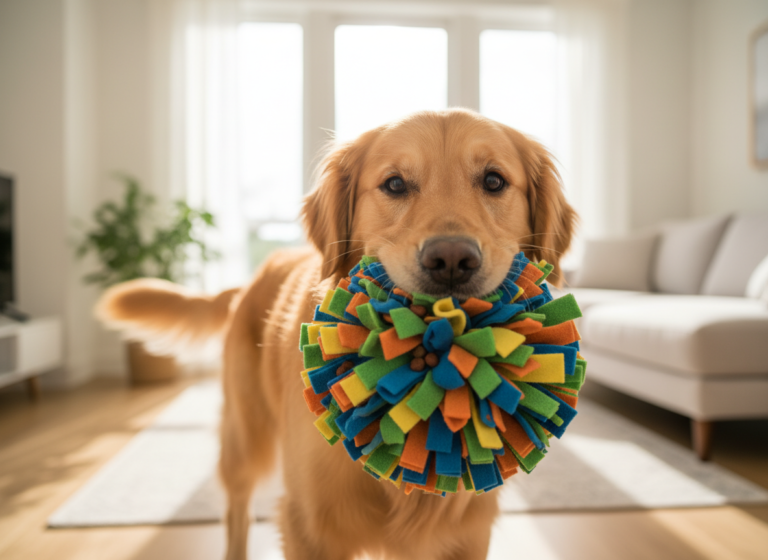
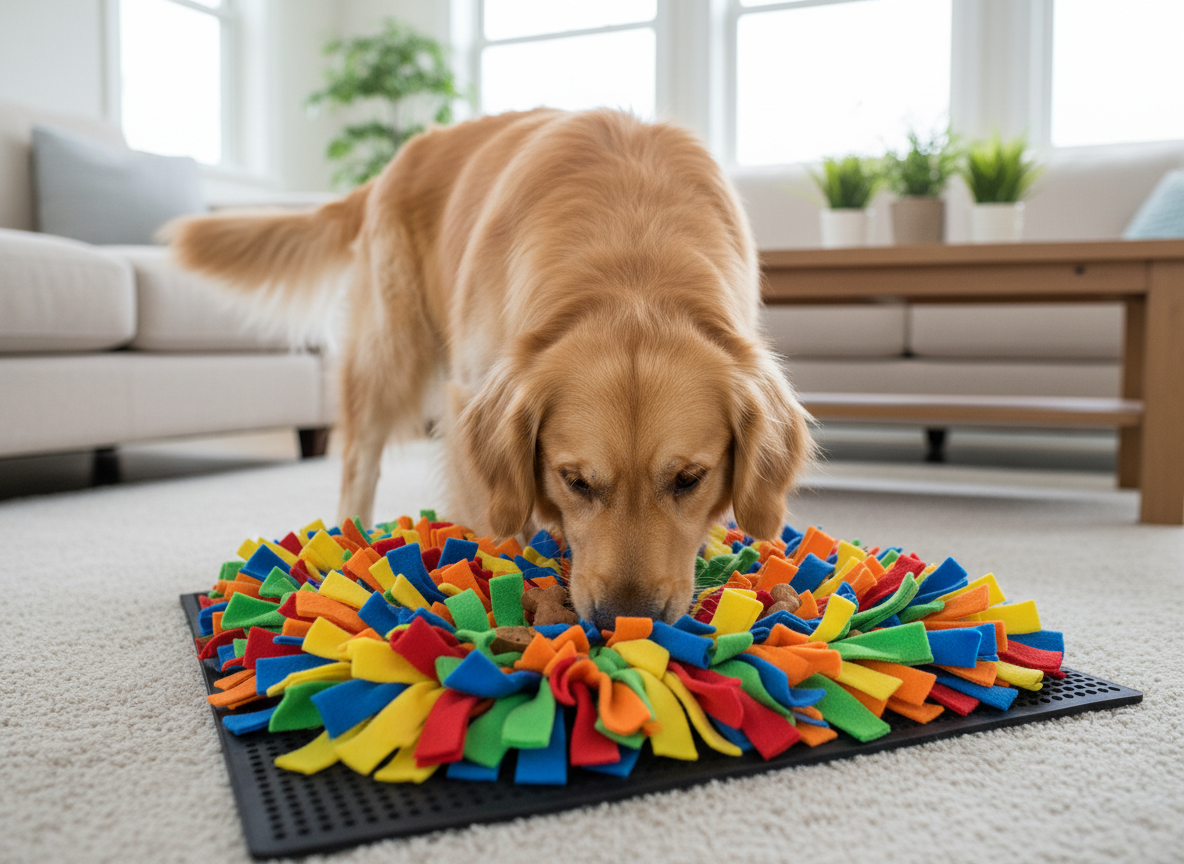
As The Canine Nutrition Hacker, I analyze everything that goes into our dogs, from food to fun. Today, we’re hacking the system of overpriced toys. We’re going to build a superior tool for mental exercise: the snuffle mat. A proper snuffle mat taps into your dog’s most powerful sense—their nose—and mimics the natural act of foraging. It reduces anxiety, slows down fast eaters, and provides a powerful cognitive workout. Forget the $50+ price tags on store-bought versions. I’m going to show you how to build a better, more durable, and fully customized version for a fraction of the cost. This isn’t just a craft project; it’s a fundamental upgrade to your dog’s well-being.
The Enrichment Racket: Deconstructing the Flaws in Store-Bought Solutions
The pet product market is a billion-dollar industry built on your desire to give your dog the best. But ‘best’ rarely means ‘most expensive.’ When it comes to enrichment toys, many commercially available options are designed for profit, not for your dog’s ultimate benefit.
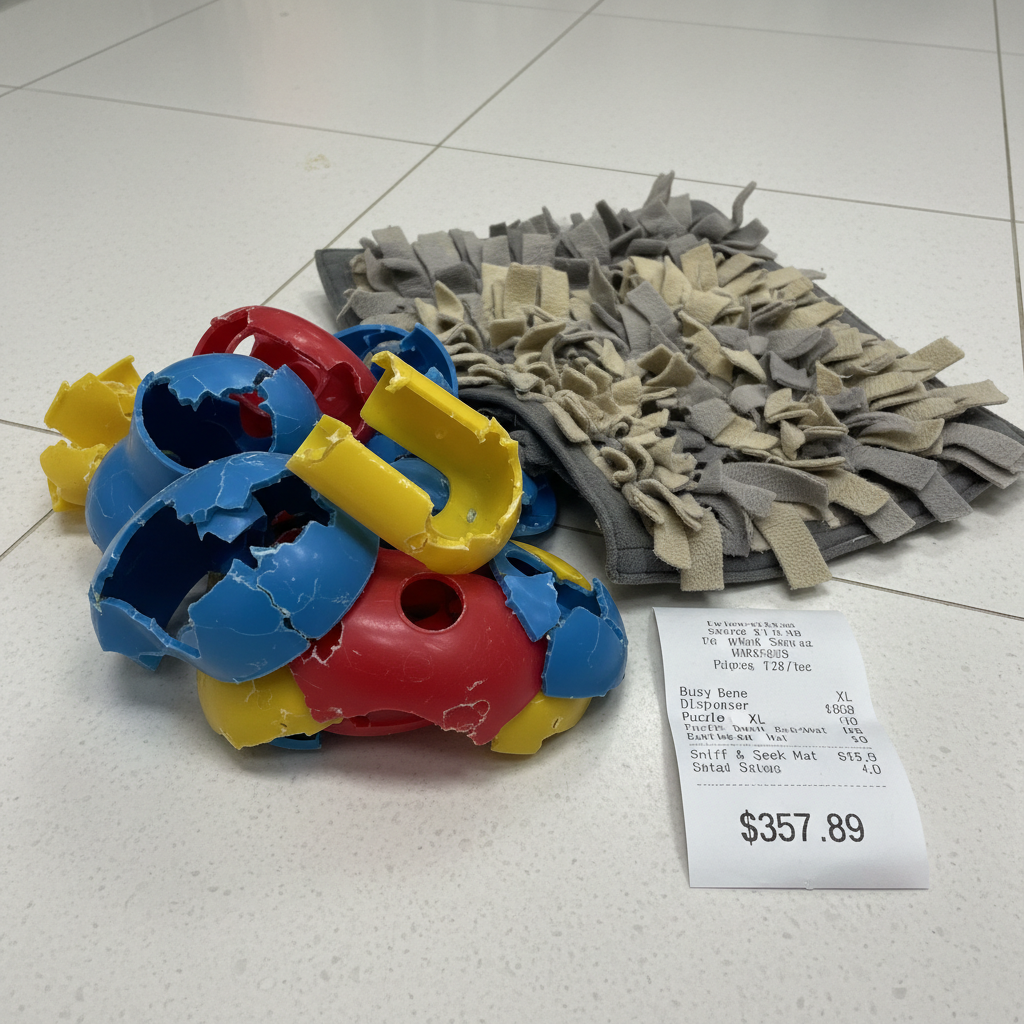
The Problem with Plastic Puzzles
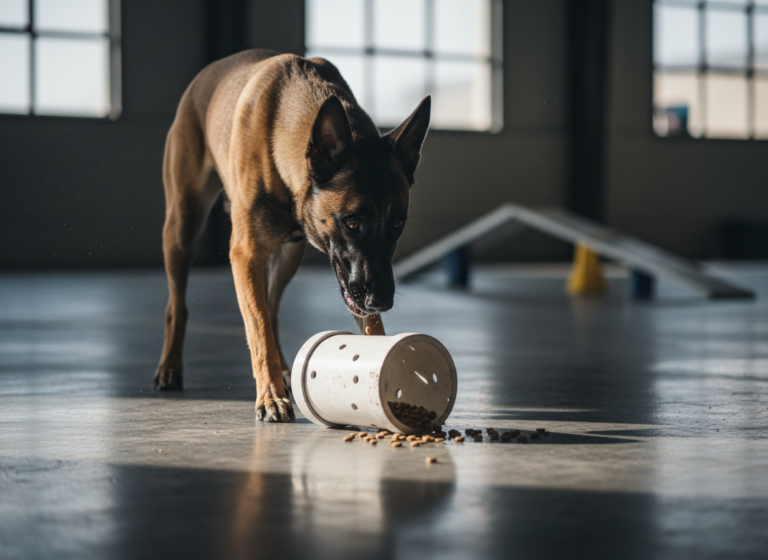
Plastic puzzle feeders are a common go-to for many owners. While the concept is sound, the execution is often flawed. Many are made from cheap plastic that can be easily chewed and destroyed by a determined dog, creating a potential choking hazard. Furthermore, many dogs ‘solve’ these puzzles quickly, learning to simply knock them over to get the food out, defeating the entire purpose of mental engagement. The novelty wears off, and you’re left with another expensive piece of plastic gathering dust.
The Downfall of Flimsy Fabrics
You’ve likely seen commercial snuffle mats in pet stores. They often look appealing, but a closer inspection reveals their weaknesses. They typically use a thin fabric base and sparsely populated fleece strips. This does two things: it cuts their manufacturing cost, and it reduces the challenge for your dog. A sparse mat is solved in seconds. The fabric base is easily ripped, and the low-quality fleece sheds and falls apart in the wash. You’re paying a premium for a product that is fundamentally under-engineered and won’t stand the test of time.
Hacker Tip: The effectiveness of a snuffle mat is directly proportional to its density. More strips, packed tighter, create a more complex foraging environment. This is the single biggest failure of most store-bought mats and the primary advantage of our DIY approach.
Financial Forensics: DIY vs. Store-Bought Cost Breakdown

The decision to build your own snuffle mat isn’t just about creating a superior product; it’s a financially savvy move. Let’s break down the numbers to expose the true cost of convenience and the massive savings potential of a simple DIY project. We’ll analyze the cost for a standard 12×12 inch mat, a common size for medium to large dogs.
| Component | Store-Bought Snuffle Mat (Average Cost) | DIY Snuffle Mat (Cost) | The Hacker’s Verdict |
|---|---|---|---|
| Base Material | Included (Often low-quality, thin fabric) | Heavy-Duty Rubber Sink Mat: $8 – $12 | The DIY rubber mat is indestructible, dishwasher-safe, and provides a weighted, non-slip base the store version can’t match. |
| Fleece Fabric | Included (Often sparse, low-grade fleece) | 1.5 Yards of Fleece (often on sale): $10 – $15 | You control the quality, color, and density. You can use upcycled old blankets for near-zero cost. |
| Labor | N/A | Your time (approx. 2-3 hours) | This is time spent creating a custom tool for your dog’s health. It’s an investment, not an expense. |
| Total Estimated Cost | $40 – $60 | $18 – $27 | You save over 50% for a product that is exponentially more durable and effective. The value is undeniable. |
The data is clear. You are paying a significant premium for an inferior product when you buy off the shelf. That extra $20-$30 is pure marketing and profit for the manufacturer. By investing a couple of hours, you cut that out entirely and put the power back in your hands.
The Blueprint: A No-Fail Guide to Building the Ultimate Snuffle Mat
This is where the theory ends and the action begins. Follow these steps precisely to create an enrichment tool that will last for years. We are not just tying knots; we are engineering a robust foraging experience for your dog.
SAFETY DISCLAIMER: While this is a safe and effective tool, always supervise your dog during the first few uses to ensure they are sniffing for food and not chewing or ingesting the fleece strips. This is a feeding tool, not a chew toy. Remove the mat after the meal is finished.
Phase 1: Material Acquisition
Gather your supplies. Quality matters. Skimping on materials will lead to a less effective, less durable product.
- The Base: One heavy-duty rubber mat with holes. A 12×12 inch or 16×16 inch sink or door mat is perfect. It must be a sturdy, non-toxic rubber. The weight prevents the dog from just flipping it over.
- The Fabric: 1.5 to 2 yards of fleece. Polar fleece is ideal. Don’t be afraid to mix colors and patterns. You can often find fleece in remnant bins for a deep discount. Wash and dry the fleece before you begin.
- The Tools: A sharp pair of fabric scissors or a rotary cutter and cutting mat. A ruler or measuring tape.
Phase 2: The Preparation
This is the most time-consuming part, but precision here pays off in the final product. Put on some music or a podcast and get into the zone.
- Cut Your Strips: Lay your fleece flat. You need to cut it into strips. For a lush, dense mat, your strips should be approximately 1 inch wide and 6-8 inches long.
- Create a Mountain of Strips: You will need a lot. For a 12×12 inch mat, you’re looking at 200-300 strips. It seems like a lot, but this density is the secret to a challenging and engaging mat. Don’t eyeball it; measure and cut consistently.
Phase 3: The Assembly
This is the construction phase. The pattern is simple, but your technique will determine the final quality.
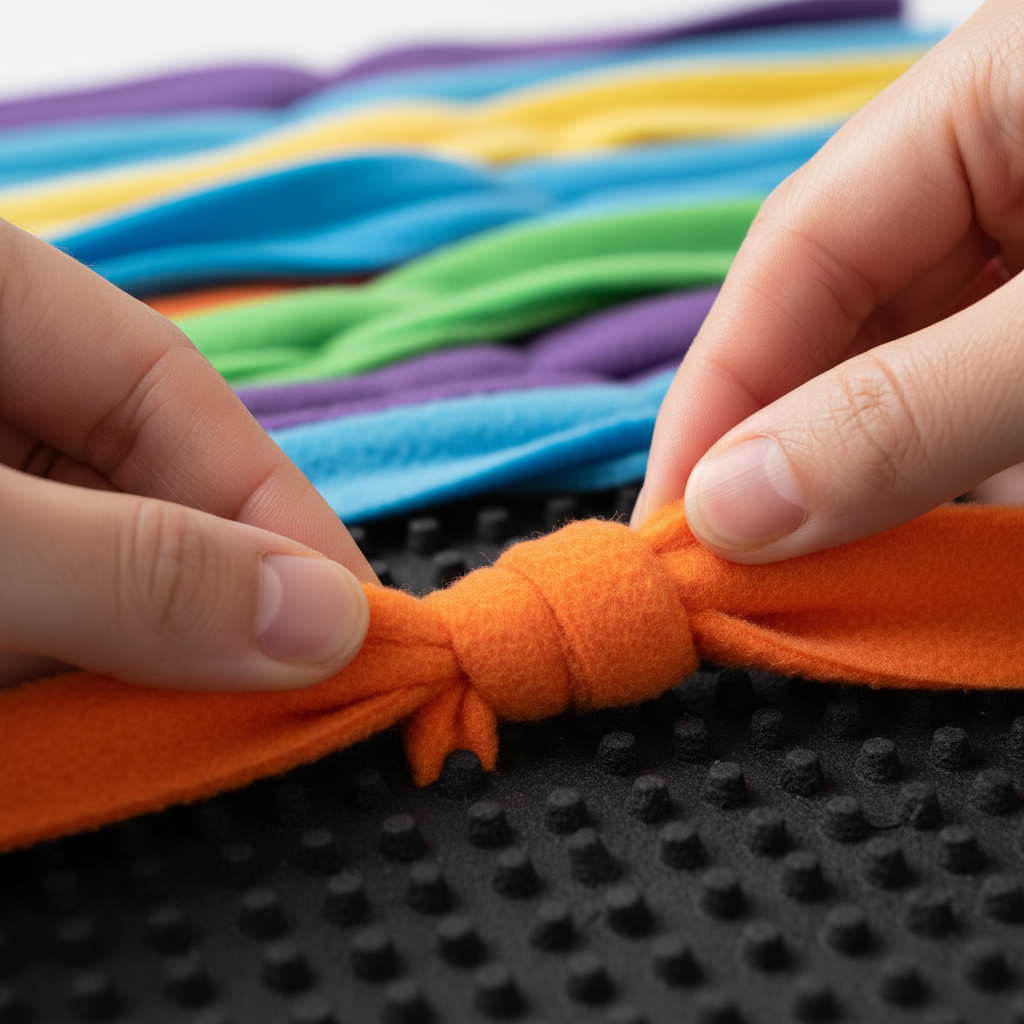
- The First Knot: Take a single strip of fleece. Push one end through a hole in the rubber mat. Push the other end through the very next hole.
- The Secure Knot: On the top side of the mat, take the two ends of the fleece strip and tie a single, tight square knot. Pull it snug against the mat. This is one completed ‘tuft’.
- Systematic Weaving: Continue this process, working row by row. Push a strip through two adjacent holes and tie it off on top. Make sure every single hole in the mat is utilized as part of a pair.
- Create Maximum Density: Once you have completed all the horizontal rows, go back and do the same for all the vertical rows. Yes, you will be threading strips through holes that are already being used. This double-layering technique is what creates the ultra-dense pile that makes the mat so effective. The mat should be so thick you can’t see the rubber base from the top.
Hacker Tip: As you work, periodically flip the mat over and check your work. The bottom should look like a neat series of fleece ‘staples,’ while the top should be a burgeoning forest of fleece. Once complete, give the entire mat a good shake to fluff up all the strips.
Advanced Tactics: Mastering the Snuffle Mat
Building the mat is only half the battle. Using it effectively is what transforms it from a novelty into a core part of your dog’s routine. Proper introduction and maintenance are non-negotiable for success and safety.
The Introduction Protocol
Don’t just throw the mat down full of food. This can be intimidating for some dogs. Follow this protocol for a positive first impression.
- Easy Wins: For the first session, sprinkle a few high-value, very smelly treats (like freeze-dried liver) right on the surface of the mat. Let your dog ‘win’ easily. This builds a positive association.
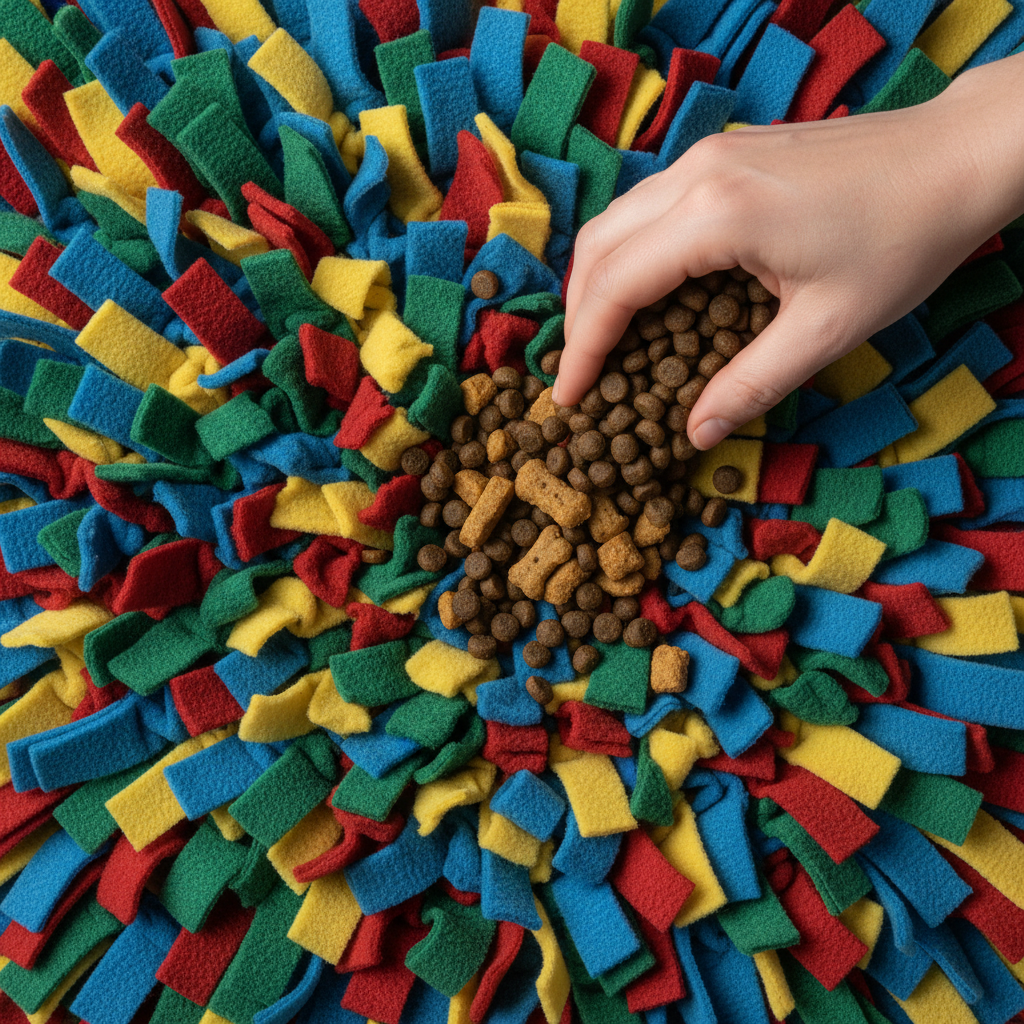
- Level Up: On the next session, use their regular kibble and push some of it down into the fleece, leaving some on top.
- Full Forage Mode: Once your dog is confidently sniffing and searching, you can start burying their entire meal deep within the fleece layers. Use your fingers to push the kibble all the way down to the rubber base.
What to Use (and What to Avoid)
- Ideal Foragers: Dry kibble, small training treats, freeze-dried meats, and small pieces of dehydrated jerky work best.
- Use with Caution: Small pieces of carrots or apples can be used, but be aware they can make the mat damp.
- Absolute No-Go: Never use wet or raw food in a fleece snuffle mat. This is a recipe for bacteria and mold. The mat is designed for dry goods only.
Care and Maintenance
A clean tool is a safe tool. Your snuffle mat will collect drool and food dust, so regular cleaning is essential.
- Weekly Shake-Out: After each use, give the mat a vigorous shake (preferably outside) to dislodge any leftover crumbs.
- The Deep Clean: Most high-quality, DIY mats are machine washable. Place the mat in a pillowcase or laundry bag to protect your machine. Wash on a gentle cycle with a pet-safe detergent and let it air dry completely. Do not use fabric softener, as the scents can be irritating to your dog’s sensitive nose. Air drying is crucial; the high heat of a dryer can damage the rubber base.
Conclusion
You now possess the knowledge to bypass the commercial pet industry’s overpriced, underperforming products. By investing a small amount of time and money, you have created a powerful, durable tool for your dog’s mental and emotional health. This DIY snuffle mat is more than just a craft project; it is a testament to your commitment to providing the best for your canine companion. It’s a way to combat boredom, reduce anxiety, and strengthen your bond through an engaging, positive activity.
You’ve not only saved money but have also engineered a solution perfectly tailored to your dog. You controlled the quality, the density, and the safety of the materials. This is the core philosophy of the Canine Hacker: analyze the problem, reject the expensive and ineffective ‘solutions,’ and build something better yourself. Now, put this knowledge to work and watch your dog enjoy the profound satisfaction of a good day’s forage.