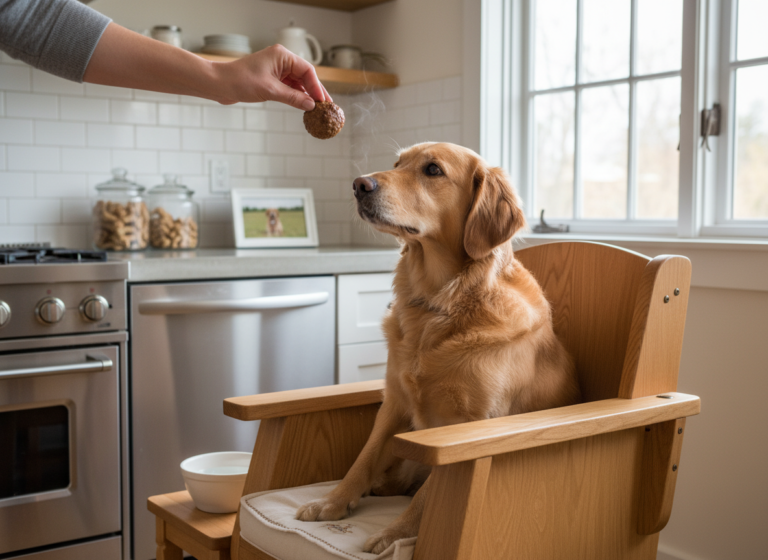
Savory Homemade Dog Gravy: The Perfect Kibble Topper
Let’s be honest. Day after day of the same dry, brown pellets would be uninspiring for anyone, including your dog. Many pet owners, in an effort to entice a picky eater or simply add a little luxury to their dog’s diet, turn to commercial kibble toppers and gravies. They promise savory flavor and added nutrition, but a forensic look at their labels often reveals a different story—one filled with cheap fillers, artificial additives, and a shocking amount of sodium. You are paying a premium for cleverly marketed, nutritionally-void liquid.
As The Canine Nutrition Hacker, my mission is to empower you to see past the marketing hype and take control of your dog’s nutrition without breaking the bank. The solution is simpler, cheaper, and infinitely healthier than anything you can buy in a bottle: a homemade savory gravy. This guide will not only provide you with a master recipe but will also break down the real cost, expose the enemy ingredients in store-bought products, and give you the blueprint for safely creating a kibble topper that genuinely enhances your dog’s health and mealtime enjoyment.
SAFETY DISCLAIMER: I am a canine nutrition analyst, not a veterinarian. This gravy recipe is intended as a supplemental topper to a complete and balanced diet, not as a meal replacement. It is not formulated to be nutritionally complete on its own. Always consult with your veterinarian before making significant changes to your dog’s diet, especially if your dog has underlying health conditions, allergies, or specific dietary needs.
Forensic Analysis: Why Commercial Dog Gravies Are a Scam

Before we build something better, we must first understand what we’re fighting against. The pet food aisle is a minefield of deceptive marketing. A bottle of ‘Savory Beef Flavor’ gravy might evoke images of slow-roasted meats, but the ingredient panel tells the truth. Let’s dissect a typical commercial topper.
The First 5 Ingredients: A Tale of Fillers and Fakes
The first few ingredients on any label make up the bulk of the product. In many popular dog gravies, you’ll find a lineup like this: Water, Modified Corn Starch, Animal Fat (preserved with BHA), Natural Chicken Flavor, Caramel Color.
- Water: You are primarily paying for water.
- Modified Corn Starch: A cheap, nutritionally empty thickening agent. It has zero value for your dog and is often used to create a deceptively thick texture. It’s a classic filler.
- Animal Fat (preserved with BHA): While fat is necessary, the source is ambiguous. ‘Animal fat’ could be from any source. More concerning is the preservative BHA (Butylated Hydroxyanisole), a chemical preservative that is controversial and has been linked to health issues in some studies.
- Natural Chicken Flavor: This sounds good, but ‘natural flavor’ is a proprietary chemical concoction designed to mimic the taste of chicken without containing any actual, wholesome meat.
- Caramel Color: This is purely for aesthetics—to make the gravy look brown and ‘meaty’ to you, the consumer. It offers no nutritional value and is another ingredient that has faced scrutiny for its manufacturing process.
What’s missing? Real meat. Real vegetables. Real nutrients. You’re essentially pouring colored, flavored starch water on your dog’s food. Furthermore, these products are often loaded with sodium, which can be detrimental, especially for senior dogs or those with cardiac or kidney issues.
Hacker Tip: Never trust the front of the bottle. The ingredient list is the only source of truth. If you can’t identify an ingredient as real, whole food, question its purpose.
Cost Analysis: The Shocking Savings of DIY Gravy

The premium price tag on commercial toppers is not for premium ingredients; it’s for marketing, packaging, and convenience. Let’s run the numbers and see how much you can save by investing 30 minutes in your kitchen. We’ll compare a batch of our homemade gravy to a popular premium brand of kibble topper.
Assumptions for this breakdown are based on average US grocery prices and a serving size of 2 tablespoons per day for a 50lb dog.
| Metric | Premium Store-Bought Topper | DIY Homemade Gravy |
|---|---|---|
| Primary Ingredients | Water, Modified Starch, ‘Natural Flavors’ | Chicken Broth, Real Meat/Veggies, Oat Flour |
| Volume | 16 oz Bottle | Approx. 32 oz (4 cups) per batch |
| Cost per Bottle/Batch | $7.99 | ~$5.50 (for higher quality ingredients) |
| Cost per Ounce | $0.50/oz | $0.17/oz |
| Servings (2 tbsp) | 16 servings | 32 servings |
| Cost per Serving | $0.50 | $0.17 |
| Cost per Month | $15.00 | $5.10 |
| Annual Savings | – | Over $118.00 |
The verdict is clear. By making your own dog gravy, you are not only providing superior, whole-food nutrition, but you are also saving a significant amount of money over the course of a year. That $118+ in savings can be reallocated to higher quality base kibble, veterinary care, or premium supplements—investments that make a real difference in your dog’s health.
The Gravy Blueprint: Building a Safe and Nutrient-Dense Topper
Crafting a homemade gravy isn’t about throwing leftovers in a pot. It’s about a methodical approach to canine nutrition, focusing on beneficial ingredients while strictly avoiding harmful ones. Follow this blueprint to create a perfect base every time.
The Non-Negotiable Safety Rules: Toxic Ingredients to AVOID
Your kitchen contains many foods that are perfectly safe for you but toxic to your dog. Under no circumstances should these be included in your dog’s gravy:
- Onions, Garlic, Chives, Leeks: These belong to the Allium family and contain compounds that can damage a dog’s red blood cells, leading to anemia. This applies to all forms: raw, cooked, or powdered.
- Xylitol: This artificial sweetener is extremely toxic to dogs, causing a rapid release of insulin and leading to hypoglycemia (low blood sugar), which can be fatal. It’s often found in sugar-free products like peanut butter, so always check labels.
- Grapes and Raisins: These are known to cause acute kidney failure in dogs.
- Excessive Salt: While a small amount of sodium is necessary, a dog’s needs are far lower than a human’s. Stick to no-salt-added broths and avoid adding any extra salt.
- Macadamia Nuts: These can cause weakness, vomiting, tremors, and hyperthermia in dogs.
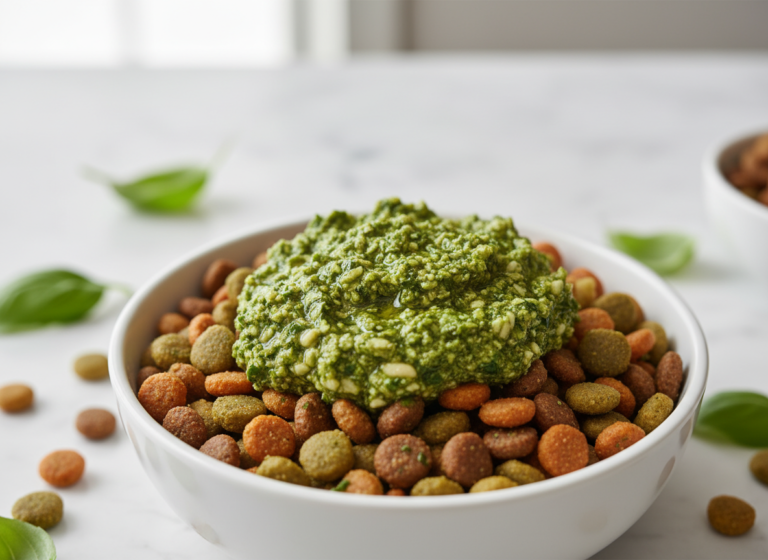
Hero Ingredients: Your Gravy’s Nutritional Powerhouses
Now for the good stuff. These ingredients not only add flavor but also contribute real health benefits.
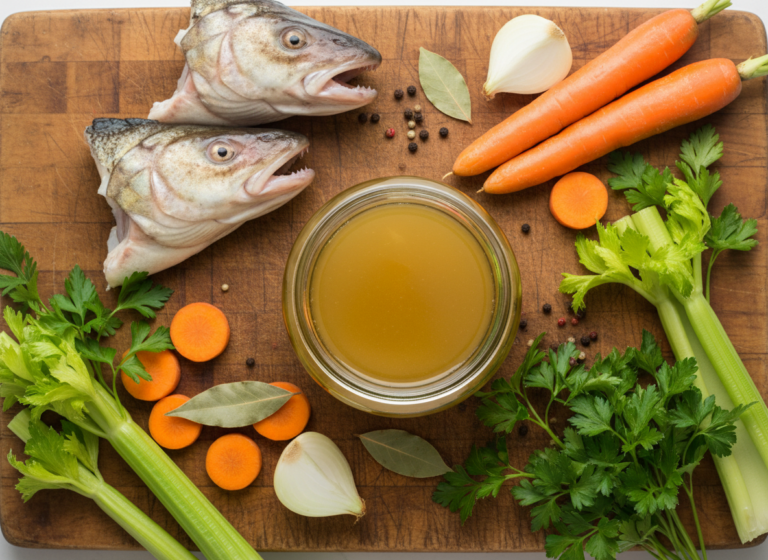
- The Protein Base: Opt for lean, cooked meats like chicken breast, ground turkey, or lean ground beef. For a simpler version, use a high-quality, no-salt-added bone broth. Bone broth is rich in collagen and gelatin, which support joint health.
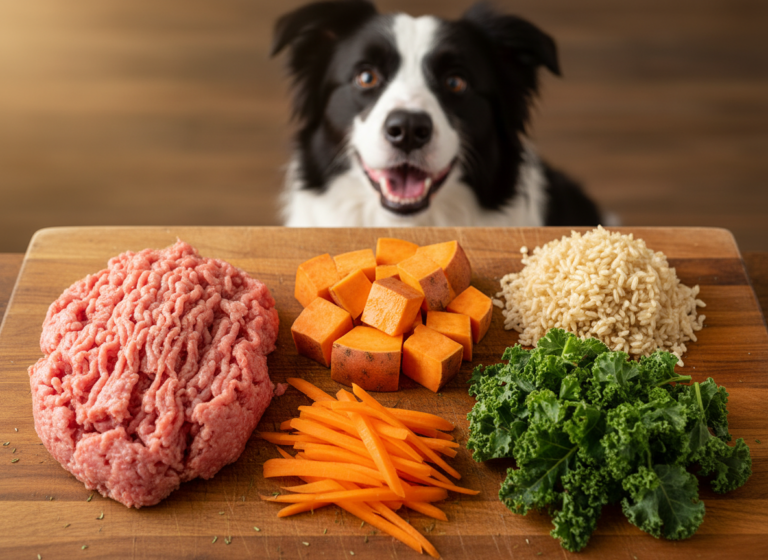
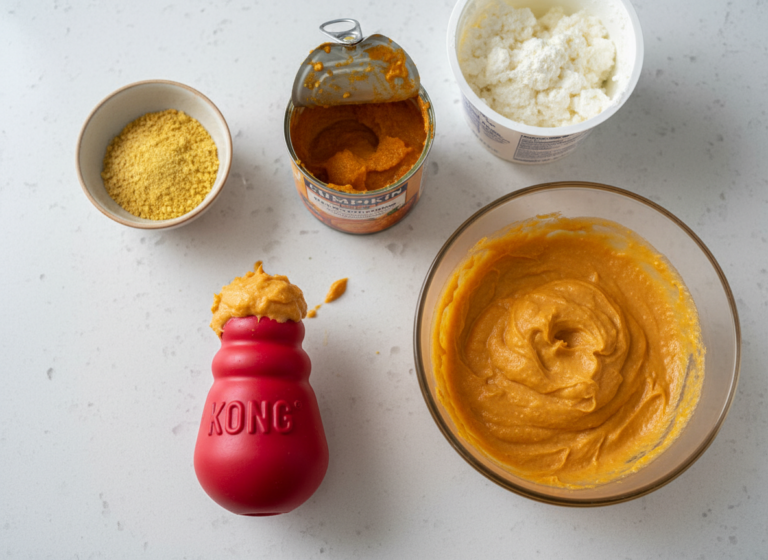
- Nutrient-Boosting Vegetables: Finely chop or purée dog-safe vegetables to add vitamins and fiber. Excellent choices include carrots (beta-carotene), pumpkin purée (fiber for digestive health), peas (protein and vitamins), and sweet potatoes (complex carbs and vitamin A).
- Healthy Thickeners: Ditch the corn starch. To achieve that rich, gravy-like consistency, use a small amount of oat flour (simply blend rolled oats in a blender), tapioca starch, or allow a starchy vegetable like puréed pumpkin or sweet potato to do the work for you.
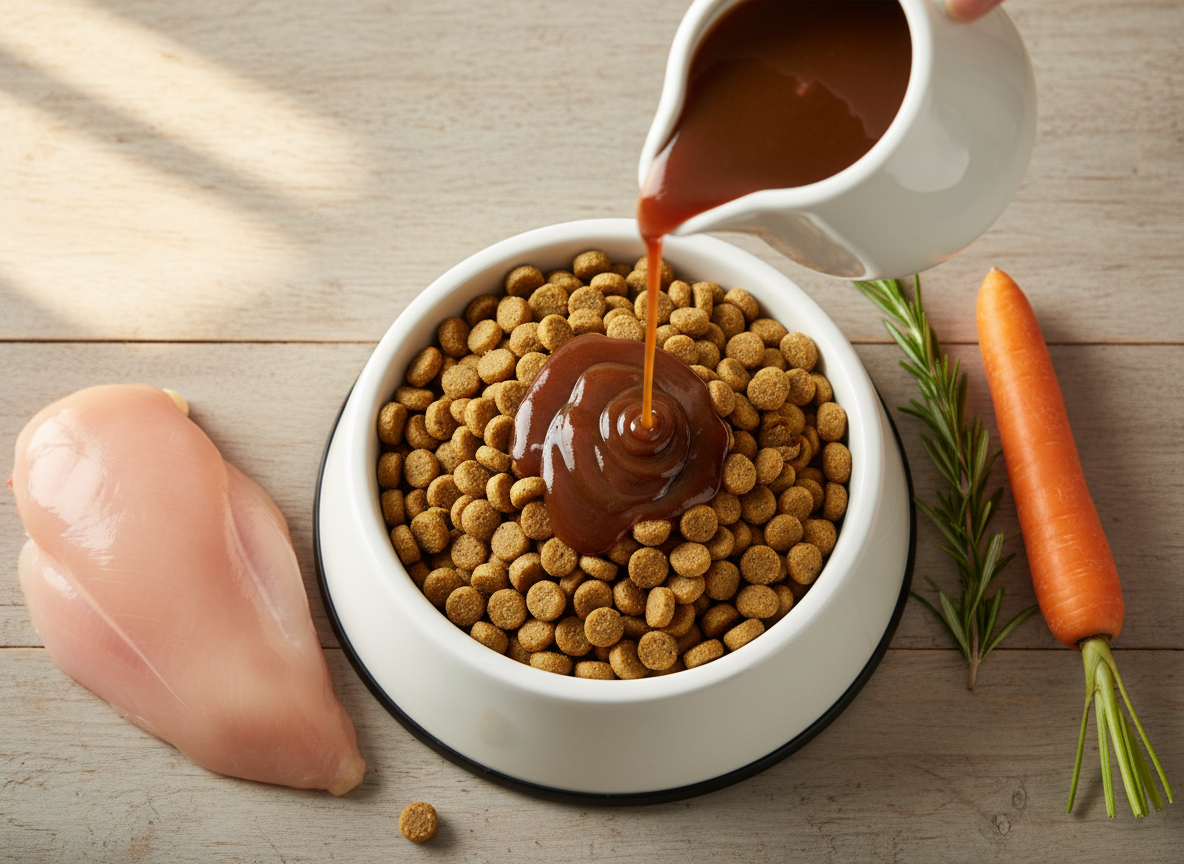
The Master Recipe: Ultimate Savory Dog Gravy
This recipe is a template for a nutrient-dense, delicious gravy that will transform your dog’s mealtime. It’s designed to be flexible based on the protein and vegetables you have on hand. This batch makes approximately 4 cups (32 oz), enough for a month of servings for a medium-sized dog when frozen.
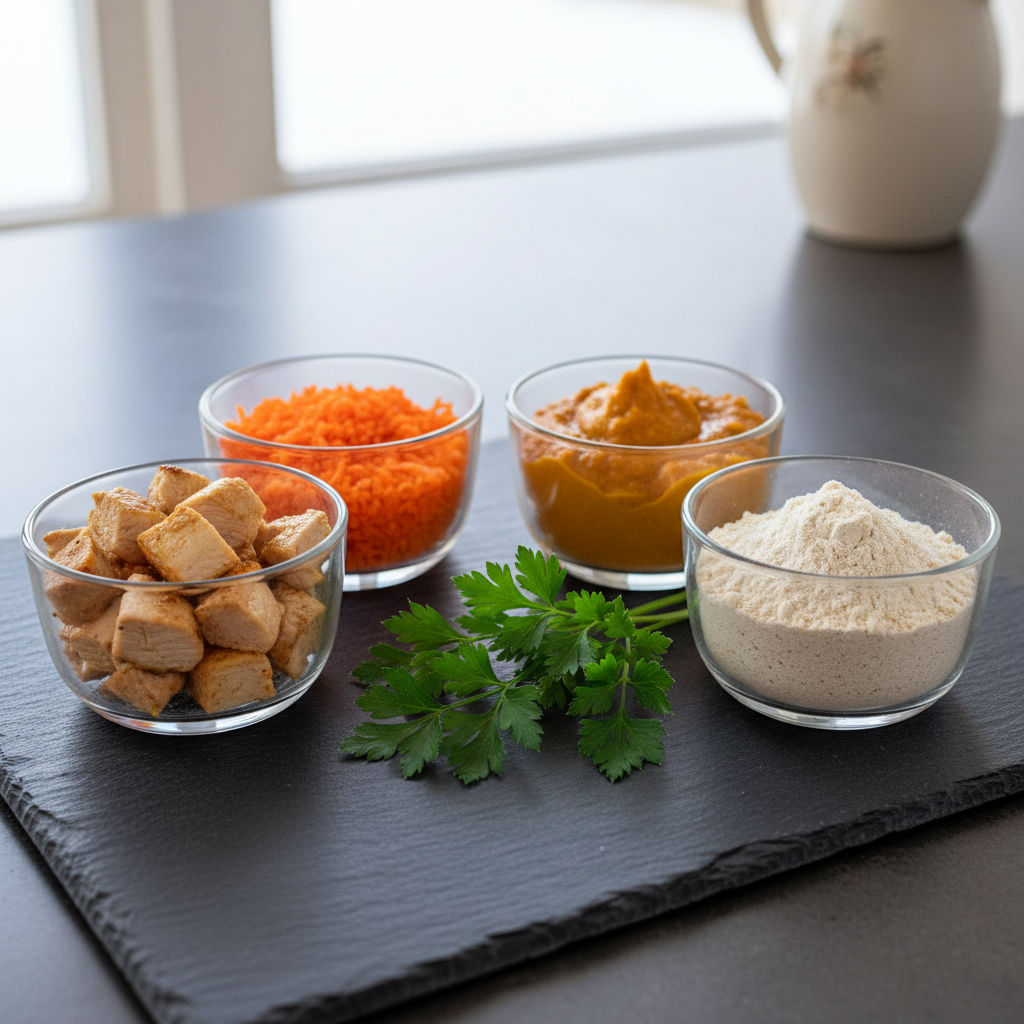
Ingredients:
- 4 cups no-salt-added chicken or beef broth (preferably bone broth)
- 1 cup cooked, finely shredded or minced protein (e.g., boiled chicken breast, lean ground turkey)
- 1/2 cup finely diced carrots
- 1/2 cup pumpkin purée (100% pure pumpkin, not pie filling)
- 2 tablespoons oat flour (or other dog-safe thickener)
- 1 teaspoon dried parsley (for fresh breath)
Instructions:
- Combine Liquids and Vegetables: In a medium saucepan, add the 3.5 cups of broth (reserving 1/2 cup), diced carrots, and pumpkin purée. Bring to a gentle simmer over medium heat.
- Cook Until Tender: Let the mixture simmer for 10-15 minutes, or until the carrots are very tender.
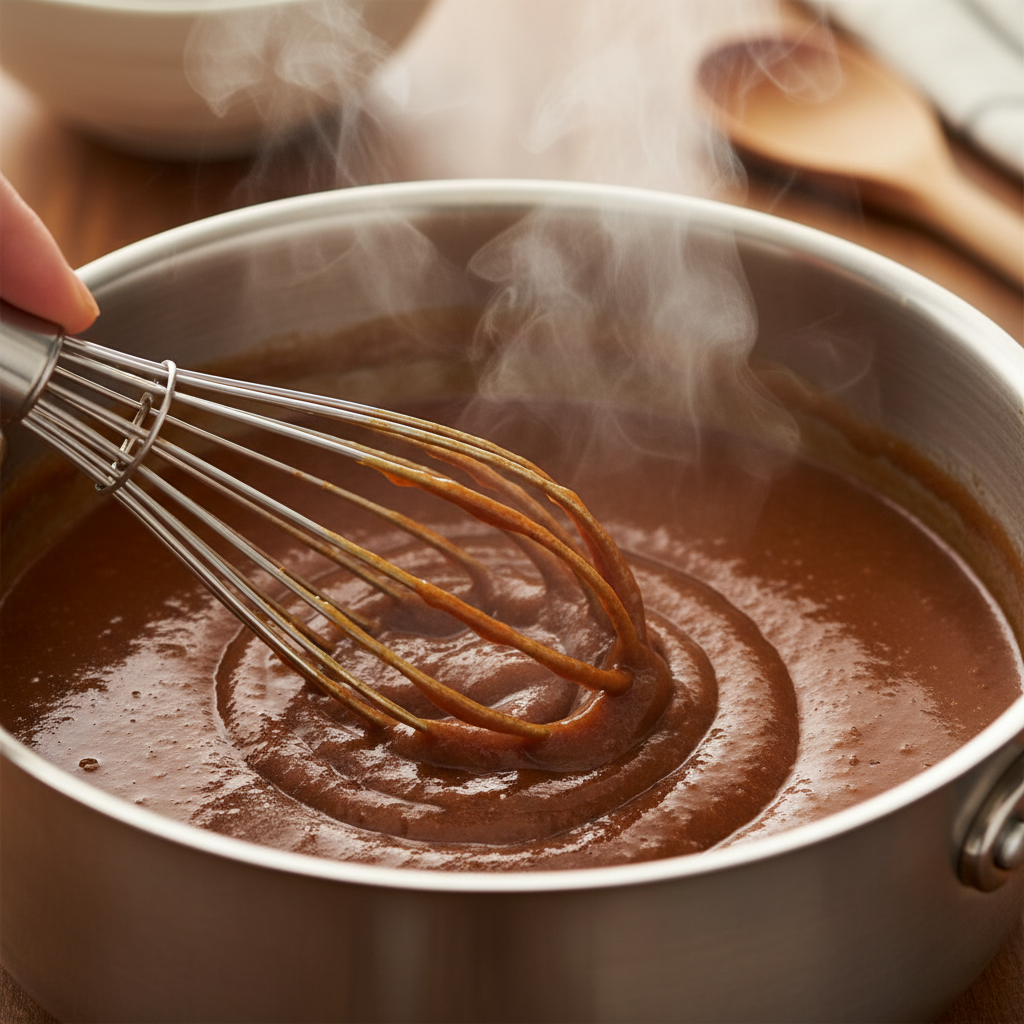
- Create a Slurry: While the base is simmering, take the reserved 1/2 cup of cool broth and whisk in the 2 tablespoons of oat flour until there are no lumps. This is called a slurry and will prevent the thickener from clumping in the hot liquid.
- Thicken the Gravy: Slowly pour the slurry into the simmering saucepan while whisking continuously. The gravy will begin to thicken almost immediately. Continue to simmer for another 2-3 minutes.
- Add Protein and Herbs: Remove the saucepan from the heat. Stir in your cooked, minced protein and the dried parsley.
- Blend for Smoothness (Optional): For an ultra-smooth consistency, use an immersion blender to blend the gravy directly in the pot. Alternatively, you can carefully transfer it to a traditional blender (be sure to vent it to allow steam to escape). This step is great for hiding vegetables from picky dogs.
- Cool Completely: Allow the gravy to cool completely to room temperature before serving or storing. This is a critical safety step.
Insider Secret: For a powerful joint-support boost, sprinkle one tablespoon of unflavored beef gelatin over 1/4 cup of cool broth. Let it ‘bloom’ for 5 minutes, then add it to the saucepan with the rest of the broth in Step 1. Gelatin is a fantastic source of collagen for healthy cartilage and joints.
The Smart Owner’s Method: Batch Cooking and Storage
The key to making homemade toppers a sustainable part of your routine is efficient storage. Making a large batch once a month is far more practical than cooking every few days. Here’s how to store your gravy for safety and convenience.
Refrigeration
Once cooled, you can store the gravy in an airtight container in the refrigerator for up to 4-5 days. This is ideal for your immediate needs.
Freezing: The Portion Control Hack
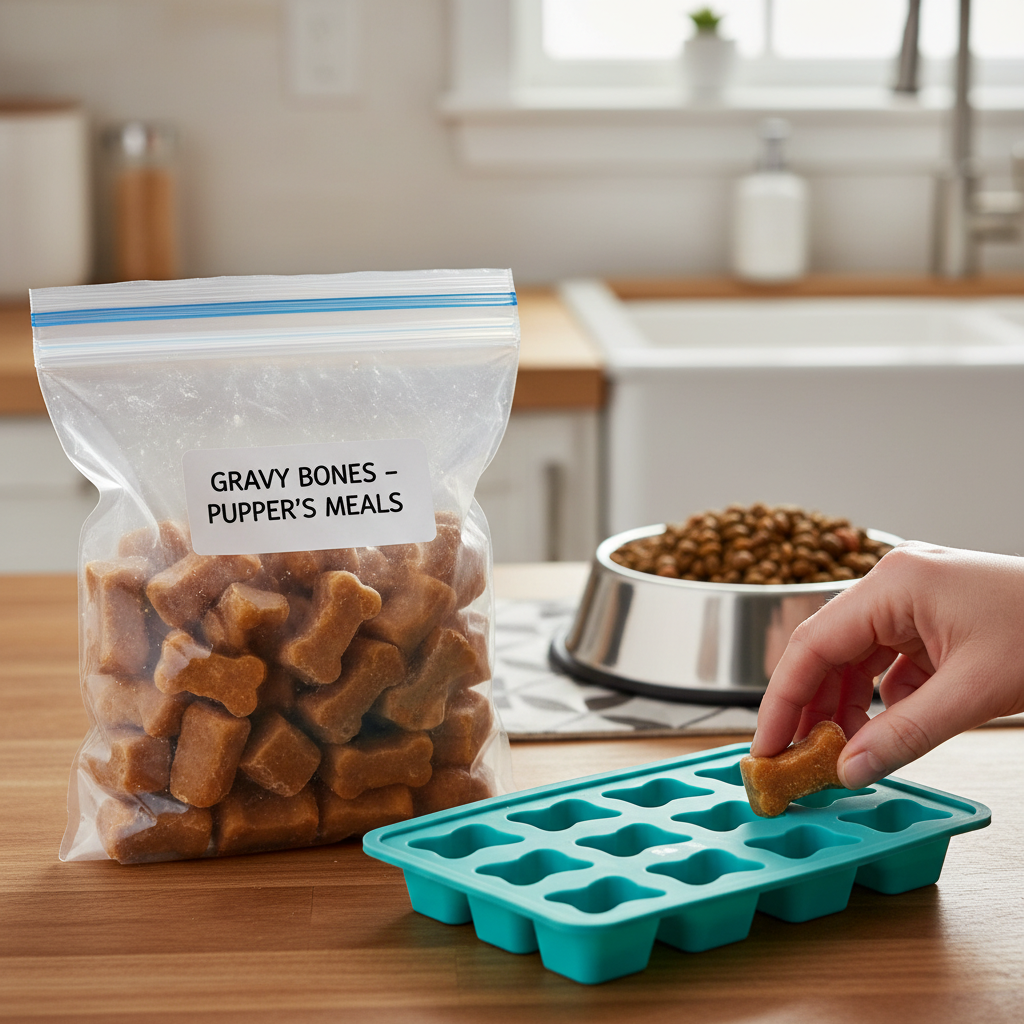
Freezing is the ultimate method for long-term storage and perfect portioning. The best tool for this job is a simple silicone ice cube tray.
- Portion and Freeze: Once the gravy is completely cool, carefully pour it into silicone ice cube trays. A standard tray holds about 1-2 tablespoons per cube, which is a perfect serving size for most dogs.
- Initial Freeze: Place the trays on a level surface in your freezer and let them freeze solid, which usually takes 4-6 hours.
- Transfer to a Storage Bag: Once the gravy cubes are frozen solid, pop them out of the trays and transfer them to a freezer-safe zip-top bag or container. Be sure to label the bag with the contents and the date it was made.
- Long-Term Storage: The gravy cubes will maintain their quality in the freezer for up to 3 months.
To serve, simply take out a cube or two and let it thaw in the refrigerator or gently warm it in the microwave (ensure it’s not too hot before pouring over kibble). This method prevents waste and ensures you always have a delicious, healthy topper ready to go.
Hacker Tip: Use different shaped silicone molds to correspond to different recipes. For example, a bone-shaped mold for your beef gravy and a paw-print mold for your chicken gravy. It’s a simple visual cue that makes feeding time even easier.
Conclusion
You now possess the knowledge and the blueprint to elevate your dog’s diet. You’ve seen the forensic evidence against overpriced commercial toppers and understand the profound nutritional and financial benefits of creating your own. This isn’t just about making gravy; it’s about a fundamental shift in how you approach your dog’s nutrition. It’s about rejecting mystery ingredients and embracing the control that comes with using real, whole foods.
By investing a small amount of time, you are delivering a higher standard of care, enhancing your dog’s health, and making their mealtime the highlight of their day. Stop paying for marketing and fillers. Take 30 minutes this weekend, fire up the stove, and give your loyal companion a delicious, savory meal enhancement they truly deserve. You are now the nutrition hacker in your own home.