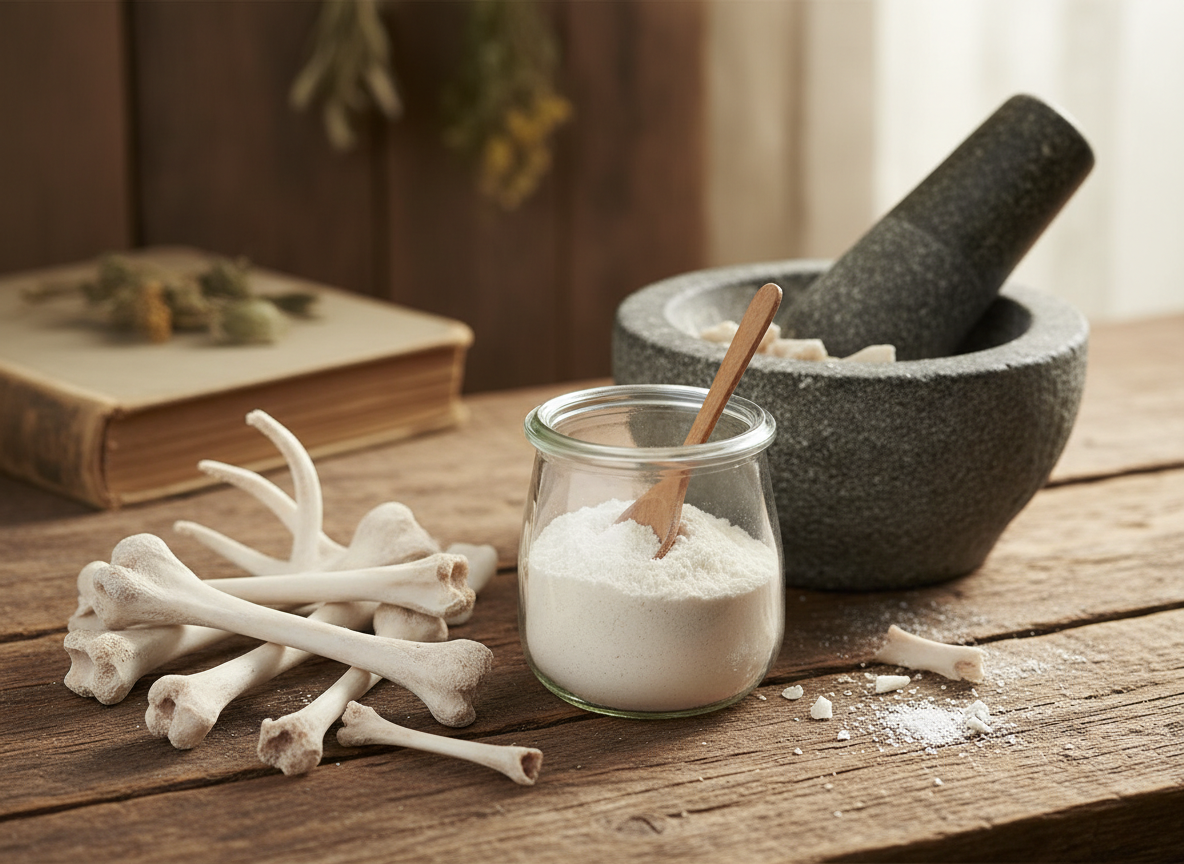
Zero Waste: How to Make Calcium-Rich Bone Meal Powder
Walk down any pet supplement aisle and you’ll be bombarded with promises of ‘complete nutrition’ in a bottle. The reality? You’re often paying a premium for synthetic calcium carbonate—essentially chalk—mixed with fillers and binders. As The Canine Nutrition Hacker, I’m here to tell you there’s a better, smarter, and radically cheaper way. We’re going to turn a waste product from your kitchen into a nutritional powerhouse: pure, bioavailable, calcium-rich bone meal powder.
This isn’t just about saving money; it’s about reclaiming control over what goes into your dog’s body. It’s a zero-waste strategy that provides your dog with a form of calcium and phosphorus their body was designed to absorb. Forget the marketing hype and the fancy labels. Today, you learn how to create a superior supplement for pennies, ensuring your dog gets the essential minerals they need for strong bones, healthy teeth, and optimal nerve function, directly from the source.
Why Your Dog Needs Calcium (and Why Most Commercial Sources Fall Short)
The Canine Nutrition Hacker’s Manifesto on Calcium
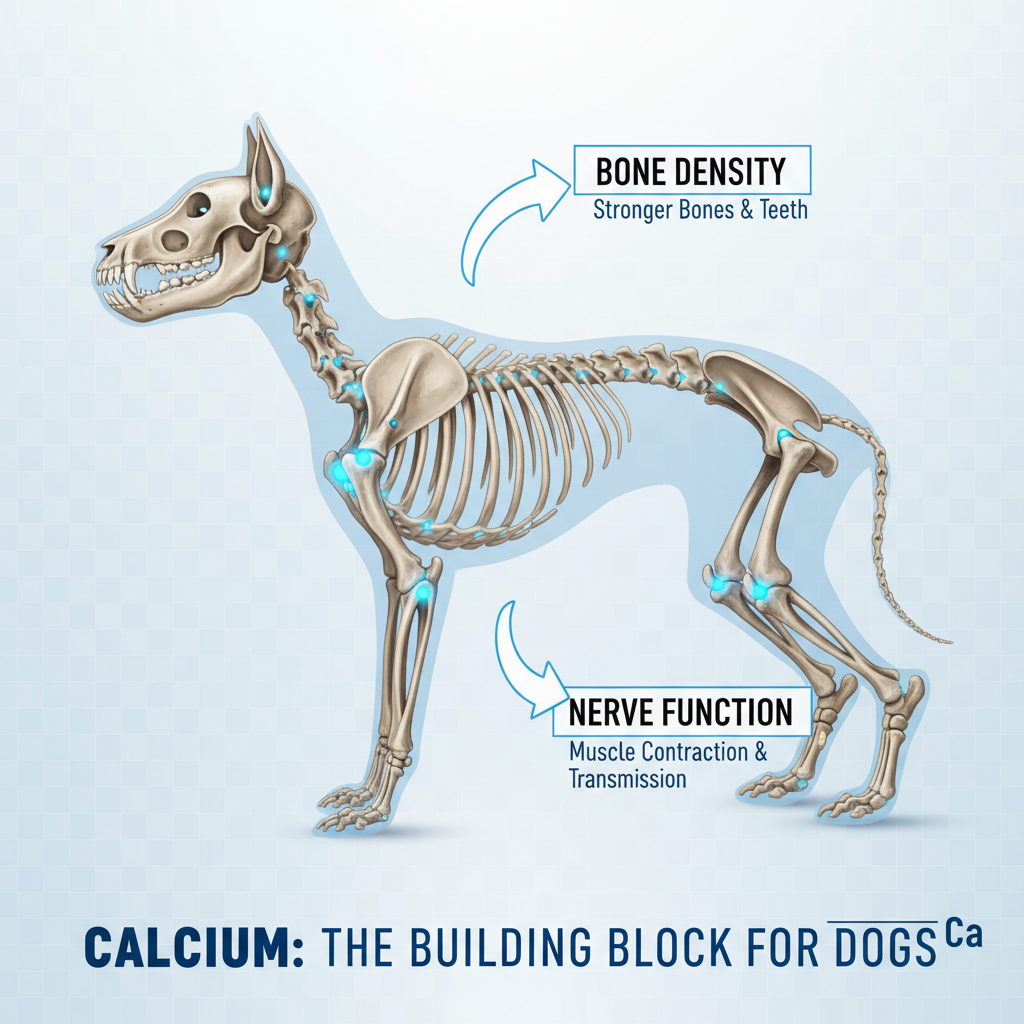
Before we step into the kitchen, you need to understand the ‘why’. Calcium is the most abundant mineral in your dog’s body, and its role is far more complex than just building strong bones. It’s the master mineral that governs muscle contraction, nerve impulse transmission, and even blood clotting. But the secret to its effectiveness lies in a delicate dance with another mineral: phosphorus.
Meat, the foundation of a healthy canine diet, is naturally high in phosphorus. To maintain biological harmony, this phosphorus must be balanced with adequate calcium. The ideal calcium-to-phosphorus ratio is approximately 1.2 to 1 (1.2 parts calcium to 1 part phosphorus). If this ratio is skewed, the body will pull calcium from the only reserve it has: the bones. Over time, this leads to skeletal weakness and a host of health problems. This is the single most common and dangerous mistake people make when preparing homemade dog food.
The Problem with Commercial Supplements
So, why not just grab a commercial supplement? Here’s the insider truth:
- Synthetic Sources: Most affordable calcium supplements use calcium carbonate, a compound mined from limestone or seashells. While effective, it’s not as easily absorbed by a dog’s digestive system as the calcium found naturally in bone.
- Questionable Fillers: Flip over the bottle. You’ll often find dextrose (sugar), stearic acid, silicon dioxide, and other non-nutritive agents used to create a uniform pill or powder. You’re paying for ingredients your dog doesn’t need.
- Unknown Bioavailability: Manufacturers aren’t required to prove how much of the synthetic calcium is actually absorbed and utilized by your dog’s body. With homemade bone meal, you’re providing calcium and phosphorus in the exact matrix nature intended, maximizing absorption.
Hacker Tip: Making your own bone meal isn’t just frugal; it’s a bio-hack. You’re giving your dog a whole-food supplement that contains not just calcium and phosphorus in the perfect ratio, but also trace minerals like magnesium, zinc, and collagen, all of which are crucial for joint and connective tissue health.
CRITICAL SAFETY PROTOCOL: Before You Begin
The Foundation of Safety: Bone Selection and Preparation
This is the most important section of this entire guide. Failure to follow these protocols can be dangerous. Read this twice. We are making a powder for *supplementing food*, not creating a chew toy.
DISCLAIMER: I am not a veterinarian or a certified canine nutritionist. This guide is for informational purposes only, based on extensive research and personal experience. You MUST consult with a qualified veterinarian or veterinary nutritionist before adding any new supplement to your dog’s diet, especially if your dog has pre-existing health conditions like kidney disease. Proper dosage is critical and unique to your dog’s specific diet and needs.
Acceptable Bones (The ‘Yes’ List)
- Cooked Bones from Your Own Kitchen: Use leftover bones from roasted chicken, turkey, beef ribs, or pork chops that you have cooked yourself. This ensures they are free from harmful seasonings, excessive salt, and preservatives.
- Raw Bones (For Processing Only): Raw, meaty bones from a trusted butcher can also be used, but they MUST be cooked thoroughly as part of this process before grinding.
Unacceptable Bones (The ‘NEVER’ List)
- NEVER feed cooked bones directly to your dog. Cooking makes bones brittle and prone to splintering, which can cause choking or internal perforation. The bones we are using will be completely pulverized into a safe powder.
- Avoid store-bought rotisserie chickens. They are often injected with sodium solutions and spices that are not suitable for dogs.
- Do not use bones from restaurant leftovers. These are typically loaded with salt, butter, onions, garlic, and other seasonings that can be toxic to dogs.
- Avoid small, thin bones from fish or birds (like quail) unless you are using an extremely high-powered grinder that can guarantee complete pulverization.
The goal is to start with the cleanest possible raw material. Every bone you save should be rinsed under cold water to remove any excess food, sauce, or seasoning before you begin the process.
The Blueprint: From Kitchen Scraps to Nutritional Gold
The Step-by-Step Pulverization Process
Follow this blueprint precisely for a safe, fine, and nutritionally potent bone meal powder. Do not take shortcuts, especially during the drying phase.
-
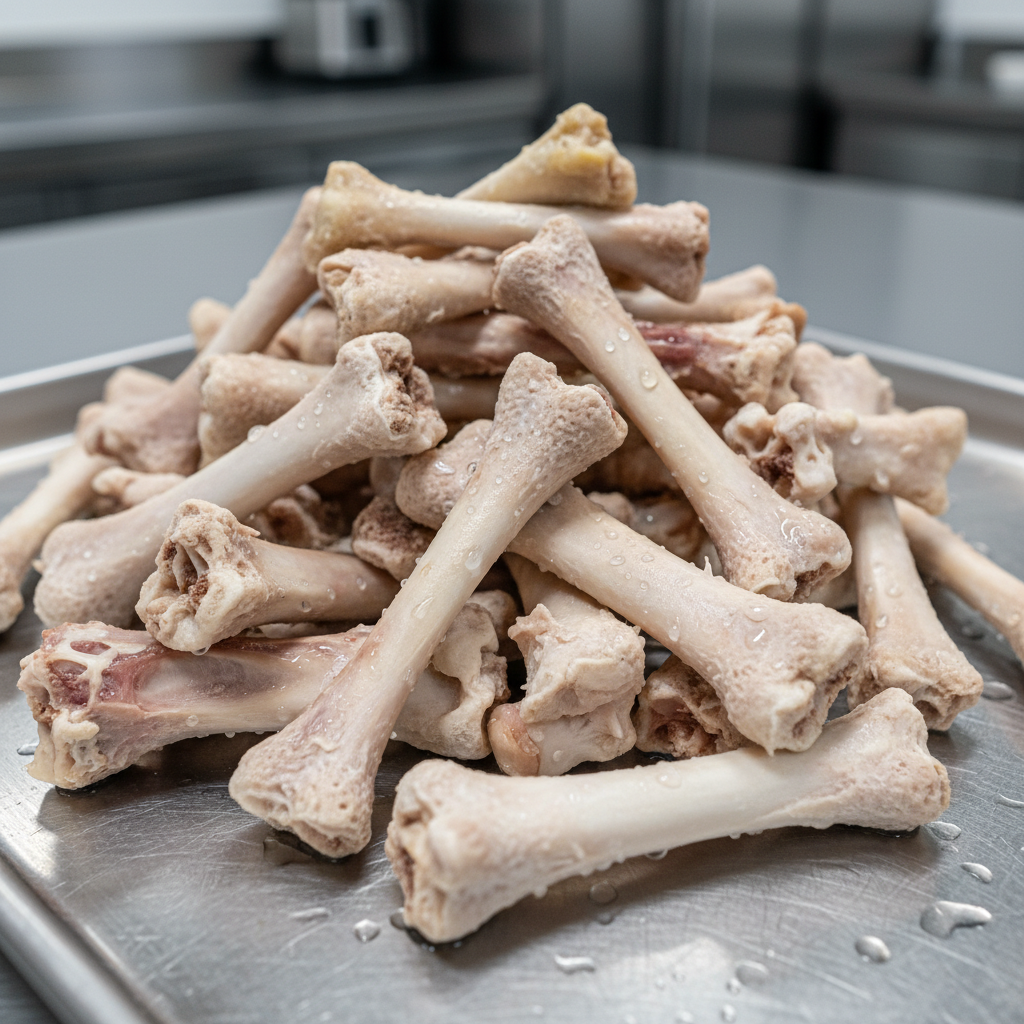
Step 1: Collection & Cleaning
As you cook for yourself, save the leftover bones from poultry, beef, or pork in a container in the freezer. Once you have a good amount (e.g., the carcass of a whole chicken or a few beef rib bones), thaw them and give them a final rinse under cold water.
-
Step 2: The Initial Cook (Softening & Sterilizing)
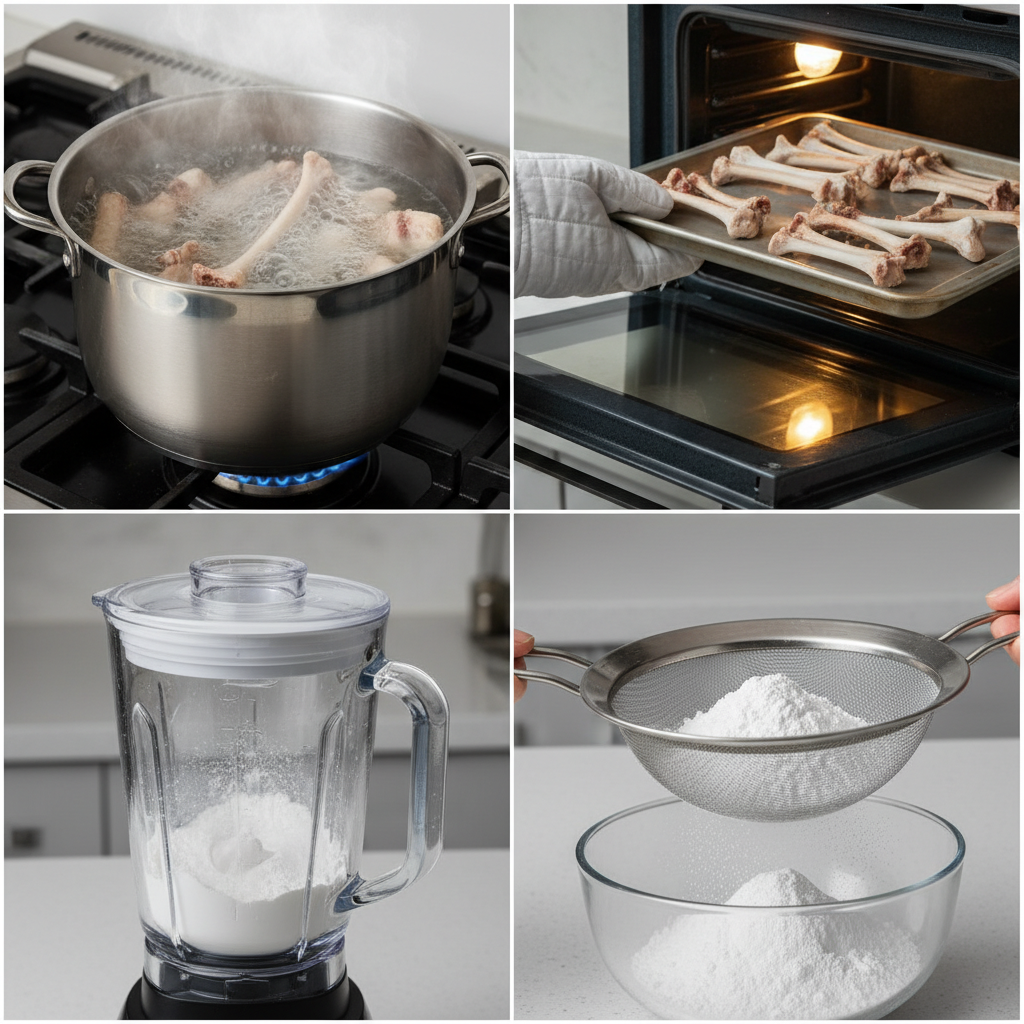
Place all the bones in a large stockpot or a pressure cooker. Cover them with water. Do not add salt or any seasonings. Boil the bones for at least 1-2 hours (or pressure cook for 45-60 minutes). This step serves two purposes: it removes any remaining meat and marrow, which can go rancid, and it begins to soften the bones, making them easier to grind later.
-
Step 3: The Dehydration Phase (The Most Critical Step)
This step is non-negotiable. The bones must be absolutely, completely, bone-dry and brittle. Any residual moisture will prevent them from turning into a fine powder and can lead to mold during storage. Drain the boiled bones and spread them in a single layer on a baking sheet.
- Oven Method (Recommended): Place the baking sheet in an oven set to its lowest temperature (usually 200-225°F or 95-107°C). Let them dry for 6-8 hours, or until they are incredibly brittle and snap easily. They should crumble when you apply pressure.
- Dehydrator Method: If you have a food dehydrator, this is an excellent option. Dry them at a low temperature for 8-12 hours.
Test for Dryness: Take the thickest bone piece and try to snap it. It should break with a clean, dry ‘crack’ and the inside should look like chalk. If it bends at all, it needs more time.
-
Step 4: The Pulverization Process
Once the bones are cool and confirmed to be completely dry, it’s time to grind. Wear a mask to avoid inhaling the fine dust.
- High-Powered Blender (e.g., Vitamix, Blendtec): This is the most efficient method. Break the bones into smaller pieces that will fit in your blender canister. Start on a low speed and gradually increase to high, using the tamper if necessary. Blend until you have a fine, consistent powder.
- Coffee/Spice Grinder: This works very well but you’ll need to work in small batches. Smash the bones into very small pieces with a hammer (place them in a thick bag first) before putting them in the grinder.
- Mortar and Pestle: The traditional, labor-intensive method. This gives you a great appreciation for the process but is only practical for very small quantities.
-
Step 5: Sifting for Perfection
Pour the ground powder through a fine-mesh sieve to catch any larger pieces that escaped the grinder. Regrind these larger pieces and sift again. The goal is a powder with a texture similar to flour, ensuring it mixes easily into food and presents no choking hazard.
The Bottom Line: Cost Breakdown and Dosing Protocol
Financials and Application: The Hacker’s Edge
Now for the payoff. Let’s analyze the real-world savings and discuss how to properly incorporate this nutritional gold into your dog’s diet. This is where you leave the average consumer behind.
Real Cost Breakdown: DIY vs. Store-Bought
The numbers don’t lie. Creating your own supplement from waste materials is one of the most significant financial hacks in canine nutrition.
| Metric | DIY Bone Meal Powder | Premium Commercial Brand |
|---|---|---|
| Source Material | Kitchen scraps (bones from meals) | Imported bovine bone, calcium carbonate |
| Cost per Ounce | ~$0.05 (cost of electricity/gas) | $2.50 – $5.00+ |
| Additional Ingredients | None. 100% pure bone. | Flow agents, binders, natural flavors, silica |
| Verdict | Virtually free, zero-waste, and nutritionally complete with trace minerals. | Expensive, contains non-nutritive fillers, variable bioavailability. |
The Dosing Protocol: A Critical Warning
Getting the dosage right is just as important as making the powder safely. Too much calcium can be as harmful as too little. It can interfere with the absorption of other minerals and is particularly dangerous for large-breed puppies, as it can contribute to developmental orthopedic diseases.
Insider Secret: You’re not just saving money, you’re creating a supplement with superior bioavailability. Your dog’s body recognizes and utilizes this natural calcium far more efficiently than synthetic calcium carbonate. This means you get better results with a pure, natural product.
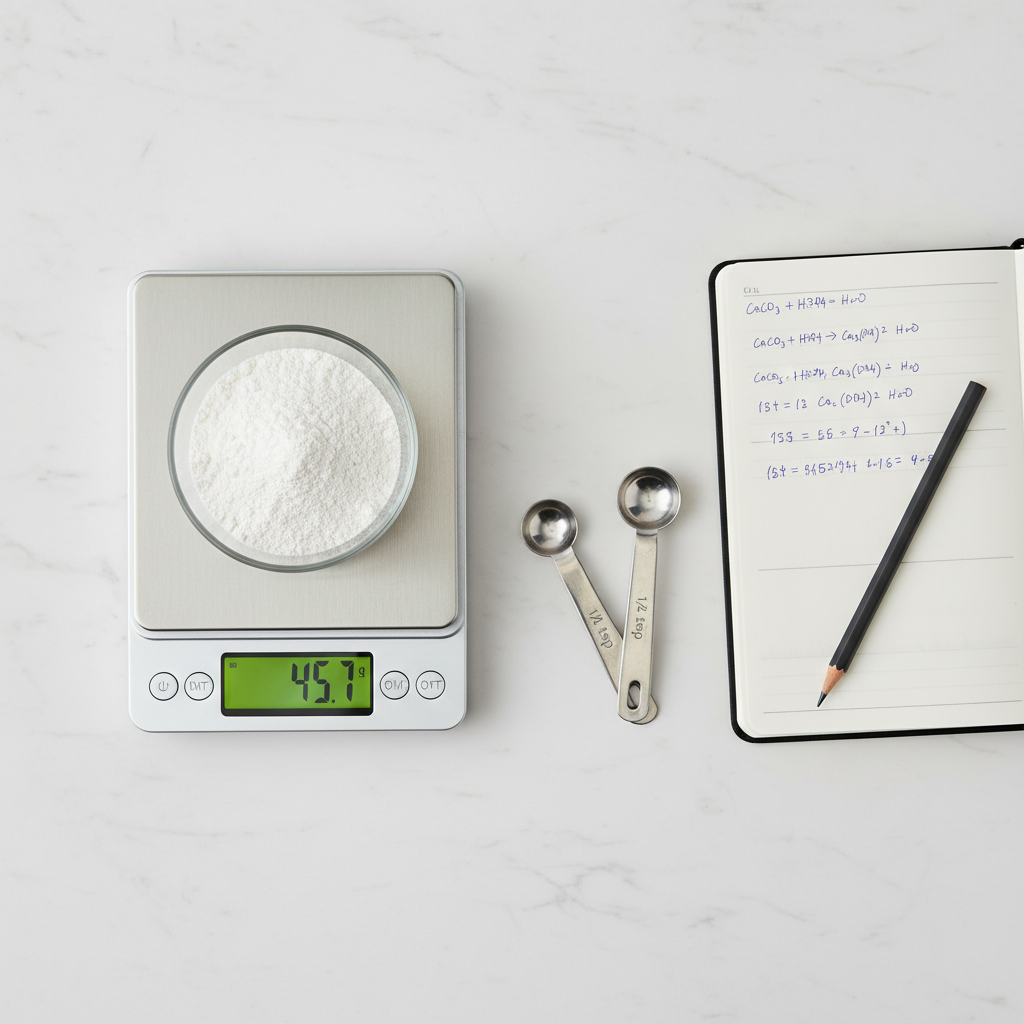
A widely accepted general guideline for balancing a homemade diet is to add approximately 800-1000 mg of calcium per pound of fresh food served. Homemade bone meal powder contains approximately 6,500 mg of calcium per tablespoon.
- General Guideline: Start with approximately 1/2 teaspoon of bone meal powder per pound of homemade food. This is a starting point and may need adjustment.
- The Golden Rule: The only way to be certain is to use a nutritional calculator (like those found on BalanceIT.com or with software like Cronometer) and input all the ingredients of your dog’s meal. This will tell you the exact calcium deficit you need to fill.
- ALWAYS consult your veterinarian. They can help you determine the precise amount for your dog’s age, breed, and activity level. Start with less and get professional advice.
Long-Term Strategy: Storage and Smart Application
Preserving Potency: Storage and Daily Use
You’ve created a batch of pure, high-quality supplement. Now, let’s ensure it stays that way. Proper storage is key to maintaining its safety and nutritional integrity for the long term.
Batch Cooking & Storage: The Hacker’s Method
The process, while straightforward, does take time due to the drying phase. The smart approach is to make a large batch that will last for several months.
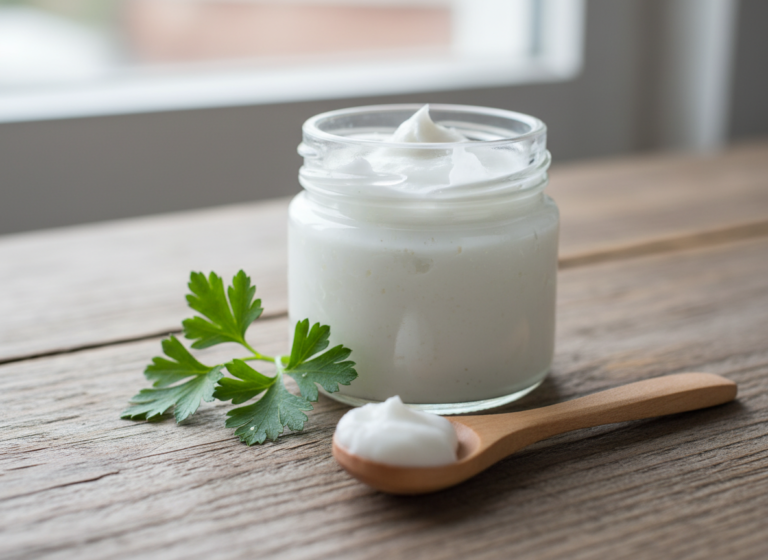
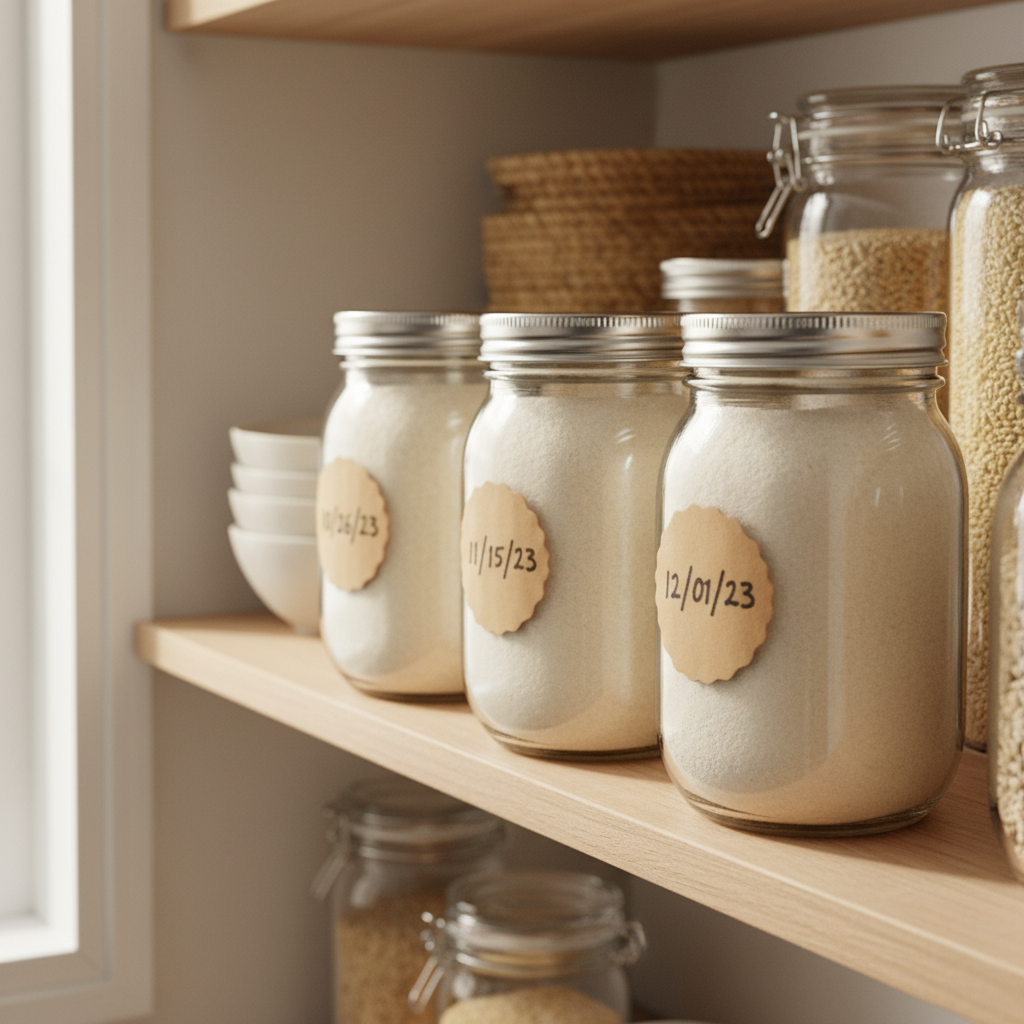
- The Right Container: Store your finished bone meal powder in a clean, dry, airtight glass jar. A mason jar with a good seal is perfect. Glass is preferable to plastic as it’s non-porous and won’t leach chemicals.
- The Right Environment: Keep the jar in a cool, dark place like a pantry or cupboard. Exposure to light, heat, and moisture can degrade the quality of the powder.
- Shelf Life: If the bones were properly and completely dehydrated, the powder is extremely shelf-stable. With no moisture or fat content, it can easily last for over a year. Label the jar with the date you made it.
Smart Application: Integrating into Your Dog’s Meals
Mixing the powder into your dog’s food is simple, but a little technique goes a long way.
- Measure Carefully: Use a dedicated measuring spoon for accuracy. Do not eyeball the amount.
- Mix Thoroughly: Add the powder to your dog’s homemade food and mix it in completely. You want it to be evenly distributed throughout the meal to ensure consistent intake with every bite.
- Monitor Your Dog: As with any new addition to a diet, watch your dog for any signs of digestive upset. The powder is highly digestible, but it’s always wise to be observant. Also, monitor their stool. White or chalky stool can be an indication that you are feeding too much bone meal and the dosage needs to be reduced.
By mastering this process, you have unlocked a new level of control over your dog’s health. You’ve transformed waste into wellness, a core principle of the Canine Nutrition Hacker philosophy.
Conclusion
You now possess the knowledge to transform kitchen waste into a supplement that surpasses most commercial products in quality, bioavailability, and cost-effectiveness. Making your own bone meal powder is more than a DIY project; it’s a definitive statement. It declares that you are in control of your dog’s nutrition, that you refuse to pay for fillers and marketing, and that you are committed to providing the best, most natural ingredients possible.
This is the essence of being a Canine Nutrition Hacker: using intelligence, resourcefulness, and a critical eye to build a better, healthier life for your companion. Welcome to the inside. Now, go take back your dog’s bowl.