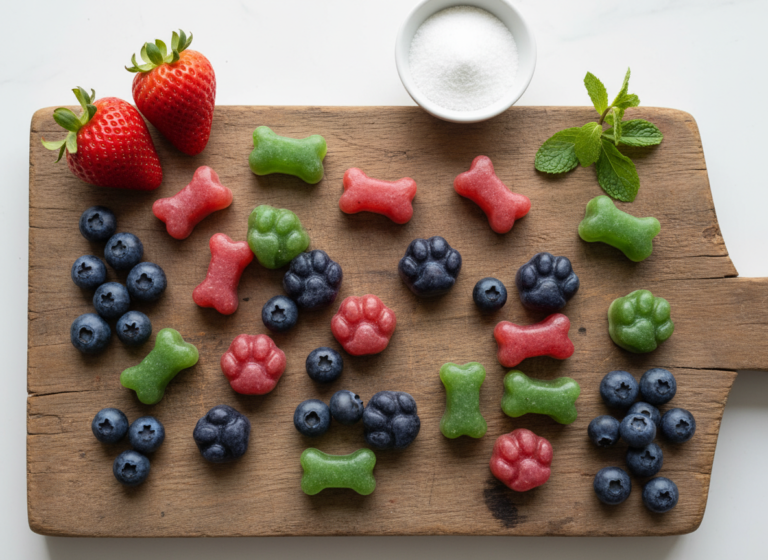
3-Ingredient Chickpea Flour Dog Biscuits (Grain-Free)
Let’s cut through the noise. The ‘gourmet’ dog treat aisle is a masterclass in marketing psychology, designed to make you feel that a higher price tag equals better health for your dog. They package cheap, grain-based fillers with fancy names, add a dash of a trendy ingredient, and charge you a fortune for the privilege. As The Canine Nutrition Hacker, my mission is to arm you with the knowledge to see past the slick packaging and into the ingredient list—and today, we’re making their overpriced products obsolete.
We’re going to build a better biscuit from the ground up. This 3-ingredient chickpea flour recipe isn’t just ‘easy’; it’s a strategic move to eliminate common allergens like wheat, corn, and soy that plague commercial treats. It’s about taking absolute control over every single morsel that goes into your dog’s body. Forget the fillers, preservatives, and artificial flavors. We’re using three powerhouse ingredients to create a treat that’s not only safe but actively beneficial.
CRITICAL SAFETY DISCLAIMER: Before we begin, let’s be clear. I am a canine nutrition analyst, not a veterinarian. These biscuits are intended as a supplemental treat and should not be used as a meal replacement. A dog’s primary diet requires a complex balance of vitamins and minerals that these treats do not provide. Always consult with your veterinarian before making significant changes to your dog’s diet, especially if they have pre-existing health conditions. And one more critical point: NEVER use peanut butter containing Xylitol, as it is extremely toxic to dogs.
The Forensic Ingredient Breakdown: Why Simplicity Wins
Commercial brands often rely on a long, convoluted ingredient list to create the illusion of a ‘complete’ or ‘scientific’ formula. This is often a smokescreen. The truth is, many of those ingredients are cheap fillers, binding agents, or artificial preservatives. Our approach is the opposite: radical simplicity. By using just three ingredients, we ensure every component serves a distinct nutritional purpose.
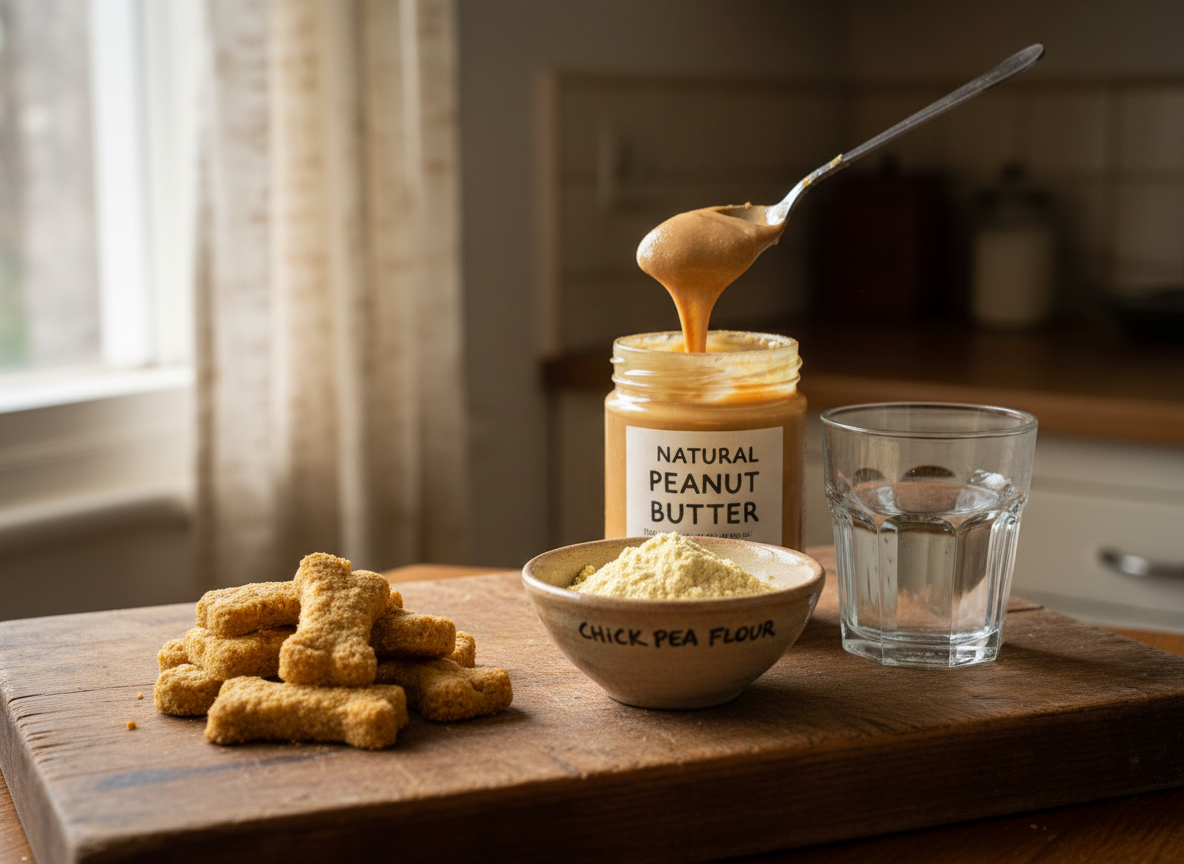
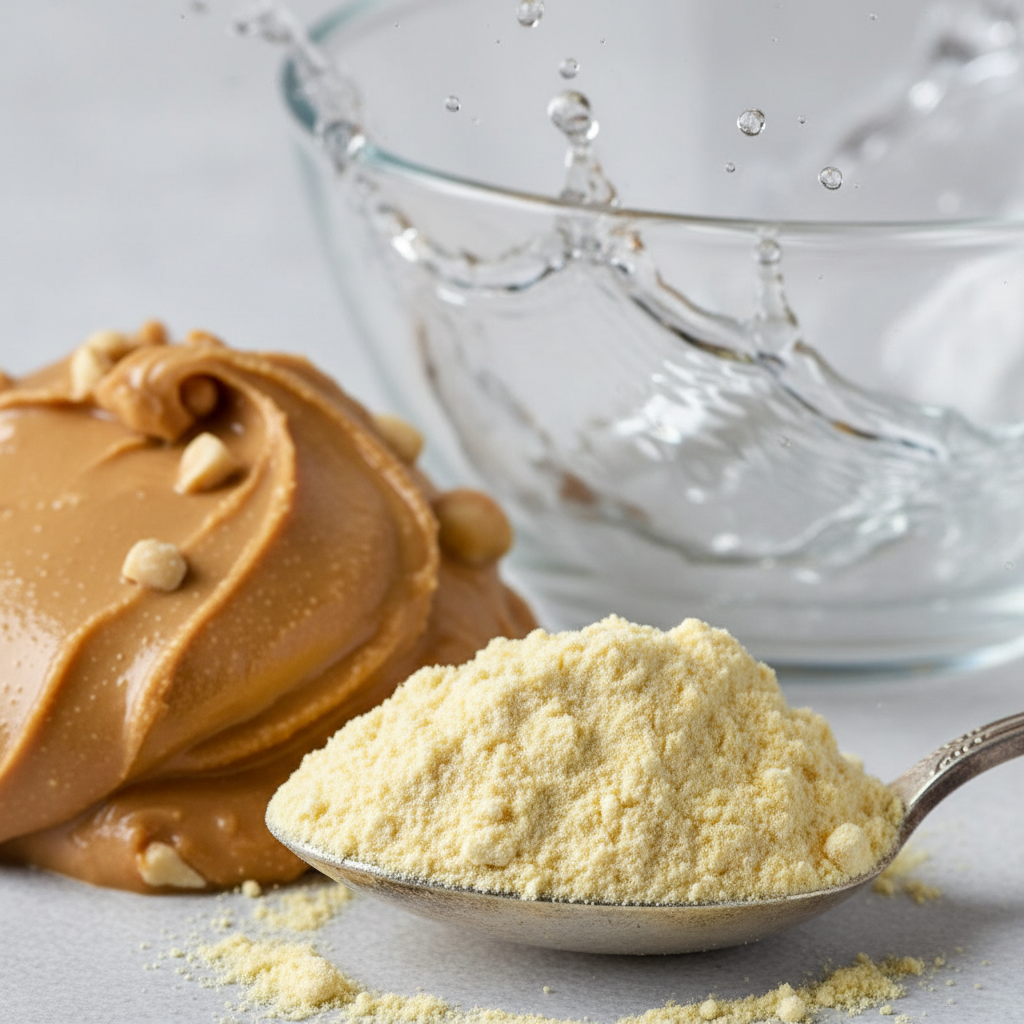
Chickpea Flour (Garbanzo Bean Flour): The Grain-Free Powerhouse
This is our foundation, and it’s a strategic choice. Unlike wheat or corn flour—common, cheap fillers that are frequent culprits in canine allergies and digestive upset—chickpea flour is a nutritional heavyweight. It’s inherently grain-free and gluten-free, making it an excellent choice for dogs with sensitive stomachs. But its benefits go further:
- High in Protein: Essential for muscle maintenance and repair.
- Rich in Fiber: Promotes healthy digestion and regular bowel movements.
- Packed with Nutrients: It delivers a solid dose of folate, iron, and magnesium, contributing to overall cellular health.
By choosing chickpea flour, we’re not just avoiding a negative (grains); we’re actively choosing a positive, nutrient-dense base.
All-Natural Peanut Butter: The Healthy Fat & Flavor Driver
Dogs love peanut butter, but not all peanut butters are created equal. The commercial, sugar-laden varieties are nutritional dead-ends. We are only interested in all-natural peanut butter. The ingredient list should be one or two items long: ‘Peanuts’ or ‘Peanuts and Salt’.
Insider Secret: Read the label. Every single time. Brands have started sneaking the artificial sweetener Xylitol into peanut butter. It is extremely poisonous to dogs, causing hypoglycemia, seizures, and liver failure. NEVER COMPROMISE ON THIS.
When you use the right kind, peanut butter provides healthy monounsaturated fats for skin and coat health, a boost of protein, and niacin (Vitamin B3), which is vital for metabolizing fats and sugars.
Water or Unsalted Broth: The Functional Binder
The final ingredient is the simplest, but it can be optimized. Water works perfectly well to bind the dough. However, for a flavor and nutrient upgrade, consider using unsalted chicken or beef broth. It adds a savory element that dogs find irresistible without adding harmful levels of sodium. Ensure it’s onion- and garlic-free, as these are also toxic to dogs.
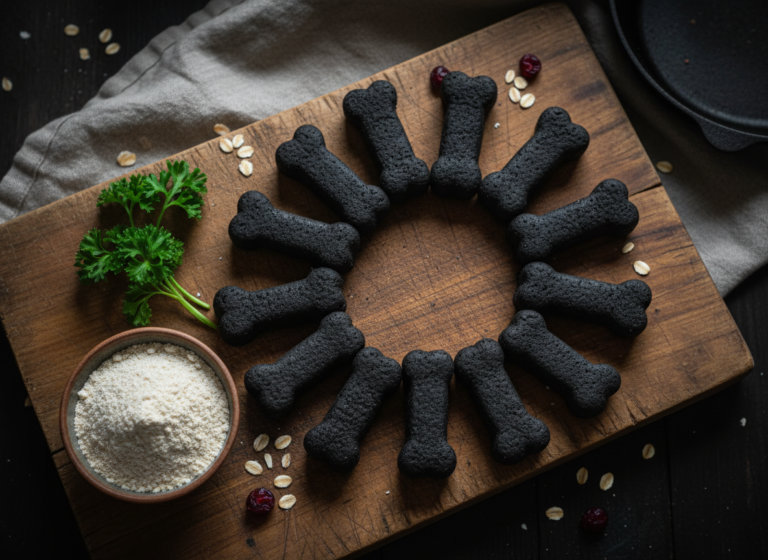
The Canine Nutrition Hacker’s Blueprint: The 3-Ingredient Recipe

This is where theory becomes reality. This blueprint is designed for consistency and ease. Follow these steps precisely for perfect, crisp biscuits every time. This recipe yields approximately 24 medium-sized biscuits.
Ingredients List
- 1 cup Chickpea (Garbanzo Bean) Flour
- 1/2 cup All-Natural, Xylitol-Free Peanut Butter
- 1/4 to 1/3 cup Water (or unsalted, onion/garlic-free broth)
Equipment Needed
- Mixing Bowl
- Measuring Cups
- Spatula or Wooden Spoon
- Parchment Paper
- Baking Sheet
- Rolling Pin
- Cookie Cutter (any shape)
Step-by-Step Instructions
- Preheat and Prepare: Set your oven to 350°F (175°C). Line a large baking sheet with parchment paper. This prevents sticking and makes cleanup effortless.
- Combine Dry and Wet: In a medium mixing bowl, add the 1 cup of chickpea flour. Add the 1/2 cup of xylitol-free peanut butter. Begin mixing them with a spatula or your hands. The mixture will be crumbly and look like coarse sand. This is the correct consistency at this stage.
- Hydrate the Dough: Slowly add the water or broth, starting with 1/4 cup. This is the most critical step. Do not dump all the liquid in at once. Add it tablespoon by tablespoon, mixing thoroughly after each addition. The goal is to form a stiff, non-sticky dough. Depending on the humidity and the brand of your flour/peanut butter, you may need slightly more or less liquid. The final dough should pull away from the sides of the bowl and form a cohesive ball.
- Roll It Out: Lightly dust a clean surface (or another piece of parchment paper) with a small amount of chickpea flour. Place your dough ball on the surface and use a rolling pin to roll it out to approximately 1/4-inch thickness. Consistent thickness is key to even baking.
- Cut Your Shapes: Use your cookie cutter to cut out the biscuits. Press firmly to get clean edges. Place each biscuit on the prepared baking sheet, leaving a small amount of space between them (they won’t spread much).
- The First Bake: Place the baking sheet in the preheated oven and bake for 15-20 minutes. The biscuits should be firm and lightly golden on the edges.
- The Dehydration Bake (Secret to Crispiness): This is the step most recipes miss. For a truly crunchy, shelf-stable biscuit, turn off the oven, crack the door open slightly, and leave the biscuits inside for another 30-45 minutes. The residual heat will slowly draw out the remaining moisture, resulting in a much harder, longer-lasting treat.
- Cool Completely: Remove the biscuits from the oven and transfer them to a wire cooling rack. They must be 100% cool before storage. Any residual warmth will create condensation in your storage container, leading to mold.
Level Up: Customizing Your Biscuits for Maximum Nutrition
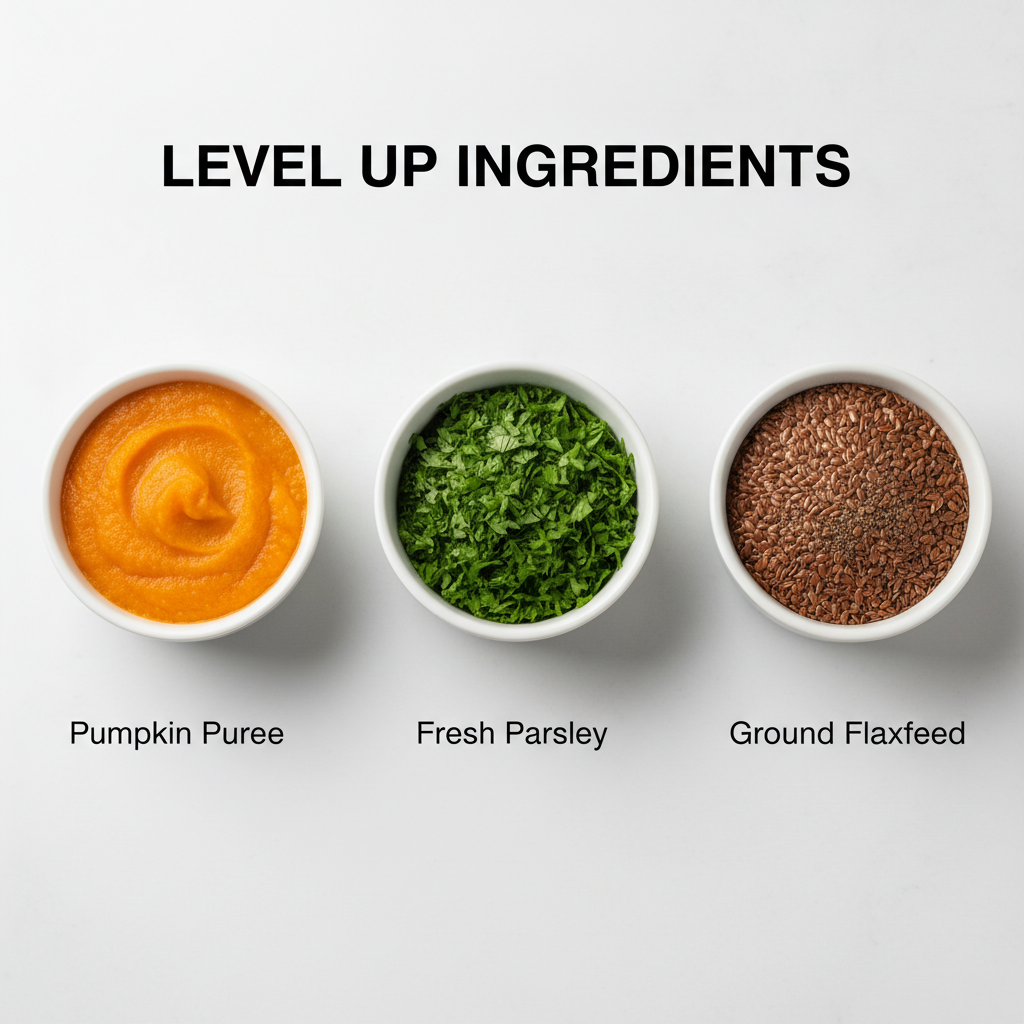
The 3-ingredient base is a fantastic starting point, but the true power of DIY is customization. You can tailor these treats to your dog’s specific needs or preferences with simple, high-impact additions. When adding extra ingredients, you may need to adjust the liquid content slightly.
For Digestive Support: Pumpkin Purée
Add 2 tablespoons of 100% pure pumpkin purée (not pie filling) to the mix. Pumpkin is a fiber-rich superfood that aids in digestion and can help with both constipation and diarrhea. It also adds a natural sweetness dogs enjoy.
For Fresher Breath: Finely Chopped Parsley
Mince 1 tablespoon of fresh parsley and add it to the dough. Parsley contains chlorophyll, which can help neutralize bad breath from the inside out. It’s a simple, natural breath freshener.
For Skin & Coat Health: Ground Flaxseed
Incorporate 1 tablespoon of ground flaxseed for a boost of Omega-3 fatty acids. These healthy fats are crucial for reducing inflammation and promoting a shiny, healthy coat and less itchy skin. Ensure you use ground flaxseed, as whole seeds will pass through the digestive system undigested.
Hacker Tip: When adding a moist ingredient like pumpkin, start with less water (e.g., 2-3 tablespoons) and add more only if needed. When adding a dry ingredient like flaxseed, you might need an extra tablespoon of water to achieve the right dough consistency. Always adjust slowly.
The Bottom Line: Exposing the True Cost of ‘Premium’ Treats
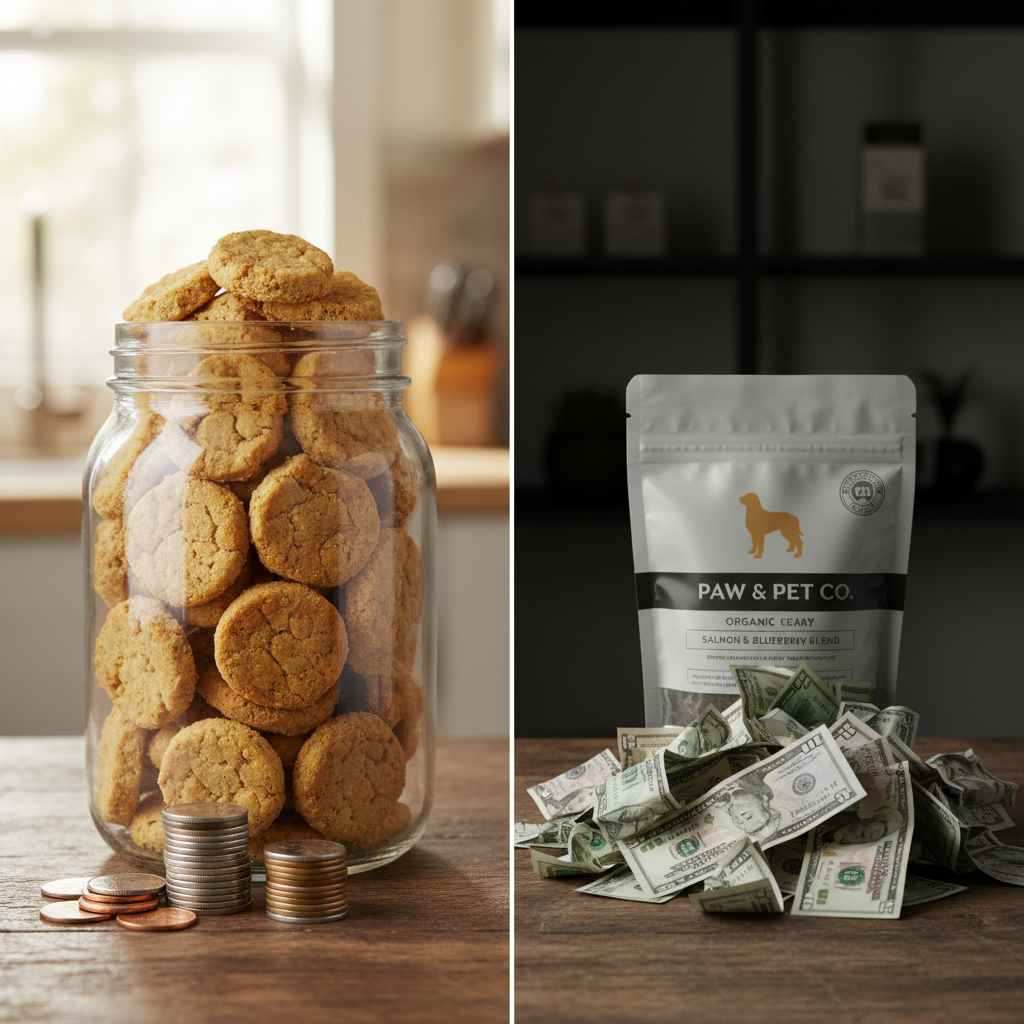
Now for the analysis that hits the wallet. Brands selling ‘premium’ grain-free biscuits charge for marketing, packaging, and their supply chain—not just ingredients. By making them yourself, you bypass all of that. Let’s break down the cost for a single batch (approx. 24 biscuits) versus buying a comparable product.
Assumptions are based on average grocery store prices. Costs are approximate and will vary by location and brand choices.
| Item | DIY Homemade (Cost per Batch) | Premium Store-Bought (Cost per Bag) | Verdict |
|---|---|---|---|
| Primary Flour | Chickpea Flour (~$0.75) | Potato Starch, Pea Flour (Proprietary Mix) | DIY uses a more nutrient-dense primary ingredient for less. |
| Protein/Flavor | Natural Peanut Butter (~$0.50) | ‘Chicken Flavor’, Meat Meal | DIY provides real food protein vs. ambiguous ‘flavorings’. |
| Preservatives | None (Dehydration bake) | Mixed Tocopherols, Citric Acid | DIY avoids chemical preservatives entirely. |
| Total Cost per Ounce | ~$0.15 / ounce | ~$1.00 / ounce | DIY is over 80% cheaper. |
| Cost per Treat | ~$0.05 / treat | ~$0.40 / treat | You can make 8 homemade biscuits for the price of one from the store. |
The data is undeniable. You are paying a premium of over 80% for convenience and a fancy bag. For the cost of a single bag of commercial treats, you can buy the ingredients to make hundreds of your own, with superior quality and complete transparency. This isn’t just about saving money; it’s about reallocating your resources from a corporation’s marketing budget directly into your dog’s health.
The Hacker’s Guide to Storage: Maximizing Freshness and Efficiency

You’ve invested the time to bake a superior product; now let’s ensure it stays that way. Improper storage is the number one reason homemade treats spoil. The enemy is moisture, and our primary defense is a thorough bake and the right container.
Short-Term Storage (1-2 Weeks)
The key here is the ‘Dehydration Bake’ step mentioned in the recipe. Baking until the biscuits are extremely hard and dry is your best defense against mold. Once they are completely cool to the touch (wait at least an hour), you can store them in an airtight container at room temperature. A glass jar with a good seal is ideal as it’s non-porous. Avoid sealing them while even slightly warm, as the trapped steam will create moisture and lead to spoilage.
Long-Term Storage (Up to 3 Months)
This recipe is perfect for batch cooking. You can easily double or triple the ingredients and make a large supply to save time. For long-term storage, the freezer is your best friend.
- Cool Completely: This is even more critical for freezing. Any warmth will create ice crystals that ruin the texture upon thawing.
- Flash Freeze (Optional but Recommended): Spread the cooled biscuits in a single layer on a baking sheet and place in the freezer for 1-2 hours, or until solid. This prevents them from sticking together in a giant clump.
- Package for Freezing: Transfer the frozen biscuits to a freezer-safe zip-top bag or container. Squeeze out as much air as possible before sealing to prevent freezer burn.
- Thawing: Simply take out as many biscuits as you need and let them thaw at room temperature for about 15-20 minutes. Do not microwave them, as it will make them soft and rubbery.
By using this storage strategy, you can have a steady supply of healthy, cost-effective treats ready at a moment’s notice, making it just as convenient as reaching for a store-bought bag.
Conclusion
You now possess the blueprint to opt out of the overpriced commercial treat market. By investing less than an hour of your time, you’ve created a product that is nutritionally superior, radically cheaper, and infinitely safer than most options on the shelf. You have full control, from the quality of the flour to the purity of the peanut butter. There are no hidden ingredients, no unpronounceable preservatives, and no grain-based fillers masquerading as health food.
This is the core philosophy of the Canine Nutrition Hacker: empowerment through knowledge. Stop trusting the marketing on the front of the bag and start analyzing the ingredient list on the back. Better yet, create your own ingredient list. Your dog doesn’t care about fancy packaging, but their body will thank you for the real, wholesome food. Now go take back control of the treat jar.