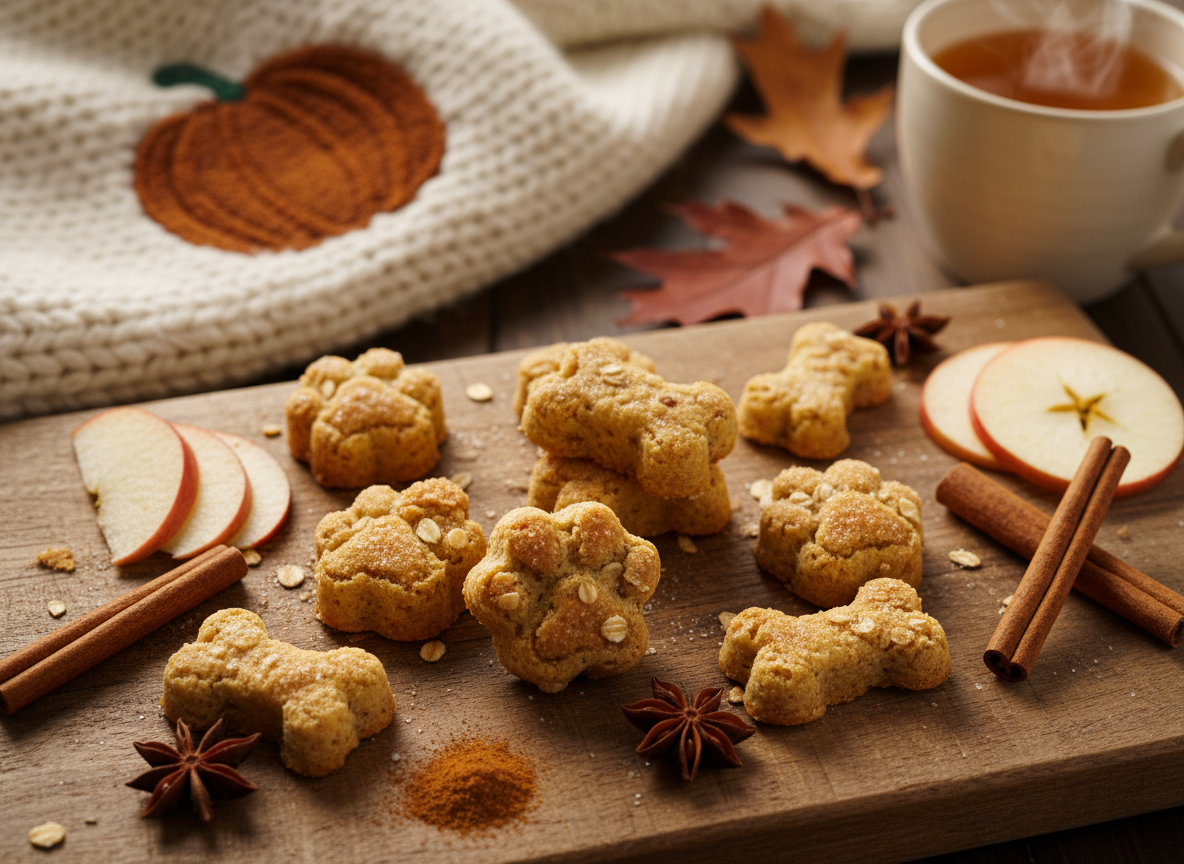
Soft-Baked Apple Cinnamon Dog Treats (Smells Like Fall!)
Let’s have a frank discussion about the commercial dog treat industry. It’s a multi-billion dollar machine built on clever marketing, appealing packaging, and, all too often, subpar ingredients. They sell you on images of happy, frolicking dogs while quietly packing their products with cheap fillers, artificial preservatives, and mystery ‘flavorings’. You’re paying a premium for factory-made biscuits that offer minimal nutritional value. It’s a racket, and it’s time you opted out.
I am The Canine Nutrition Hacker. I don’t fall for marketing gimmicks. I read labels. I analyze costs. I find the loopholes that allow savvy owners to provide elite-level nutrition without going broke. Today, we’re hacking the treat jar. This recipe for Soft-Baked Apple Cinnamon Dog Treats isn’t just about making your house smell incredible (though it will). It’s a strategic move to upgrade your dog’s health, give you complete control over every single ingredient, and slash your pet care budget.
SAFETY DISCLAIMER: Before we proceed, a critical mandate. I am a canine nutrition analyst and advocate, not a veterinarian. This recipe is formulated with generally safe ingredients for most healthy dogs. However, every dog is an individual. If your dog has specific health conditions, allergies, or dietary restrictions, you must consult with your veterinarian before introducing any new foods or treats. These are treats, not a complete meal, and should be given in moderation as part of a balanced diet.
The Commercial Treat Conspiracy: Why DIY is Non-Negotiable
Walk down any pet store aisle and you’re bombarded with choices. Bags of treats in every shape and size, all promising to be ‘natural,’ ‘wholesome,’ or ‘vet-recommended.’ But turn the bag over. The truth is right there in the ingredient list, if you know how to decipher it. The first five ingredients tell you almost everything you need to know about a product’s quality, and what you’ll find is often shocking.
You’ll see ingredients like corn gluten meal, a cheap plant-based protein filler that’s less digestible for dogs than quality animal protein. You’ll find BHA and BHT, artificial preservatives linked to health concerns that are banned in human food in many countries. You’ll see vague terms like ‘meat and bone meal’ or ‘animal digest’ – mystery concoctions that could be derived from any number of sources, including rendered animals. These are the dirty secrets of the industry, designed to maximize profit margins, not your dog’s vitality.
Furthermore, the ‘natural flavors’ listed are often proprietary chemical formulas designed to make a bland, low-quality biscuit irresistible to your dog. You’re essentially paying for an addictive, nutritionally-void snack. The cost is another part of the deception. A small bag of ‘premium’ soft-baked treats can cost upwards of $10-$15. When you break it down per treat, you’re paying an exorbitant price for flour, sugar, and chemicals. The DIY approach is the only way to guarantee transparency and quality. When you are the chef, you are the quality control. You select every ingredient, you control the baking process, and you eliminate the risk of contaminants and fillers. This isn’t just about baking; it’s about reclaiming nutritional authority for your pet.
The Arsenal: Sourcing Your Ingredients Like a Pro
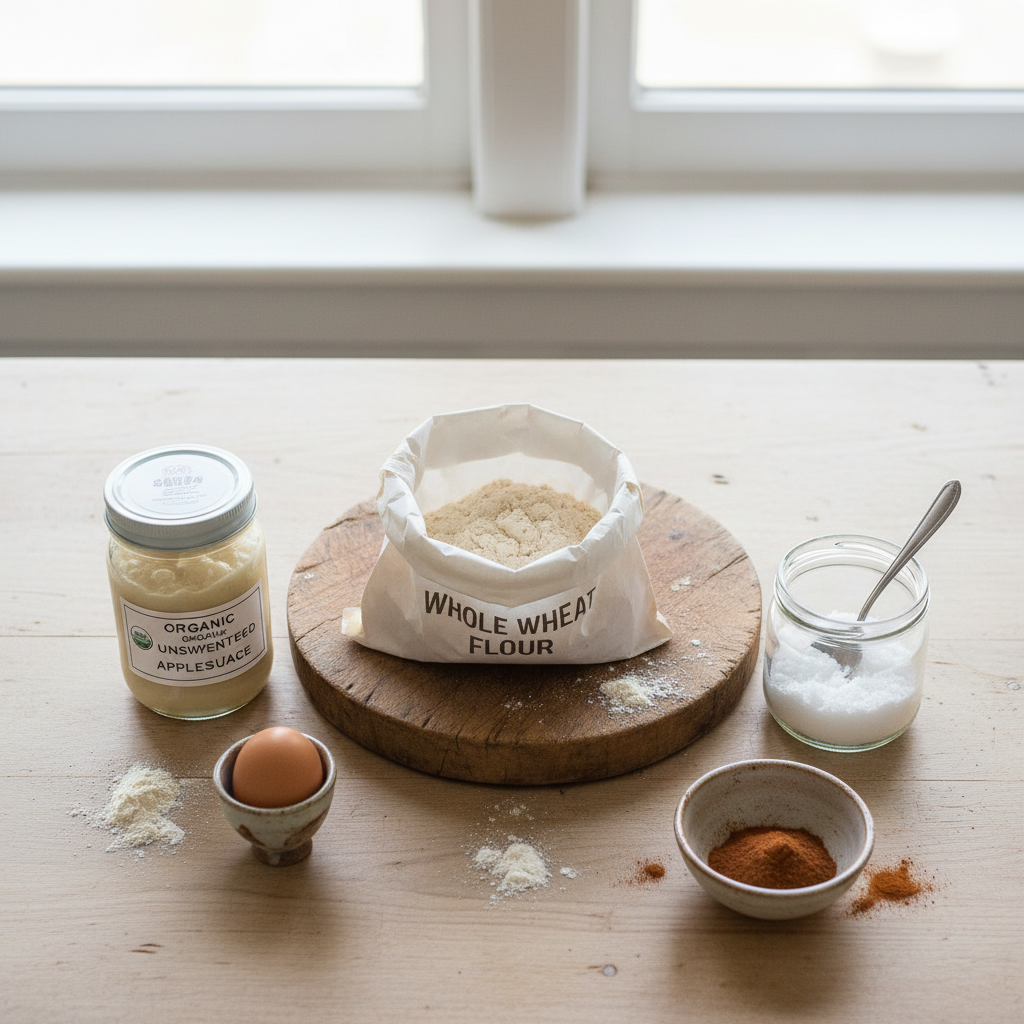
A superior output requires a superior input. Forget the chemical-laden junk. Our arsenal is small, simple, and packed with nutritional power. Here’s what you need and, more importantly, *why*.
Core Components:
- Whole Wheat Flour (or a Grain-Free Alternative): We use whole wheat for its fiber and nutrients. If your dog has a grain sensitivity, you can easily substitute this with chickpea flour, oat flour (simply blend rolled oats), or a pre-made grain-free blend. Hacker Tip: Avoid all-purpose white flour, which is stripped of its nutrients.
- Unsweetened Applesauce: This is our natural sweetener and moisture source. Apples provide Vitamin C and fiber. It is critical to use unsweetened applesauce. Added sugars, especially xylitol (which is sometimes used in ‘sugar-free’ products), are extremely toxic to dogs. Read the label—it should say ‘apples’ and nothing else.
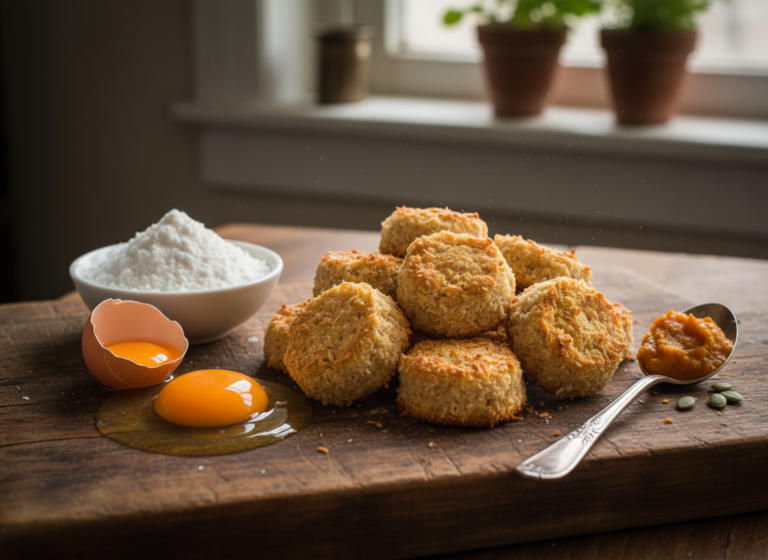
- One Large Egg: The perfect binder. Eggs are a powerhouse of protein, amino acids, and fatty acids that contribute to a healthy coat and skin.
- Melted Coconut Oil or Olive Oil: We need a healthy fat. Coconut oil contains medium-chain triglycerides (MCTs) which can aid in digestion and cognitive function. A high-quality olive oil is also an excellent choice. Avoid cheap vegetable oils.
- Ceylon Cinnamon: This is a crucial distinction. You must use Ceylon cinnamon, not the more common Cassia cinnamon. Cassia cinnamon contains high levels of coumarin, which can be harmful to dogs in large quantities. Ceylon cinnamon has negligible amounts and offers anti-inflammatory benefits. It’s the only safe choice for your pet.
That’s it. Five pure, simple, and beneficial ingredients. No preservatives, no fillers, no artificial colors or flavors. This is the foundation of a treat you can feel genuinely good about giving your dog.
The Blueprint: Your Step-by-Step Baking Protocol
This is where the magic happens. This protocol is designed for efficiency and a perfect, soft-baked result every time. Follow these steps precisely.
The Recipe
- 2 ½ cups whole wheat flour (or grain-free alternative)
- 1 cup unsweetened applesauce
- 1 large egg, lightly beaten
- 1 tablespoon melted and cooled coconut oil
- 1 teaspoon Ceylon cinnamon
The Protocol:
- Pre-Action Setup: Preheat your oven to 350°F (175°C). Line a large baking sheet with parchment paper for a non-stick surface and easy cleanup. This is a non-negotiable step for preventing frustration.
- Combine Wet Ingredients: In a large mixing bowl, combine the unsweetened applesauce, lightly beaten egg, and the melted coconut oil. Whisk them together until they are smooth and fully incorporated. This ensures even moisture distribution throughout the dough.
- Combine Dry Ingredients: In a separate, smaller bowl, whisk together the whole wheat flour and the Ceylon cinnamon. This step prevents clumps of cinnamon and guarantees the flavor is evenly spread.
- Integrate Wet and Dry: Gradually add the dry ingredient mixture to the wet ingredients. Start by mixing with a spoon or spatula. As the dough begins to come together and thicken, switch to using your hands. Knead the dough for a minute or two inside the bowl until it forms a cohesive, non-sticky ball. If the dough feels too sticky, add a tablespoon of flour at a time. If it’s too dry, add a teaspoon of water.
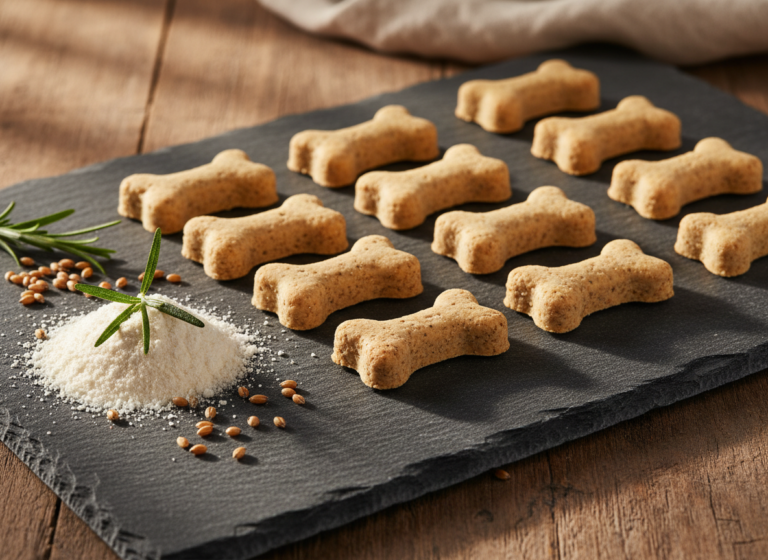
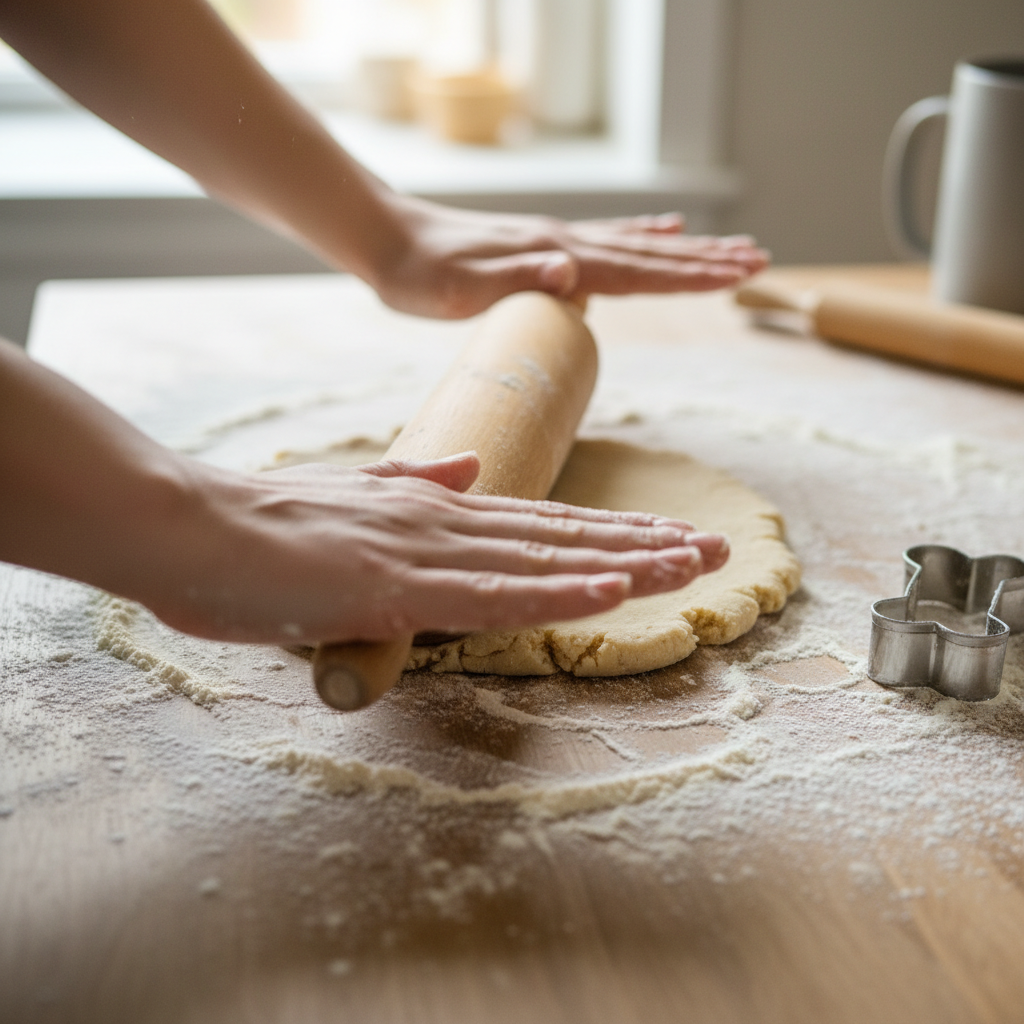
- Shape the Treats: Lightly flour a clean work surface. Roll the dough out to approximately ¼-inch thickness. Thicker dough will result in a softer, chewier treat. Use your favorite cookie cutters to cut out shapes. Place the treats about a half-inch apart on your prepared baking sheet.
- Baking Phase: Bake for 20-25 minutes. The edges should be lightly golden, but the center should still feel soft to the touch. This timing is key for achieving the ‘soft-baked’ texture. Overbaking will result in a crunchy biscuit.
- Cooling and Curing: Remove the baking sheet from the oven and let the treats cool on the sheet for 5-10 minutes before transferring them to a wire rack to cool completely. Allowing them to cool fully is essential for the texture to set properly.
The Bottom Line: A Forensic Cost Breakdown

Now for the proof. Let’s analyze the numbers and expose the true cost of convenience. We’ll compare the cost of making one batch of our homemade treats (which yields approximately 40-50 medium-sized treats) against a popular brand of premium, grain-free, soft-baked commercial treats.
Assumptions are based on average grocery store prices. Your costs may be even lower if you buy in bulk.
| Ingredient / Product | Cost for Recipe / Bag | Yield | Cost Per Treat |
|---|---|---|---|
| DIY Apple Cinnamon Treats | |||
| 2.5 cups Whole Wheat Flour (~12.5 oz) | $0.70 | ~45 Treats | |
| 1 cup Unsweetened Applesauce | $0.85 | ||
| 1 Large Egg | $0.30 | ||
| 1 tbsp Coconut Oil | $0.25 | ||
| 1 tsp Ceylon Cinnamon | $0.20 | ||
| DIY TOTAL | $2.30 | ~45 Treats | ~$0.05 |
| Commercial Premium Treats | $12.99 | ~30 Treats | ~$0.43 |
The data is undeniable. You can produce a superior, healthier, preservative-free treat for approximately 5 cents per treat. The commercial equivalent costs over 40 cents per treat. That’s an 800% markup for a product filled with cheaper, less transparent ingredients. Over the course of a year, giving your dog just one treat per day, the savings are substantial: $18.25 for homemade vs. $156.95 for store-bought. That’s a difference of over $138 you can put towards high-quality food, vet care, or other enrichments. The choice is clear.
The Long Game: Storage and Batching Secrets
One of the primary differences between our homemade treats and their commercial counterparts is the lack of artificial preservatives. This is a major health benefit, but it means you must store them correctly to maintain freshness and safety.
Short-Term Storage (Up to 1 Week)
Once the treats are 100% cooled to room temperature, place them in an airtight container. A glass jar with a good seal or a zip-top bag works perfectly. Store them on the counter or in your pantry for up to one week. Because they are soft-baked and contain moisture from the applesauce, they are more prone to mold than crunchy biscuits if left out for too long or in a humid environment.
Long-Term Storage (Up to 3 Months)
This is where the ‘hacker’ mentality comes in. Your time is valuable. Double or triple the recipe and create a stockpile. This is the secret to making DIY treats a sustainable practice.
- Flash Freeze: After the treats have cooled completely, arrange them in a single layer on a baking sheet. Place the sheet in the freezer for 1-2 hours, or until the treats are frozen solid. This crucial step prevents them from sticking together in a giant clump.
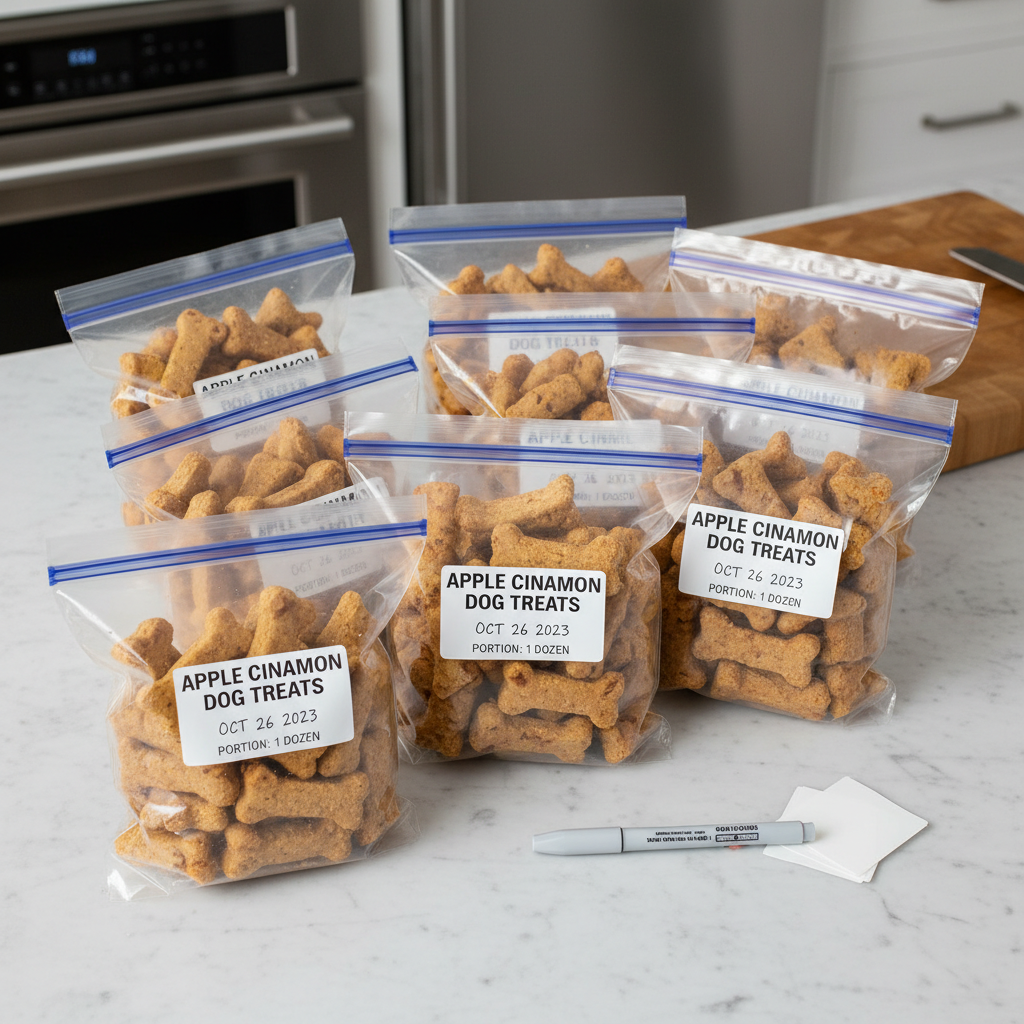
- Package and Seal: Transfer the frozen treats into freezer-safe bags or containers. Squeeze out as much air as possible before sealing to prevent freezer burn. Be sure to label each bag with the date and ‘Apple Cinnamon Treats’.
- Thaw and Serve: When you’re ready to use them, simply pull out the desired number of treats and let them thaw on the counter for 15-20 minutes. They will be just as soft and delicious as the day you baked them.
Insider Secret: Portion your frozen treats into weekly supply bags. Every Sunday, pull one bag from the freezer and put it in the fridge. This way, you have a perfectly thawed, ready-to-serve supply for the entire week with zero daily effort. This systemizes your treat game and makes homemade a truly convenient option.
Conclusion
You now possess the blueprint to opt out of the commercial treat system. You have the recipe for a healthier, safer, and profoundly more cost-effective alternative. Baking these Soft-Baked Apple Cinnamon Treats is more than a culinary project; it’s a declaration of your commitment to your dog’s well-being and your own financial savvy. You’ve seen the forensic cost breakdown. You understand the ingredient sourcing. You have the protocol for perfect execution and long-term storage.
The power is now in your hands. Stop paying corporations for the privilege of feeding your dog fillers and preservatives. Take the 30 minutes this recipe requires and invest it directly into your dog’s health and your own peace of mind. Welcome to the world of the Canine Nutrition Hacker. Your dog—and your bank account—will thank you.