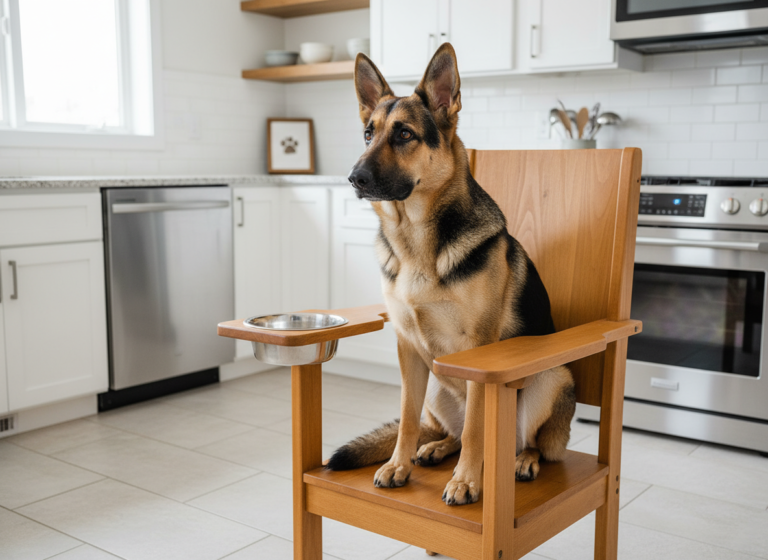
DIY Modern Mid-Century Elevated Dog Bowl Stand Plans
Walk into any boutique pet store, and you’ll be confronted with a wall of ‘designer’ elevated dog feeders with price tags that defy logic. You’re paying a premium for mediocre materials, questionable stability, and a one-size-fits-all design that often doesn’t fit your dog. The Canine Hacker’s philosophy is simple: why pay more for less? An elevated feeder isn’t just an accessory; it’s a tool for your dog’s health, aiding in digestion and reducing strain on their neck and joints, especially for large breeds and senior dogs.
This is not a simple craft project. This is a guide to building a piece of functional, high-end furniture that will outlast anything you can buy off the shelf. We’re cutting through the noise and providing you with the exact blueprint to create a durable, beautiful, and ergonomically perfect Mid-Century Modern dog bowl stand. It’s time to take control, fire up your tools, and build something superior for a fraction of the cost.
The Blueprint: Deconstructing the Cost vs. Value
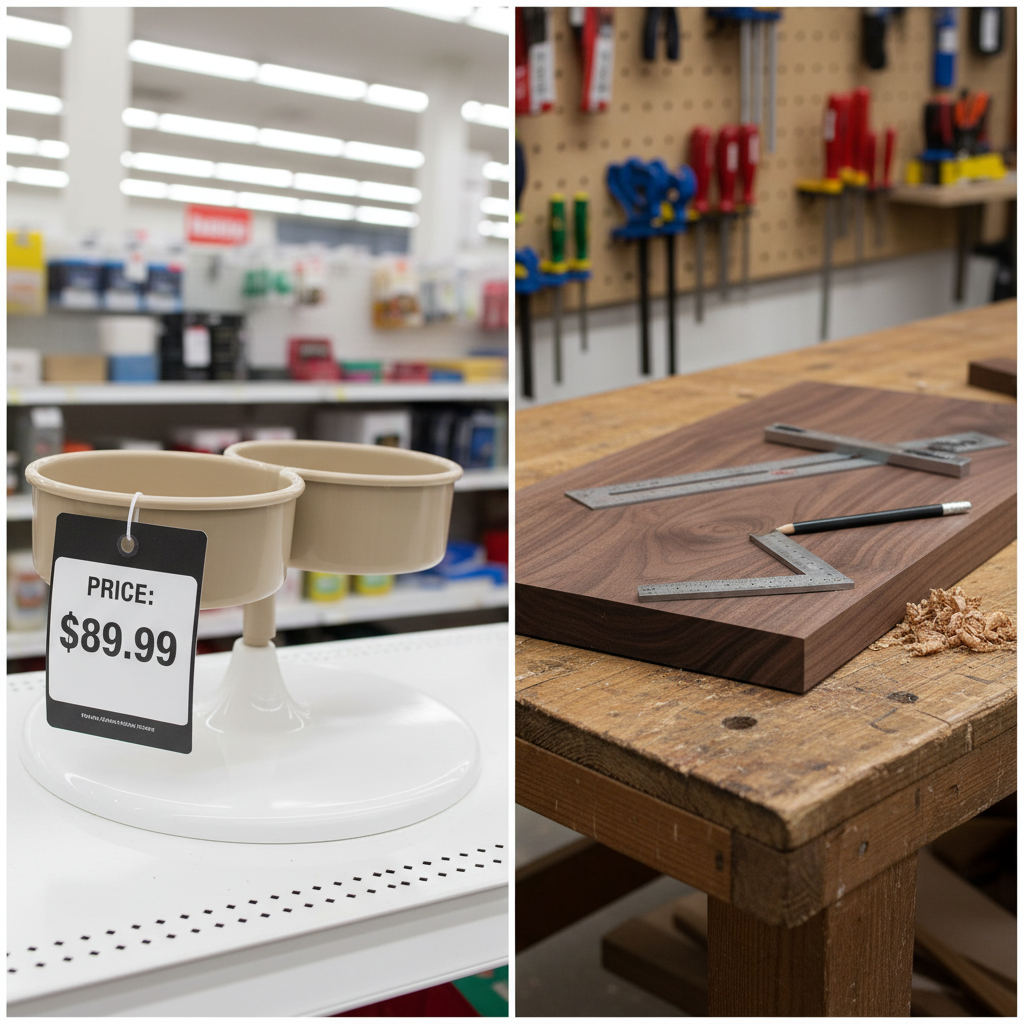
Before we make a single cut, let’s analyze the core issue: the massive markup on pet furniture. Manufacturers prey on your desire to provide the best for your pet. They use cheap particle board with a thin veneer, weak joints, and non-durable finishes, then slap a ‘modern’ label on it and charge a fortune. Building it yourself isn’t just about saving money—it’s about upgrading the quality exponentially. You choose the solid hardwood, you ensure the joints are rock-solid, and you apply a finish that is both beautiful and 100% pet-safe.
Cost Analysis: DIY vs. Retail
The numbers don’t lie. Let’s break down the real-world cost of building a high-quality stand versus buying a comparable ‘designer’ version online.
| Component / Item | Estimated DIY Cost | Comparable Retail Price |
|---|---|---|
| Solid Hardwood (e.g., 1×10 Walnut, 4ft) | $40 – $60 |
Pre-Flight Check: Your Arsenal of Materials & Tools Success in any project is determined by preparation. Gather everything you need before you begin to ensure a smooth, efficient, and safe build process. Measure twice, cut once, and always prioritize safety. Safety DisclaimerWarning: This project involves the use of power tools that can cause serious injury. Always wear appropriate safety gear, including safety glasses and hearing protection. Read and understand the manuals for your tools before operating them. If you are not confident in your ability to use these tools safely, seek assistance from an experienced woodworker or consider a simpler design. Materials List
Tools List
The Build: Step-by-Step Construction Guide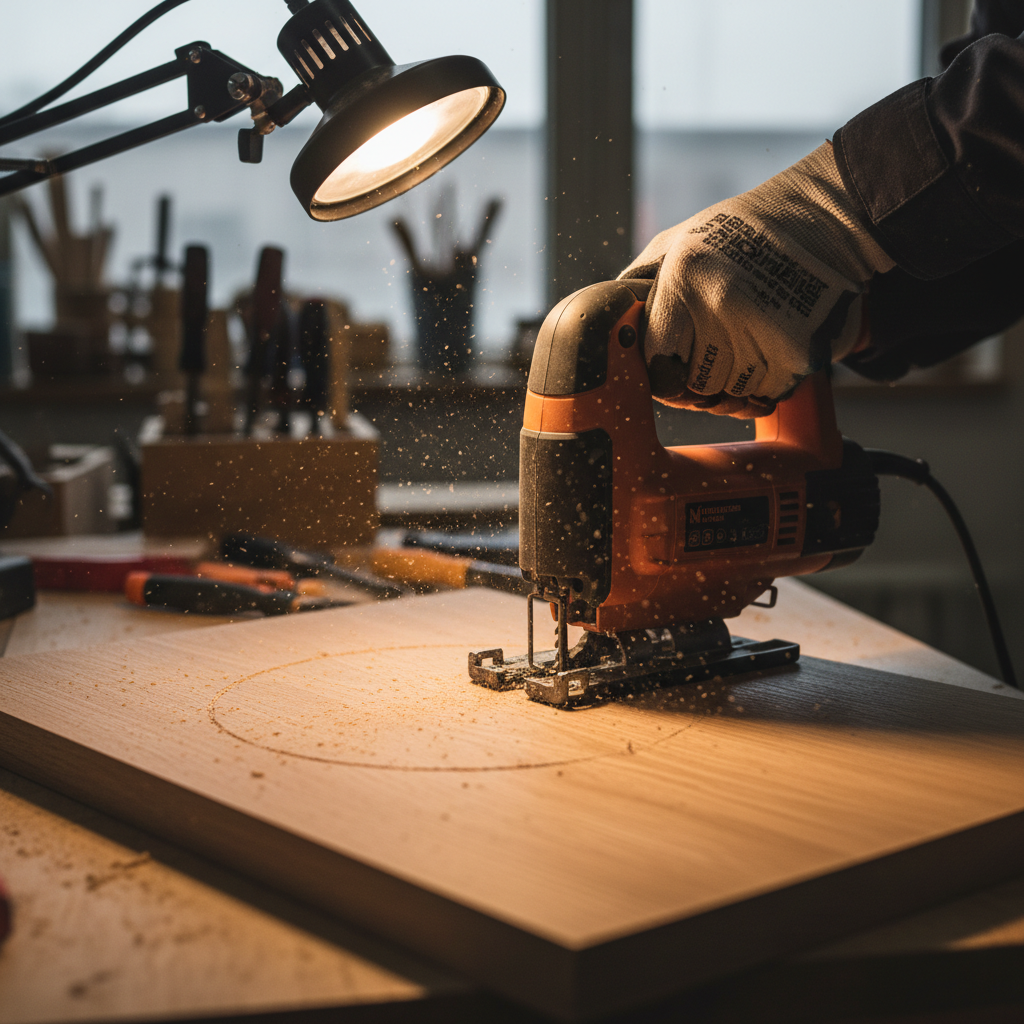 This is where the plan comes to life. Work methodically and ensure your measurements are precise. The defining feature of Mid-Century Modern design is clean lines and precise angles—attention to detail is paramount. Step 1: Determine the Correct HeightThe single most important measurement. An improperly sized stand defeats the purpose. The top of the feeder should be level with the bottom of your dog’s chest. Have your dog stand comfortably and measure from the floor to their sternum. This measurement will be the height of your stand’s top surface. Step 2: Cut Your Pieces
Step 3: Mark and Cut the Bowl Openings
Step 4: Assembly
The Finishing Touches: Sealing for Safety and Durability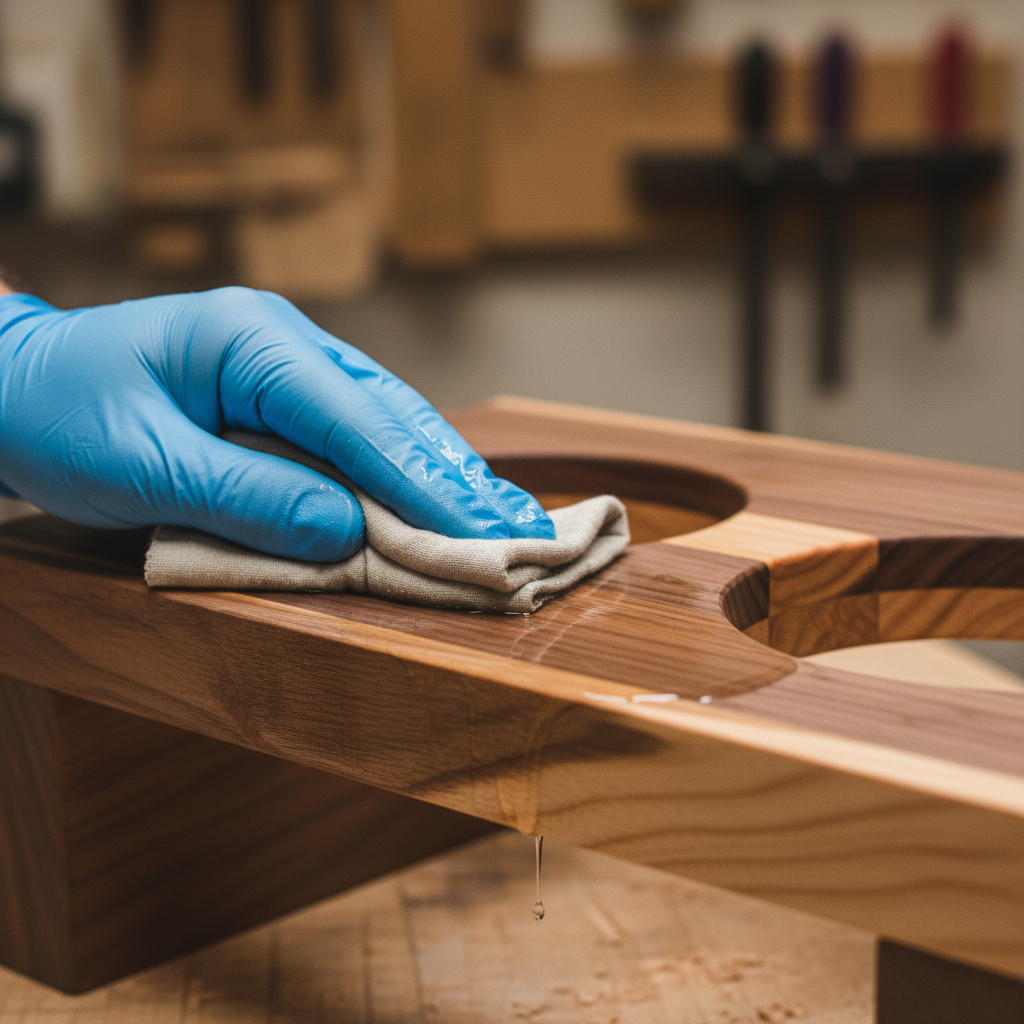 An unfinished project is an incomplete project. This final stage not only provides the aesthetic polish but also protects the wood from water damage and ensures it’s completely safe for your pet. The Importance of a Pet-Safe FinishYour dog will be eating and drinking from this stand. Inevitably, they will lick the surface. It is absolutely non-negotiable that you use a finish that is certified non-toxic and food-safe once cured. Do not use standard polyurethanes or varnishes, which can contain harmful chemicals. Refer to your materials list for safe options. Application Process
ConclusionThere you have it. For the cost of a mediocre, mass-produced feeder, you have built a piece of bespoke furniture. You’ve created a stand that is not only aesthetically superior and built to last a lifetime, but is also perfectly tailored to your dog’s ergonomic needs. You’ve bypassed the retail markup and invested your time into a project that enhances your home and your dog’s well-being. This is the core principle of the Canine Hacker: identify the problem, reject the inadequate solutions on the market, and take control to create something better. Now, place the bowls in the stand, fill one with food and the other with water, and watch your dog dine in the style and comfort they deserve. Similar Posts
|